Archive for the ‘Songs’ Category
Spiderweb Painting
Aug
I showed you our spider we made out of playdough and pipe cleaners yesterday to go along with “The Itsy Bitsy Spider” song that Hailey loves.
So, I had a fabulous idea that we could do some “ball painting” to create a spiderweb look. It didn’t exactly work.

Here’s what you’ll need- paper, ball, paint, bowl, something to stir if you want to mix your paint together, and a box with sides.

Put some paint in the bowl.

Stir it up to create a fun new color. Or make your toddler upset because she has just decided that she doesn’t like mixing the colors together.

Next you should be able to put the paper inside the box with sides, add some small drops of paint to the paper, and then tilt the box to make the ball roll which will create lines all over the paper (our spiderweb in this situation). The problem was that I used one of Hailey’s golf balls- so it is hollow and didn’t really weigh enough to roll through the paint. It kept getting stuck in the little paint blobs.

So, we tried a deeper box so that Hailey could shake the box harder without the ball flying across the room.

This is the reason we didn’t use marbles (which will give you the best results- but only if your children no longer put everything in their mouths). The golf ball is covered in paint and is being inserted into Hailey’s mouth.

Here is our finished spiderweb. Which looks nothing like a spiderweb. BUT, Hailey had fun making it and that is what matters.
The Itsy Bitsy Spider
Aug
Hailey loves “The Itsy Bitsy Spider” song so I thought I would do an easy project with her to make our own fun spider.

Here’s what you’ll need: Playdough and pipe cleaners. We used pink because that is Haileys favorite color. And also to keep our spider looking fun instead of scary.

Cut up the pipe cleaner into eight pieces to be used as legs.

We made our spider and then sang “The Itsy Bitsy Spider.” This is Hailey doing the hand motions for the “down came the rain” line.

And then Hailey decided she didn’t like the spider anymore, so she pulled all of the legs off.
Just in case you need the lyrics here they are:
The itsy bitsy spider
Climbed up the water spout
Down came the rain
And washed the spider out
Out came the sun
And dried up all the rain
And the itsy bitsy spider
Climbed up the spout again.
And if you need the tune- check that out here.
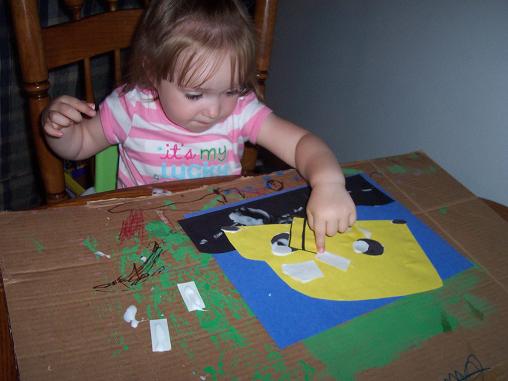
Song Activities
Aug
I still haven’t had time yet to do any crafts with Hailey. We have almost everything unpacked and I should be able to do some new activities soon. I thought since I didn’t get a chance to make anything with Hailey today that I would post some of our favorite song related activities from last summer.
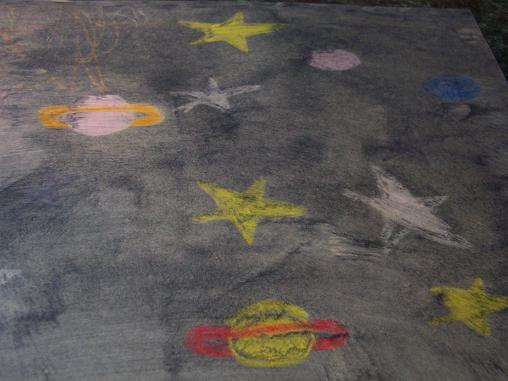
We made this to go along with Twinkle, Twinkle Little Star.
We made a school bus to go with The Wheels on the Bus.

A really cute song is The Little Green Frog and we made a puppet to go along with is.
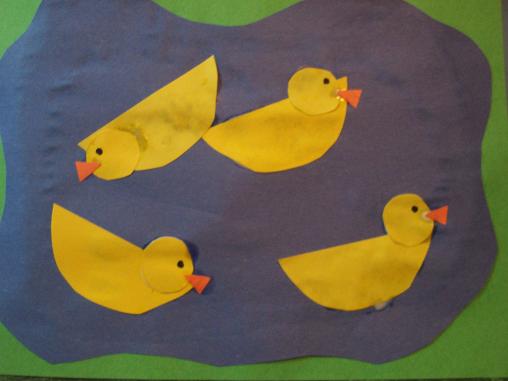
The Five Little Ducks is fun song and we made a duck pond to go along with it.
See all of our song activities here.
More Fall Fun
Nov
Our theme again last week was fall and we did several fun activities. Here are some of the things we did:

We had 2 sets of pumpkins in various colors. I put one set out on the table and gave Hailey the other set. She matched up the colors. This is a great way to practice color names.

We made pumpkin prints- here’s what you’ll need: green and orange paint, paper and a paper plate.

Dip the top part of your child’s fist into the orange paint then make prints on the paper.

Then use your finger to add a green stem. If you do this with an older child the prints might actually look like pumpkins. But, Hailey did not want any help and did not want me to show her how to do it- so she had fun but they don’t exactly look like pumpkins.

I made a pumpkin patch then put pieces of Velcro on the patch. Then I added some pumpkins that have Velcro on their backs. We sang this song to the tune of “Clementine:”
I saw a pumpkin
a big fat pumpkin
It was hanging on a vine
Hailey came along and picked it
took it home
and said, “It’s mine.”
And as we sang the song Hailey would go pick a pumpkin off of the patch during the “Hailey came along and picked it” line.
Lastly we made an acorn:

First you’ll need to paint a brown piece of paper with a darker shade of brown.

Once the paint dries, rip apart the paper. Also, rip apart a piece of regular brown paper.

Glue the lighter colored brown paper to the top of the acorn and the brown paper that was painted to the bottom of the acorn.

The finished acorn.
Come back tomorrow to see our number, shape and color activities from last week.
Please also take a second to stop by the Velveeta Casserole Challenge and vote for me (I’m the one on the right- Livin’ With Me and the Meat Lovers Pizza Casserole). You can vote once each day and I’d appreciate it so very much if you’d vote for me. Thanks!
