Archive for October, 2009
Review of A-D
Oct
Last week we reviewed the letters A-D. Here is a look at some of the activities we did to reinforce the letters.
We used our letter cookie cutters and cut out the letters A-D.
Hailey sorted the letters A-D.
We started putting together Hailey’s book of ABC’s using the letter projects we did during the week we focused on that letter.
For each letter, Hailey glued the letter template that she has decorated onto construction paper and then put it into a page protector. Then she also added her letter project. When we finish the whole alphabet I think we’ll have a pretty cute book!
Tot School- Week in Review
Oct
Hailey is 36 months old.
Here are the activities we did last week with links to the original posts.
Letter of the Week Activities:

Our letter of the week was the letter D– we always start out by decorating a letter template.

Hailey used our letter D cookie cutter to cut some Ds out of playdough.

We made this Dd is for Doctor bag for our alphabet book.
Theme Activities:
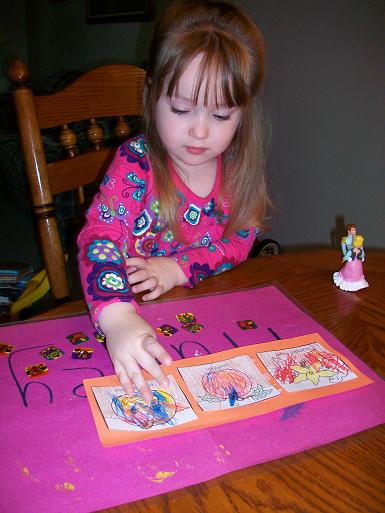
Hailey worked on Pumpkin Sequencing and learning how a pumpkin grows from a seed.
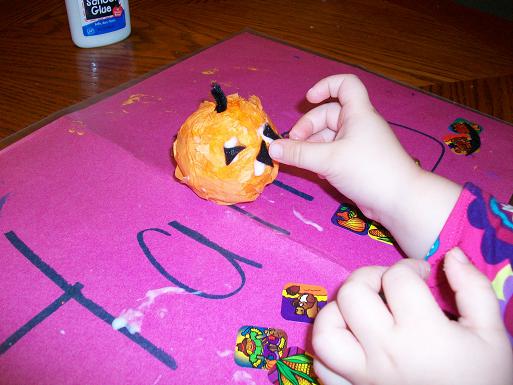
We made this cute little pumpkin from a styrofoam ball, tissue paper, felt and a pipe cleaner.

This was an easy pumpkin painting– we spread red and yellow paint onto a cookie sheet and then pressed pumpkin shaped paper onto it.
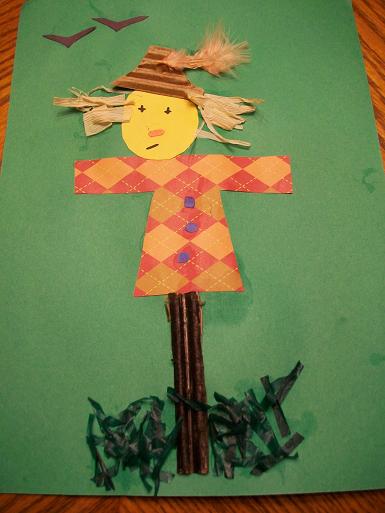
We also made this scarecrow, which turned out soooo cute!
Other Activities:

Hailey worked on her shapes using this fun sticker book.

Hailey enjoyed making some shapes out of playdough!
Stop by 1+1+1=1 for more Tot School ideas.
The Cutest Scarecrow
Oct
We made this scarecrow and it turned out sooo cute!!
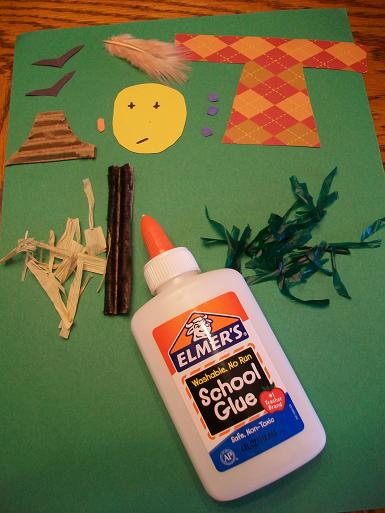
Here’s what you’ll need: we used scrapbook paper for his shirt, construction paper for his face, his buttons, his nose and the crows, part of a cardboard box for his hat and stake (we colored the stake black). The green stuff for the grass is actually a few pieces cut off of a cheerleading pom-pom. (Although you could just use tissue paper). His hair is a few little pieces I took off of the top of some Indian corn.
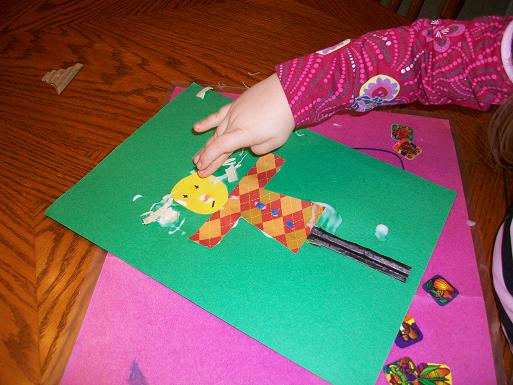
Glue everything together.

Isn’t he the cutest scarecrow you’ve ever seen? 😉
Easy Pumpkin Painting
Oct
Rather than just painting a pumpkin I thought it’d be fun to do it a little bit differently.

You’ll need: a cookie sheet (I covered it with aluminum foil to make clean up easier), red and yellow paint, sponge, pumpkin shaped paper.

Mix yellow and red paint together to see what happens.

Then put your pumpkin down on the paint and press.
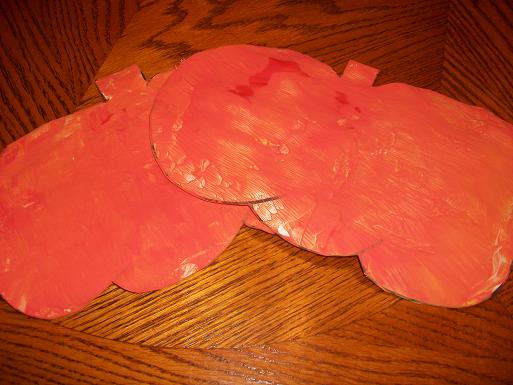
Our finished pumpkins. You could add a face to your pumpkin too if you wanted to make a jack-o-lantern.

