Archive for the ‘Paper Bowl Crafts’ Category
Tot School
Aug

Hunter is 19.5 months old.
Well, several weeks have gotten away from me again without a Tot School post. That’s what summer vacation will do to ya! Anyway, here is what Hunter did over the last few weeks.
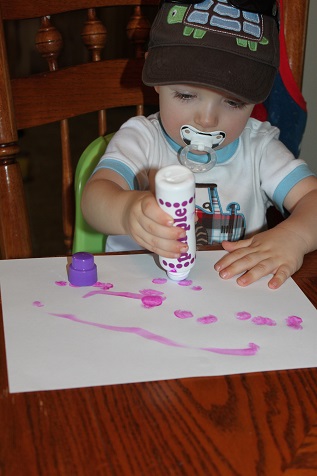
Our color for the month of July was purple, so Hunter got to use the do-a-dot markers and make a purple picture. I definitely slacked in the color teaching department though and we didn’t do very many purple related activities.
Our theme during the month of July was ocean/beach. Here are some of the projects we made:
Hunter painted a whale.
The whales turned out cute! You can see the whole post here.

He painted some popsicle sticks to make a fish.
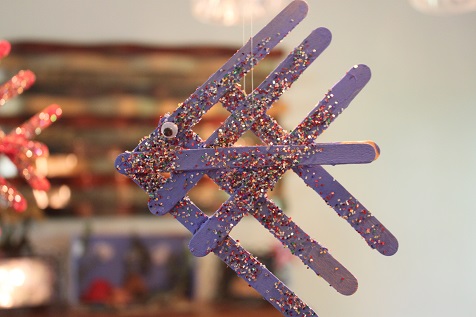
Hunter’s finished Popsicle Stick Fish- see the whole post here.
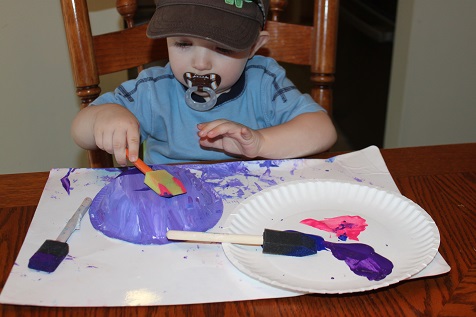
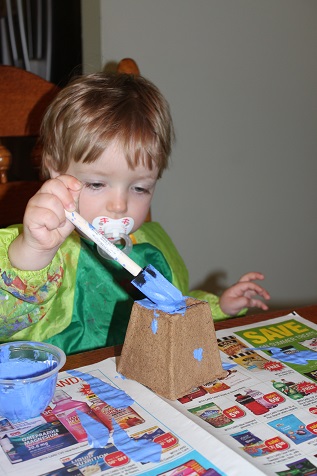
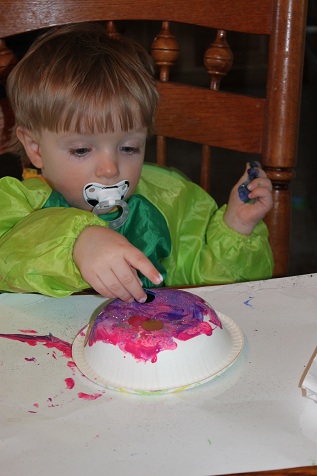
Next we made jellyfish, and Hunter had fun painting his paper bowl.
I turned around for a few seconds…
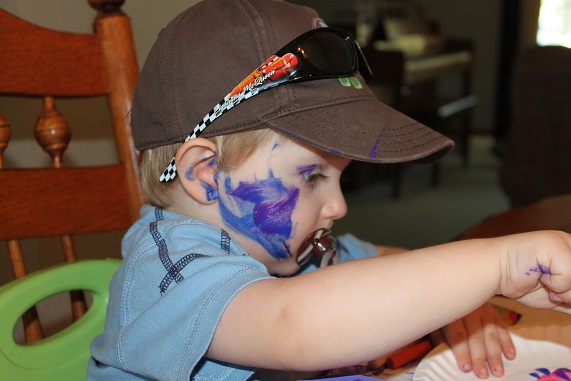
and Hunter had fun painting his face.
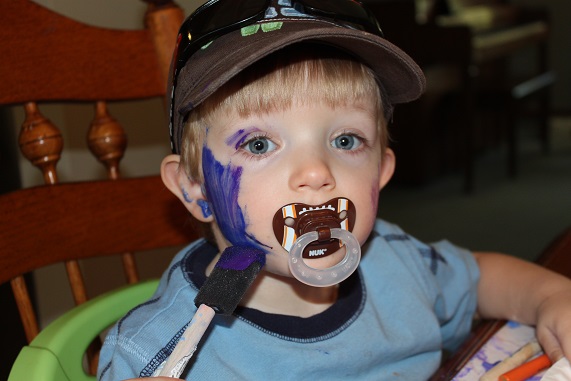
I guess he wanted to make sure I knew how the paint got there.
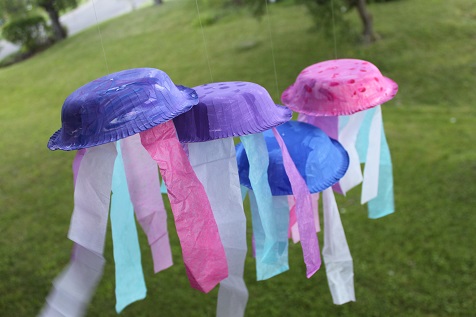
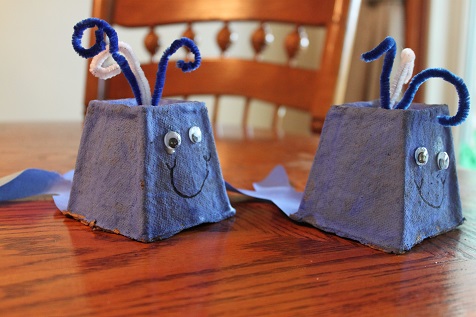
Our completed Jellyfish- see the whole post here.
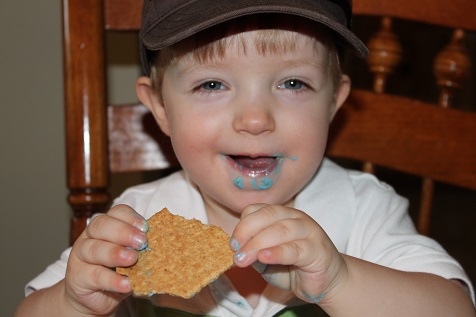
We made a fish craft snack, which Hunter ate before I could take a picture of it 🙂
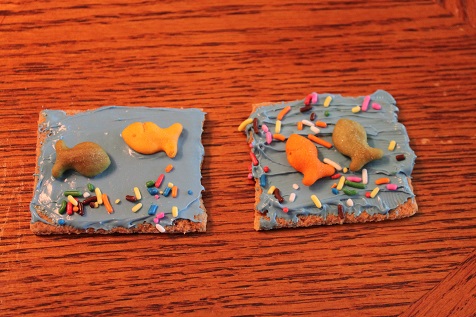
Here are the ones that Hailey and I made- they were cute and yummy.
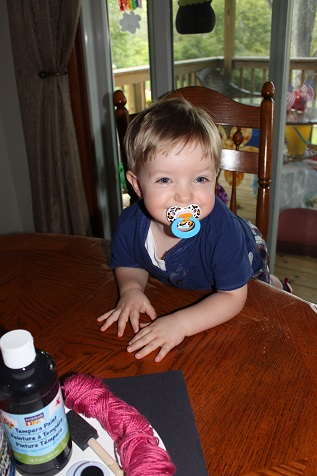
Hunter loves when we do activities and crafts. When he sees me getting things out, preparing to make something, he has to look and see what I’m doing. Then he’ll say, “Paint” and “Coat,” which is what he calls his smock.
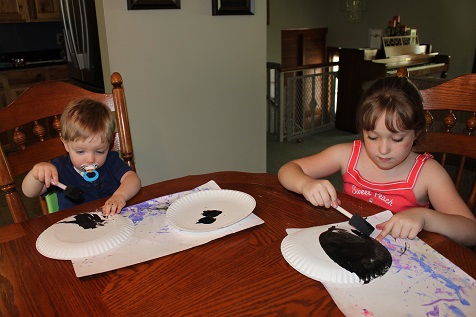
Hunter and Hailey working on painting to make a Killer Whale.

Completed Killer Whales- see full post here.
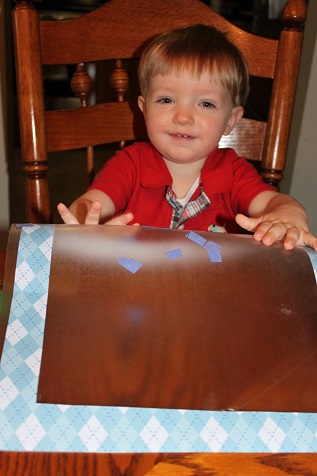
Hunter loved feeling the stickiness of the contact paper for our Fish Aquariums.
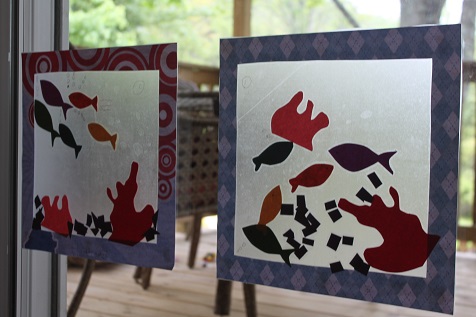
Completed Fish Aquariums- see full post here.
Stop by 1+1+1=1 to see what the other tots were up to this week.
Be sure to like me on Facebook and follow me on Pinterest so you don’t miss any of our fun activities.
Bee Crafty Kids- Jellyfish Craft
Jul
Welcome back to the Bee Crafty Kids link up that I am co-hosting with To The Moon and Back, Look! We’re Learning and Monster’s Ed Homeschooling Academy.
I can not believe that it’s already Friday again. We have been so busy the last couple of weeks that we haven’t done very many activities, which is why I haven’t been posting much. But here it is Friday again, so here is what we made for Bee Crafty Kids this week.
We are still learning about the ocean, so we made some jellyfish.
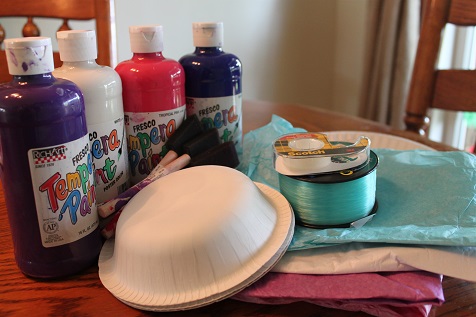
Here’s what you’ll need:
paper bowls
paint
something to paint with
tissue paper
double sided tape
fishing line
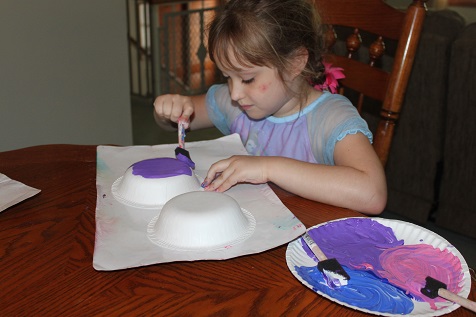
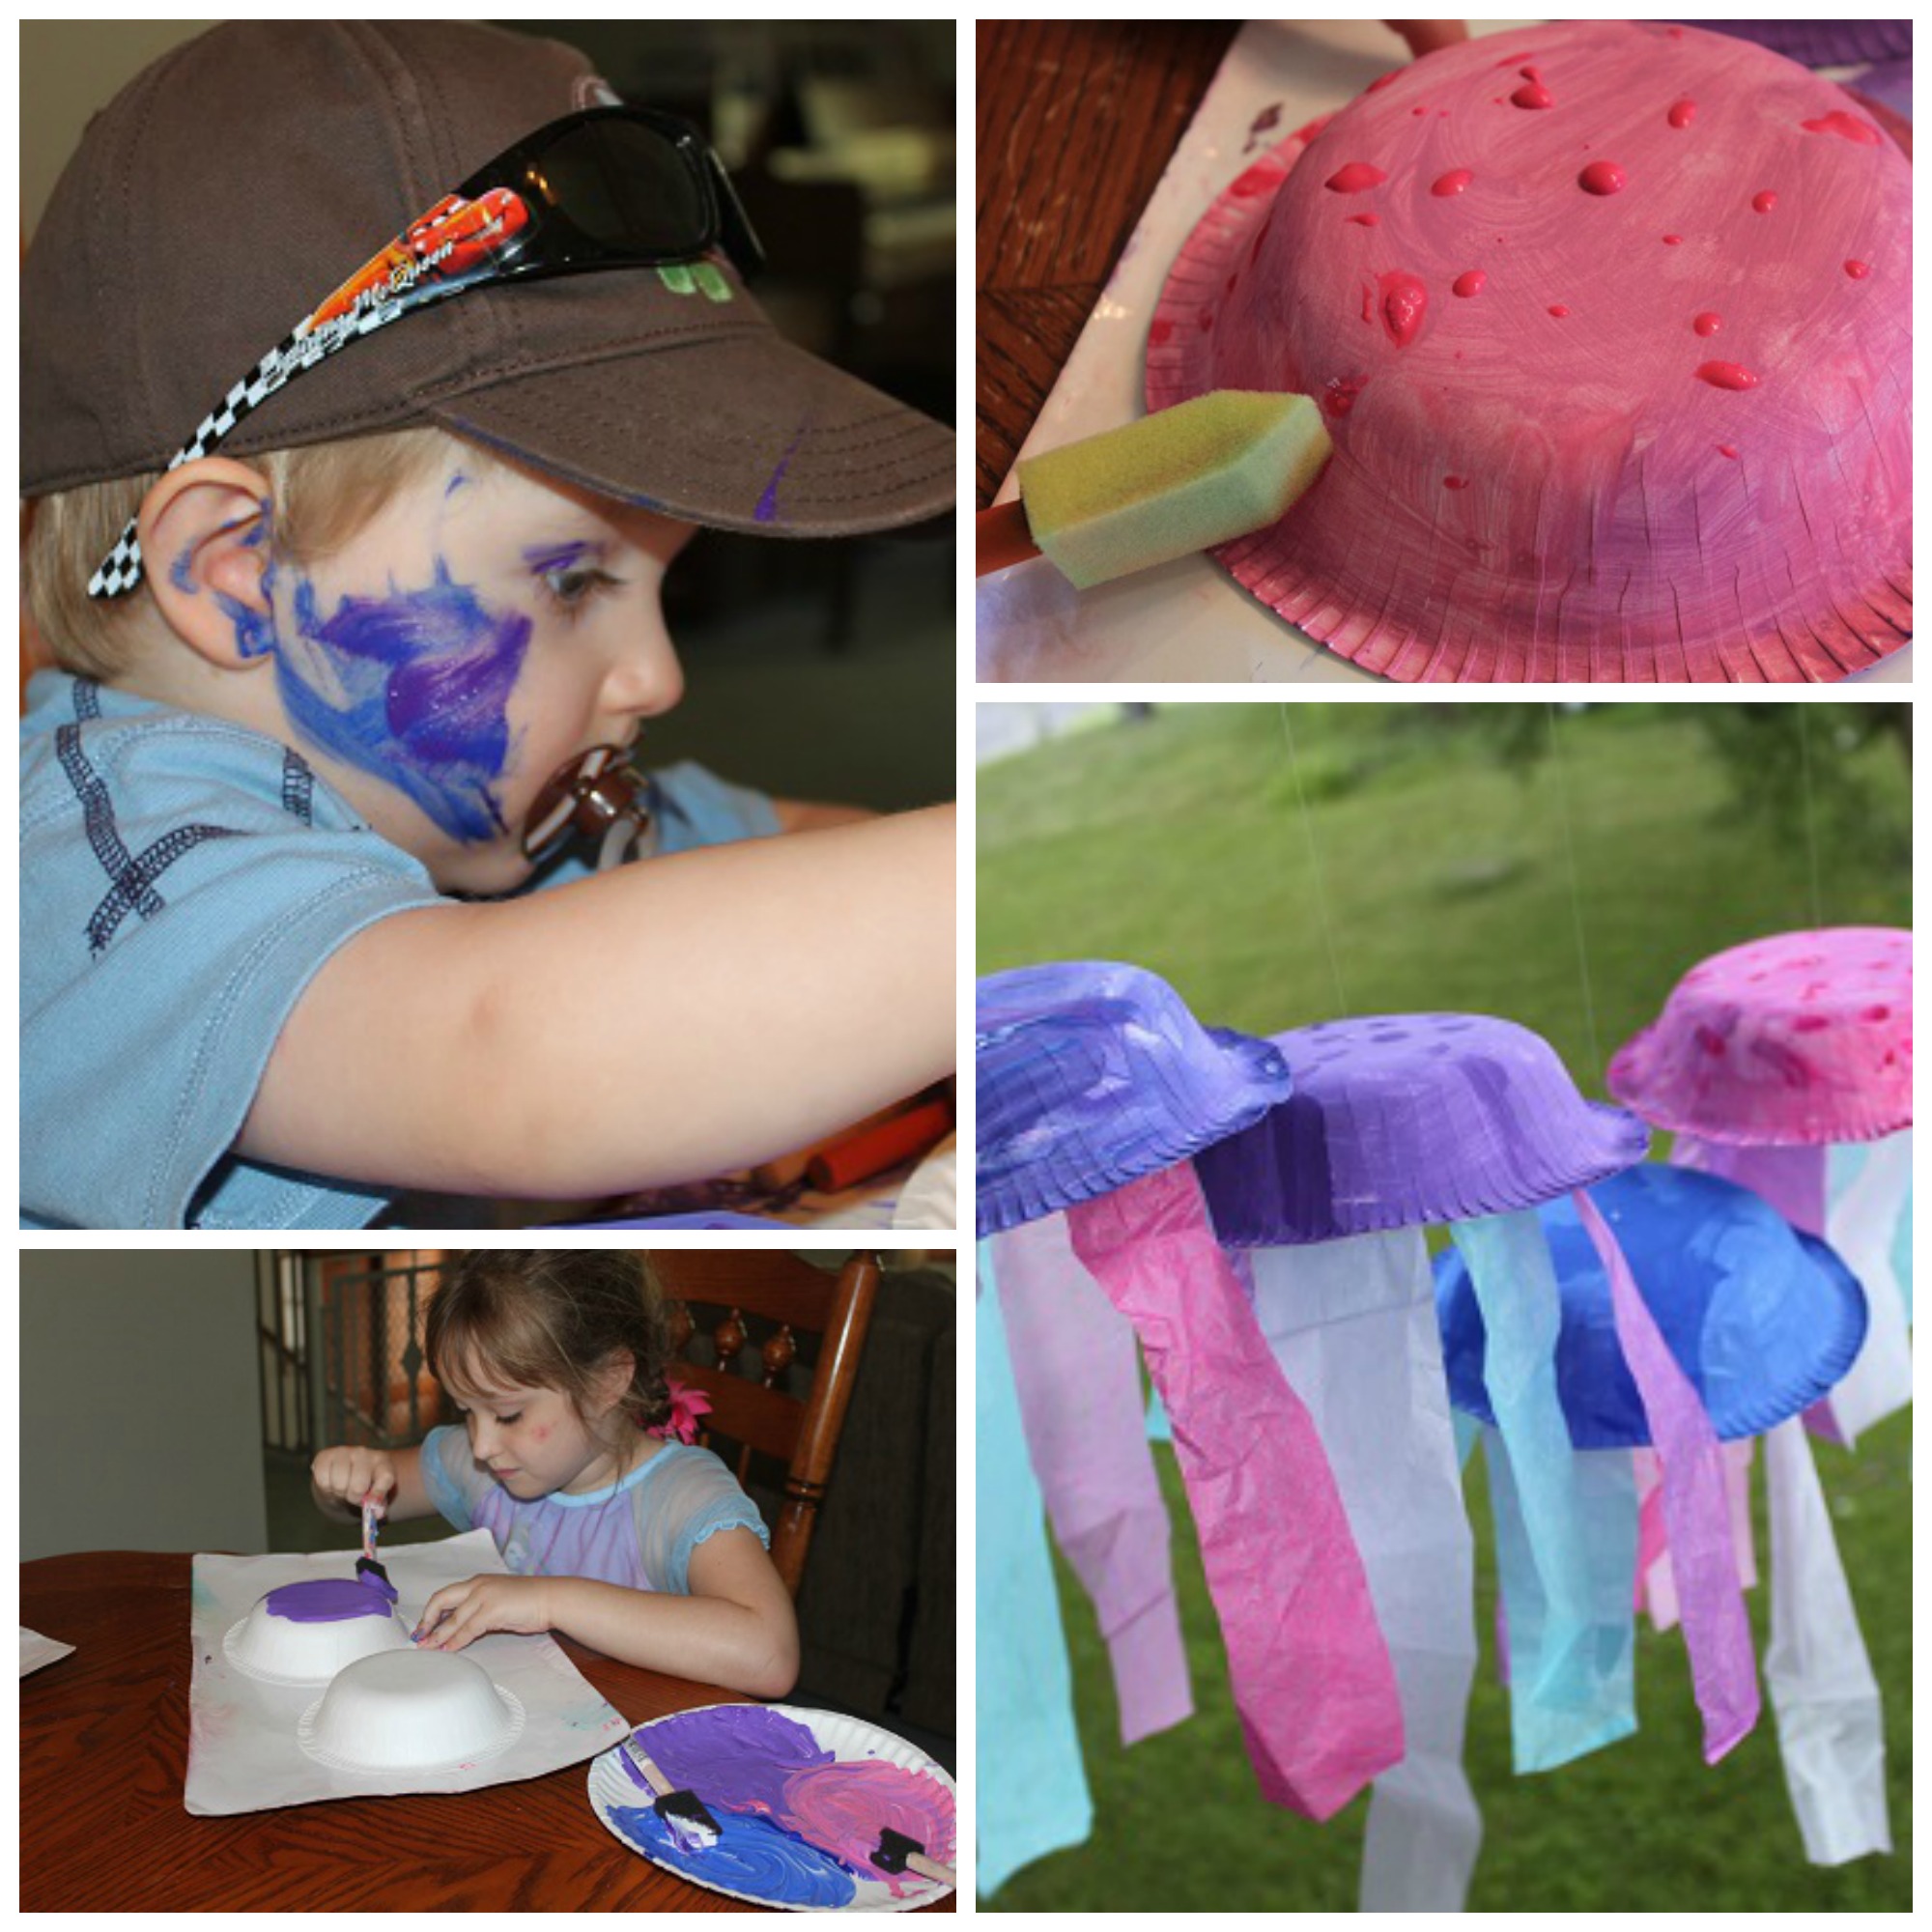
Paint the paper bowls- Hailey decided to mix her colored paint with white paint to lighten up the colors.
Hunter took the painting very seriously.

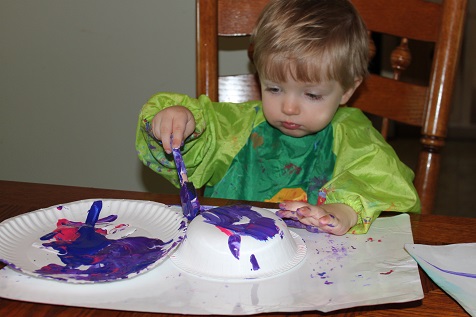
Once the paint is dry, add some spots.
Hunter working on his jellyfish.
Then I turned away for a few seconds and turned back to see this:
You can’t see it very well, but there is paint on his other cheek too.

Once the paint is dry, put some fishing line through the center of the bowl. I tied a knot and used tape to reinforce it.
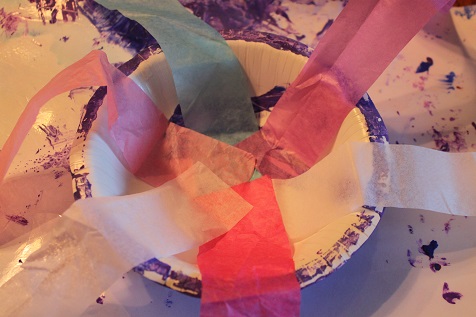
Cut the tissue paper into strips, then use the the double sided tape to stick them to the inside of the bowl.

Hailey working on adding the tissue paper.
The completed jellyfish.
Now it’s your turn! Link up and share what you and your kids have been busy making. Grab a button so others can join in the crafting fun too 🙂
<div align="center"><a href="http://ourcraftsnthings.com/" title="Our Crafts N Things"><img src="http://i1165.photobucket.com/albums/q594/dustybug83/BeeCraftyKids3_zps44074ad6.png" alt="Our Crafts N Things" style="border:none;" /></a></div>
Rules are simple:
~Enter the direct link to one or more of your own posts that showcase a craft or hands on activity for children.
~A link back with the above button is appreciated, but not required
~Try to at least comment on one or two of the other blogs that took the time to share and join!
Be sure to like me on Facebook and follow me on Pinterest so you don’t miss any of our fun activities.
Inspiration credit: Pinterest
Guest Post: Paper Bowl Crab
Jul
I am so excited to be a contributor to the Summer Fun for Preschoolers series at Preschool Powol Packets.

Here is a preview of what I posted about:
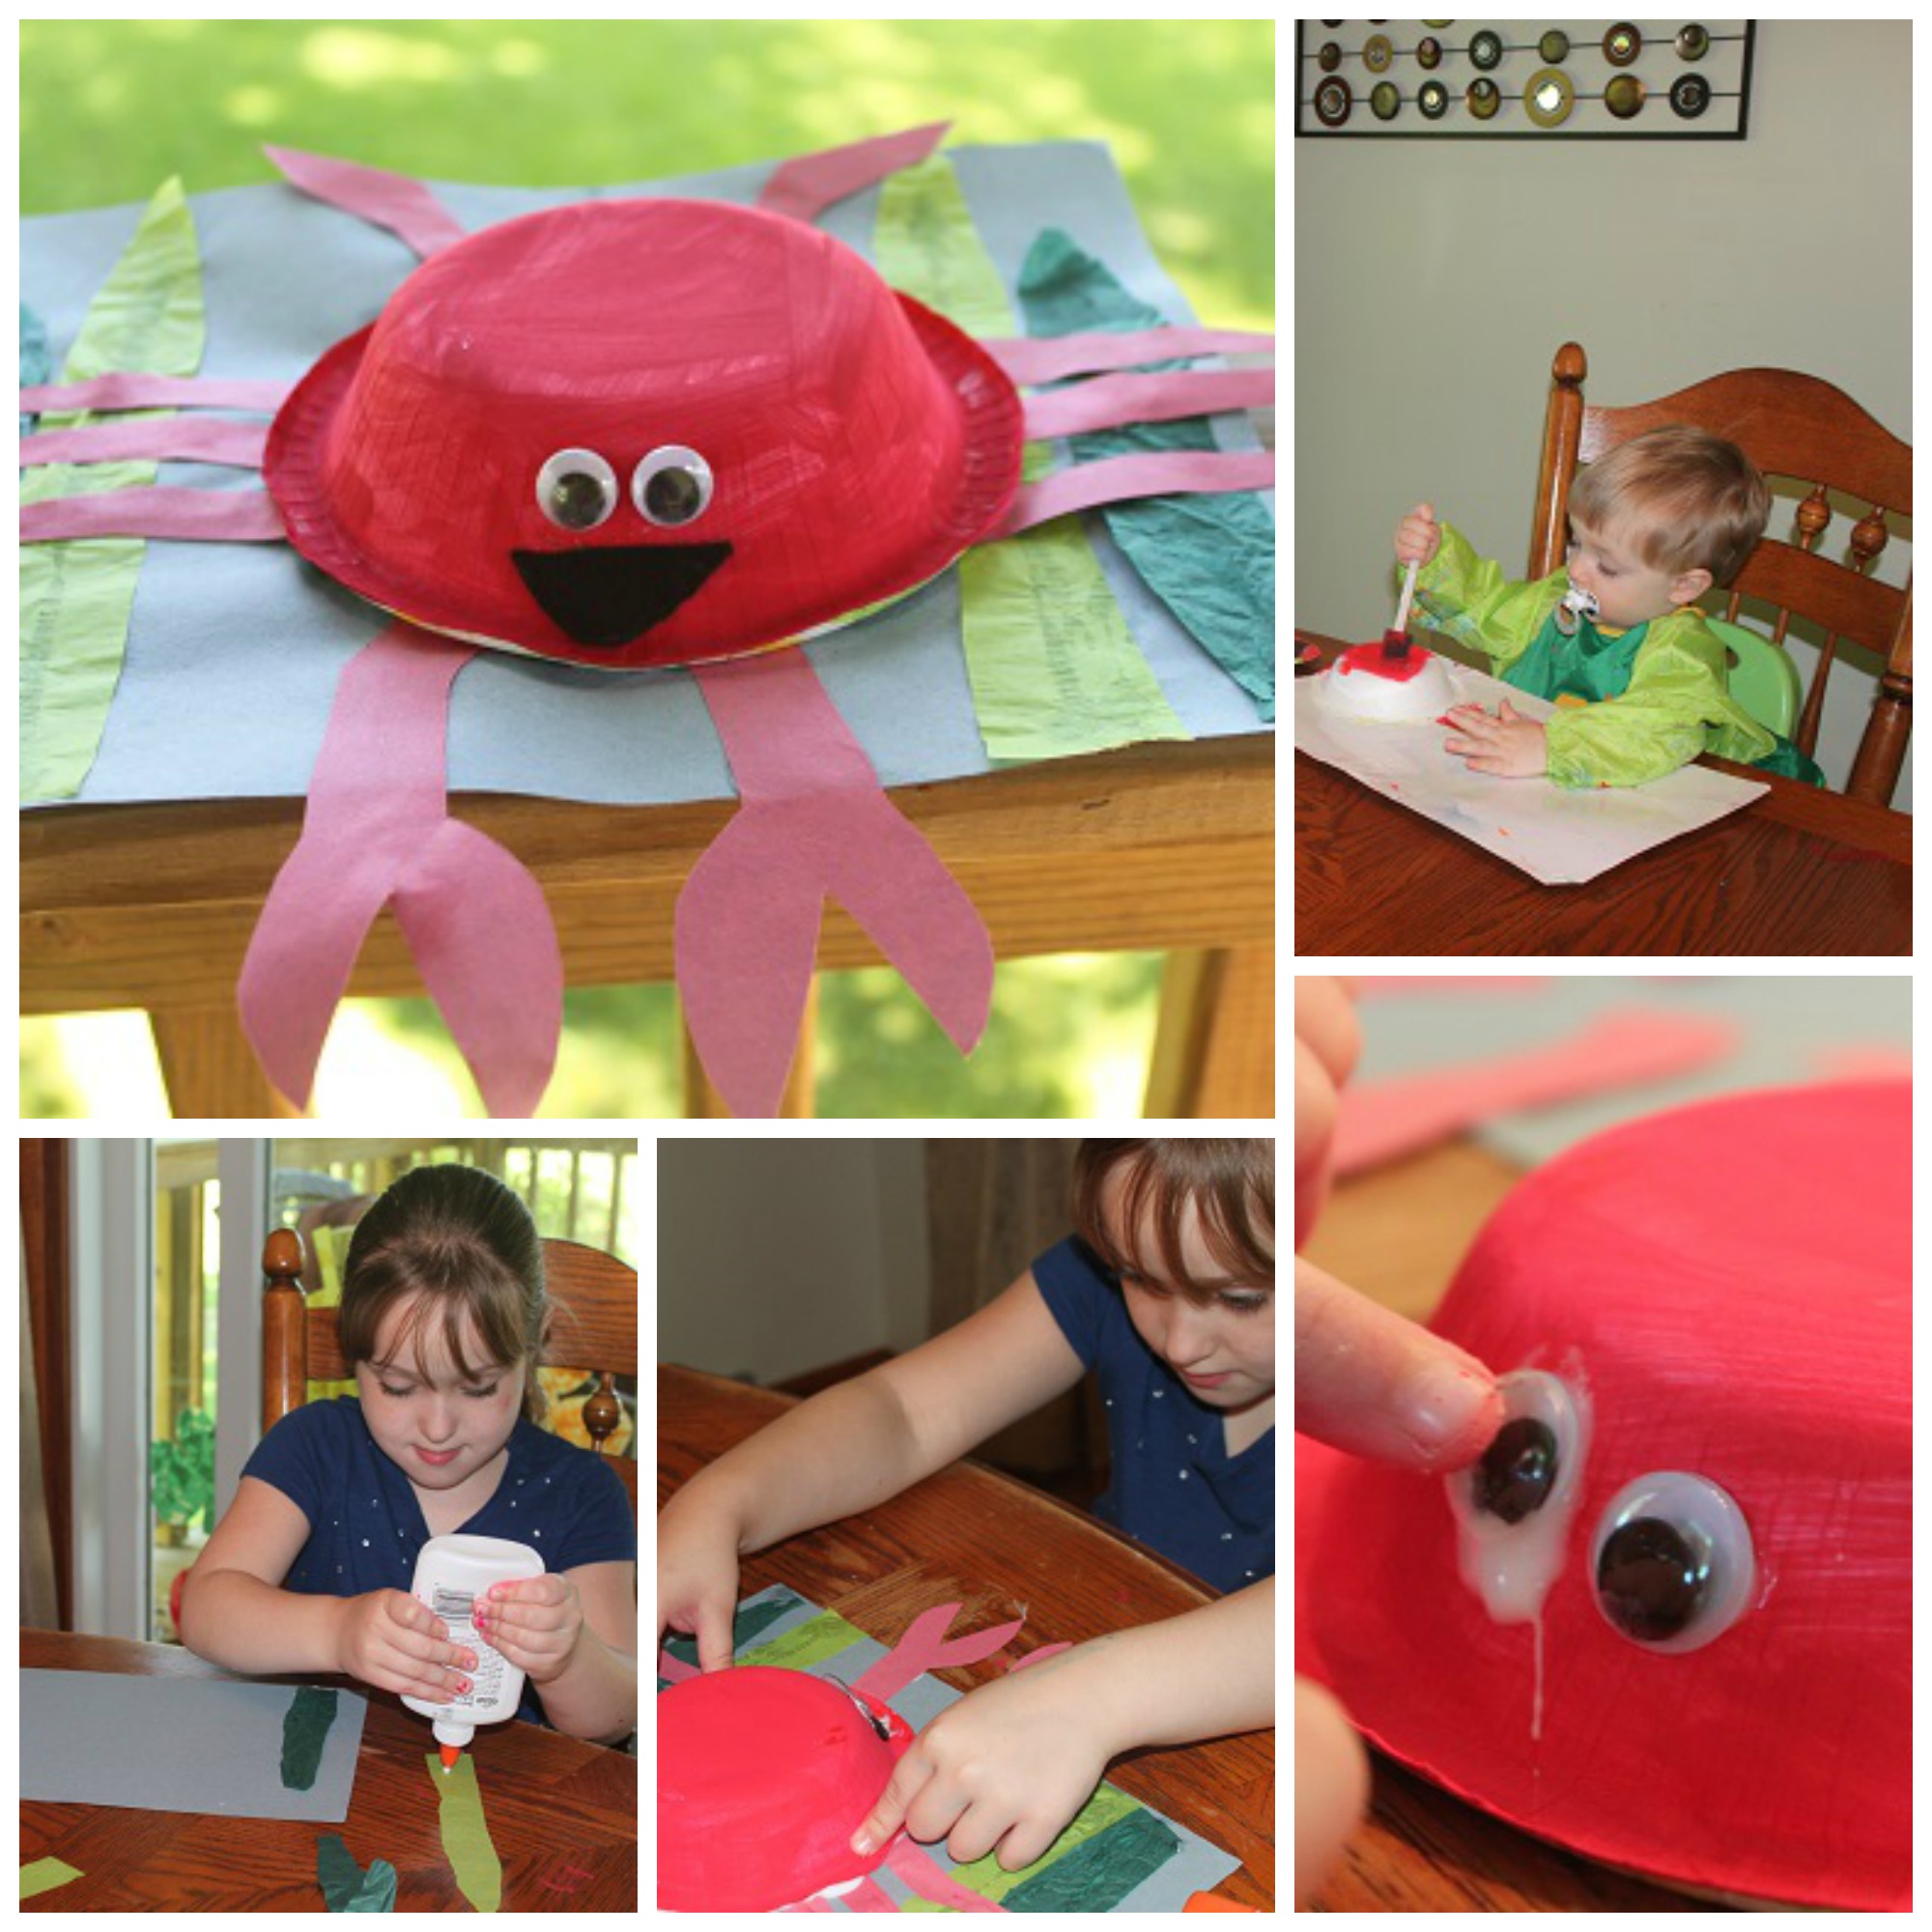
Head on over and check out my post at Preschool Powol Packets!
Be sure to like me on Facebook and follow me on Pinterest so you don’t miss any of our fun activities.
Tot School
May
Hunter is 16 1/2 months old.
These weeks need to stop flying by so quickly, it seems like I just did a Tot School post, but here I am again doing another one. This week we started a new color- orange, and continued our space theme.
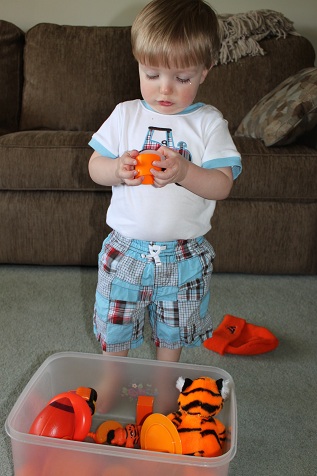
Hunter checking out his orange sensory bin.
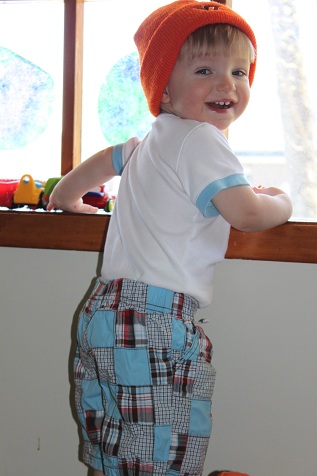
He wanted to wear this orange hat.
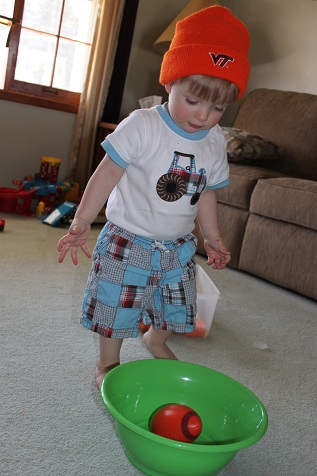
He kept his hat on and practiced throwing the football into a bowl.

This is Hunter working on making a moon rock. You can see the full post here, to see how we made them.

Our completed moon rocks, which I think turned out really great! Hunter has enjoyed playing with his rock all week. It didn’t hold up too well when he put it in his water table, but the water certainly looked nice and glittery.
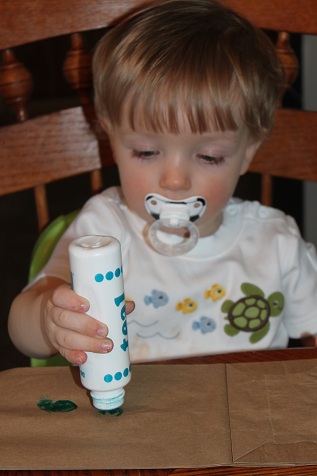
We also made paper bag aliens. Hunter loved using the do-a-dot markers to decorate his.

Hailey showing the completed aliens. (Full post here.)
We also made UFOs. (Full post here.)
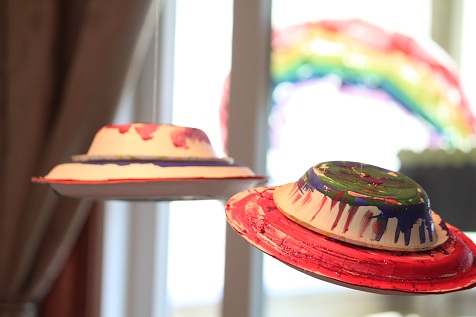
Here are the completed UFOs, hanging from our chandelier.
Stop by 1+1+1=1 to see what the other tots were up to this week.
Be sure to like me on Facebook and follow me on Pinterest so you don’t miss any of our fun activities.
