Archive for January, 2009
Snowman Cookies
Jan
With all the snowman fun we’ve been having we just had to make some snowman sugar cookies!
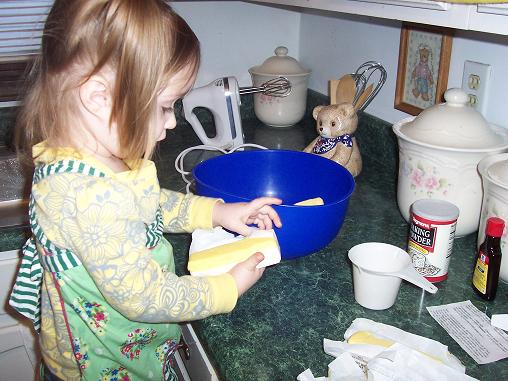
Get all of your ingredients together.
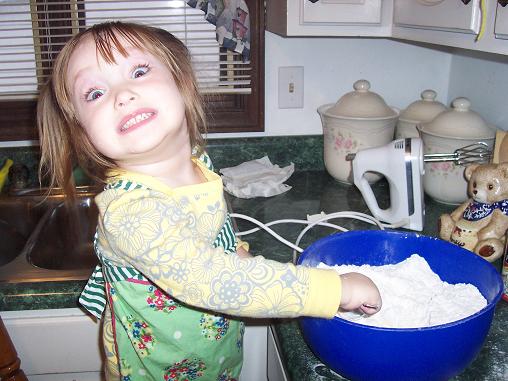
Mix everything together.
We made the cookies in the evening but Hailey was very hyper so we waited until the next day to decorate them. She didn’t need anymore sugar!
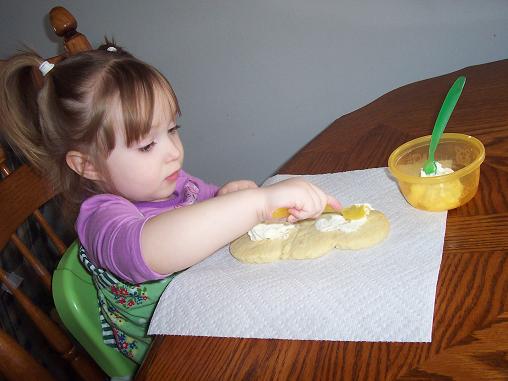
Add some frosting.
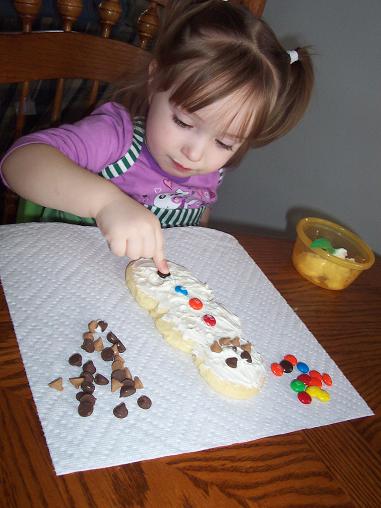
Decorate your snowman.
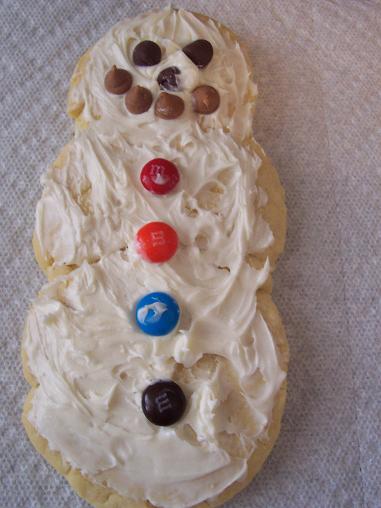
This is the snowman cookie that we decorated together.
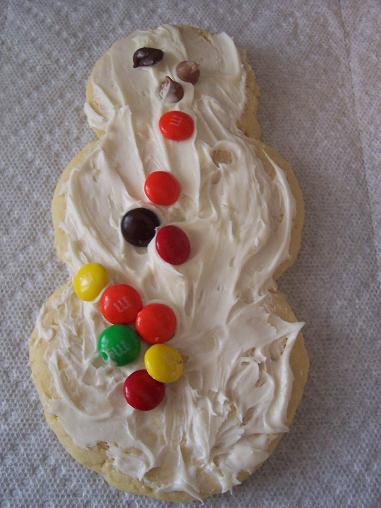
And here is the snowman cookie Hailey decorated all by herself.
In case you want the recipe we used, here it is:
Sugar Cookies
6 cups of flour
2 cups of sugar
3 tablespoons of baking powder
1 pound soft butter
Take these four items and blend together using a pasty knife.
In a separate bowl combine:
3 large eggs
3 tsp vanilla
Beat them together and then add to the above ingredients. Roll out on a flour surface and cut into shapes. (I have used powdered sugar instead of flour to add some extra flavor and it makes them extra yummy.)
Bake at 375 for 6 minutes or until golden brown.
Bring the Fun Inside
Jan
We have been having some really cold temperatures lately and Hailey has really been wanting to play in the snow. But it’s just been too cold to even be outside. So, I brought the snow inside.
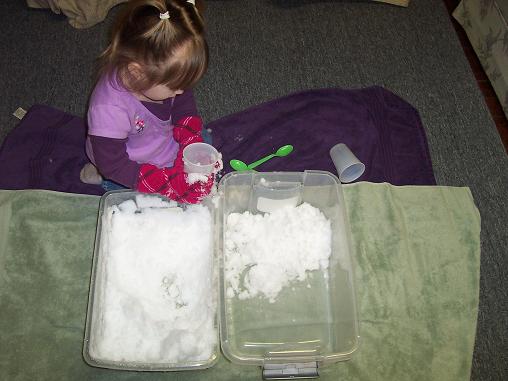
I put some towels down and gave Hailey one bin full of snow and an empty bin. I also gave her some cups and spoons for digging.
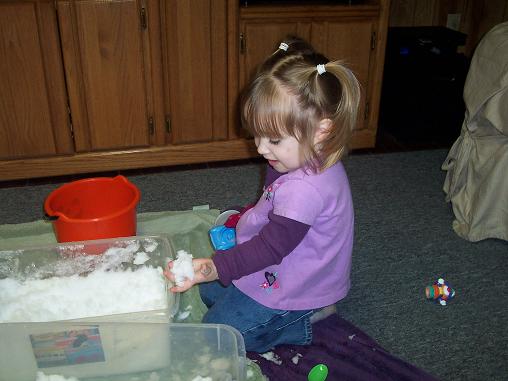
We later added some cars and people to the snow. And Hailey wanted to see what the snow felt like with her bare hands. We were going to make a snowman but it was not snowman building snow, so we’ll have to try that another time.

When we finished playing with the snow we put some snow in one of the cups and kept an eye on it for the rest of the day.

A little while later there was still a little bit of snow left but most of it had melted.

The next time we checked our cup the snow was gone and it was all water. Hailey said, “Ooooo. The snow melted and turned to water!”
Salt Dough Snowman
Jan
The other day I wanted to get our playdough out and make snowmen with Hailey. But when I went to get it I realized that we only had one small container of white playdough. So, we made our own.
Salt Dough Recipe
Ingredients
4 cups flour
1 cup salt
1-1/2 cups hot water (from tap)
Mix the salt and flour together, then gradually add the water until the dough becomes elastic.
I actually cut the recipe in half because I didn’t want that much.
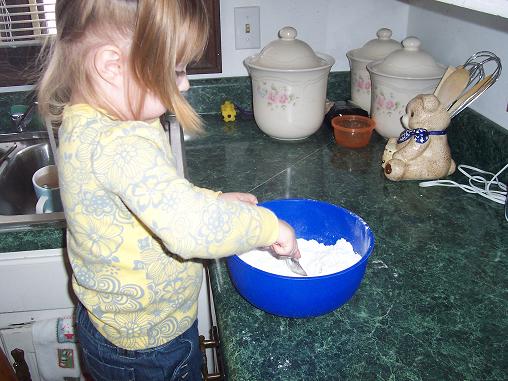
Mix everything together.
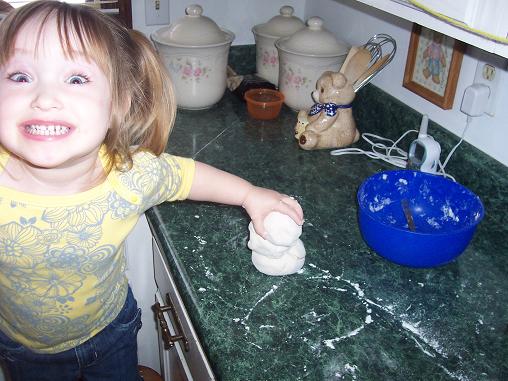
After you roll the dough into 3 balls, make a snowman and then make a silly face at the camera.
If you want to be able to keep your snowman you can put him in the oven to harden the dough. If you do that- make sure to poke some holes in his sides first for his arms. I put our snowman in the oven at 350 for 30 minutes. He started to crack a little bit so I had to take him out. The outside of the snowman was hard but the inside was still soft. If you try this- I would probably do it at a lower temperature for a longer time. I let the snowman sit out for a few days before we decorated him so the dough would be a little more set.

We added wiggle eyes, a piece of orange felt for the nose, some pink yarn for his mouth and pipe cleaner for his arms. We also added pom poms for his buttons.
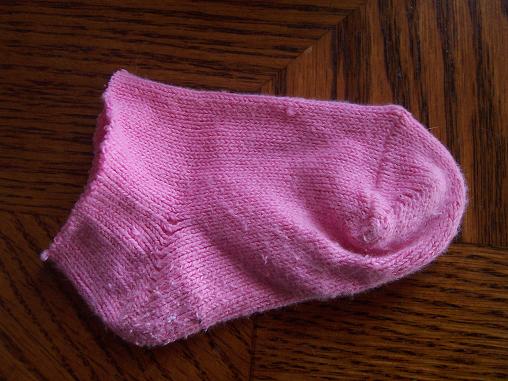
For the snowman’s hat- I took one of Hailey’s old socks and cut it.
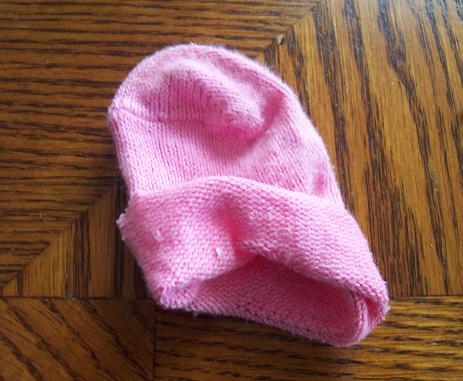
Then I folded it up- and had a hat.
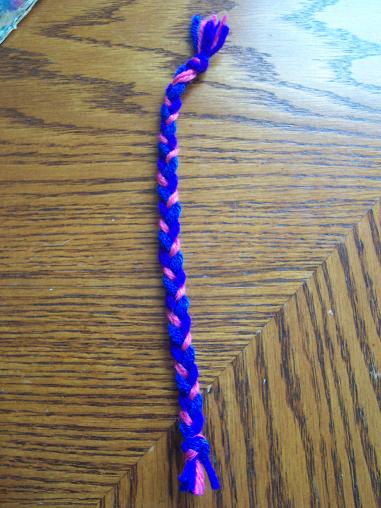
For the scarf I just braided some yarn.
(The idea for the hat and the scarf came from Just for Fun.)
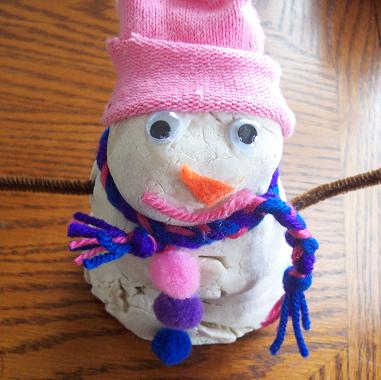
And here is our finsihed snowman. Isn’t he just the cutest?
Letter of the Week- Letter H
Jan
Our letter this week is the letter H- which is Hailey’s favorite letter. When I told her we were doing the letter H she said, “That’s for Hailey. ‘H’ is in my name!”
Here is our art project for the letter H this week, which I once again found at No Time for Flashcards.
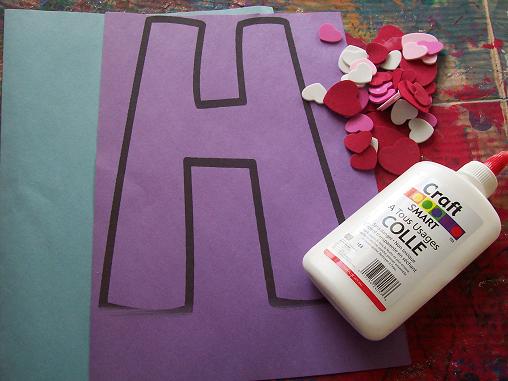
Here’s what you’ll need: the letter H on construction paper, another piece of construction paper to glue your finished H on, some glue and some hearts.
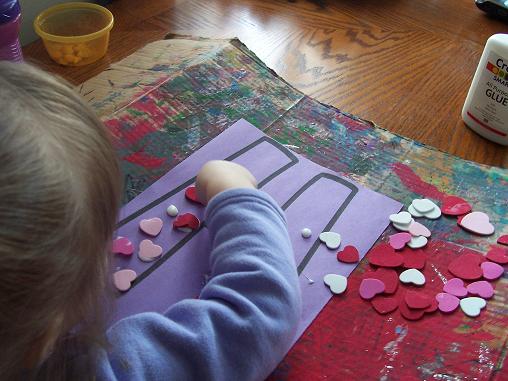
Glue the hearts onto the letter H.
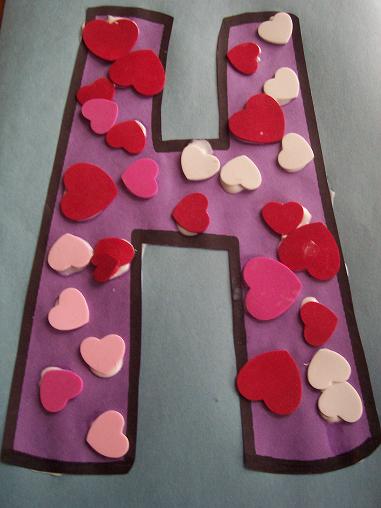
The completed letter H.
