Archive for October, 2008
Noah Activities
Oct
Our Bible theme this month is the story of Noah. Everyday we read and talk about the story.
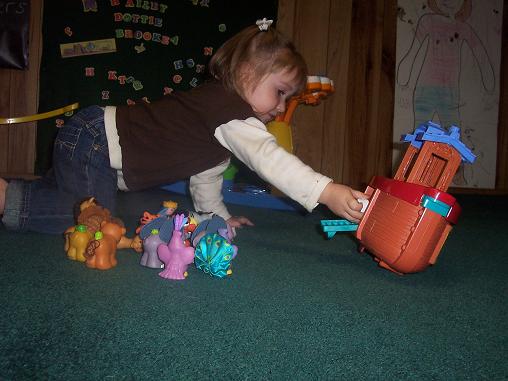
Hailey is playing with her ark and the animals. We sorted the animals together so that there were 2 of each kind and then Hailey put them on the ark with Noah. (She calls Noah “Ho, Ho” because he looks like Santa…)
We’ve been talking about how the rainbow was God’s promise so we we started making our own rainbow.
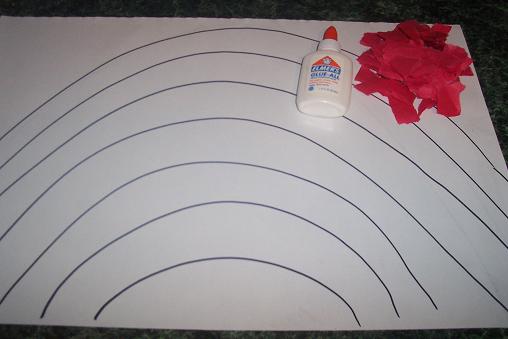
Draw a rainbow (I did my best, I am terrible at drawing), get some scrap paper to tear up, and some glue.
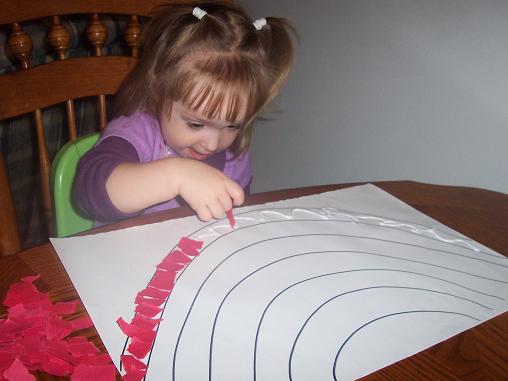
We glued the red onto the rainbow. We only did red because Hailey was pretty much just eating the glue and not really interested in doing anymore colors. So, it was time to stop the activity.
Orange and Triangles
Oct
Again this week our color is orange and our shape is the triangle. Here are the activities we did:
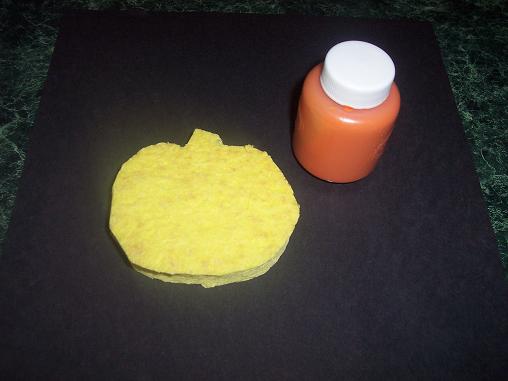
Sponge painting- you’ll need: paper, pumpkin shaped sponge (I did my best but Hailey thought it was an apple.), orange paint and paper.
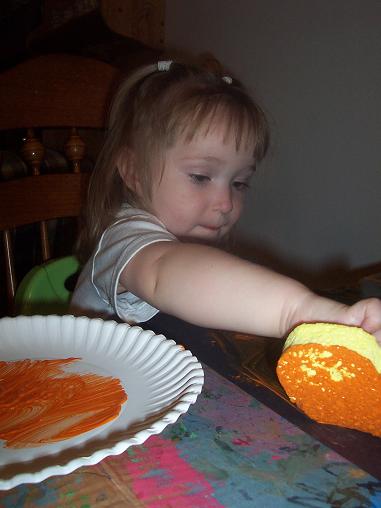
Hailey enjoying painting with the pumpkin sponge.
And for our triangle activity:
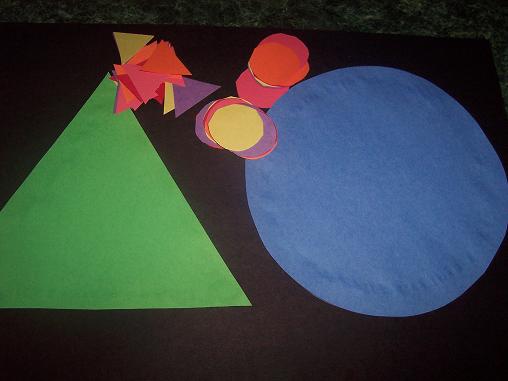
Since our shape last month was the circle, I decided to use a circle in this activity. I put a large triangle and a large circle on this piece of paper. Then I cut out a bunch of small circles and triangles.
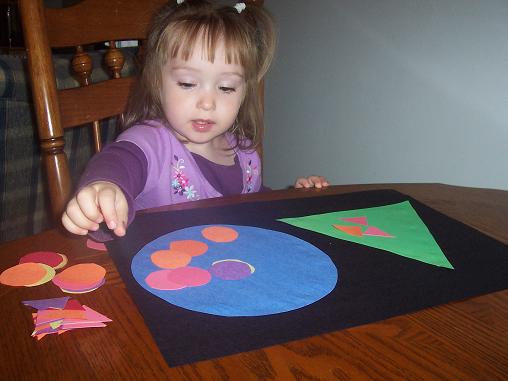
Then I had Hailey put the small circles on the big circle and small triangles on the big triangle.
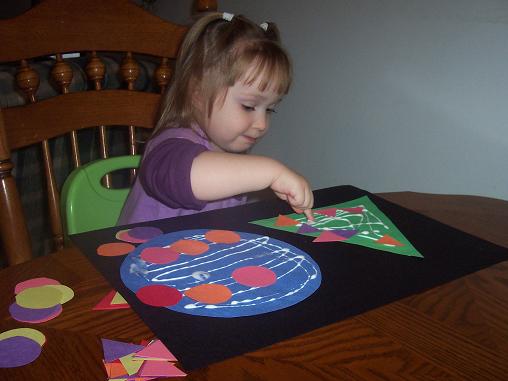
Once she understood what we were doing, we added some glue and she glued the pieces on the right places. This is also a great activity for practicing colors.
So Much To Do, So Little Time
Oct
There are so many fun fall activities to do that we just don’t have time to fit in everything I would love to get to do with Hailey. Here are a few of the things I picked to do with her last week:
We made a fall tree:
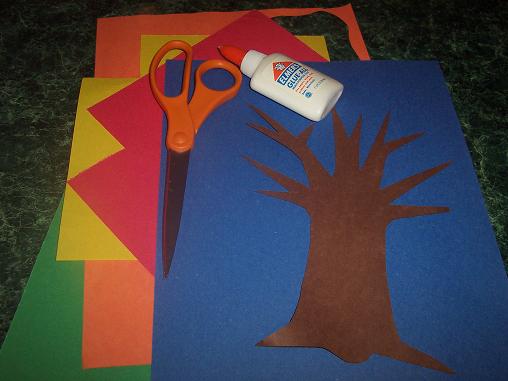
You’ll need some construction paper for the leaves and grass, as well as fall tree, some scissors and some glue.
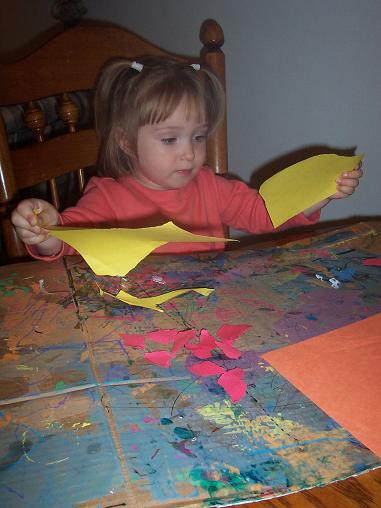
Rip apart the fall colored paper into small pieces (these will be your leaves).

Glue your tree onto the paper.
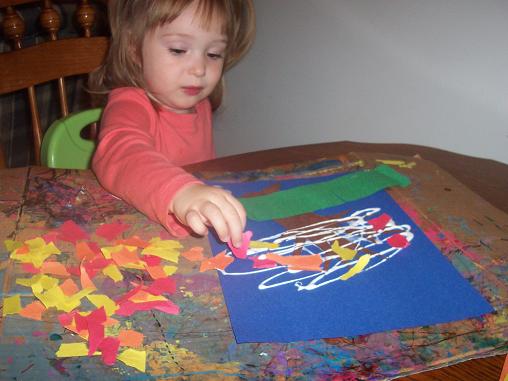
Add some grass, then put the leaves on the tree.
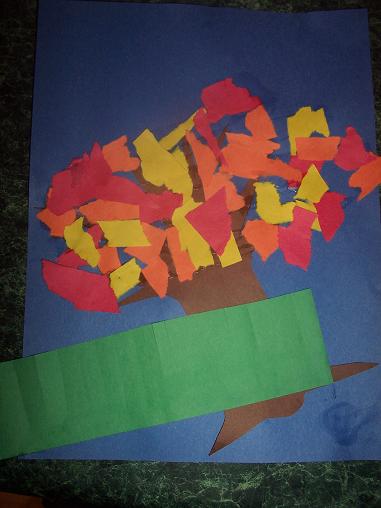
The finished fall tree.
We sang several songs about leaves.
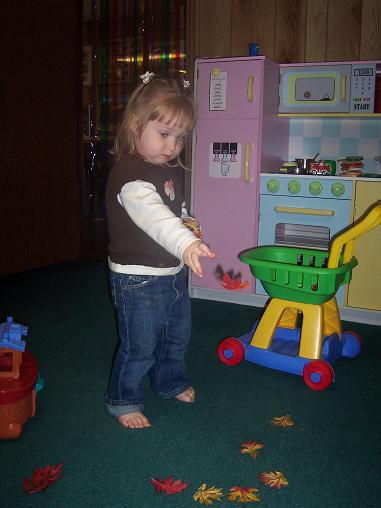
Hailey is throwing some fake fall leaves onto the floor as we sang 1 Little, 2 Little, 3 Little Leaves… (to the tune of 1 Little, 2 Little, 3 Little Indians)
Hailey loved making these pumpkin faces:
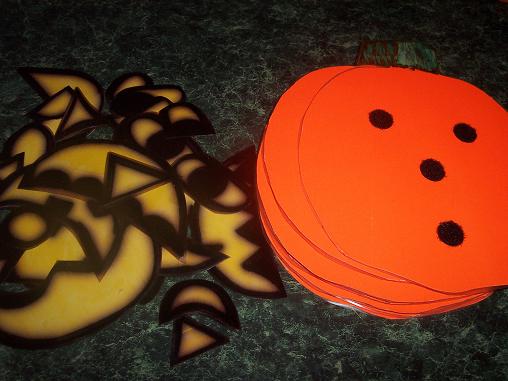
Cut out some pumpkins and some shapes for their eyes, noses and mouths. Add contact paper for durability, then put Velcro on the pumpkins for the eyes, nose and mouth and put Velcro on the backs of your pieces.
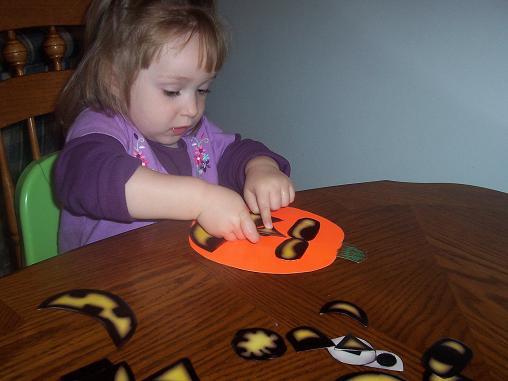
Then put the pumpkins together. This kept Hailey occupied for a pretty long time. I got most of dinner ready while she played with this.
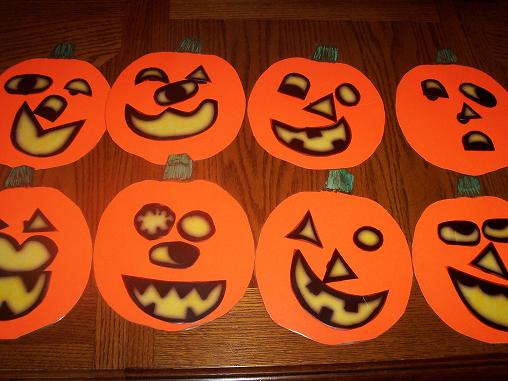
She finished all of these, then we took the pieces off and she did it again. (By the way, the reason I have 8 of these is that I had these when I was teaching pre-k. It is certainly not necessary to make this many pumpkins for your use at home.)
Then we did a pumpkin painting:
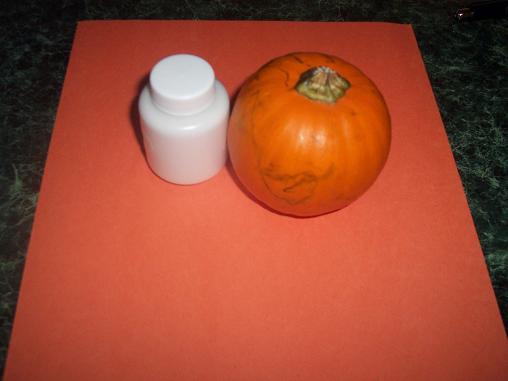
You’ll need: paper, paint, a small pumpkin and (not pictured) a knife.
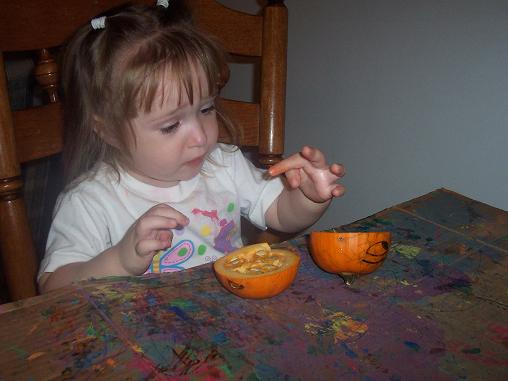
I cut the pumpkin open and let Hailey check out the insides. She wasn’t too sure what to think. We took a bunch of the seeds out. We will plant a few in a cup for her to watch them grow. Then we will save some more to plant outside in the spring and hopefully grow some of our own pumpkins.
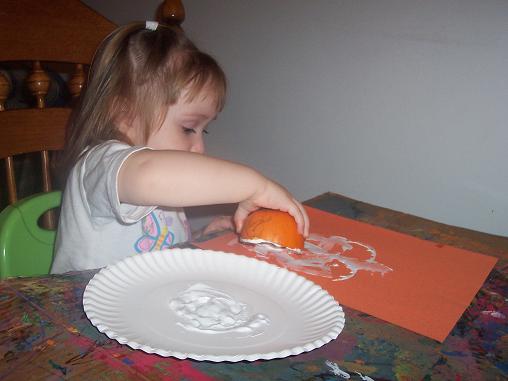
After she finished checking out the inside of the pumpkin, Hailey used it to paint.
Letter of the Week- Letter E
Oct
Our letter of the week last week was the letter E.
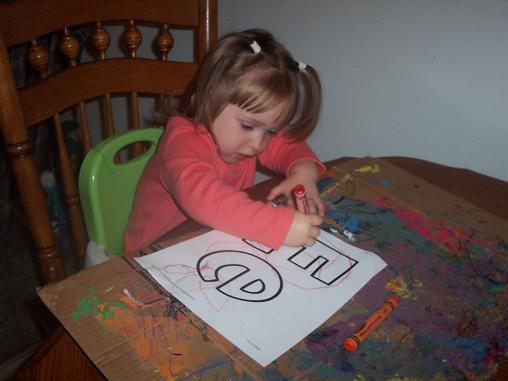
We started out our week with our usual letter paper to decorate. This week Hailey simply colored the letter E with crayons. Later I cut it out and glued it onto construction paper and posted it on our refrigerator. Each week she does one of these for our letter of the week and we always use something different to decorate the letters (colored pencils, markers, water colors, finger paints, etc.)
Then we made this Letter E Elephant, an idea I found at No Time for Flashcards.
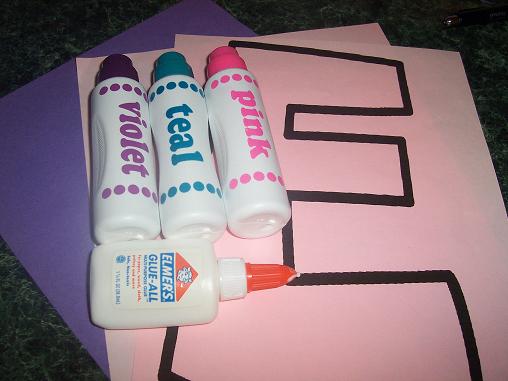
Here’s what you’ll need: a large E, an extra piece of construction paper in the same color as your E to make a trunk and an ear for the elephant, something to decorate your E with (we used the dobbers), glue and another piece of construction paper in a different color.
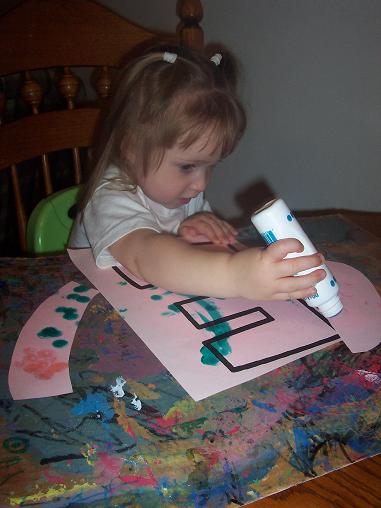
Decorate the E, the trunk and ear.
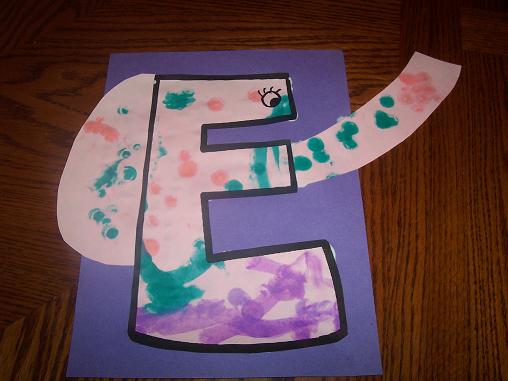
The finished letter E Elephant.
Then we made this Elmo:
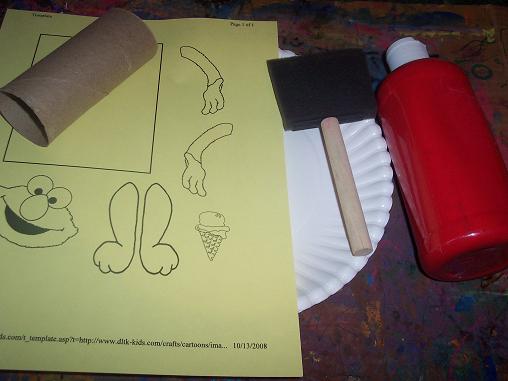
Here’s what you’ll need: An Elmo template printed on card stock, toilet paper roll, red paint, and something to paint with.
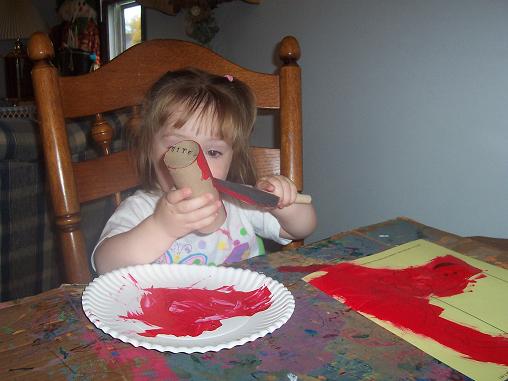
Paint the toilet paper roll and the Elmo template red.
Once it’s dry cut out the Elmo pieces and glue them onto the toilet paper roll.
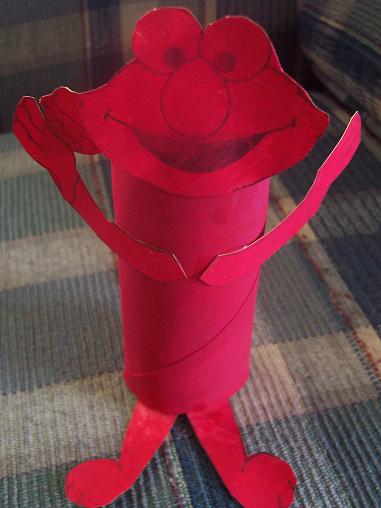
The finished Elmo.
Stop by 1+1+1=1 to see what the other moms are doing to keep their tots busy. Don’t forget to check back here everyday as I will post about our fall activities, our color and shape activities and our Bible activities.
