Archive for April, 2013
Moon Rocks
Apr
The other day we took a little trip to the moon to celebrate our space theme… while we were there we collected some moon rocks. Just in case you are unable to go all the way to the moon, here is how to make you own moon rocks at home:
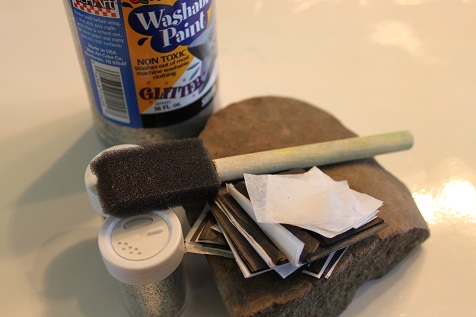
You’ll need some paint- the one pictured is a silvery paint with glitter in it. You have to use a lot of the paint or it doesn’t really show up. You’ll also need some black and white tissue paper, glitter, something to paint with and a rock.

Paint the tissue paper onto the rock. (The pacifier keeps the paint out of his mouth… usually.)
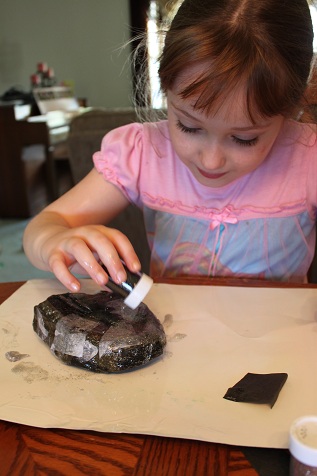
While your paint is still wet, add some glitter.

Our completed moon rocks.
Be sure to like me on Facebook and follow me on Pinterest so you don’t miss any of our fun activities.
idea credit: Pinterest
Tot School
Apr

Hunter is 16 months old.
Hunter was sick again this week so we didn’t do a whole lot of Tot School. We did still manage to do a few activities. We finished up the color yellow this week and also stared a space theme.
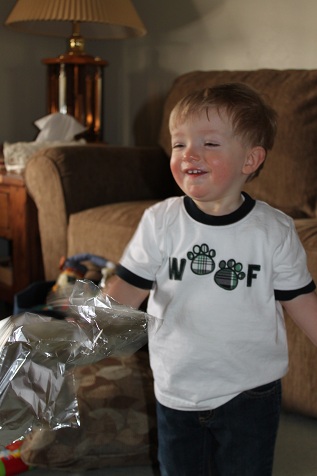
Hunter is constantly taking my aluminum foil out of the cupboard, so I decided to just give him a piece to play with to see if that would satisfy his curiosity.
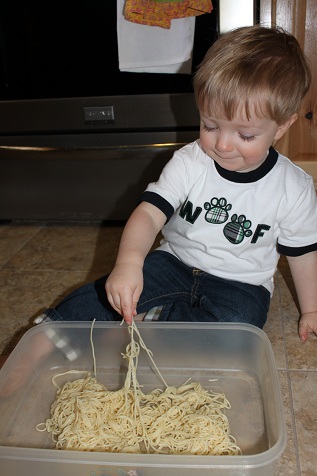
Hunter played with some cooked spaghetti- this didn’t keep his attention for very long. At first he didn’t want to touch it and when he finally did he only played with it for a few minutes.

He also used the spaghetti to paint with. This was definitely more interesting to him. He loves to paint!

For our space theme Hunter made a rocket ship using his name.
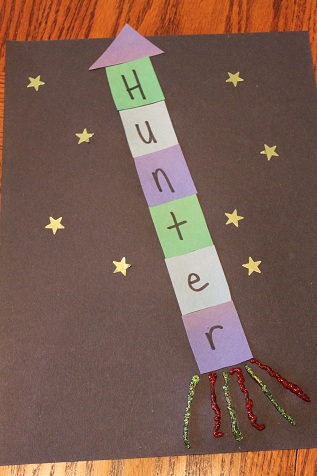
It turned out really cute, you can see the full post here.
We made a really fun sun- Hunter loved it!!
I love how the suns turned out!! You can see the full post here.
We also took a little trip to the moon 🙂 and brought back some moon sand that Hunter enjoyed playing with. You can see the full post for that here.
Stop by 1+1+1=1 to see what the other tots were up to this week.
Be sure to like me on Facebook and follow me on Pinterest so you don’t miss any of our fun activities.
Moon Sand
Apr
We are doing a theme about space right now, so we pretended that we took a little trip to the moon. While we were there we found some moon sand to bring back to earth with us. Just in case you aren’t able to go all the way to the moon, here is how you make some moon sand right at home 😉
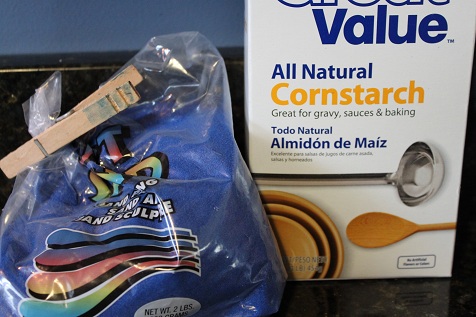
All you need is sand, cornstarch and water.
(Hunter had been sick all week or I would have bought some regular colored sand. Since he wasn’t feeling up to going out to the store to get sand I just used what we had here- and it just so happened to be blue.)
Mix together:
3 cups of sand
1 1/2 cups of cornstarch
3/4 cups of water
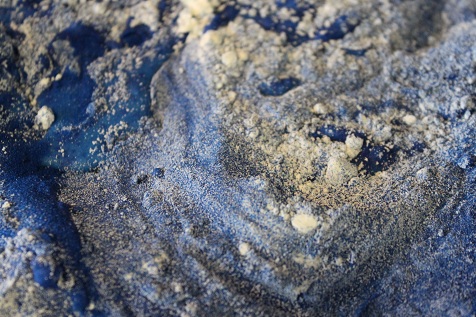
Stir it all up
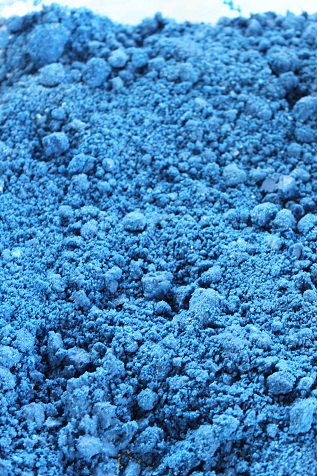
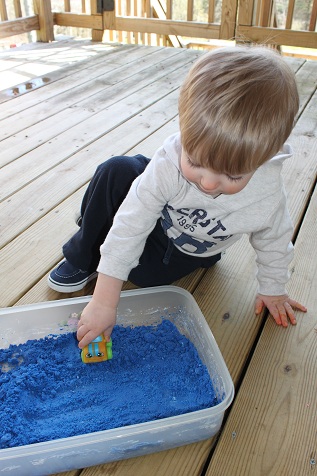
Finished moon sand. I really like how the moon sand feels. I don’t like how regular sand feels, but this is different and not as messy as regular sand. I still kept it outside, of course.
Hunter played with our moon sand.
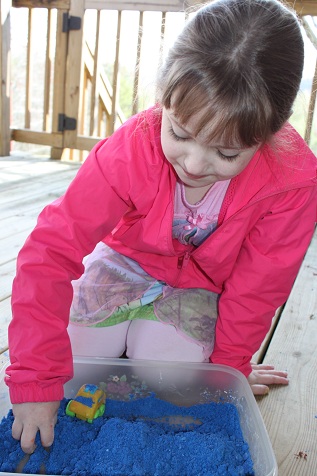
Hailey loved the moon sand- she has played with it for hours!!
Be sure to like me on Facebook and follow me on Pinterest so you don’t miss any of our fun activities.
Super Fun Sun
Apr
Hunter has been sick again this week so we haven’t done any activities for the last couple days. He’s finally feeling a bit better so we got back to work today 🙂 We are having a lot of fun with our space theme and today we made an awesome sunshine that I found on Pinterest.
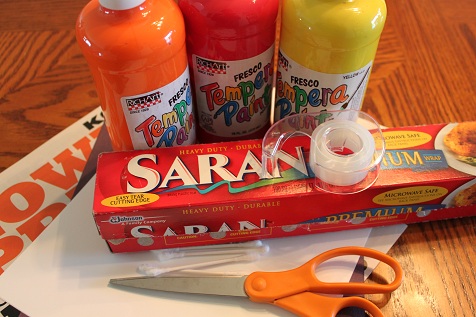
Here is what you’ll need: newspaper, black construction paper, cardstock, saran wrap, tape, paint, scissors and glue (not in the picture).
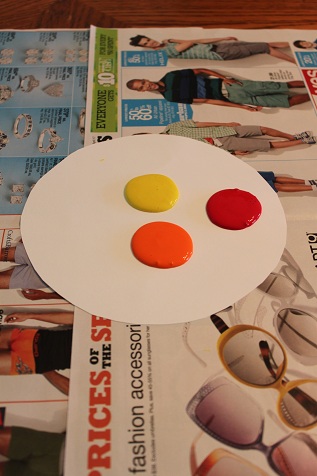
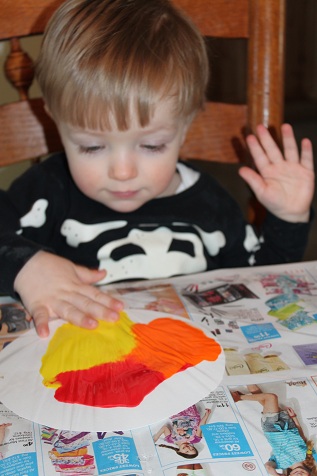
Cut out a circle on the cardstock and put red, yellow and orange paint on the circle.
Then cover it with saran wrap and tape the saran wrap to the newspaper.
Next, let your child squash and push the paint around. Hunter loved how it felt and played with it for a long time (with no mess!).
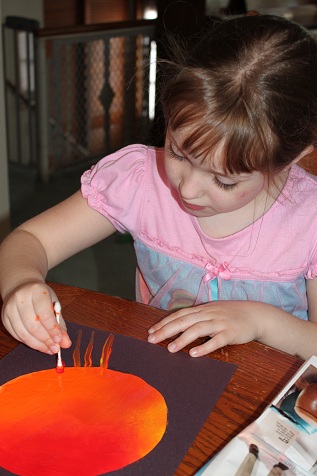
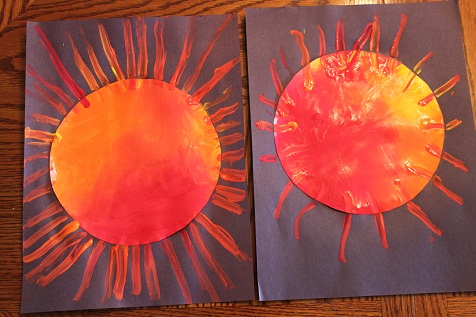
Then put some of the paint on your newspaper and use a q-tip to add a little more paint to make the rays.

The completed sunshines. I love how these turned out!!
Be sure to like me on Facebook and follow me on Pinterest so you don’t miss any of our fun activities.
