Archive for January, 2010
Soda Bottle Snowman
Jan
I saw a really cute snowman made out of a soda bottle in a magazine so we decided to give it a try.
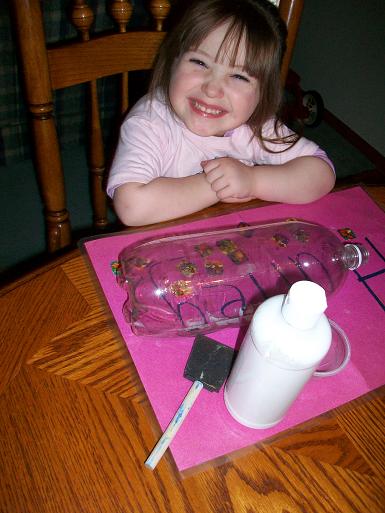
First you’ll need- an empty soda bottle, white paint (*we used Tempra paint, and I do NOT recommend using it for this kind of project) and something to paint with.
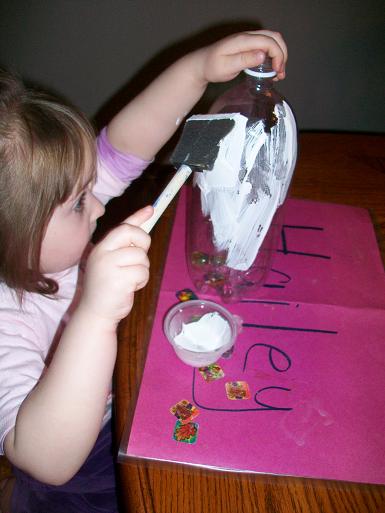
First cover the soda bottle with white paint.
While the paint dries, gather the rest of your supplies:
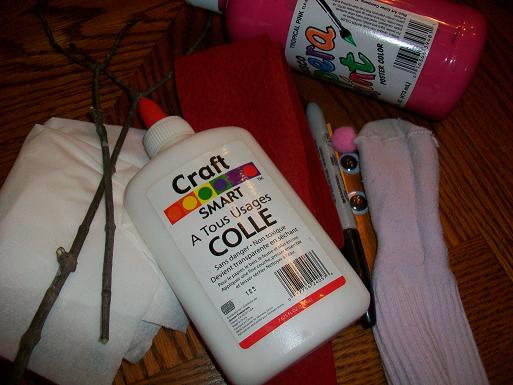
Sticks, tissues, glue, felt for a scarf, pink paint, wiggle eyes, sock, orange paper and a pom pom.
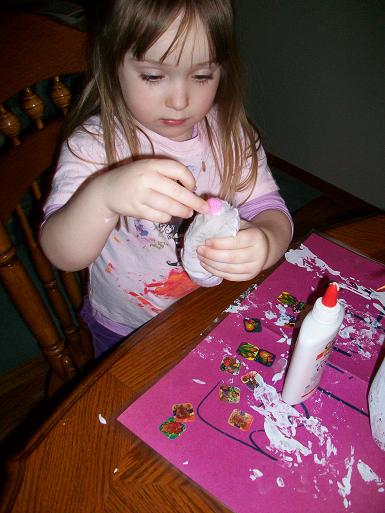
Stuff some tissues into the sock and glue the pom pom on to the top of the sock- this will be the hat.
Dot some pink paint on for cheeks, add eyes, nose, mouth, scarf and sticks.
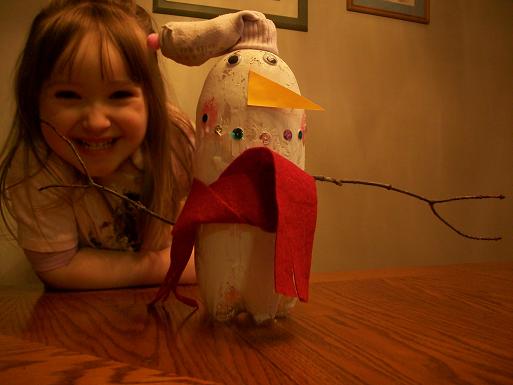
The finished snowman.
*You should probably use acrylic paint if you do this. We used Tempra paint and the paint started flaking off of the bottle as it dried. It was actually difficult to finish the project because when Hailey tried to add things to the snowman the paint would fall right off. So, the idea is really cute- just use a different kind of paint.
Frosty the Snowman
Jan
Here is a really simple, really cute and really fun snowman craft that we made last year. It turned out so cute that I just had to share it again.
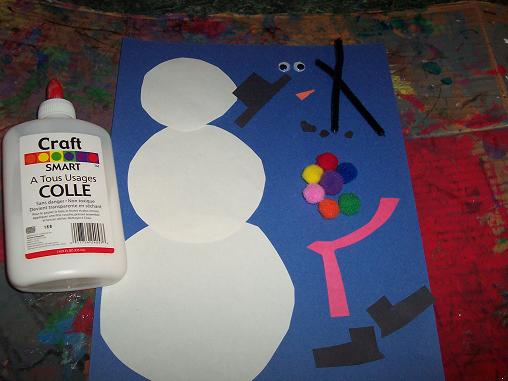
You’ll need: 3 white circles- small, medium and large, construction paper to glue your snowman on, glue and some items to decorate your snowman.
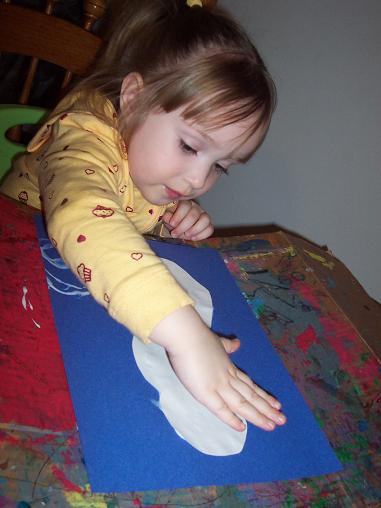
Glue your circles onto your paper.
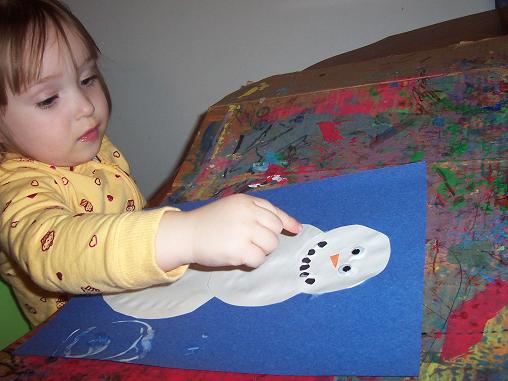
Add your decorations to your snowman.
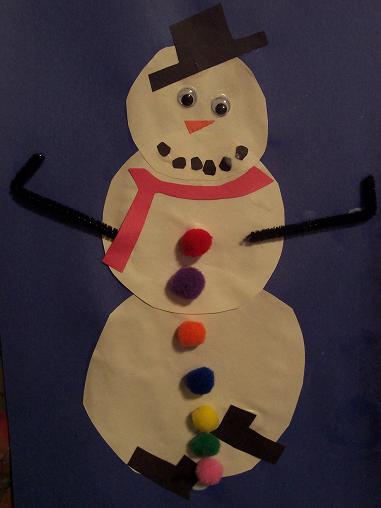
The finished snowman.
Indoor Snowman
Jan
Here’s an idea we made last year when it was way too cold to play outside.
Here’s what you’ll need:
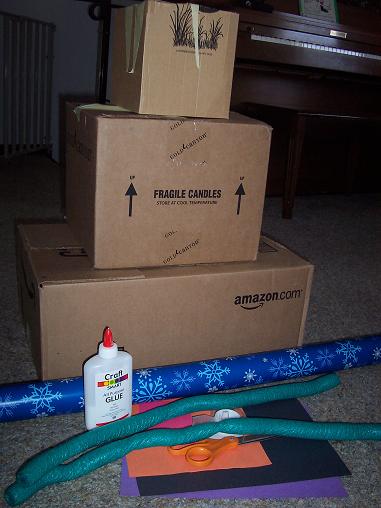
3 boxes- small, medium and large, wrapping paper, scissors, tape, glue, construction paper and 2 things you can use for the snowman’s arms.
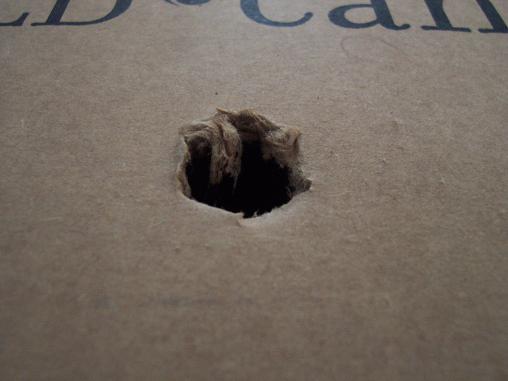
In the medium sized box- cut a small hole on 2 sides for the arms.
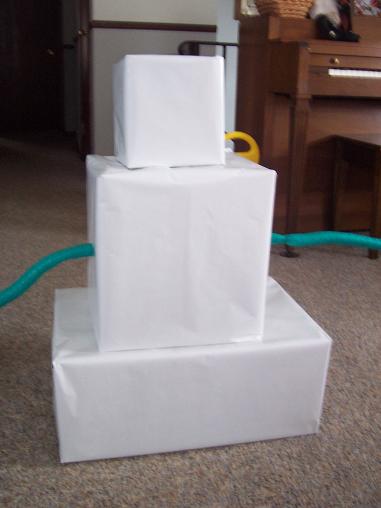
Turn your wrapping paper inside out and wrap the boxes with the white side showing. Put the arms through the holes in the middle sized box.
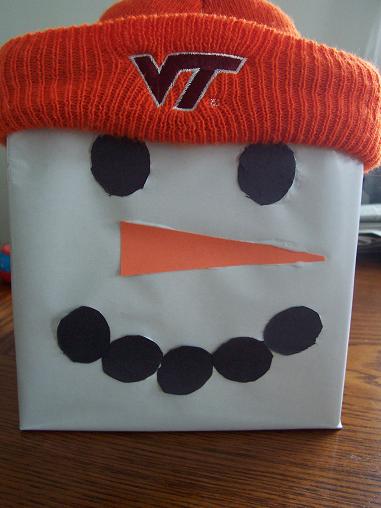
Make a face on the smallest box and add a hat.
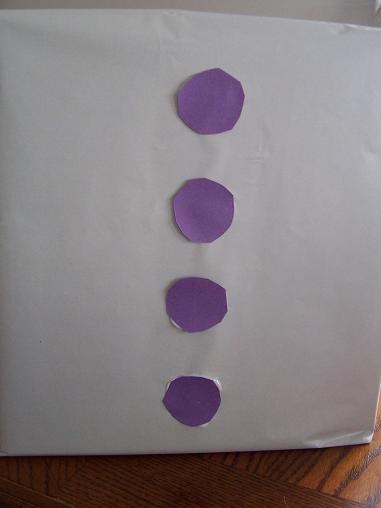
Add some buttons to the medium sized box.
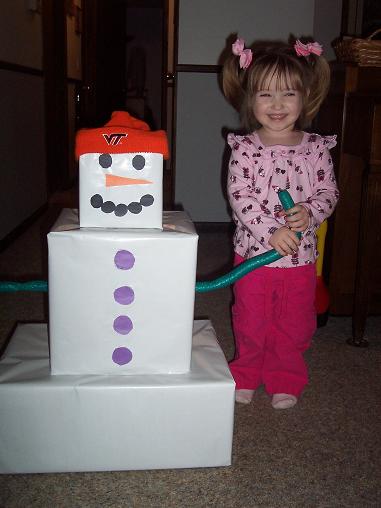
Hailey loved the snowman.
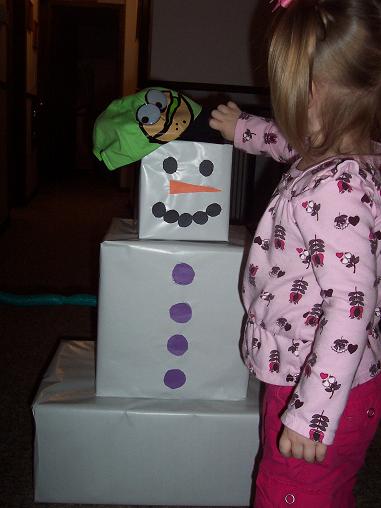
She loved taking him apart and putting him back together (we had to change the hat because the other one would not stay on).

Hailey dancing with the snowman.
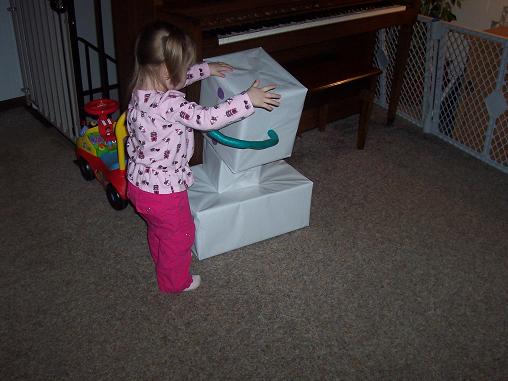
And she thought it was funny to put him together the “wrong” way.
