Archive for September, 2008
One Red Circle
Sep
This post is not actually about one red circle. Rather it is about the number, color and shape Hailey was learning about last week.
Our number was the number one (we will do a new number every other week). Here is one of the projects we did to reinforce the number one.

Here’s what you’ll need: a large number one on construction paper, a blank piece of construction paper in a different color, paint and a sponge.
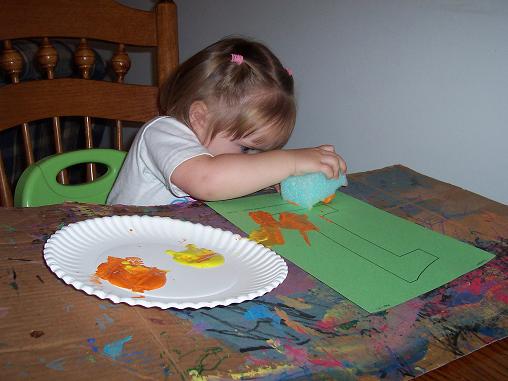
Sponge paint the number one. Notice the look of concentration on Hailey’s face- this was serious work!
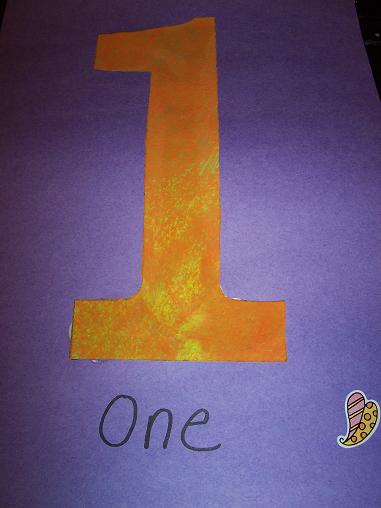
After the 1 dried, I cut it out and glued it onto the other piece of construction paper. Then I wrote “one” and we added one sticker. This is hanging on what will be our number wall in Hailey’s playroom.
Our color for the month of September is red. We did a couple of projects last week for the color red.
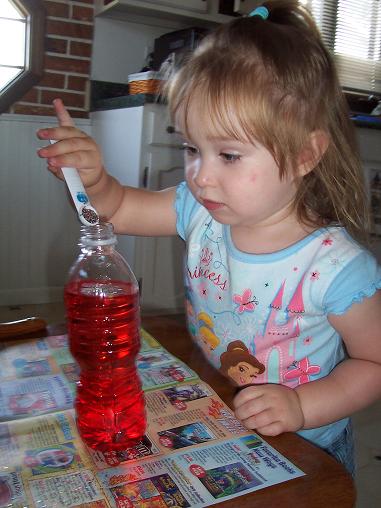
We made a red discovery bottle- it has water and red food coloring in it. And here you can see Hailey adding some glitter. Then I used a hot glue gun to glue the top on and added a label that says “Red” on the side of the bottle.
Then we made a red collage:
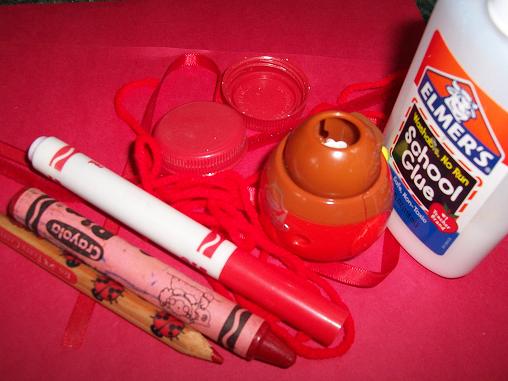
Here’s what you’ll need: a bunch of red stuff and some glue.
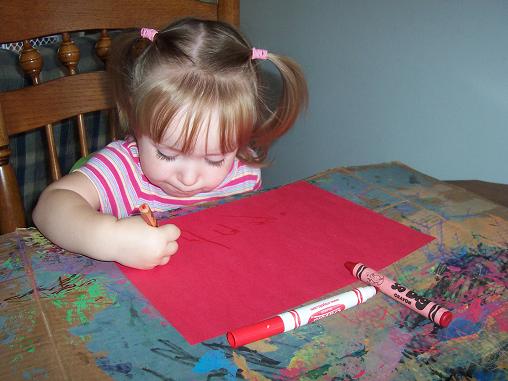
First Hailey colored the red paper using a red marker, crayon and colored pencil and used a red stamper as well.
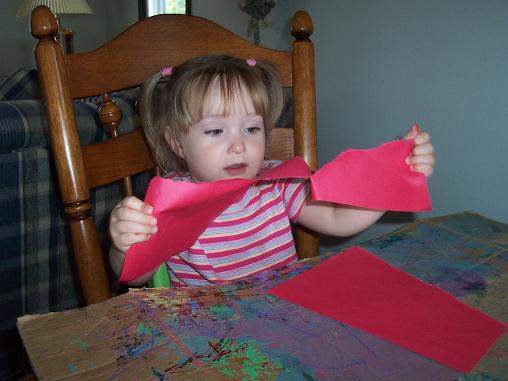
Then Hailey ripped apart a different piece of red paper. (Great for those important little hand muscles.)
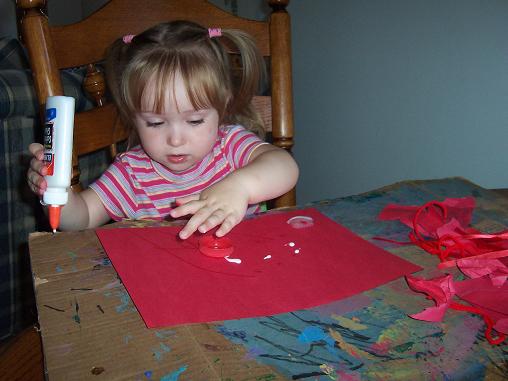
Glue all of the red items onto the red paper.
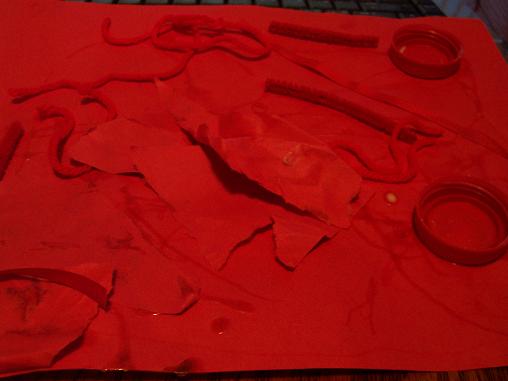
The finished red collage.
Lastly, our shape for the month of September is circles. We made a circle painting.
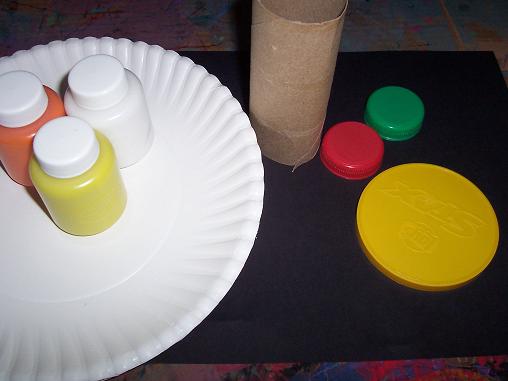
Here’s what you’ll need: construction paper, paint, various items shaped like circles to use as stampers (I used the tops from milk containers, the top of a lays tube, and an empty toilet paper roll).
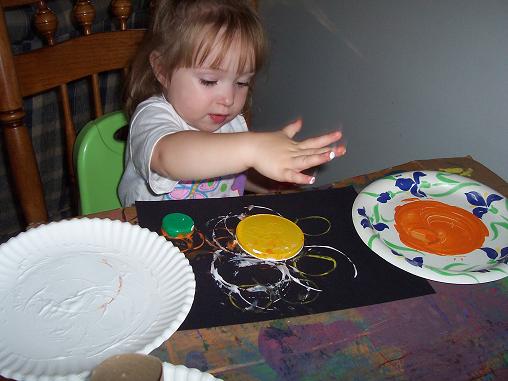
Dip the circles into the paint and then stamp onto the paper.

The finished circle picture.
All About Me
Sep
Our theme last week was All About Me. We only did one art activity for this theme and it was really simple.
All you need is some markers and crayons as well as poster board or the inside or a large piece of wrapping paper. If I had thought of it ahead of time we would have just used the inside of wrapping paper as it would have been cheaper than buying poster board.

Trace your child’s body on to the paper. Then decorate it.
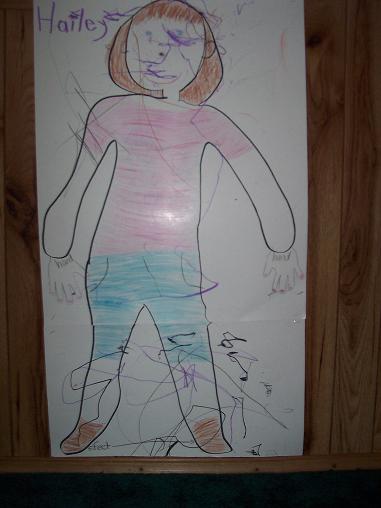
This is hanging up in Hailey’s playroom and she adds a little bit to it each day. I’m still working on labeling all of the various body parts. I also plan to take a picture of her and print out a large face to glue on. She was sick last week and would not cooperate for a picture. So, I still need to do that and then I’ll add that on.
We also sang a lot songs like “The Wiggle In My Toe,” “Head and Shoulders,” “The Hokey Pokey” and others that have various body part names in them.
We read a lot of books that related to the All About Me theme and body parts. This one was Hailey’s favorite and we have read it over and over again.

Me and My Amazing Body by Joan Sweeney
Letter of the Week- Letter A
Sep
Last week was our first official week of Tot School. I have been doing crafts and learning activities with Hailey for a while but I decided that with the new school year I would start doing Tot School with her- which is basically just like pre-school except on a 2 year old level. I am going to break up our activities we do by category when I post about them- for example today I am going to share with you all of our letter activities we did last week. Then on the other days I will share with you our activities related to our theme, number, shape, color and Bible story.
So, our letter last week was the letter A- here are some of the activities I did with Hailey to help her learn the letter A.

On the first day we colored this Letter A Template. Hailey wasn’t feeling very well and I ended up doing most of the coloring.
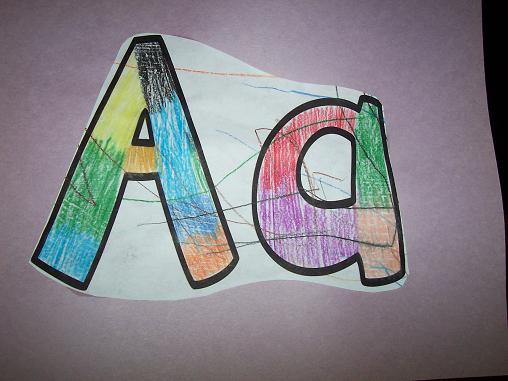
Then I glued the A onto a piece of construction paper. The letter of the week paper will hang on our refrigerator all week since that it a high traffic area and I want Hailey to see it as often as possible.
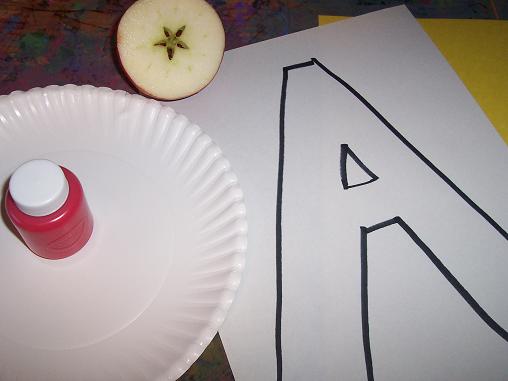
For our next letter A activity- you will need a large A on a piece of construction paper, another piece of construction paper, red paint and an apple cut in half.
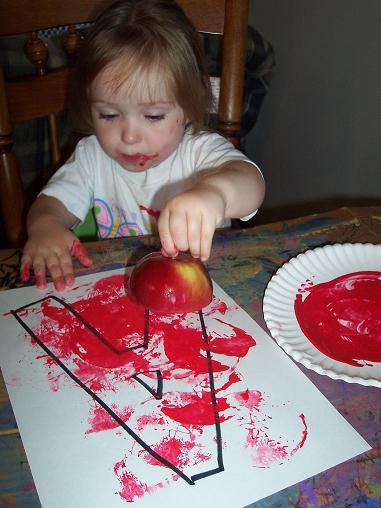
Dip the apple in the red paint and stamp it onto the letter A.
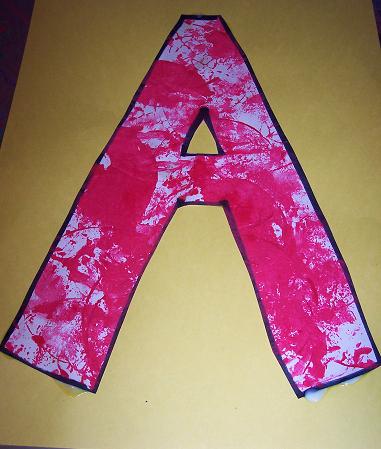
Cut the A out and glue onto a different color piece of construction paper. This also hangs on our refrigerator.
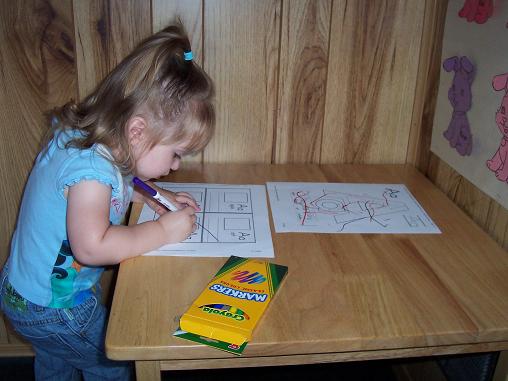
We also made this Letter A Book.
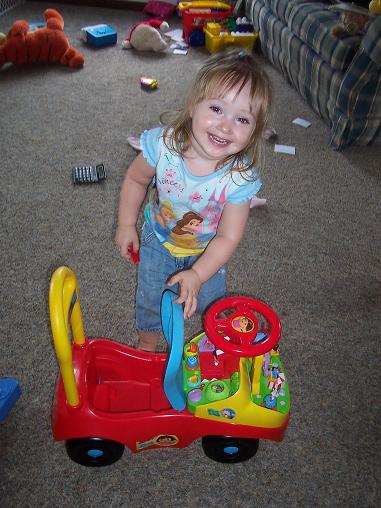
We played a hide the letter A game as well. I have a lot of felt and foam letters so I hid several A’s around our living room. Here is Hailey finding one of the A’s in the trunk of her car.
We also did the Letter A activities on the Star Fall website which was one of Hailey’s favorite activities.
Lastly, we made this really cute ant- I saw the idea for this over at No Time for Flashcards.
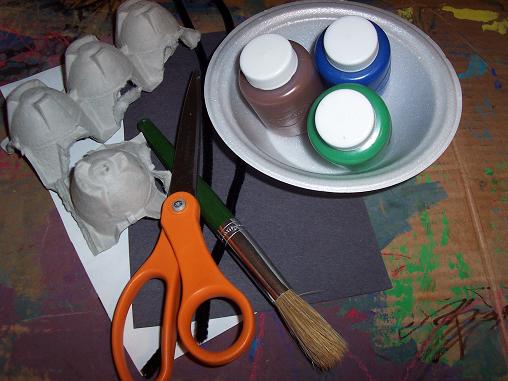
Here’s what you’ll need: black paint (I don’t have black, so I mixed these colors together to try to get a dark color), paint brush, 2 pipe cleaners, scissors, 1 section of egg carton that is three pieces long and 1 section that is just one piece, and wiggle eyes (I used black and white construction paper to make the eyes because our last project that had wiggle eyes on them- Hailey pulled them off and tried to eat them, so we aren’t ready for wiggle eyes yet)

Paint the egg carton. Why yes, Hailey did eat some paint- how could you tell?
After the paint had dried- cut two holes in the top of the 1 piece of egg carton and thread pipe cleaner through to create antenna. Then add your eyes to that piece. Cut holes in the three piece section of egg carton to thread pipe cleaner through for the legs. Then glue the head piece right on top of the first section.

Here is the finished ant.
From Caterpillar to Butterfly
Sep
In case anyone is wondering what else we do around here besides crafts, I thought I’d share. Caterpillars and butterflies have been our theme for the last 2 weeks. We did several caterpillar art projects (Paper Towel Caterpillar, Caterpillar Name and an Egg Carton Caterpillar) as well as several butterfly art projects (Coffee Filter Butterflies, Butterfly Finger Painting and a Butterfly Sun Catcher).
In addition to our crafts we did the following activities:
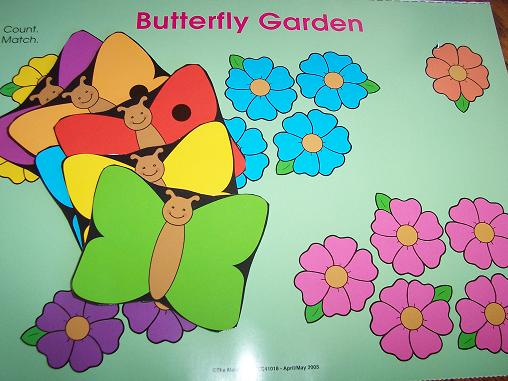
We played a butterfly counting and matching game.
Hailey practiced spelling her name on butterfly shaped paper. (Side note- I usually only use uppercase for the first letter in her name and lowercase for the rest. But I had these completely made and covered in contact paper before I realized I had used all uppercase letters and I was not going to re-do it.)
We also read a lot of caterpillar and butterfly books. While I thought some of these might be too old for Hailey she loved them. Here are some of her favorites:

“My, Oh My–A Butterfly!: All About Butterflies” by Tish Rabe
“The Very Hungry Caterpillar” by Eric Carle
“Monarch Butterfly” by Gail Gibbons
“The Butterfly Alphabet” by Kjell B Sandved
I made some butterfly life cycle sequencing cards for Hailey too. She enjoyed naming the stages but didn’t understand the concept of putting them order, which I did not expect her to, but it was fun anyways. If you’re interested in the cards I used- you can get them here –> butterfly life cycle sequencing cards.
And the main focus of our caterpillar to butterfly theme was this:
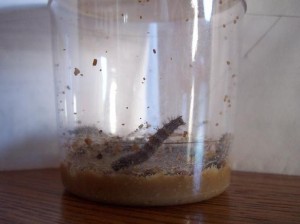
Day 1
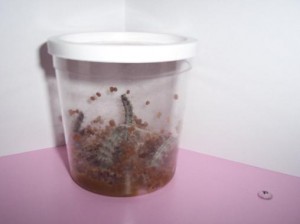
Day 3
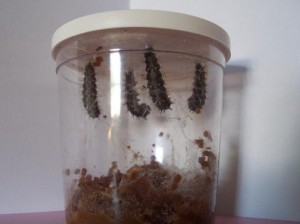
Day 5
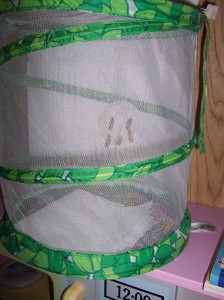
Day 8
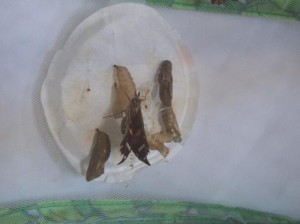
Day 13
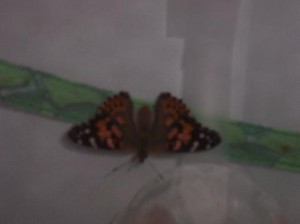
Later on in the day of Day 13
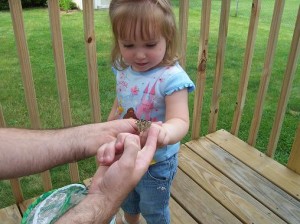
Day 16- we let the butterflies fly away.
So, that’s what we’ve been up to. This week we also started our official “Tot School” and I will be starting to post about our activities next week (I’m usually about a week behind in posting what we’ve been doing).

