Archive for the ‘Toddler and Preschool Activities’ Category
Apples
Sep
Our theme for the next couple of weeks will be apples. So, to kick off our apple learning we went on a trip to pick apples.

Hailey gets a boost up to reach some of the apples up at the top.
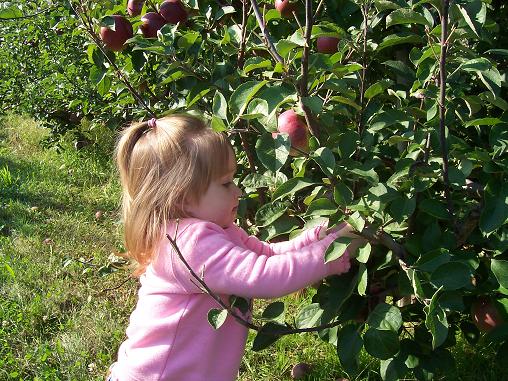
Hailey loved picking the apples. She would pick one, take a little bite, and then move on to the next apple.
Later on that day we made our own apple tree.

Here’s what you’ll need: paper towel holder, paper plate, green construction paper, two pieces of green construction paper cut into a tree shape, paint brush, brown paint, glue, apple stickers.

Put the apple stickers onto the green pieces shaped like trees. Or you could use red pom-poms for your apples but we didn’t have any.
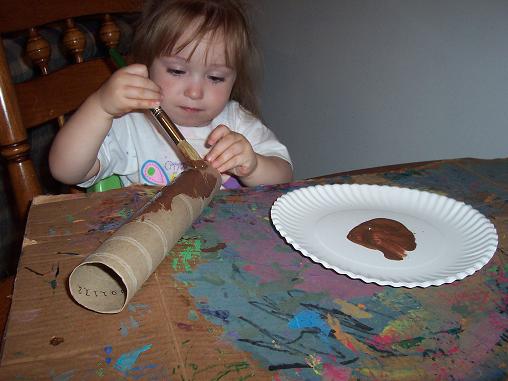
Paint the paper towel holder brown.
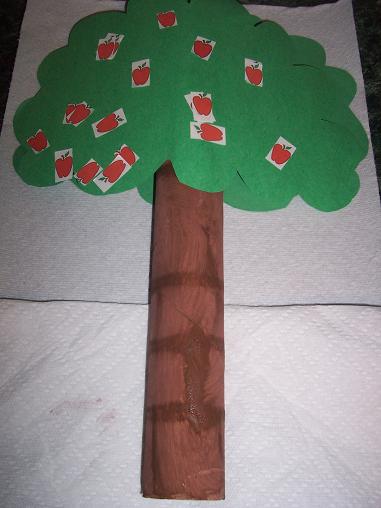
Glue the your green pieces onto the paper towel holder.
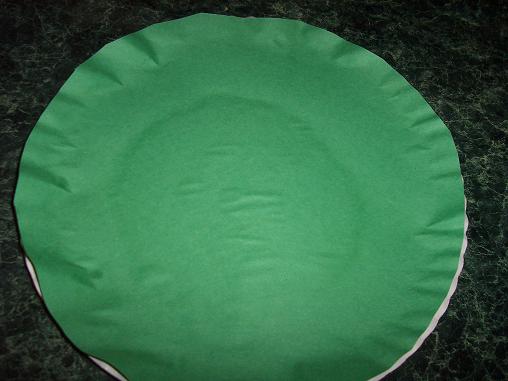
Cut a piece of green construction paper to fit on the paper plate and glue it on.

Once the tree dries, cut four slits in the bottom of the tree. Bend the pieces and glue onto your plate covered with green paper.
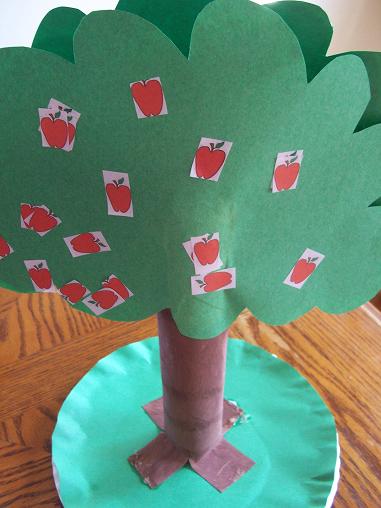
The finished apple tree.
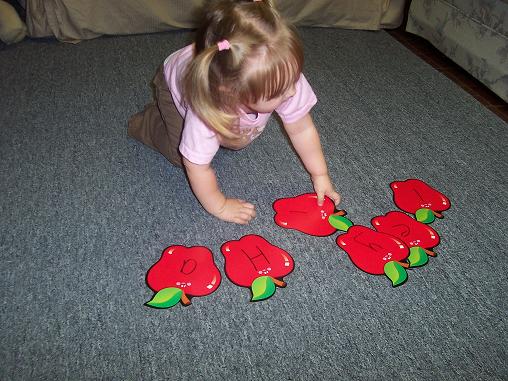
Hailey also practiced spelling her name on the apple shaped cards.
We have been reading a lot of books about apples but these are Hailey’s favorites:
The Apple Pie Tree by Zoe Hall
Apple Harvest by Calvin Harris
Letter of the Week- Letter C
Sep
Last week our letter that we focused on was the letter C. And we did several fun activities. Every Monday I give Hailey a paper to decorate for our letter of the week and we decorate it using different methods (colored pencils, water colors, etc). This week we used markers to color the letter C.

Here is our finished Letter C which hangs on our fridge all week.
Then we made this cute letter C.

Here’s what you’ll need: a large letter C, another piece of construction paper, cotton and glue.
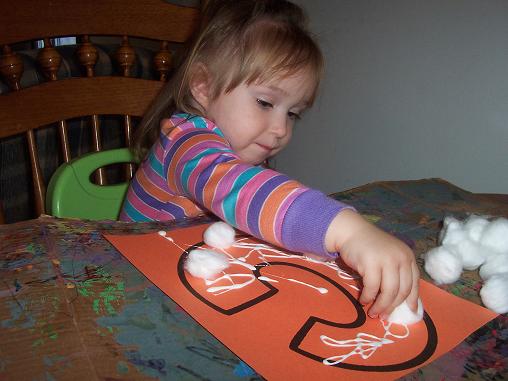
Glue the cotton onto the letter C- pointing out that cotton starts with C.
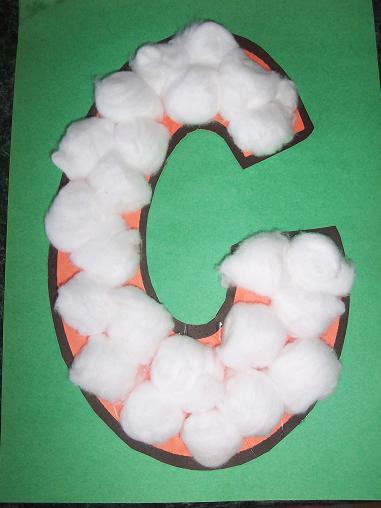
The finished letter C, which also hangs on our fridge.
We also did some of our usual letter activities. I hid felt C’s around our house for Hailey to find. I just realized we never visited Star Fall to do their letter C activities, but I will make sure we do that today.
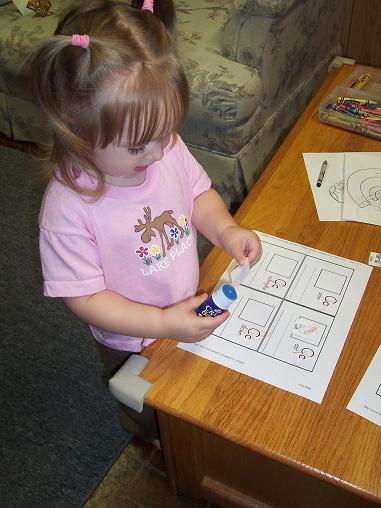
Here is Hailey gluing on pieces to her Letter C Book.
Last but not least- our favorite activity.
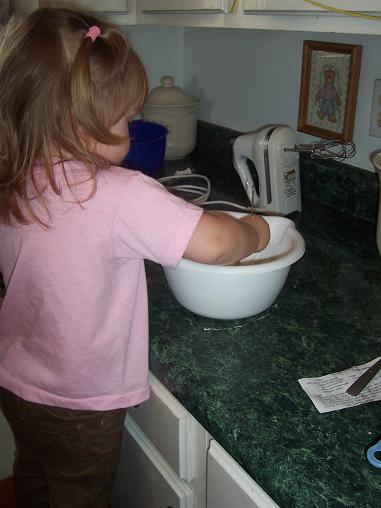
Hailey helped me to make some chocolate chip cookies.
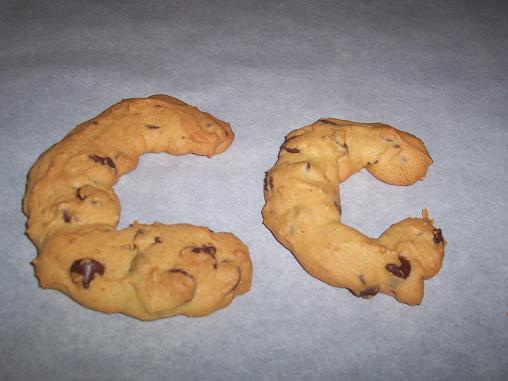
I shaped the cookies into the letter C. If you do this- be sure to leave plenty of space for your C to fill in so that you don’t end up with a blog. Also, if I did this again I would use sugar cookies instead of chocolate chip cookies because I think they would be easier to form. The chocolate chip cookie dough was really sticky to try to form into a C.
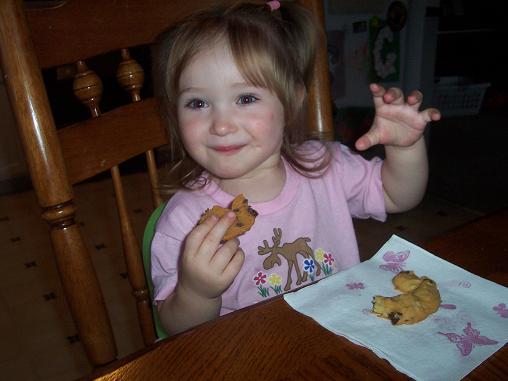
Enjoy your letter C cookies!
Tot School- Week in Review
Sep
 Another week of Tot School has finished up and it’s time to share what we did with the other participants over at 1+1+1=1. Keep in mind that this is really just a review of what we did all week. If you want to see more details about any of the projects you can click on the links I will provide to see more information.
Our letter this week was the letter B and you can see all of our letter B activities as well as more details about these projects by going to Letter of the Week- Letter B.
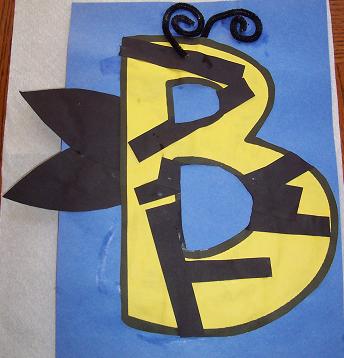
We made a Bumble Bee out of the letter B.
Our finished Letter B- which hangs on our fridge all week. At the end of the week it goes to the letter wall in Hailey’s playroom.
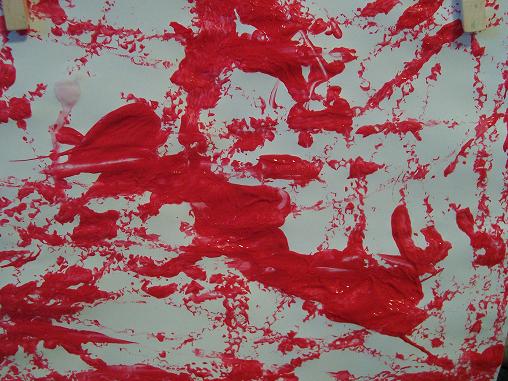
We did this painting using a golf ball- which combined our themes for color (red), shape (circle) and letter (B for ball). It will be a while before we do this kind of project again. It doesn’t work all that well using a golf ball- Hailey just ends up frustrated. But she’s too young to use marbles, so we’re just going to wait (a long time) before we do this again.
Our theme last week was All About Me- you can see everything we did by going to All About Me.
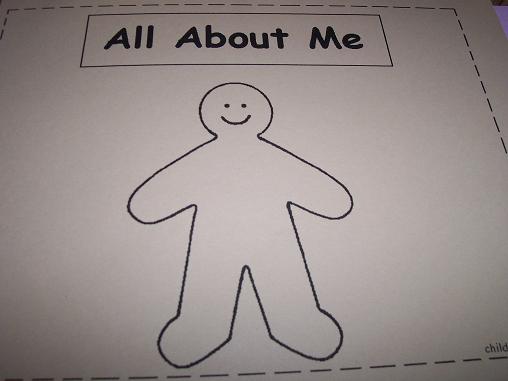
We made a really cute All About Me book- this is the cover of it before Hailey colored it. There is a page with Hailey’s picture on it, one with her family, one of her favorite animals, favorite foods, favorite color, one with the colors she knows, one with the letters she knows, one with her hand-prints, etc. It turned out really nice so I covered it in contact paper so that it will last forever.
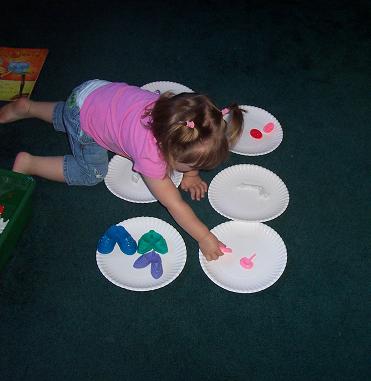
Hailey sorted Mr. Potato Head’s body parts.
Our number was still the number one and our shape was still the circle. You can see all of our number and shape activities by going to Number One and Circles.
I wrote the number 1 on post-it notes and stuck them all over. Hailey loved finding the number 1’s.

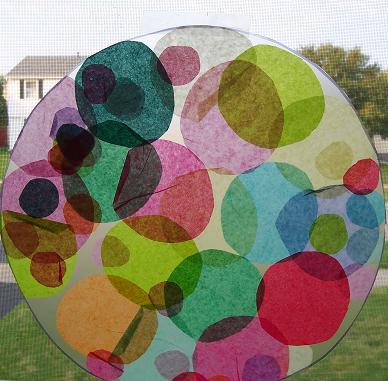
We made a circle sun catcher using contact paper and circle shaped tissue paper.
Our finished circle sun catcher.
For our Bible theme we are still doing the days of creation. This week did day 3- which you can see more of by going to Story of Creation- Day 3.
During our outside time we collected various pieces of nature that God made on day 3- sticks and leaves from trees, some grass and some flowers. Then we put them in between 2 pieces of contact paper and hung it on the fridge.
We wrapped up learning about Day 3 by making a picture to add to our pictures of days 1 and 2.
Finished Day 3- God created the land with grass, trees and flowers.
Stop by 1+1+1=1 to see what the other moms have been doing to keep their tots busy.
Story of Creation- Day 3
Sep
This week we continued learning about the 7 days of creation. Hailey is still working on her memory verse- “God created all things. John 1:3” She can say it with prompting and it is incredibly cute.
We made a nature collage, emphasizing that God made all of these things.

Here’s what you’ll need: Go for a walk (or right to your back yard) and collect various pieces of nature. We have some flowers, leaves, grass, sticks, etc. And you’ll also need some clear contact paper.
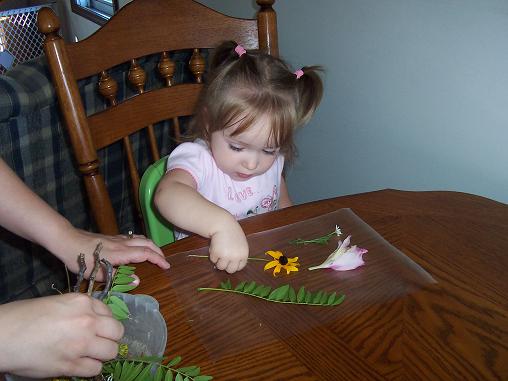
Stick your pieces of nature to the contact paper.
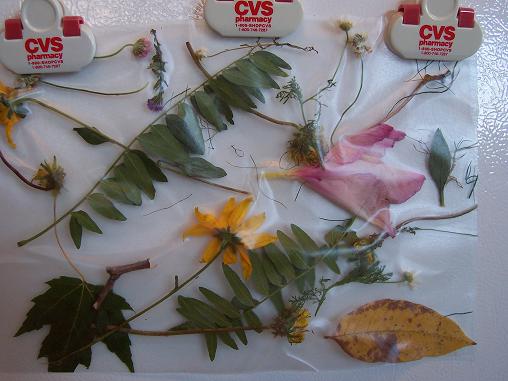
Add a piece of contact paper to the other side to seal your project. Hang it up on the refrigerator.
Then we made our Day 3 picture to add to the first two days we already made.
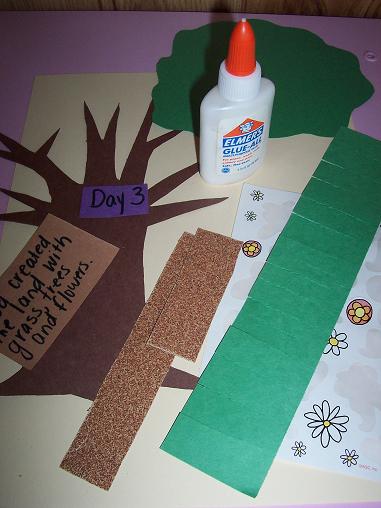
Here’s what you’ll need: card-stock, sandpaper for land, tree shape, green for leaves on tree, green for grass, flower stickers, glue, piece of paper that says “Day 3” and paper that says “God created the land with grass, trees and flowers.”

Put everything together.
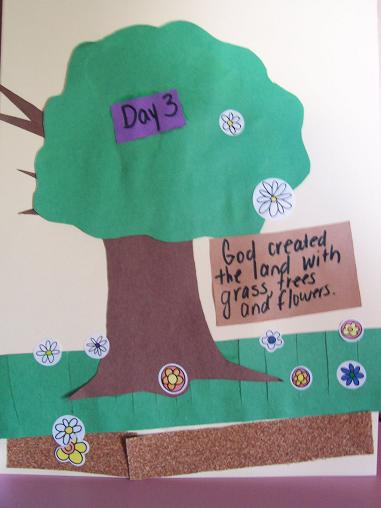
The finished picture for day 3.


