Archive for the ‘School Age Activites’ Category
Bee Crafty Kids- Disney Autograph Books
Aug
Welcome back to the Bee Crafty Kids link up that I am co-hosting with To The Moon and Back, Look! We’re Learning and Monster’s Ed Homeschooling Academy.
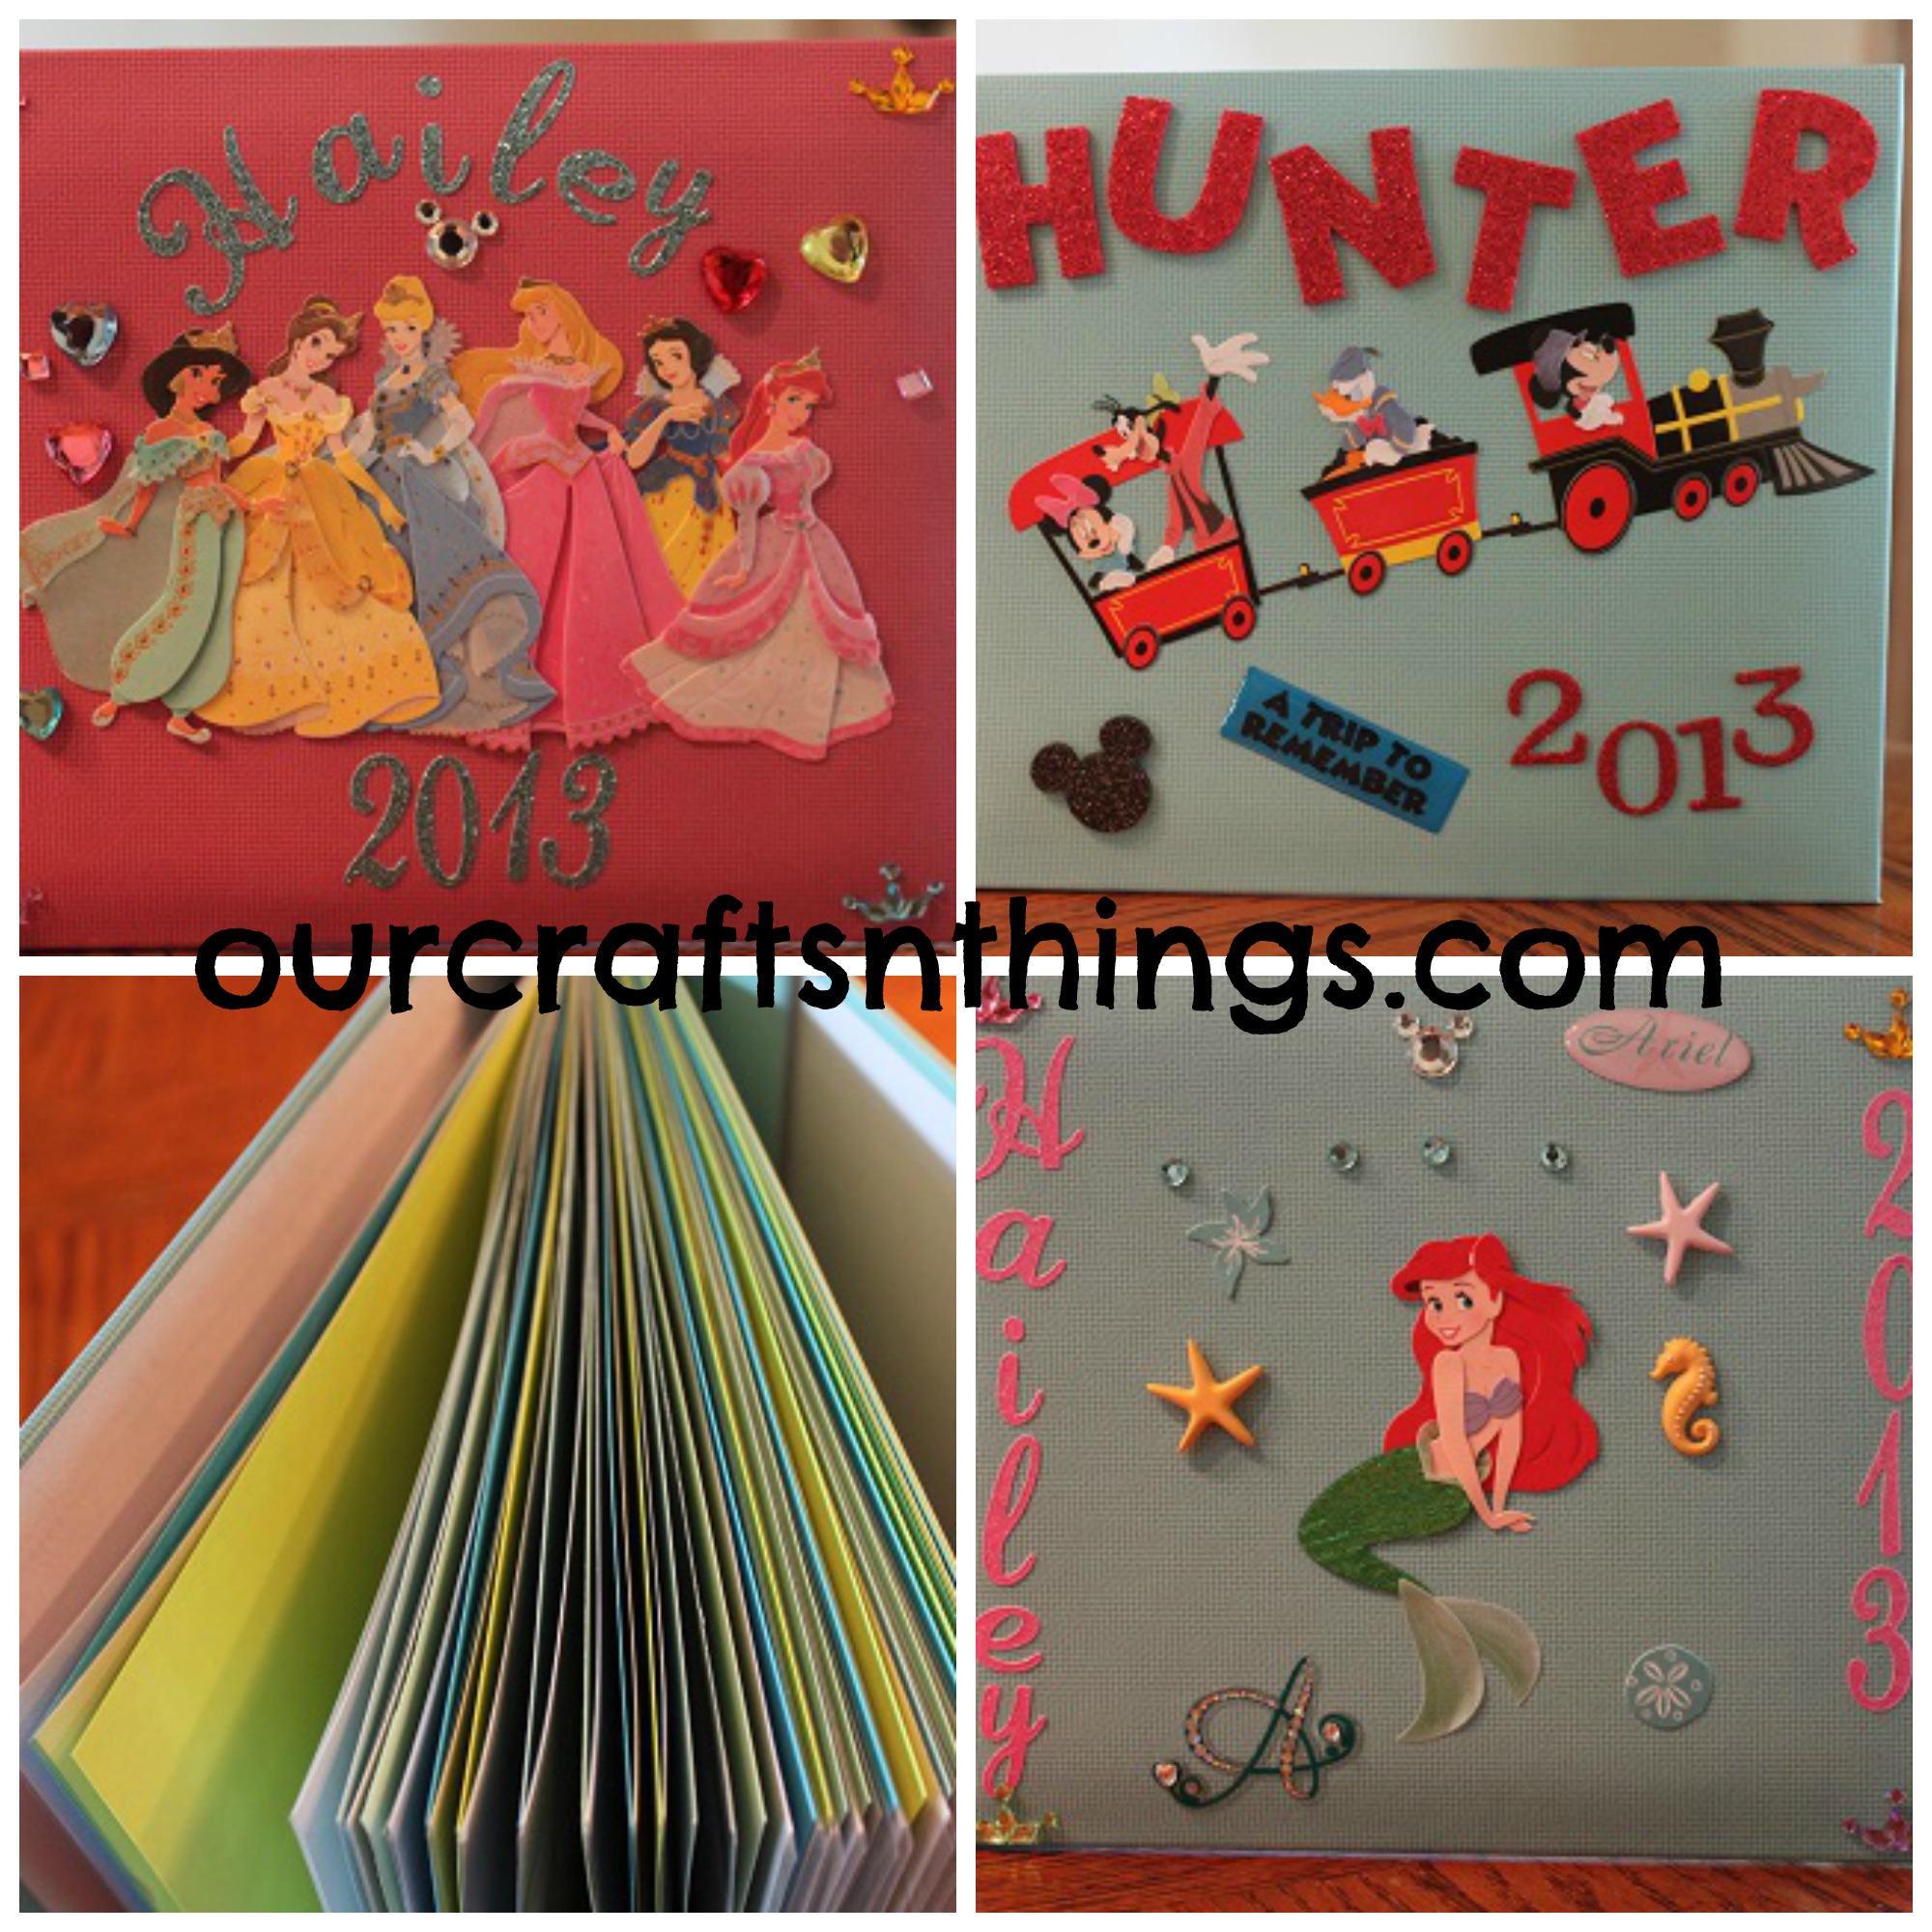
We are preparing for our annual trip to Disney World, and since we go every year we own all of the different autograph books that are sold in Disney World. We want to have something a little different, so Hailey decided that she wanted to make her own for this trip.
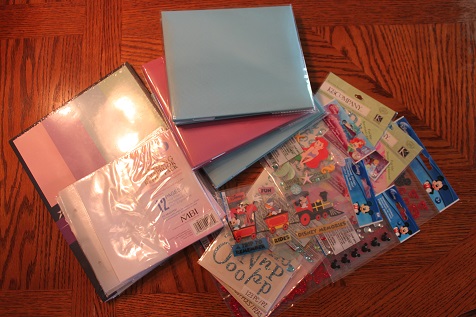
Here is what we used to make our books:
small scrapbooks (you can use any size you like, but we picked 6×6)
refill pages for the scrapbooks
scrapbook stickers
cardstock
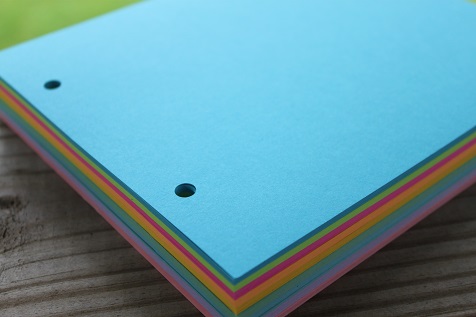
I took the cardstock to Kinkos and brought one of the pages from the scrapbook and asked them to cut the cardstock down to the same size and to drill holes in the same spots. I’m sure I could have done it myself, but it only cost about $5, so it was worth it to me to have them do it.
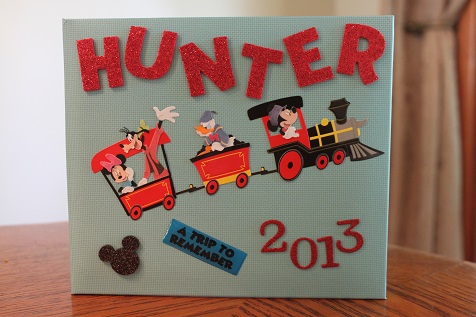
I decorated the front of Hunter’s book since he isn’t old enough to do it.
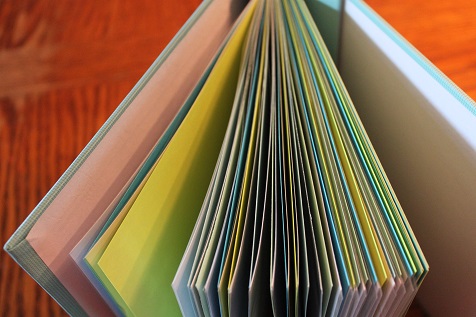
Then I put the cardstock in between all of the scrapbook pages, so that every other page will be a spot for a character to sign. Then when we get home we’ll add pictures with the characters. The book only came with 10 pages in it, so I added some of the refills for the scrapbook pages so that we will have room for more pictures and autographs.
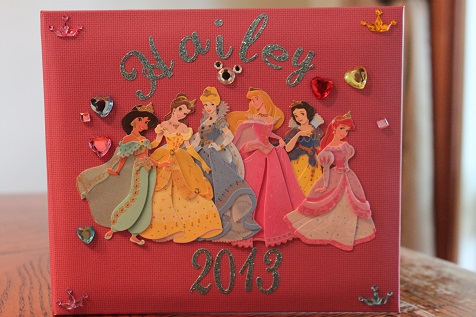
Hailey made 2 books- this is her first one. She figured out how she wanted everything set up and did it all herself.

Hailey’s other book with her favorite princess on the cover.
We did the inside of Hailey’s books the same as Hunter’s. Every other page is cardstock and I added extra refill pages. She loves to meet the characters and get autographs, so we needed a lot of pages.
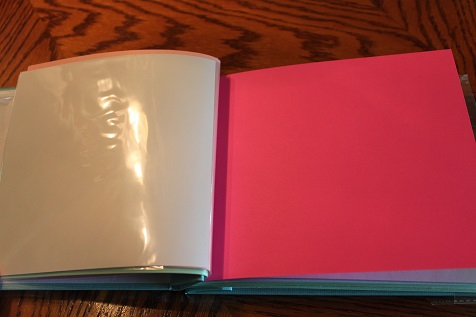
Just so you can see what the inside looks like- Hailey will have a character sign the cardstock. When we get home she’ll add a picture of that character in the photo page.
Now it’s your turn! Link up and share what you and your kids have been busy making. Grab a button so others can join in the crafting fun too 🙂
<div align="center"><a href="http://ourcraftsnthings.com/" title="Our Crafts N Things"><img src="http://i1165.photobucket.com/albums/q594/dustybug83/BeeCraftyKids3_zps44074ad6.png" alt="Our Crafts N Things" style="border:none;" /></a></div>
Rules are simple:
~Enter the direct link to one or more of your own posts that showcase a craft or hands on activity for children.
~A link back with the above button is appreciated, but not required
~Try to at least comment on one or two of the other blogs that took the time to share and join!
Be sure to like me on Facebook and follow me on Pinterest so you don’t miss any of our fun activities.
Bee Crafty Kids- Fish Aquarium Craft
Aug
Welcome back to the Bee Crafty Kids link up that I am co-hosting with To The Moon and Back, Look! We’re Learning and Monster’s Ed Homeschooling Academy.
The craft we made this week was so easy and there was no mess involved at all!
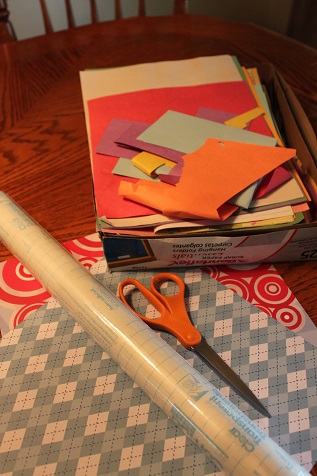
Here is what you’ll need:
contact paper
scissors
scrap construction paper
scrapbook paper (although you could easily use construction paper instead)
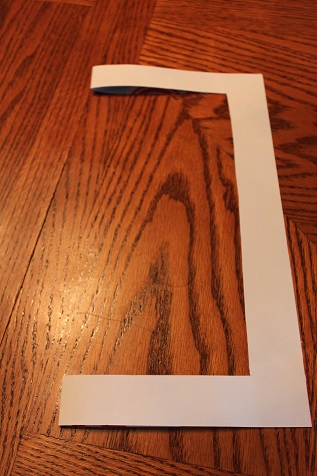
Fold the scrapbook paper in half and cut a square out of the middle.
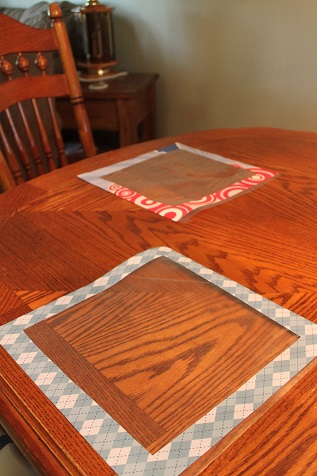
Put contact paper on the back of your frame, sticky side up.
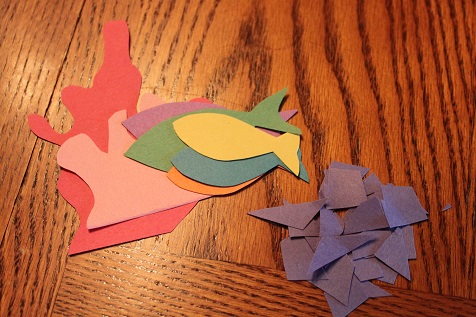
Cut out pieces to go in the aquarium using the scrap construction paper.
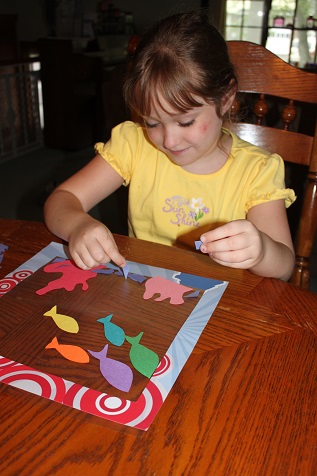
Hailey very carefully adding all of her pieces to her aquarium.
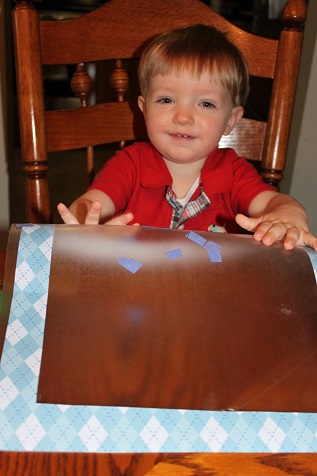
Hunter liked feeling how sticky the contact paper was, but he did eventually put his pieces on.
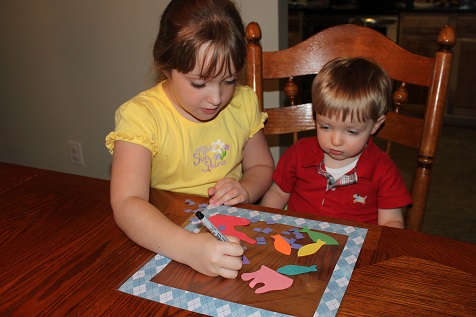
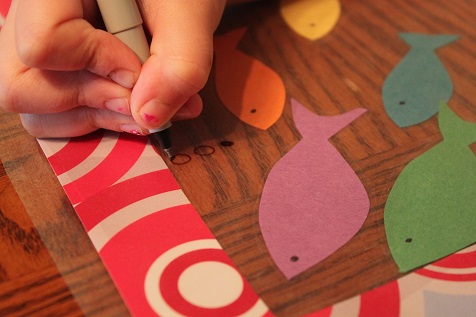
Hailey helped Hunter add some eyes to his fish. As she would add an eye he would point to another fish and say, “Another one.”
I added another piece of contact paper over the the top of the fish. Then Hailed added some air bubbles.
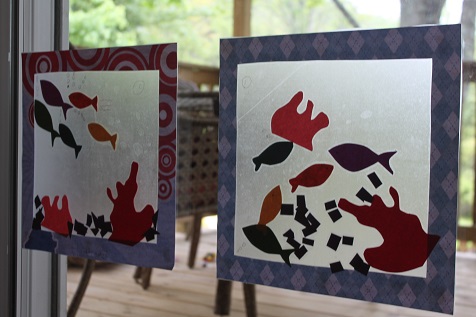
Our finished fish aquariums.
Now it’s your turn! Link up and share what you and your kids have been busy making. Grab a button so others can join in the crafting fun too 🙂
<div align="center"><a href="http://ourcraftsnthings.com/" title="Our Crafts N Things"><img src="http://i1165.photobucket.com/albums/q594/dustybug83/BeeCraftyKids3_zps44074ad6.png" alt="Our Crafts N Things" style="border:none;" /></a></div>
Rules are simple:
~Enter the direct link to one or more of your own posts that showcase a craft or hands on activity for children.
~A link back with the above button is appreciated, but not required
~Try to at least comment on one or two of the other blogs that took the time to share and join!
Be sure to like me on Facebook and follow me on Pinterest so you don’t miss any of our fun activities.
Poppins Book Nook- Ocean/Beach Theme
Jul

The theme for the Poppins Book Nook for the month of July is ocean/beach. This worked out perfectly for us because Hailey really showed a big interest in learning about the ocean after our recent trip to the beach.
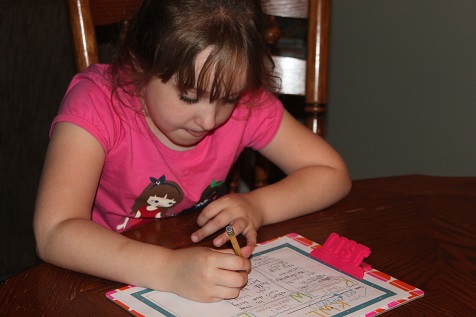
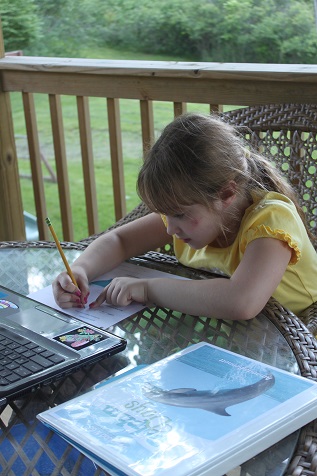
The first thing Hailey did was make a KWL chart… she listed the things she knows and the things she wants to know.
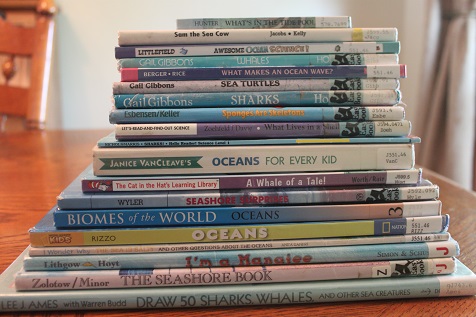
Then we got some books out of the library… some ocean related books…
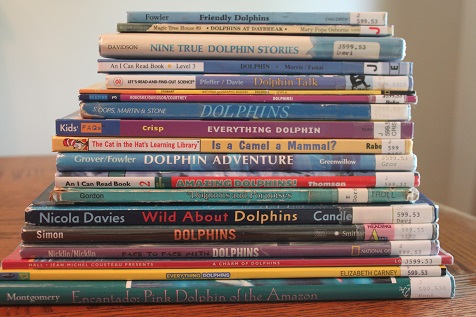
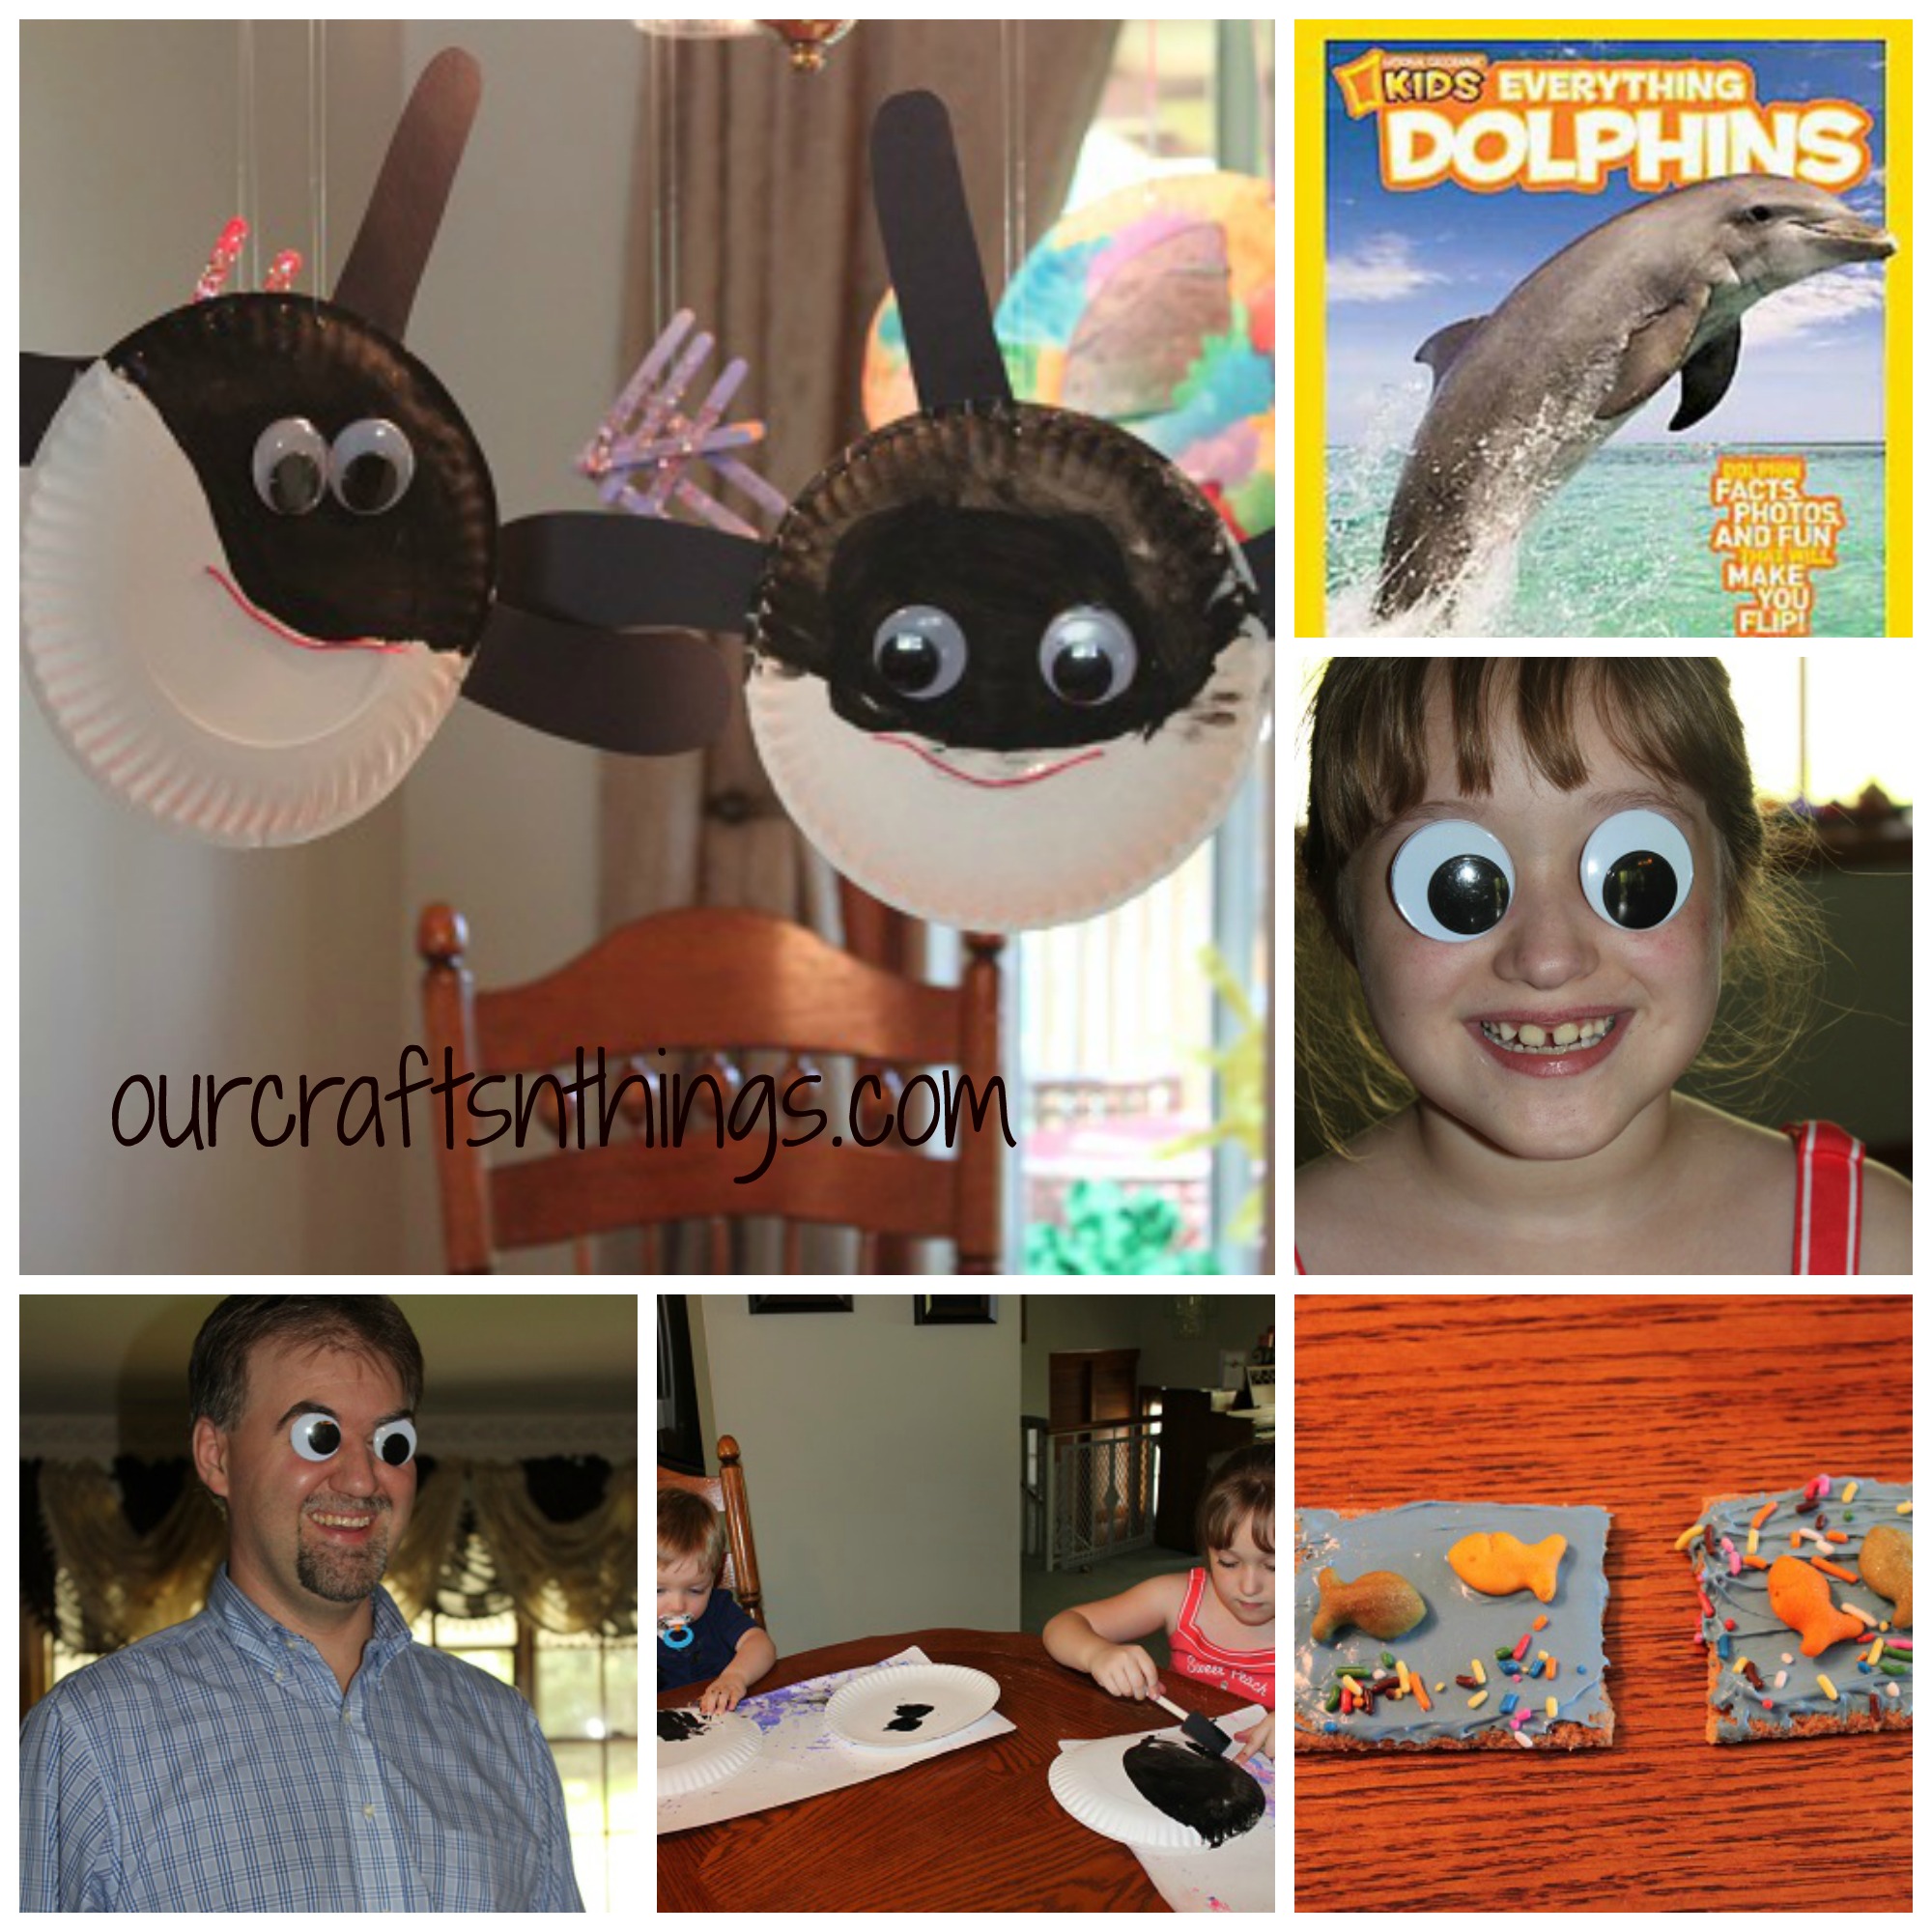
and some dolphin related books. There were just so many good ones I couldn’t decide what to pick!
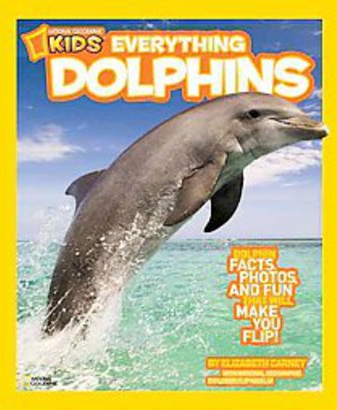
We really enjoyed the books, but this was our favorite. There were so many interesting facts and bright, colorful pictures.
Hailey is working on a unit study about dolphins. We didn’t finish it in time to include it in this post, but I hope to post about later this week as we are almost done.
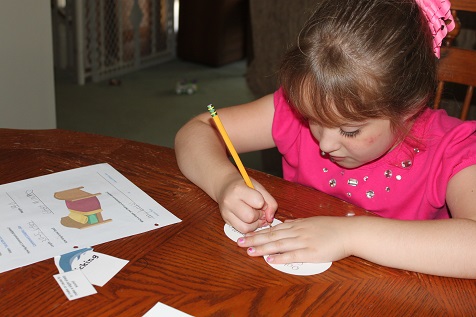
She is also creating a dolphin lapbook, which is not done either. Come back later this week to see a post about that.
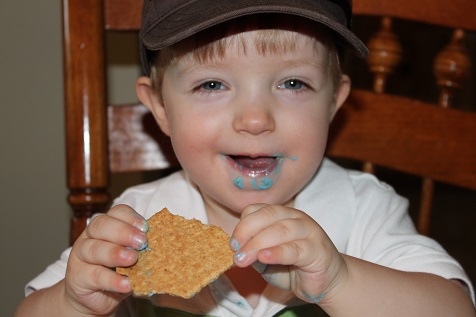
We made a yummy treat to go along with our ocean theme… Hunter ate his before I could take a picture.
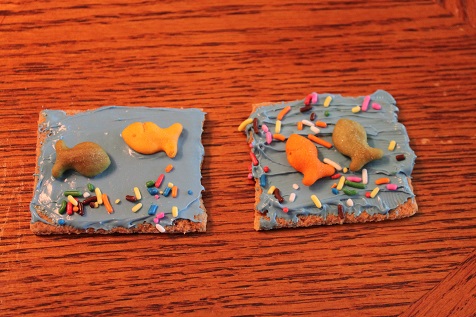
They turned out cute! It’s just a graham cracker with blue frosting, some goldfish and some sprinkles.
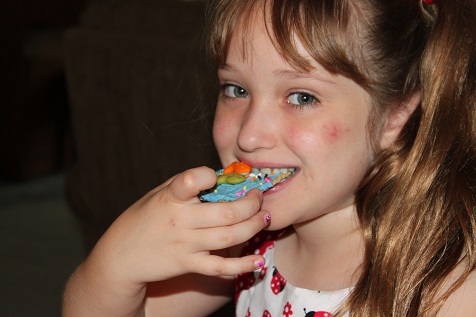
Hailey was pleased with the results too 🙂
Of course, we had to make a craft, and we decided to make a killer whale.
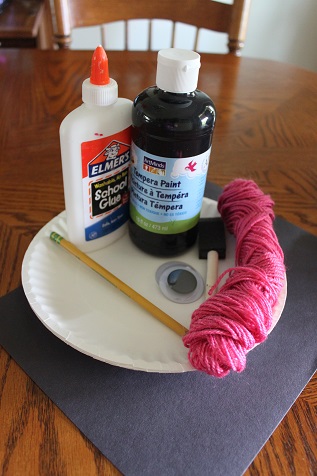
You’ll need:
paper plate
black paint
black construction paper
something to paint with
pencil
googly eyes
glue
yarn
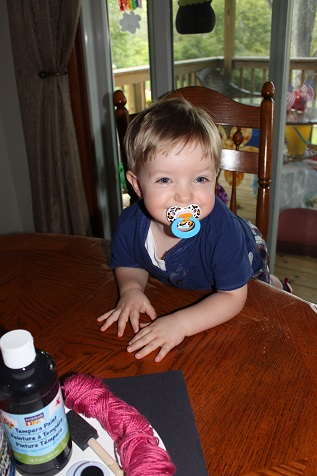
Hunter saw me setting up to do an activity and he got super excited to get started!
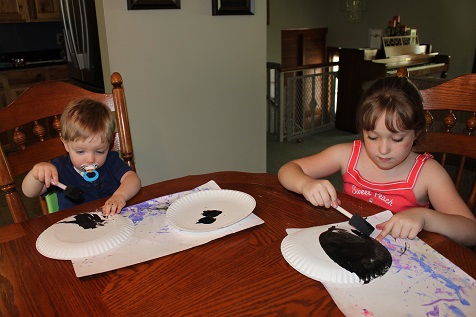
The first thing we did was draw a line with a pencil on the plates, showing how far we wanted the black paint to go. Then Hunter and Hailey painted their plates.
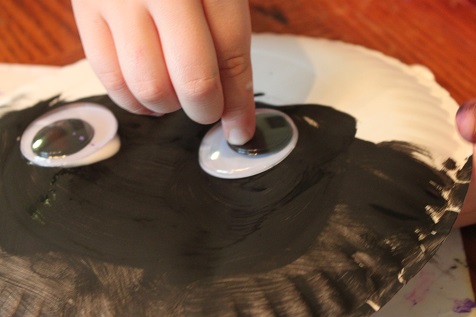
Add some googly eyes
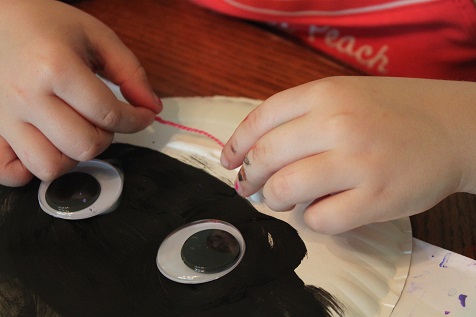
Some yarn for a mouth

Our completed killer whales.
If you’re looking for more beach/ocean related activities I have posted several this month- check them out!
Be sure to like me on Facebook and follow me on Pinterest so you don’t miss any of our fun activities.
Check out some (or all!) of the other bloggers participating in Poppins Book Nook:
Enchanted Homeschooling Mom – Royal Baloo – 3 Dinosaurs – Monsters Ed – Chestnut Grove Academy – Growing in God’s Grace – Royal Little Lambs – Life with Moore Babies – Teach Beside Me – The Usual Mayhem – Mum Central – Fantastic Fun and Learning – Kathys Cluttered Mind – Play Create Explore – Toddler Approved – Growing Book by Book – Adventures in Mommydom – B-Inspired Mama – The Fairy and The Frog – Edventures with Kids – Learning & Growing the Piwi way – A Gluten Free Journey – Mom to Crazy Monkeys – No Doubt Learning – Preschool Powol Packets – To The Moon and Back – Our Craft ~N~ Things – Farm Fresh Adventures – Proverbial Homemaker
Inspiration credit: Pinterest
If you have your own fun activity to link up, you can that here:
Bee Crafty Kids- Jellyfish Craft
Jul
Welcome back to the Bee Crafty Kids link up that I am co-hosting with To The Moon and Back, Look! We’re Learning and Monster’s Ed Homeschooling Academy.
I can not believe that it’s already Friday again. We have been so busy the last couple of weeks that we haven’t done very many activities, which is why I haven’t been posting much. But here it is Friday again, so here is what we made for Bee Crafty Kids this week.
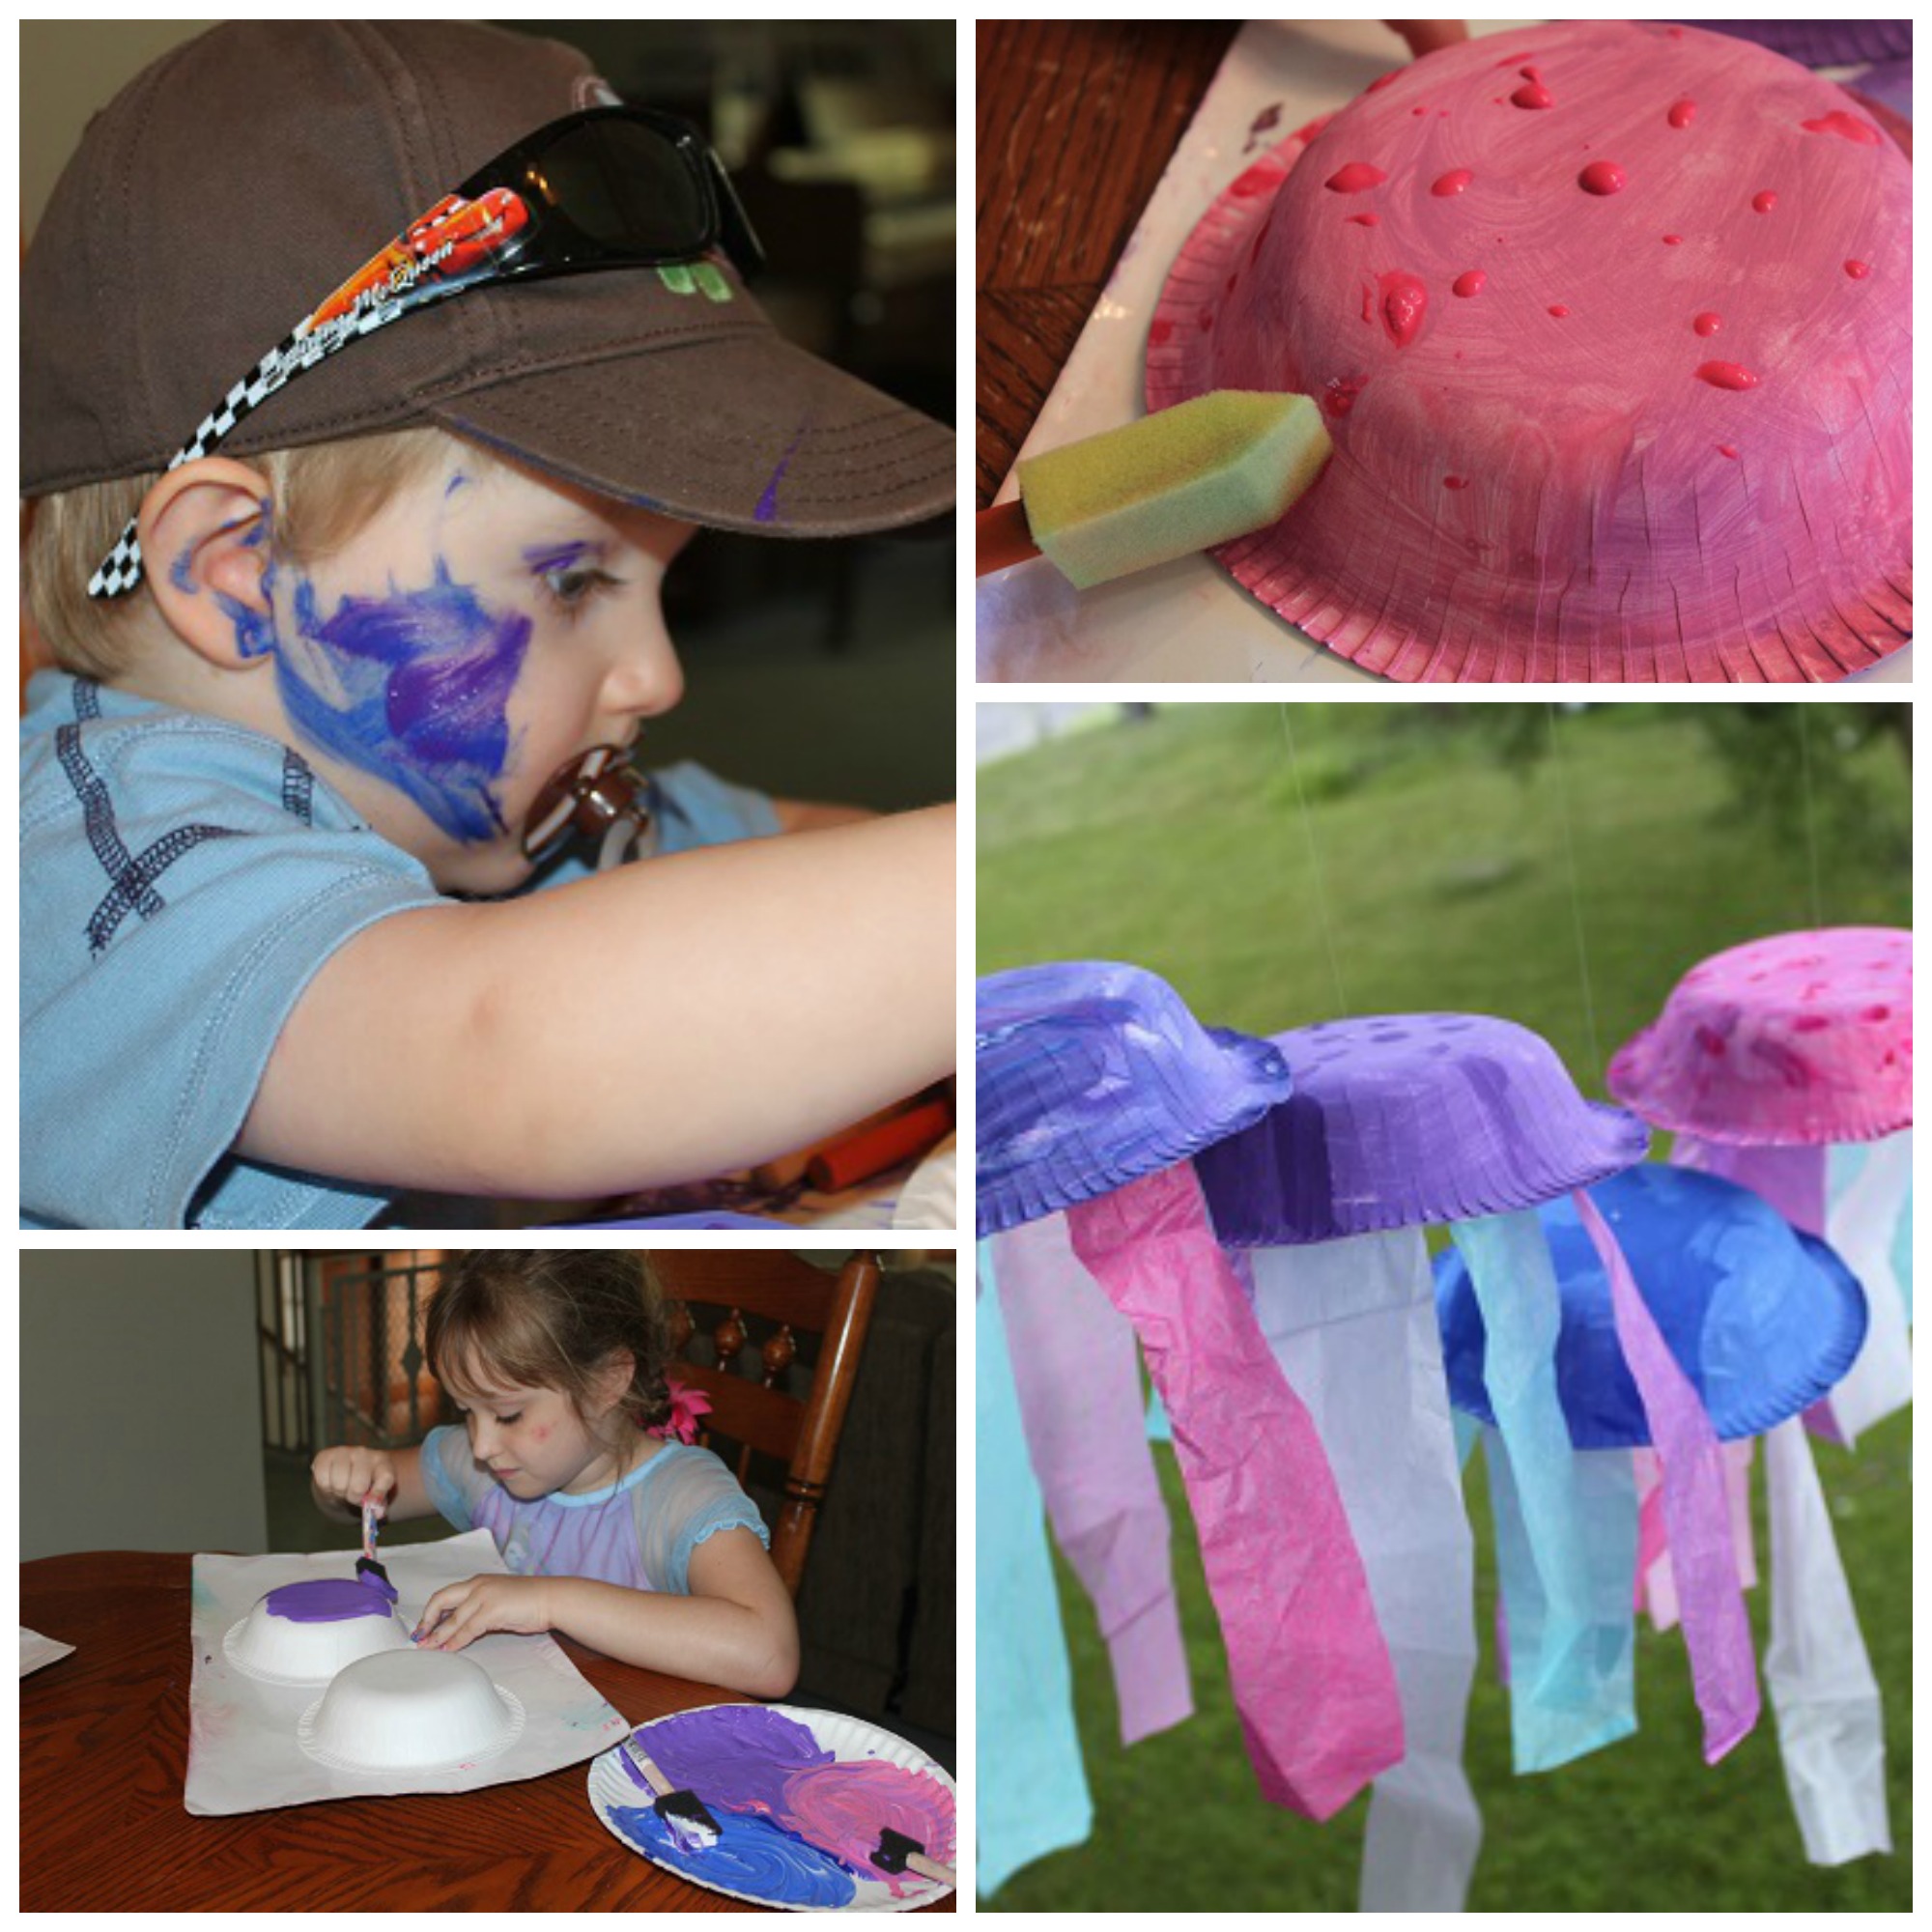
We are still learning about the ocean, so we made some jellyfish.
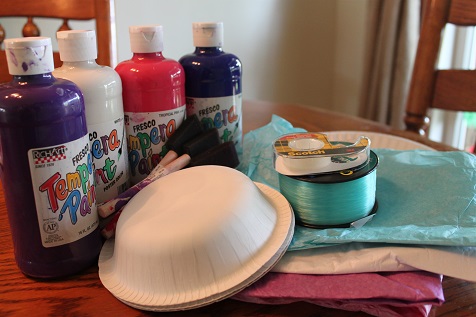
Here’s what you’ll need:
paper bowls
paint
something to paint with
tissue paper
double sided tape
fishing line
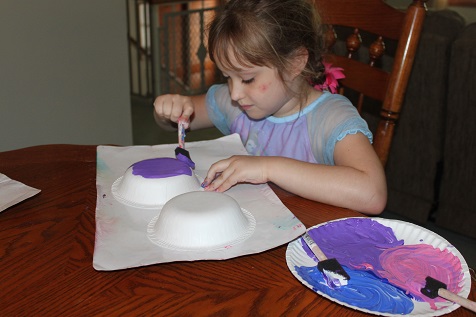
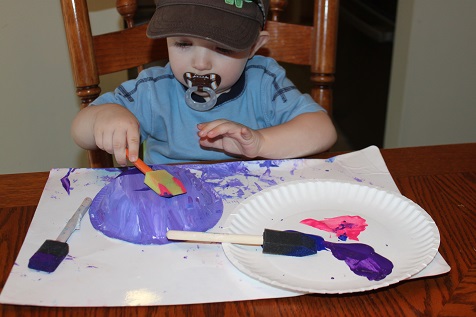
Paint the paper bowls- Hailey decided to mix her colored paint with white paint to lighten up the colors.
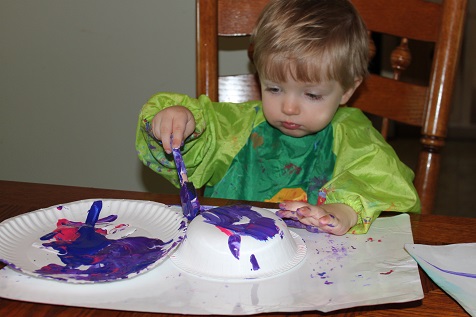
Hunter took the painting very seriously.

Once the paint is dry, add some spots.
Hunter working on his jellyfish.
Then I turned away for a few seconds and turned back to see this:
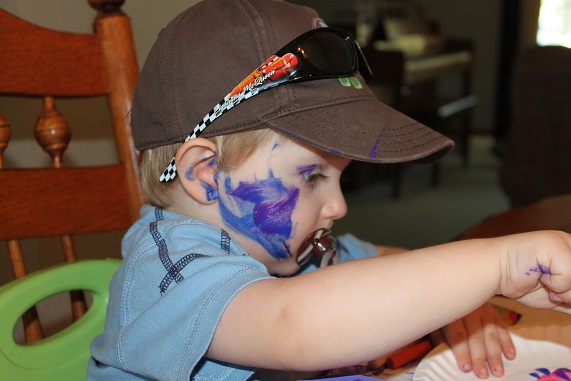
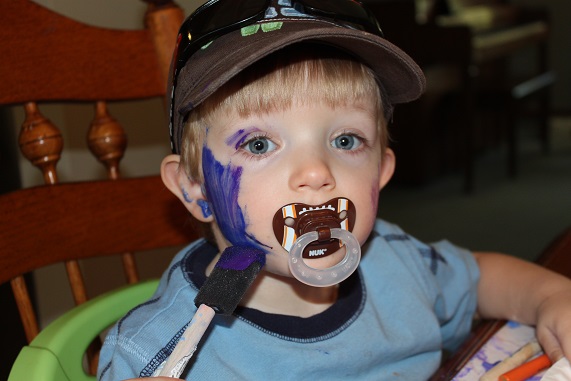
You can’t see it very well, but there is paint on his other cheek too.

Once the paint is dry, put some fishing line through the center of the bowl. I tied a knot and used tape to reinforce it.
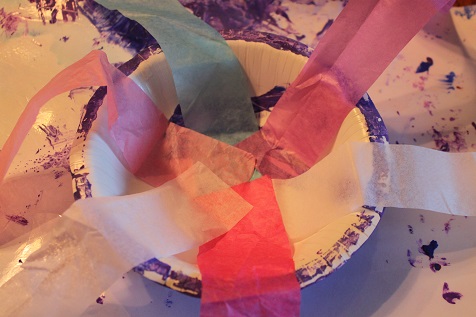
Cut the tissue paper into strips, then use the the double sided tape to stick them to the inside of the bowl.

Hailey working on adding the tissue paper.
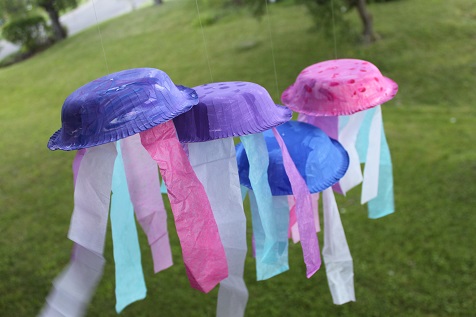
The completed jellyfish.
Now it’s your turn! Link up and share what you and your kids have been busy making. Grab a button so others can join in the crafting fun too 🙂
<div align="center"><a href="http://ourcraftsnthings.com/" title="Our Crafts N Things"><img src="http://i1165.photobucket.com/albums/q594/dustybug83/BeeCraftyKids3_zps44074ad6.png" alt="Our Crafts N Things" style="border:none;" /></a></div>
Rules are simple:
~Enter the direct link to one or more of your own posts that showcase a craft or hands on activity for children.
~A link back with the above button is appreciated, but not required
~Try to at least comment on one or two of the other blogs that took the time to share and join!
Be sure to like me on Facebook and follow me on Pinterest so you don’t miss any of our fun activities.
Inspiration credit: Pinterest
