Archive for the ‘Toddler and Preschool Activities’ Category
Homemade Wrapping Paper
Aug
I haven’t posted in a few days because we took a nice weekend getaway to visit with family. I’ll be posting about it on my Livin’ With Me blog soon, so check there if you’d like to see what we were up to.
Last week was my nephews birthday so I decided to have Hailey make some wrapping paper to use to wrap up his present.
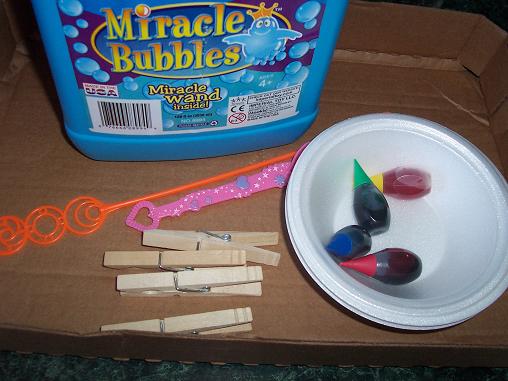 Here’s what you’ll need: bubbles, bubble wands, clothespins, bowls, food coloring and a large piece of paper (not in this picture).
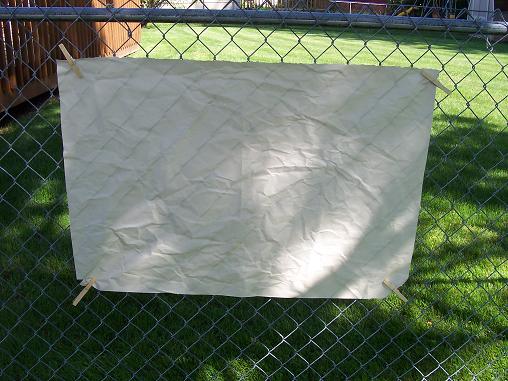
We did this project outside and used the clothespins to pin the paper up to our fence. If you do this inside, be sure to protect the floor where you stand to do it as it will stain your floor.
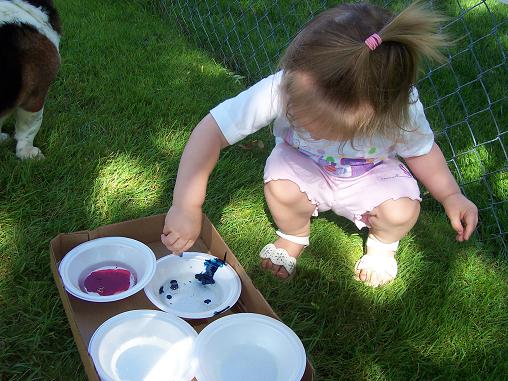
Pour four dishes of bubbles and then add food coloring to the dishes. This will stain your skin and clothes, so be sure to dress in old clothes.
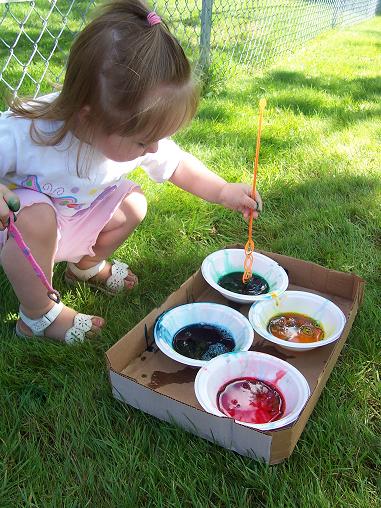
Stir the food coloring into the bubbles.
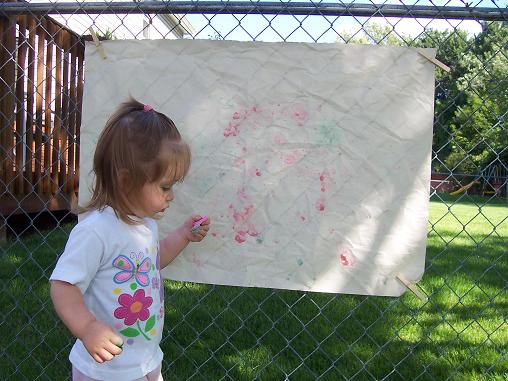
Blow the bubbles onto your paper. As they pop they will leave color on the paper. It was a little bit windy out when we did this and so the bubbles kept missing the paper. But we had a blast anyways.
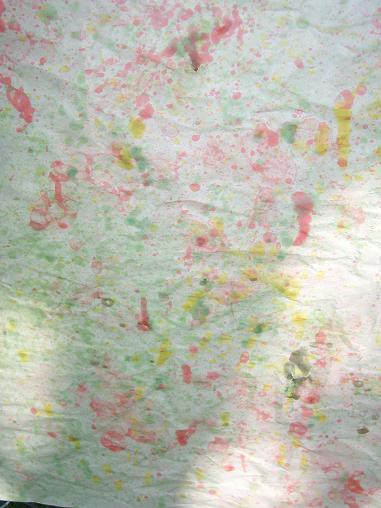
The finished paper.
Star Painting
Aug
I found another fun idea over at No Time for Flashcards that went well with our Twinkle, Twinkle, Little Star theme. So, we decided to give it a try.

You’ll need: Card stock or construction paper (I used card stock), crayons, several dark colors of paint to mix together or black paint if you have it, paper plate and paper bowl, something to stir with if you’re mixing paint (I used the craft stick) and foam brushes.
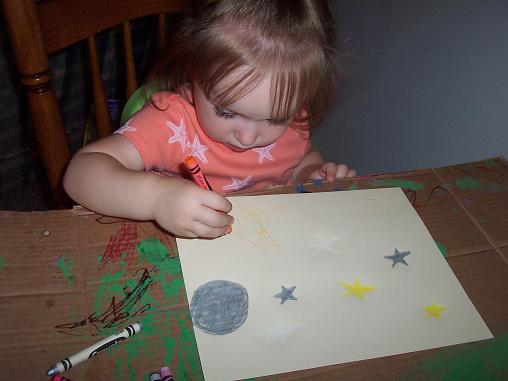
First- draw several stars, a moon, some planets, etc. You will need to press pretty hard when you are coloring.
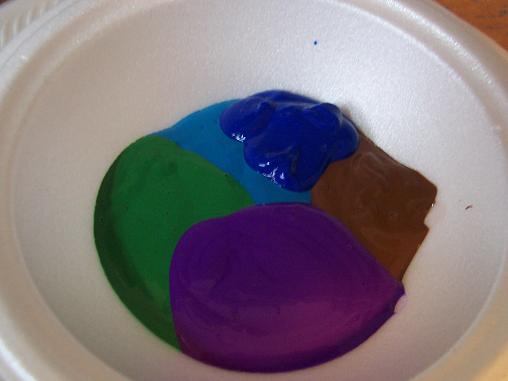
Put some dark colors together or if you have black paint- just use that.

Stir the paint together.
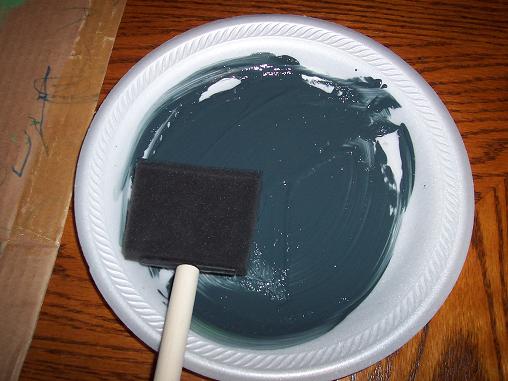
Put a very thin layer on the plate.
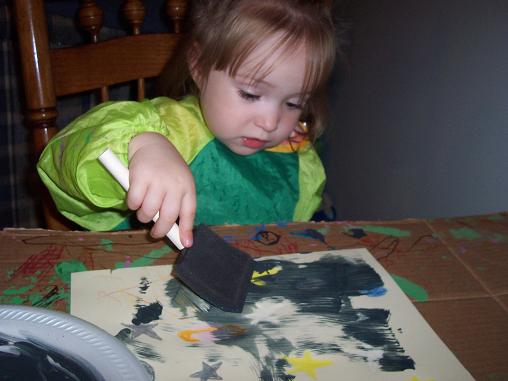
Paint over your stars, planets and moon.
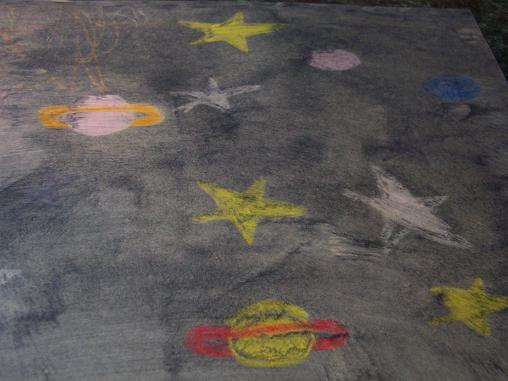
The finished picture. (I had actually drawn a lot more stars using silver and gray, but our paint turned out the same color and you can’t really see a lot of our stars.)
Twinkle, Twinkle, Little Star
Aug
Since we’ve been focusing on songs the last couple of weeks, we did an art project based on Twinkle, Twinkle, Little Star- another one of Hailey’s favorites.
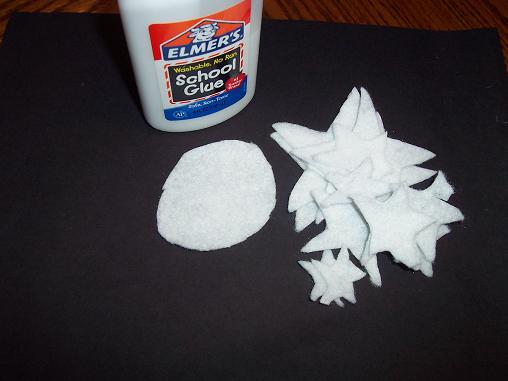
Here’s what you’ll need- black construction paper for the sky, glue and a moon and stars. I cut the moon and starts out of white felt, just for something different.
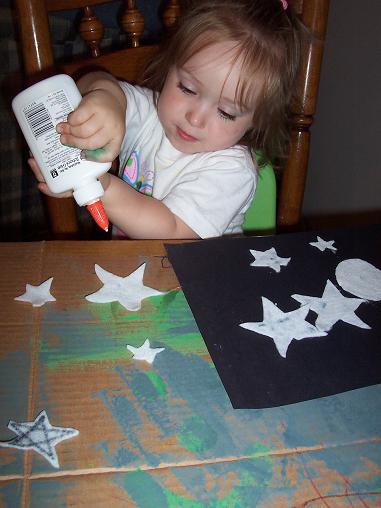
Glue the moon and stars on. Hailey loves gluing and it is very good for the muscles in her little hands to squeeze the bottle- so I let her do it even though it can get a bit messy sometimes.
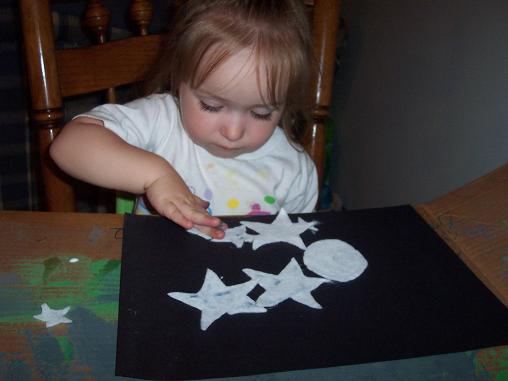
Put the moon and stars onto the sky.

The finished picture.
The Wheels on the Bus
Aug
We have been focusing on some of Hailey’s favorite songs lately and doing art projects about those songs. Yesterday I showed you the Wheel Painting we did to go with the Wheels on the Bus song that Hailey loves. Today I’m going to show you the bus we made.
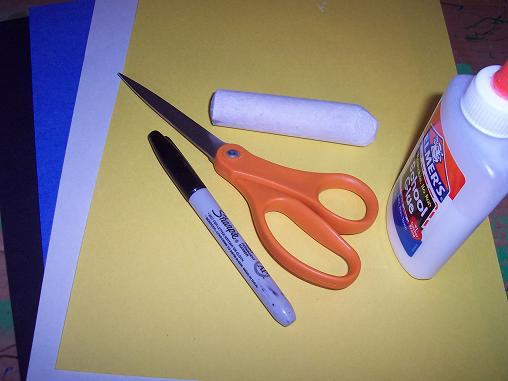
Here’s what you’ll need: construction paper- black, blue, white and yellow, glue, scissors, chalk and black marker.
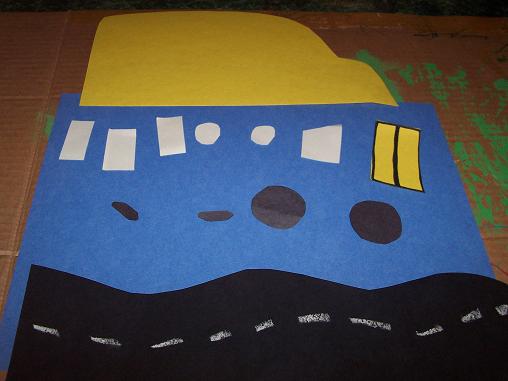
- Leave the blue piece of construction paper whole for the background.
- Cut the yellow piece into the shape of a bus and cut out a yellow rectangle to be the door. Outline the yellow rectangle with the black marker and then draw a line down the middle.
- With the black piece of paper- make a road and draw lines on it with the chalk. Cut out wheels and bumpers for the bus.
- With the white- cut out windows and cut out 2 small circles for the inside of the wheels.

Hailey loved putting her bus together. We sang The Wheels on the Bus while she worked.
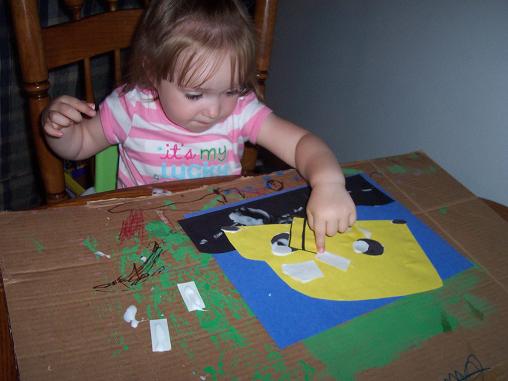
I always let Hailey add the glue to her projects. When she is ready to put the piece on I show her where the piece should go, but it is up to her where she actually puts it. After all, it is her bus and it’s supposed to be fun to make it.

The finished bus.
