Archive for the ‘Colors’ Category
Tot School
Sep

Hunter is 20.5 months old.
I can’t believe it’s been a month since my last tot school post! We were really busy during August though, so there wasn’t a lot of tot school stuff going on. At the end of August we went to Disney World. A few days after we got back from Disney World we started our first year of homeschooling. So we’ve been busy and trying to get into a new routine. Our first day of school went well and Hunter has been super good, so I’m really hoping that will continue! Here is what Hunter has been working on during the last week:
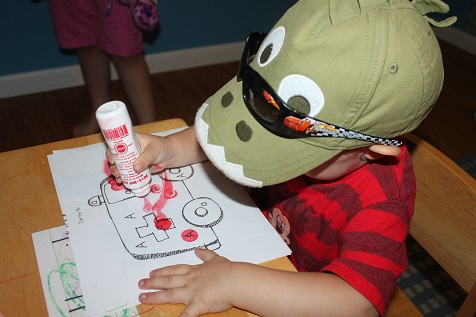
Hunter is working on the color red and the letter A. We are using some printables from Royal Baloo for the Zoomin Movin Alphabet. These are so perfect for Hunter because he loves anything with wheels!
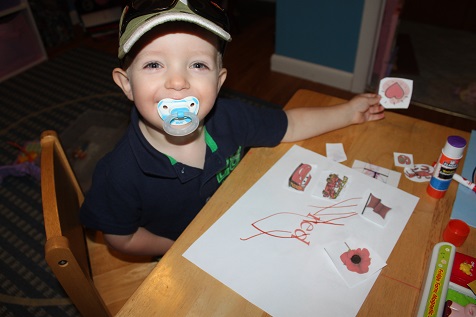
Working on his color red paper, also from Royal Baloo.
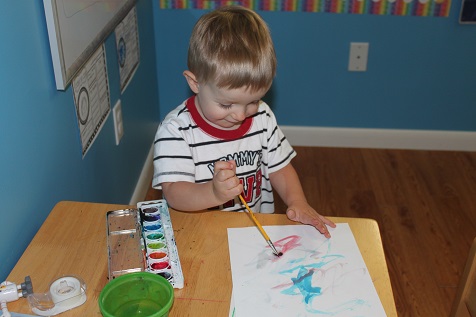
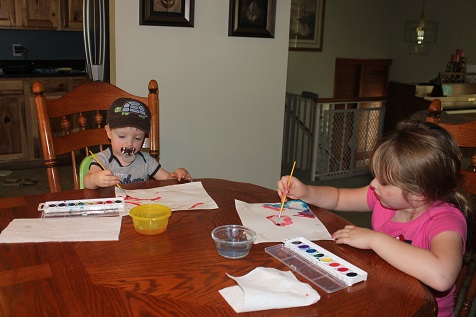
Hunter had fun painting with water colors.

He loved playing in the water using a medicine dropper.
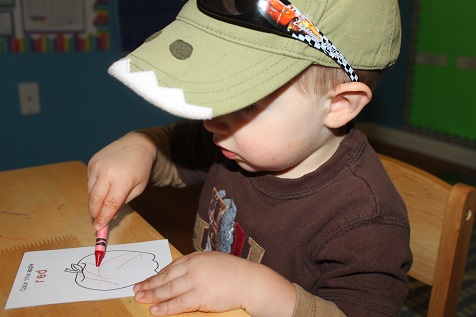
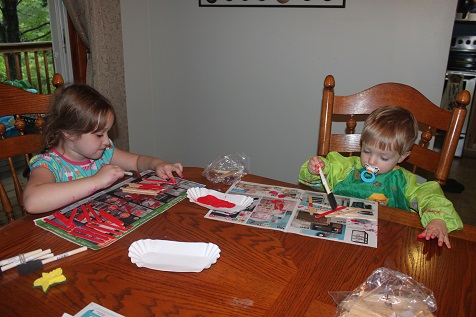
We are also learning all about apples and Hunter is working on some pieces for a tot book I found at 2 Teaching Mommies.
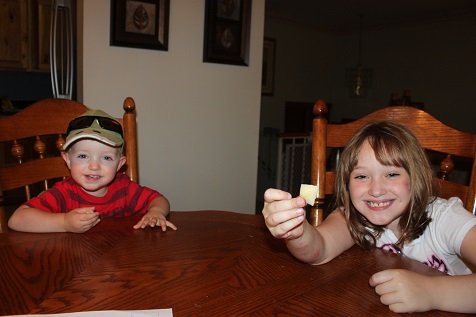
We tasted several different varieties of apples to see what tasted best.
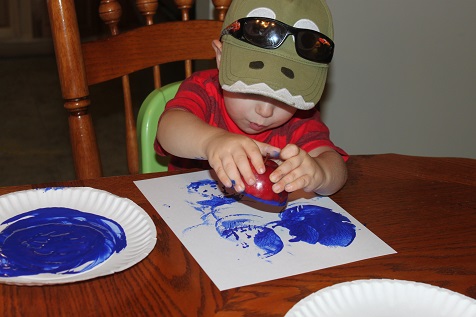
Hunter loved painting with the apple!
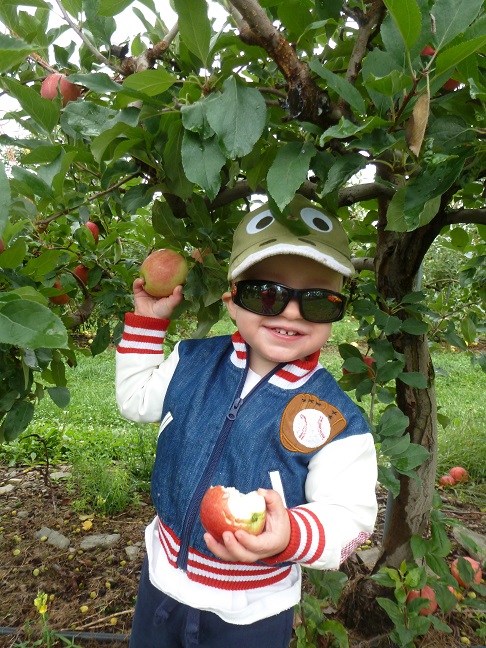
We went apple picking.
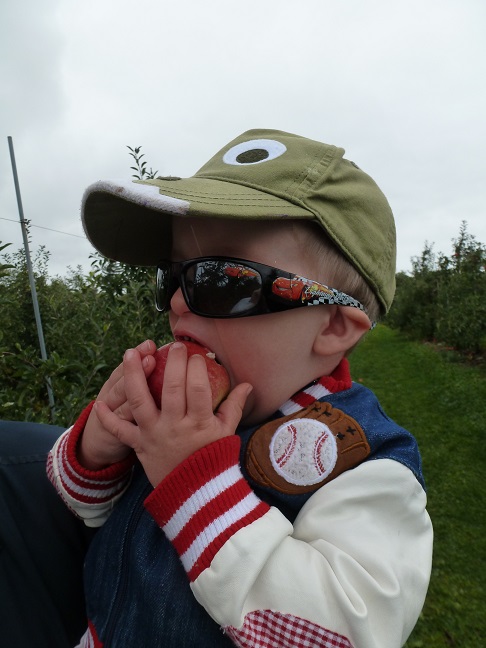
Hunter was more interested in eating the apples than actually picking them.
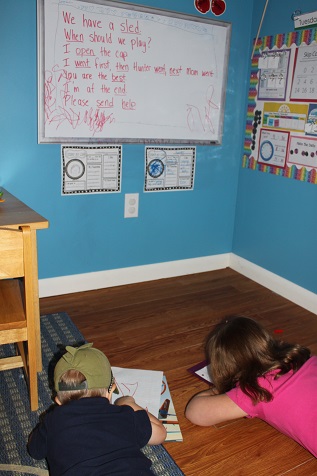
Hunter loves to do anything he sees Hailey doing. He saw her on the floor copying some sentences off of the white board, so he got right next to her and started writing too.
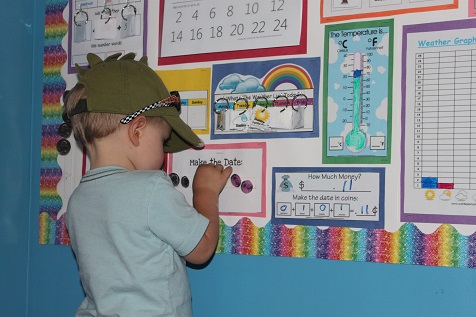
He loves to rearrange the money on the “Make the Date” part of the calendar.
Stop by 1+1+1=1 to see what the other tots were up to this week.
Be sure to like me on Facebook and follow me on Pinterest so you don’t miss any of our fun activities.
Tot School
Jul
Hunter is 18.5 months old.
It’s been a few weeks since I have done a Tot School post. We have been so busy enjoying summer that I just haven’t had time. So, here are some of the things we have been working on over the last few weeks.
For the 4th of July we made some cute pictures, using glue to create stars that resisted water colors when the kids painted. See the full post here.
Hailey and Hunter worked really hard and made some utensil holders that we used at our July 4th party- they turned out super cute and you can see them here.
This was my favorite 4th of July activity- we made candle jars and they turned out so cute. You can see the finished project here. They were perfect for decorations at our July 4th party.
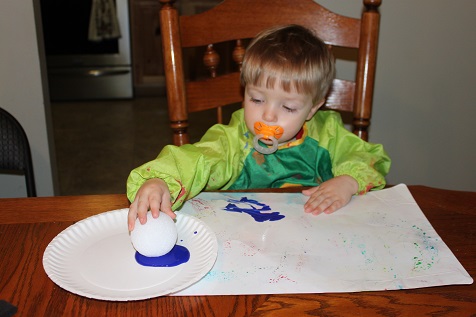
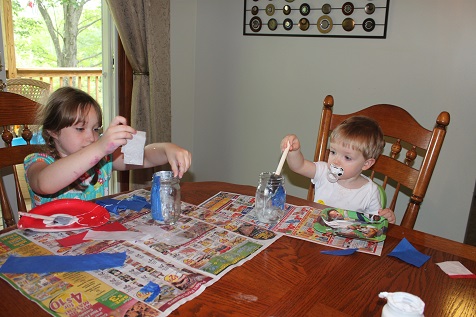
This week we started an ocean/beach theme and here Hunter is working on a spiny sea creature.
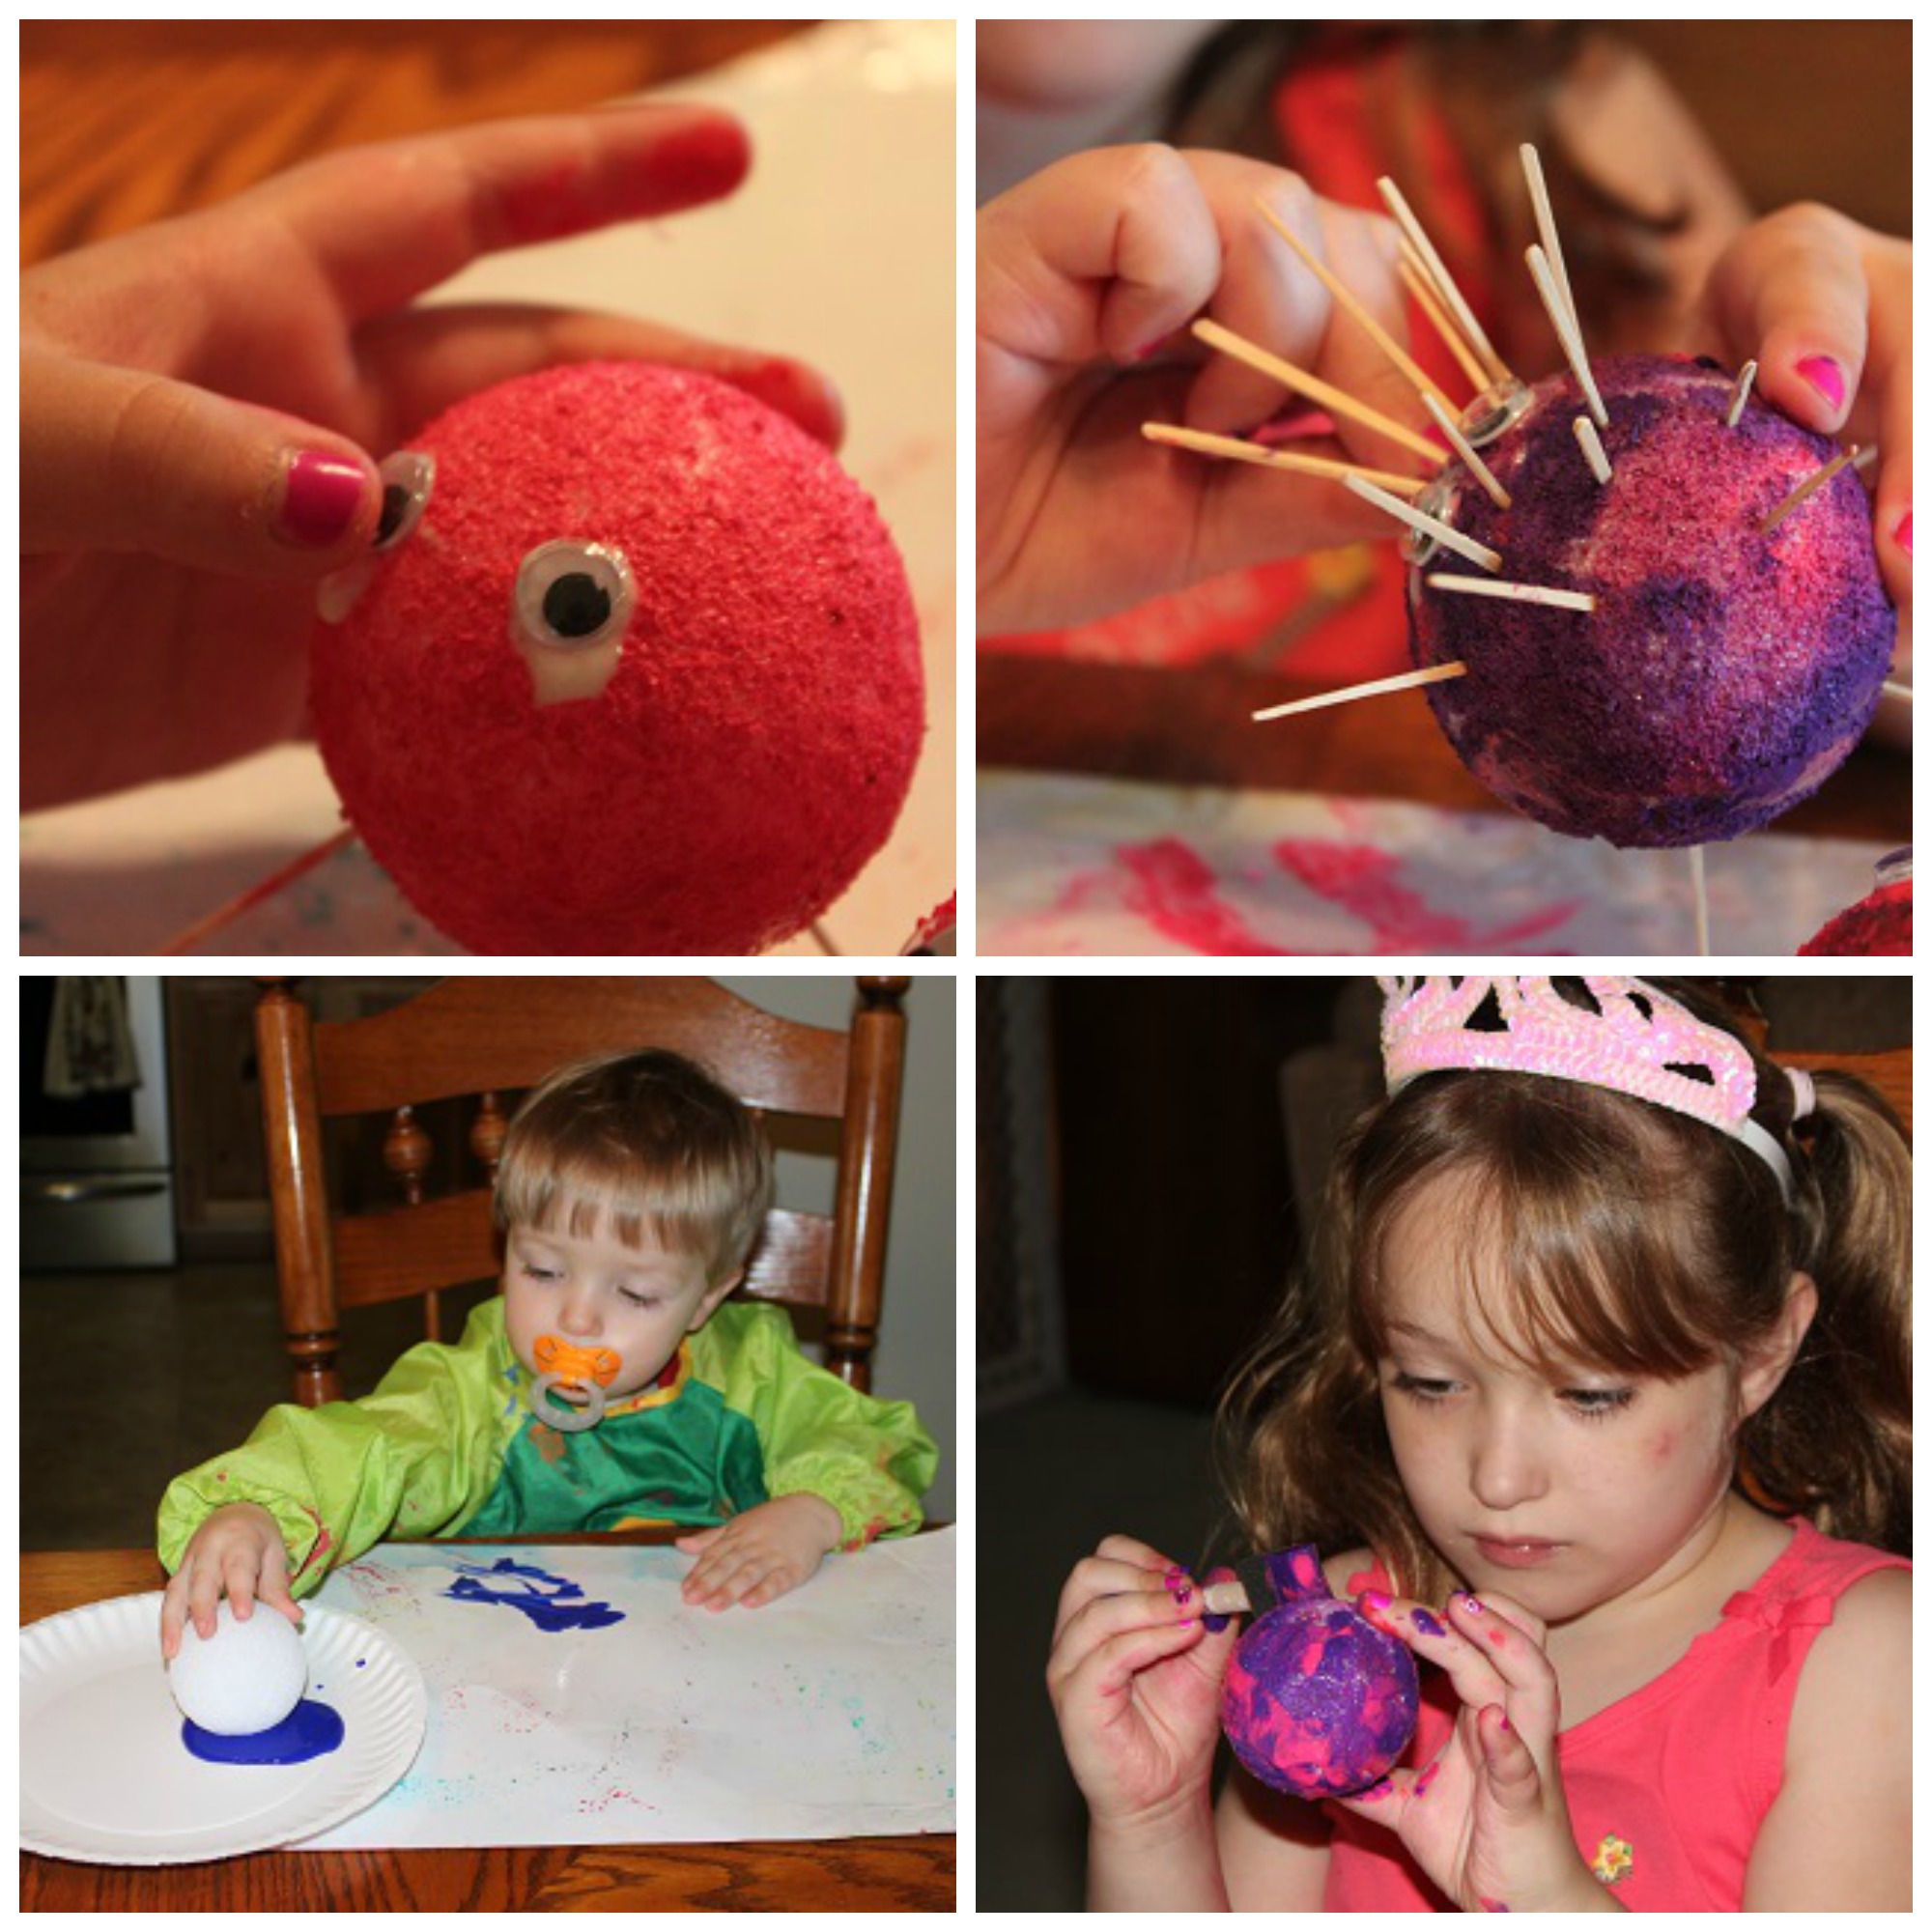
You can see the finished sea creatures here.
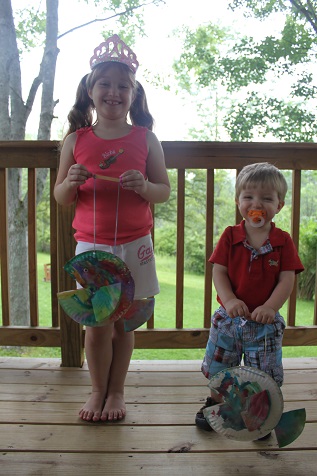
Hunter also worked on making a super cute Rainbow Fish- you can see the whole post here.
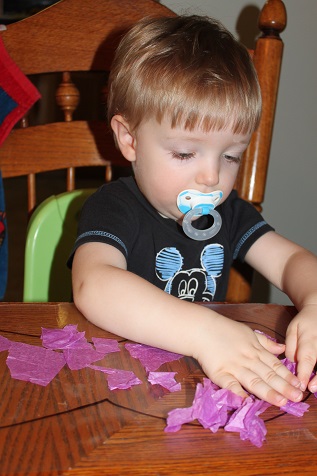
The color Hunter is learning is purple, so he made a purple suncatcher to add to our collection.
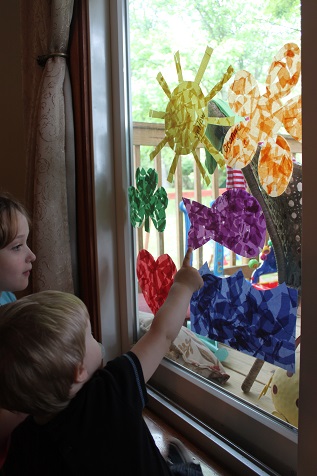
Hunter finding the purple fish he made.
Stop by 1+1+1=1 to see what the other tots were up to this week.
Be sure to like me on Facebook and follow me on Pinterest so you don’t miss any of our fun activities.
Tot School
Jun
Hunter is 18 months old.
Last week our focus for Tot School was on the color blue and the 4th of July.
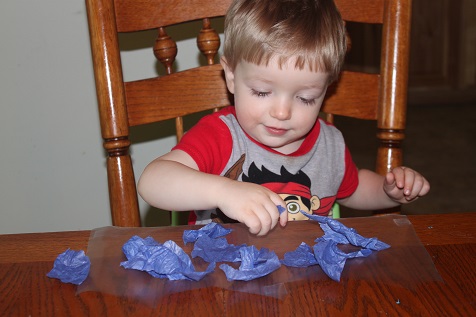
Hunter made a blue sun catcher to add to our window of sun catchers.
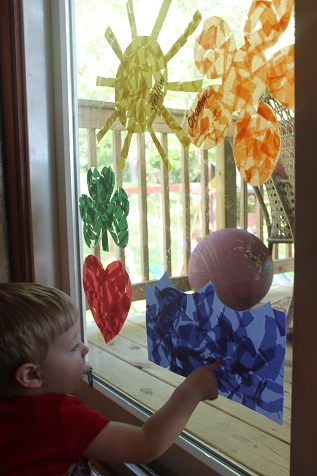
Hunter pointing out the color blue.
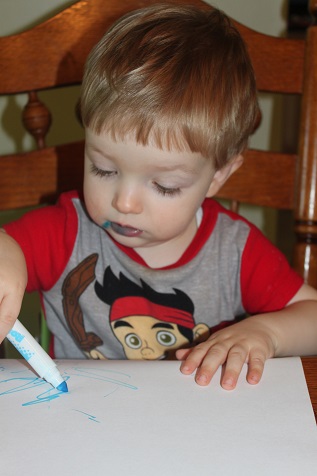
Coloring with a blue marker (and possibly tasting it too).
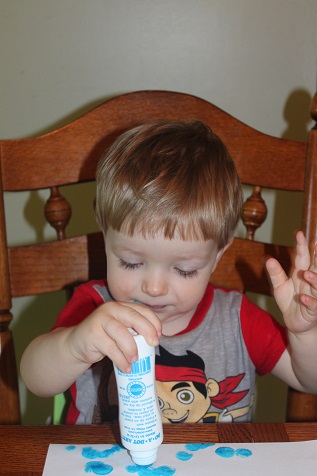
Hunter loves the do-a-dot markers!
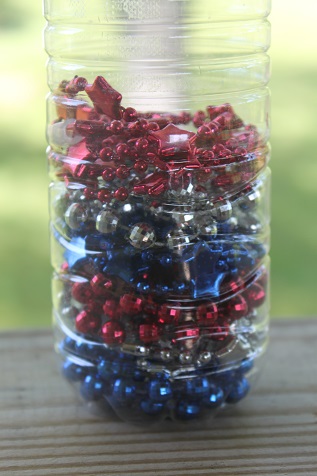
We made a red, white and blue discovery bottle.
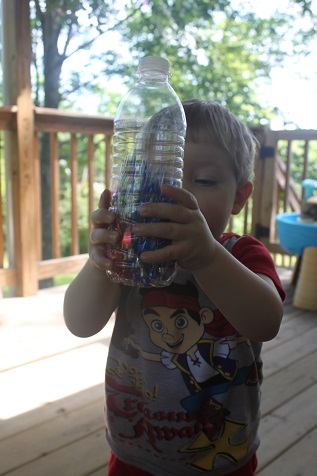
Hunter enjoyed playing with it for a few minutes. Then he handed it to me and didn’t want it anymore.

Blue sensory bin
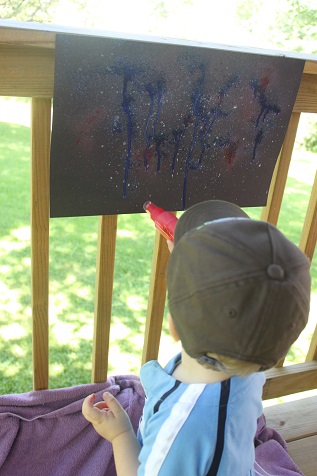
Hunter thought he was helping Hailey make these Fireworks, but the top was really on the spray bottle 😉

Hunter enjoyed making a Fourth of July Star Wand.
Stop by 1+1+1=1 to see what the other tots were up to this week.
Be sure to like me on Facebook and follow me on Pinterest so you don’t miss any of our fun activities.
Tot School
Jun
Hunter is 17.5 months old.
It’s been a busy couple of weeks and I have really been slacking on my blogging. These next few weeks are going to be super busy too! This time of year always seems like there is just so much going on.
Our theme for Tot School was dinosaurs and the color orange.
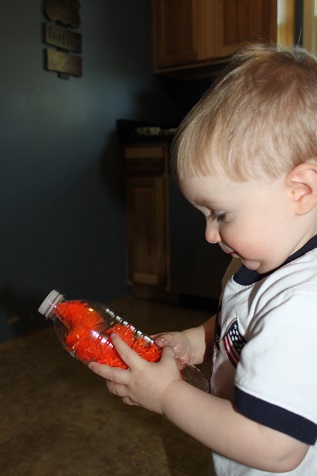
We made an orange discovery bottle. It’s filled with lots of fun stuff, and as long as I make sure to include some beads so that it makes noise when he shakes it, Hunter is happy.
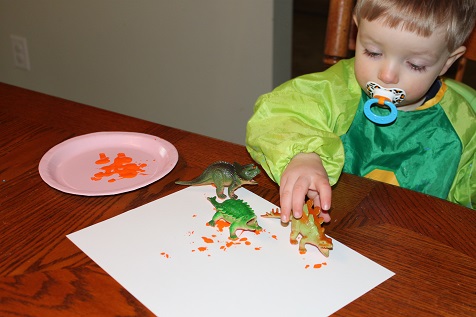
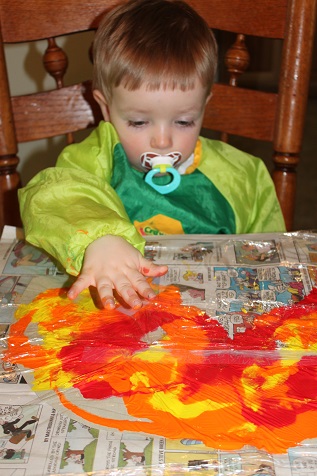
Hunter used his dinosaurs to make some orange foot prints.
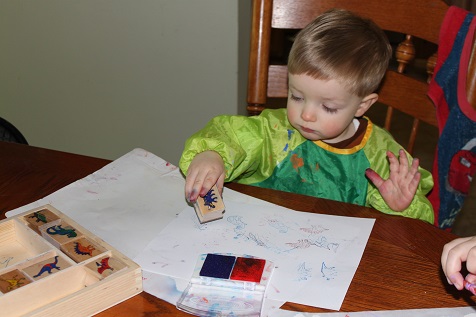
Hunter loved using the dinosaur stamps.
He made an erupting volcano (original post here.)
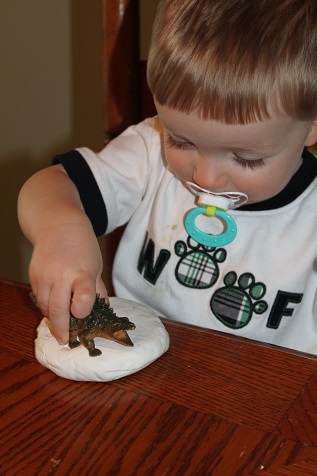
He enjoyed making dinosaur footprints in some model magic (original post here). This kept his attention for a very long time!
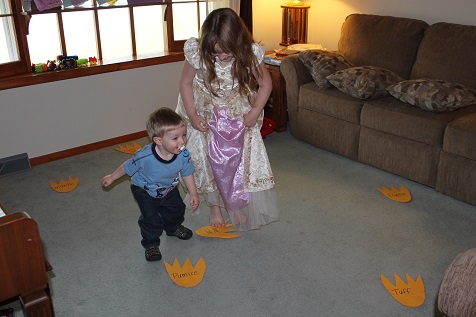
We played a game with some vocabulary words for Hailey. Hunter loved jumping from one dinosaur footprint to another.

Hailey read Hunter some dinosaur books.

One evening while my parents were babysitting they made a ramp out of a pizza box. Hunter thought it was great to drive his cars down the ramp.
One of the reasons I was busy- we went to the ocean… so here is some “real life” tot school:
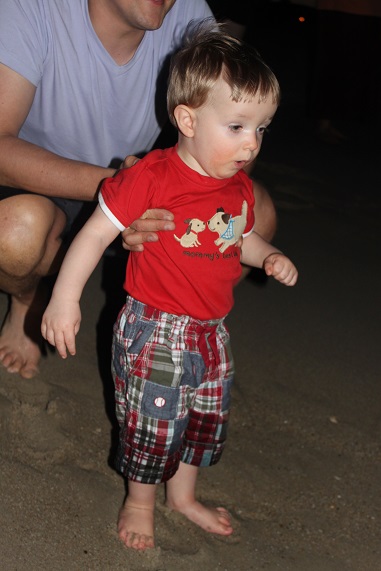
Hunter experiencing the ocean for the first time.
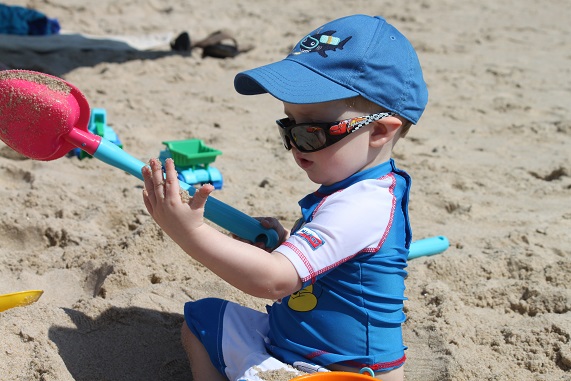
He loved playing with the sand.
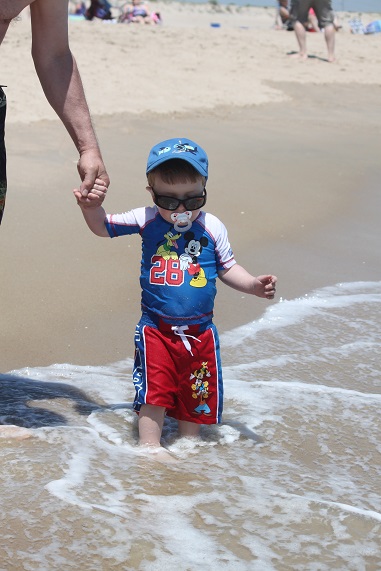
He thought the waves were fun too, as long as they didn’t splash him too much. He called the ocean “bubbles.”
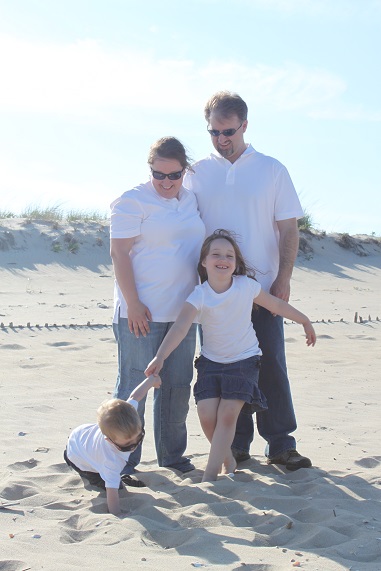
We had a great time and made lots of wonderful memories!!
Stop by 1+1+1=1 to see what the other tots were up to this week.
Be sure to like me on Facebook and follow me on Pinterest so you don’t miss any of our fun activities.
