Archive for the ‘Colors’ Category
Tot School
Jul
Hunter is 30 months old.
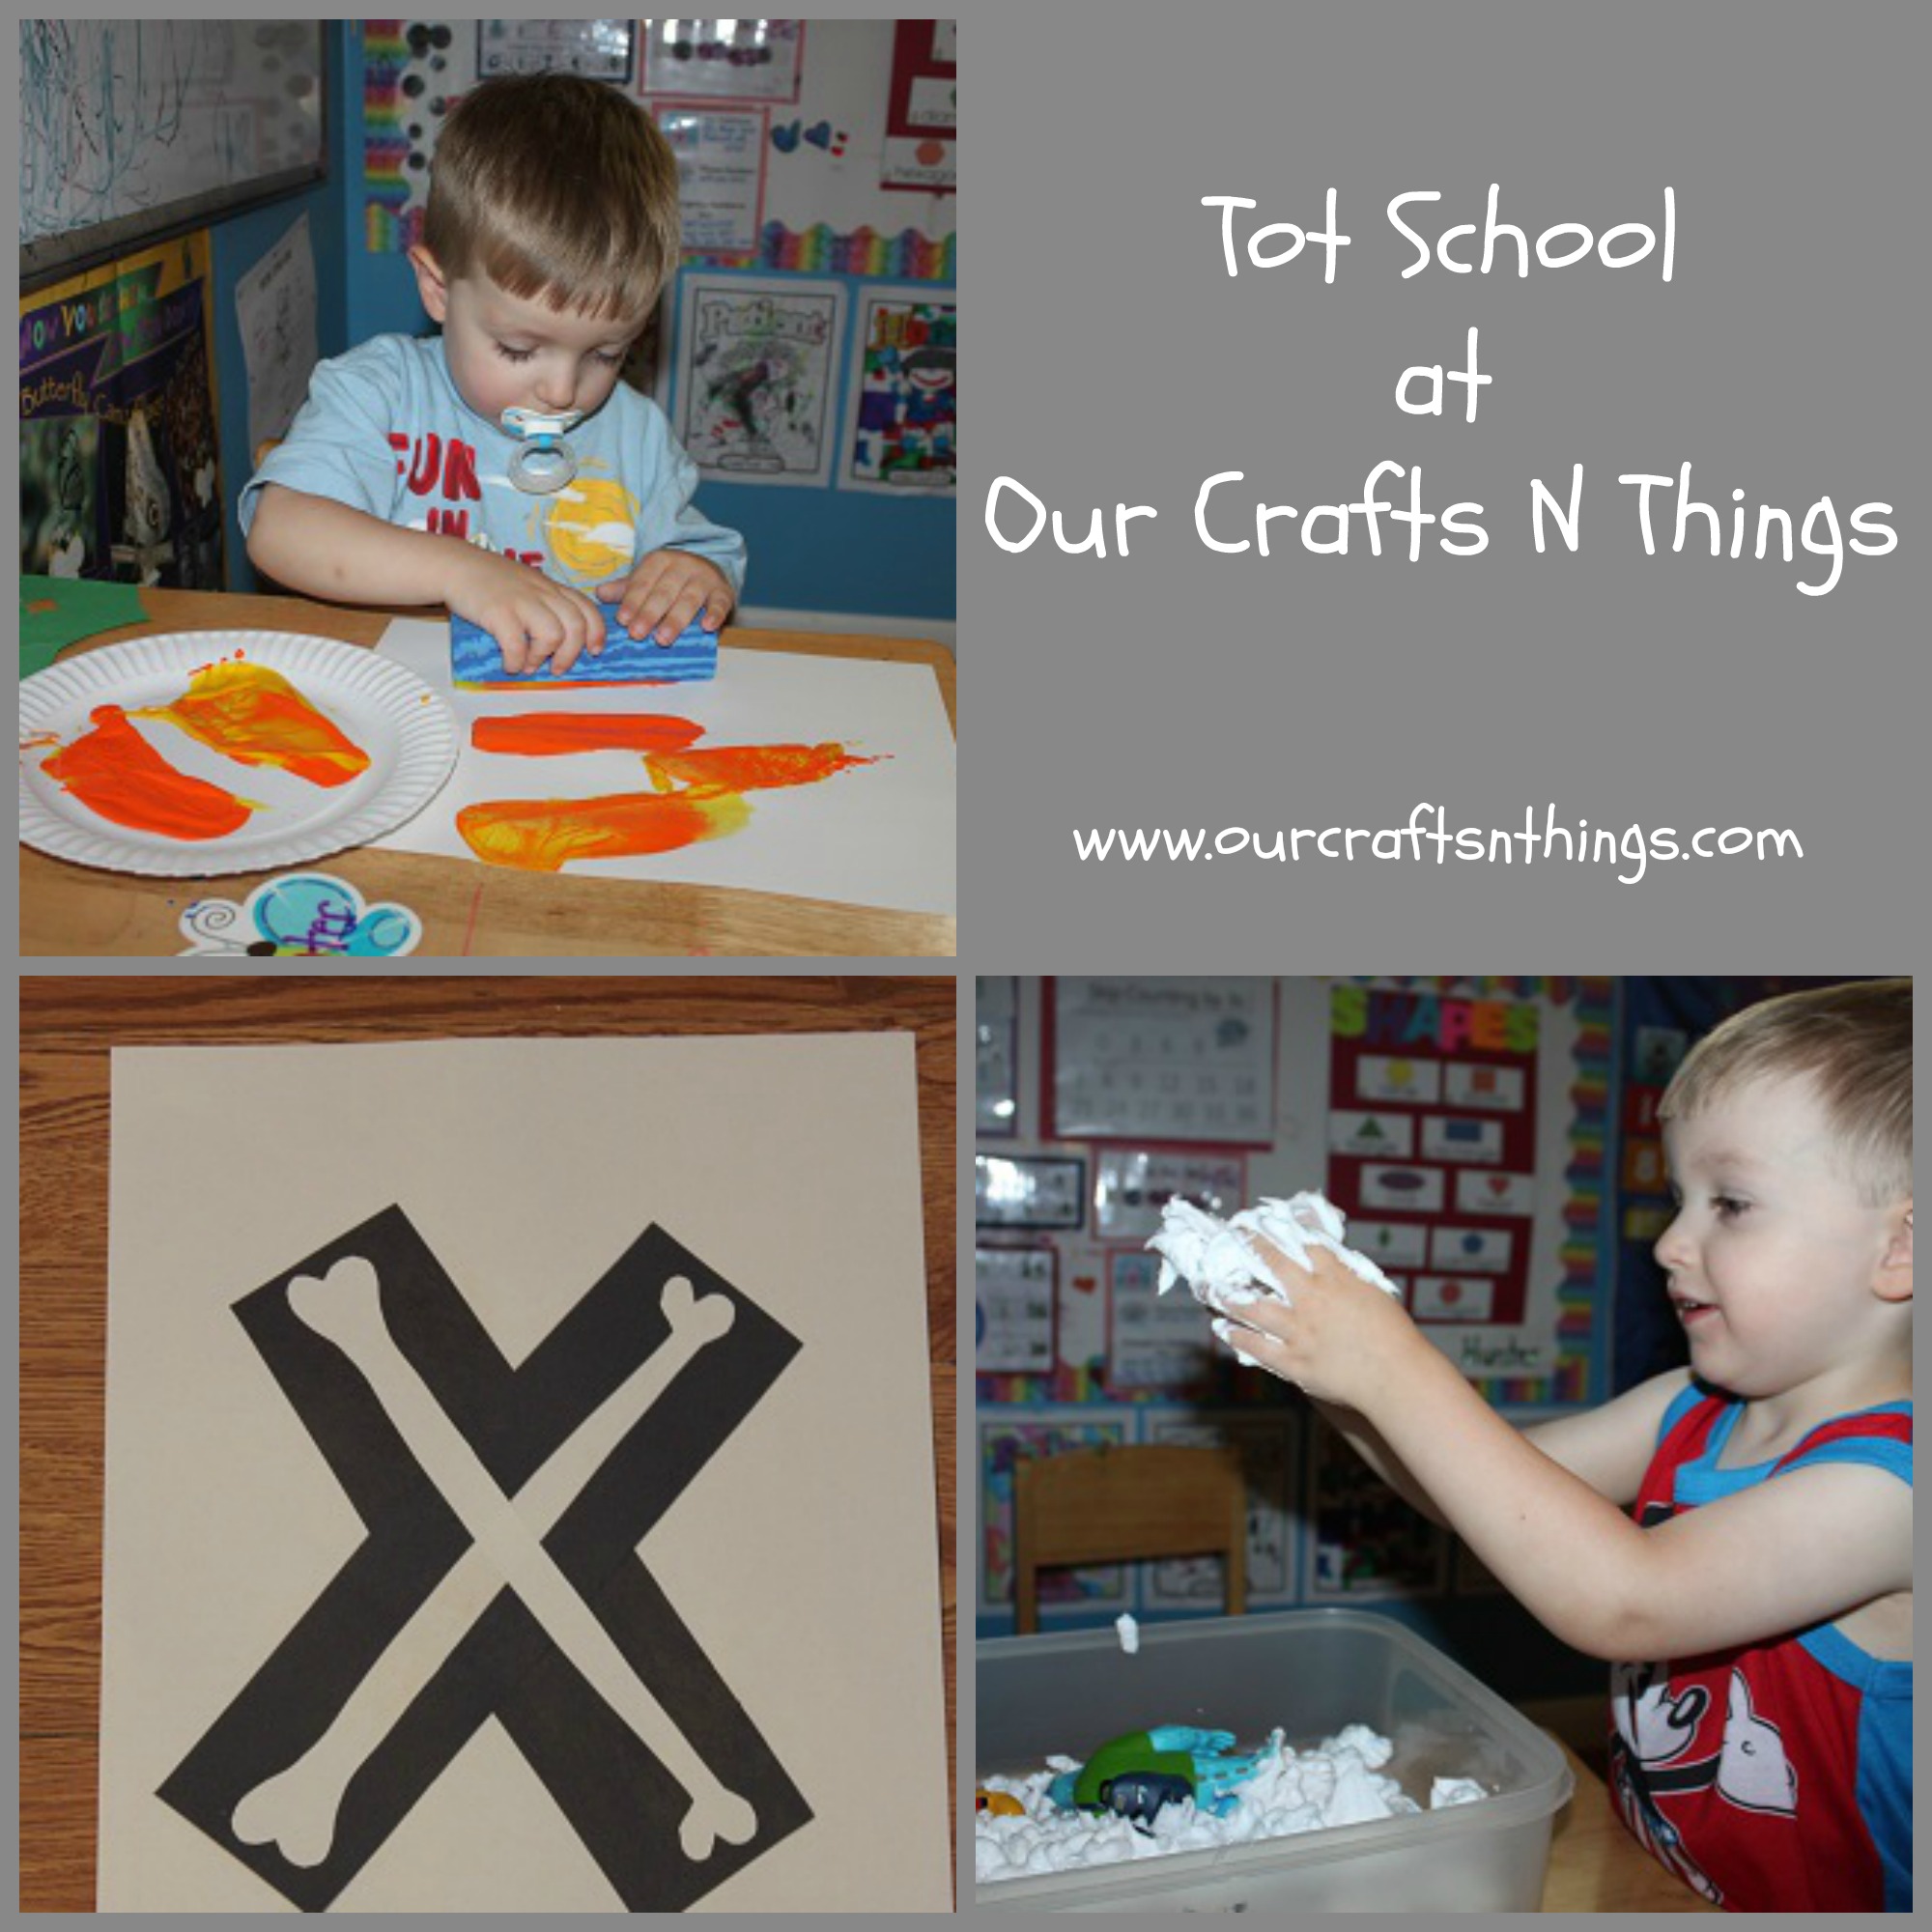
Letter X activities:
(Printables for the letter X are from 1+1+1=1 and Confessions of a Homeschooler.)

Hunter coloring his letter X paper.
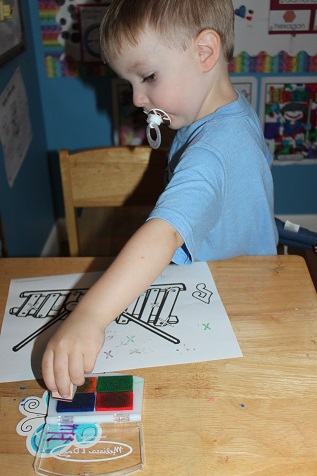
Stamping the letter X onto this paper. He loves using the stamps!
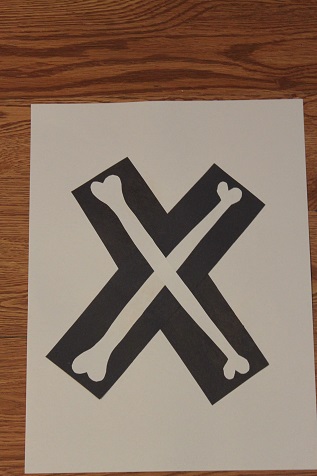
We made an X is for X-ray
Shapes & Colors:
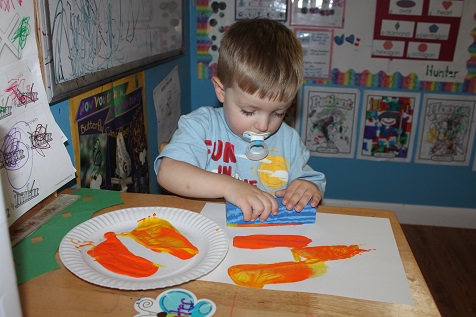
Our shape this week was the rectangle- Hunter worked hard at stamping some rectangles onto his paper.
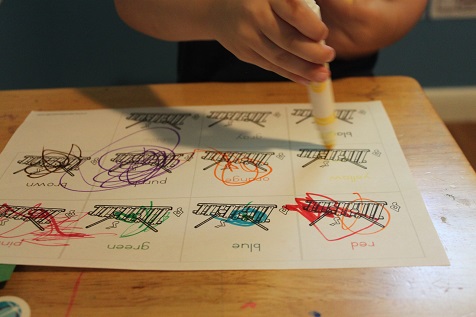
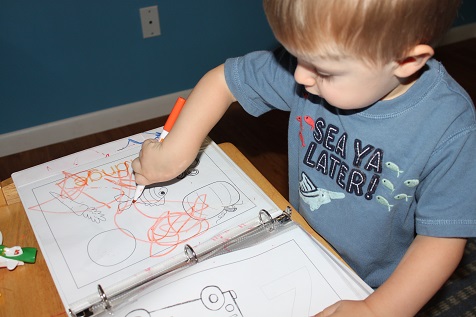
Hunter knows all of his colors, but he really enjoys doing these printables, so we keep using these. He doesn’t need any help– he looks at the color word and finds the right marker to color the picture.
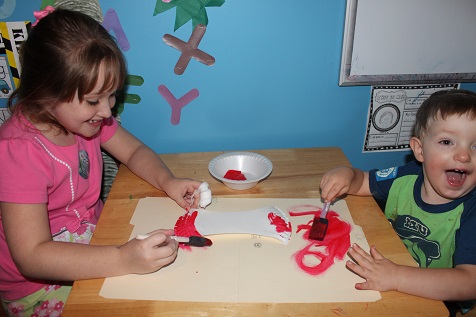
Sensory:
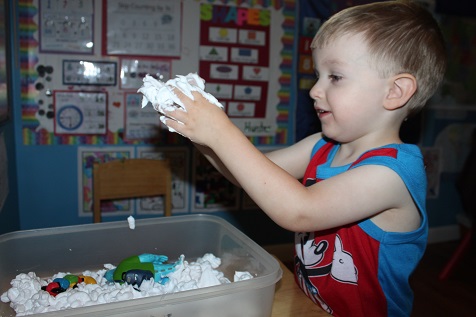
One day Hunter played with shaving cream in his sensory bin. It was a huge mess, but he had a great time.
Other:
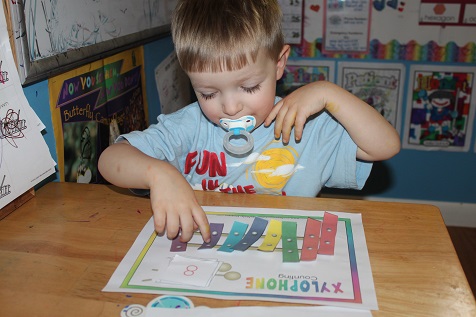
We practiced counting by putting a number on the paper and then counting out the correct number of pieces.
Stop by 1+1+1=1 to see what the other tots were up to this week.
Be sure to like me on Facebook and follow me on Pinterest so you don’t miss any of our fun activities.
Tot School
Oct

Hunter is 22 months old.
My Tot School post is a bit late this week, but sometimes life just gets in the way… Last week we had a death in our family, someone much too young to die. She left behind her husband and their almost 4 year old little boy. In addition she left behind her sisters and parents, and no parent should ever have to bury a child. So, it was a very sad and hard week for us. Other than the posts I had already set to auto-post I didn’t do any blogging. We would definitely appreciate your prayers.
Here are the activities we did last week:
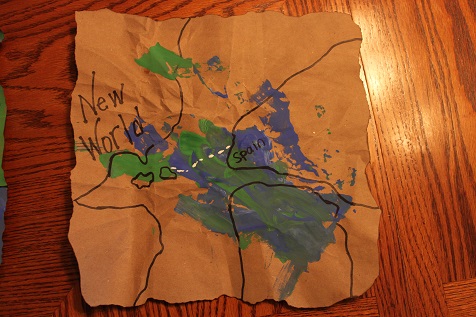
On Columbus Day we learned about Columbus and made a map.
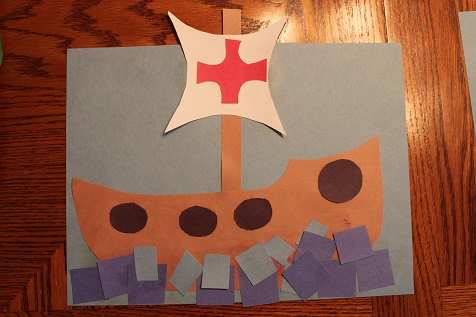
Hunter also made a boat for Columbus Day. You can see my original post with our Columbus Day Activities.
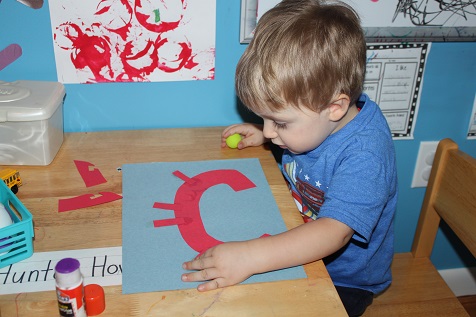
Hunter’s letter of the week was C.
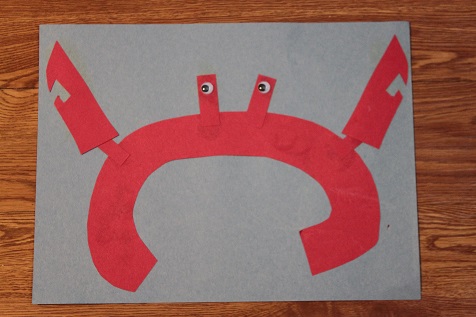
He made this cute Crab that I saw on Totally Tots.
Hunter also glued some cement trucks onto the letter C, using the printables from Royal Baloo.
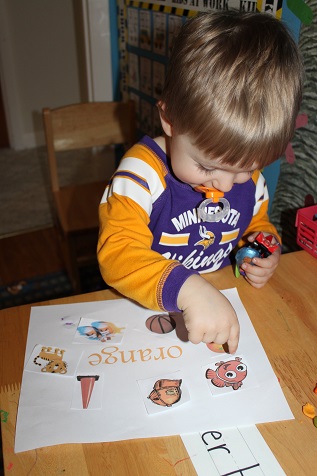
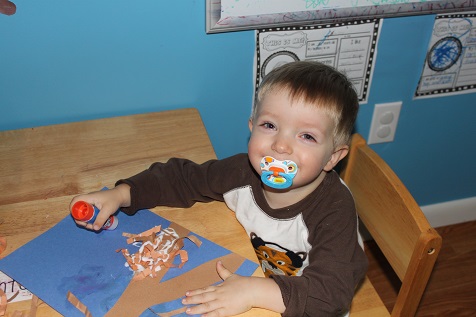
Hunter is learning the color orange, so we used the printables from Royal Baloo to make this orange page.
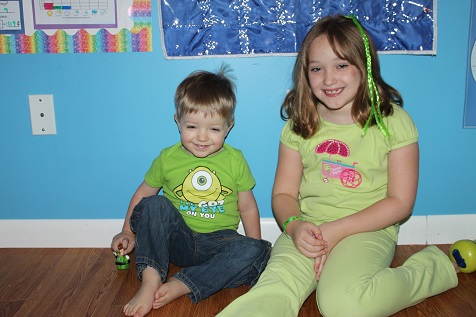
We have been learning about fall and leaves, and one day Hailey and Hunter dressed all in green to show the color of chlorophyll.
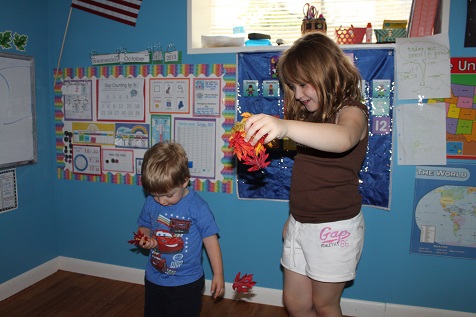
We sang a fun fall song and played in some fake leaves.
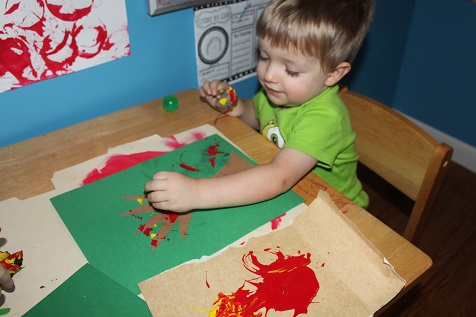
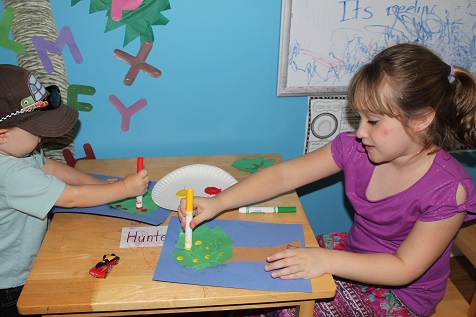
We also made a cute fall tree craft, using leaves to paint.
Stop by 1+1+1=1 to see what the other tots were up to this week.
Be sure to like me on Facebook and follow me on Pinterest so you don’t miss any of our fun activities.
Tot School
Oct
Hunter is 21.5 months old.
This week at Tot School we focused on the color orange, the letter B and fall.
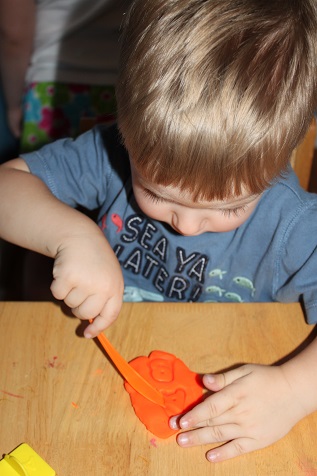
Hunter loved playing with the orange playdough. He used a little knife to cut it and some letters to stamp it. Mostly he just wanted to carry it around all day in his hands.
He colored in his calendar notebook using an orange dry erase marker (his pages are in page protectors).
He made a Bumble Bee letter B, like the Bumble Bee B that Hailey made when she was a toddler.
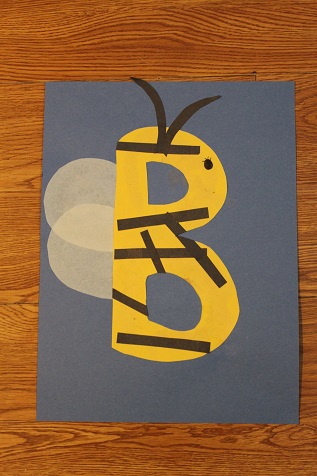
Completed Bumble Bee B.

Hunter stamping the “B for Bus” using the printables from the Zoomin Movin Alphabet.
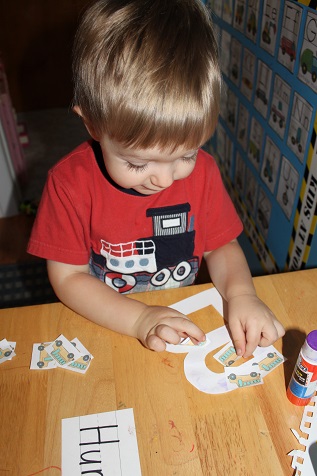
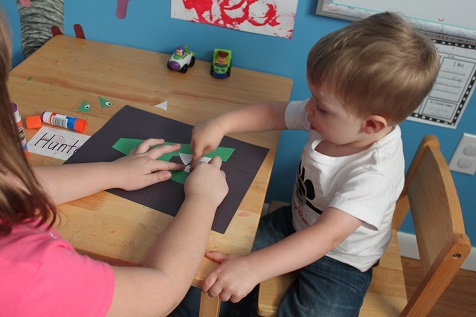
Gluing buses onto the letter B, also from the Zoomin Movin Alphabet.
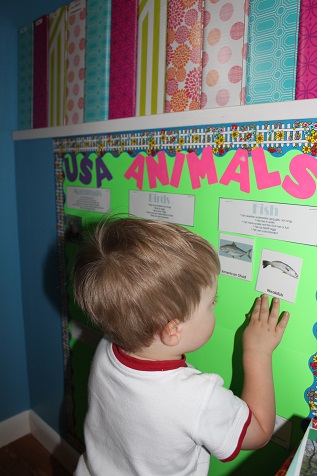
I am using Road Trip USA for Hailey, and Hunter enjoys doing it too. He was finding the fish on our USA Animals wall.
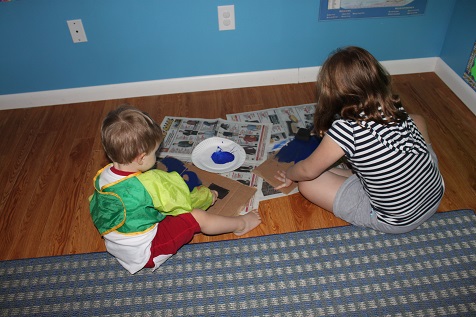
He also helped Hailey paint the water for a bridge project she was making.
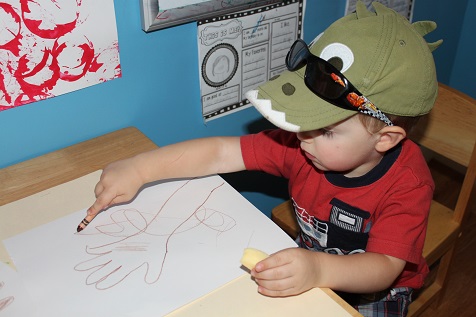
Hunter colored a tree for a fall tree craft that we made.
Stop by 1+1+1=1 to see what the other tots were up to this week.
Be sure to like me on Facebook and follow me on Pinterest so you don’t miss any of our fun activities.
Tot School
Sep
Hunter is 21 months old.
We had another fun week at Tot School! I finally feel like I’m getting into a routine with homeschooling Hailey, so the activities I did with Hunter this week were a bit more purposeful than they have been in the last few weeks.
Hunter made this cute “A is for Alligator” that I found at Totally Tots. Hailey loves to work with Hunter and help him, and of course he loves to have her help.

A is for Alligator.
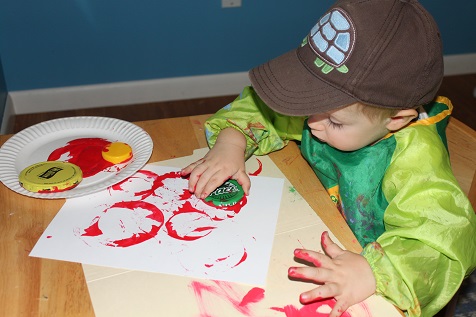
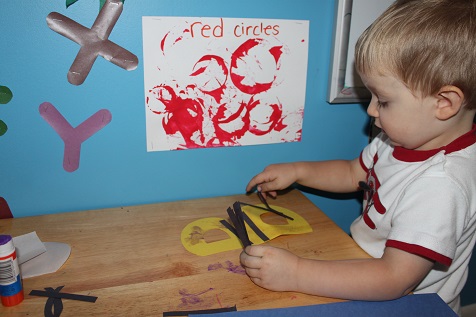
Hunter is also learning the color red and circles, so he had fun stamping red circles.
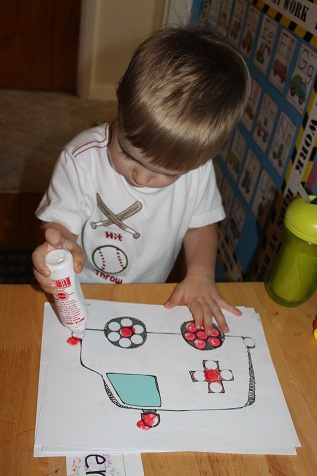
Hunter loves the printables from the Zoomin Movin Alphabet. This week he seemed to understand that he can stamp the do-a-dot marker onto the circles on the paper.
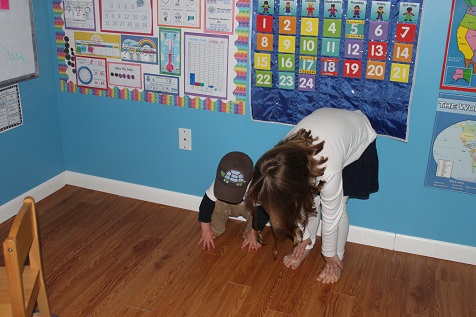
Hunter and Hailey doing some toe-touches while working on their memory verse.
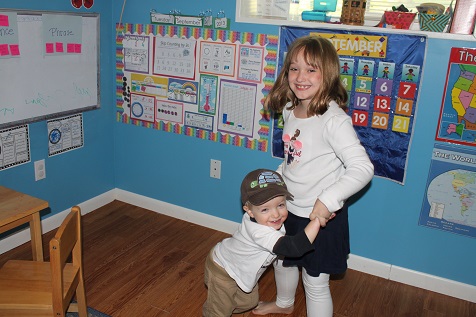
Having fun dancing.
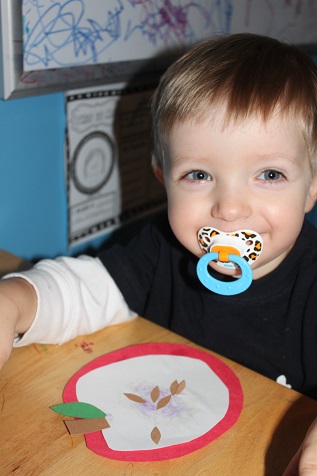
Hunter made this apple parts craft that went in his Apple Totbook, which I will be sharing sometime this week.
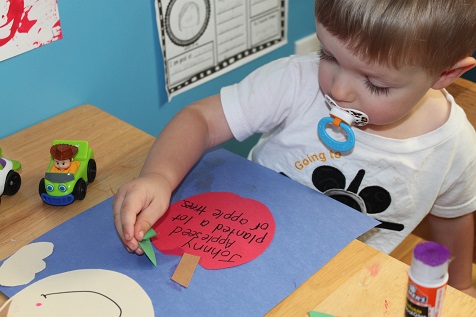
We also learned all about Johnny Appleseed this week and made a cute craft about him, which I will also share this week.

Hunter loved pretending to be Johnny Appleseed and wearing a pot on his head.
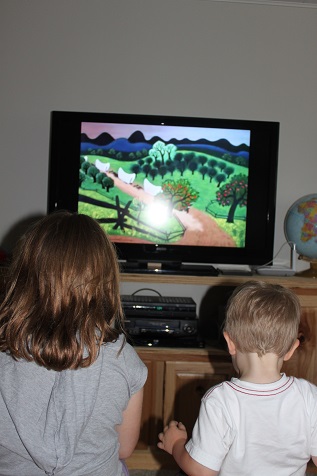
Hailey and Hunter watched a short movie (about 17 minutes) about Johnny Appleseed on YouTube.
Hunter made an apple basket craft, which I will also share this week.
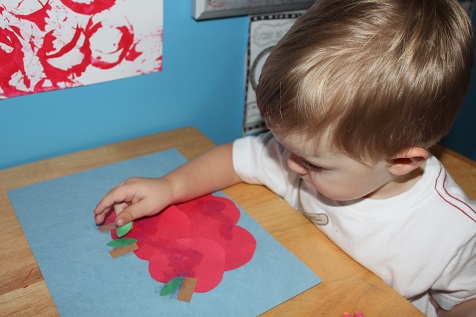
This Apple Tree Activity turned out super cute!
Hunter enjoyed making this Apple Core Craft with Hailey.
We are using Road Trip USA for Hailey’s geography curriculum and we made a Robin Craft this week, to go along with Connecticut. Hunter loves doing everything that Hailey does 🙂
Stop by 1+1+1=1 to see what the other tots were up to this week.
Be sure to like me on Facebook and follow me on Pinterest so you don’t miss any of our fun activities.
