Archive for the ‘Paper Plate Crafts’ Category
Paper Plate Turtle
May
In continuing with our ocean theme we learned about turtles. I explained how turtles lay their eggs on the beach and then when the baby turtles hatch they go into the ocean. Then we made a very easy paper plate turtle.
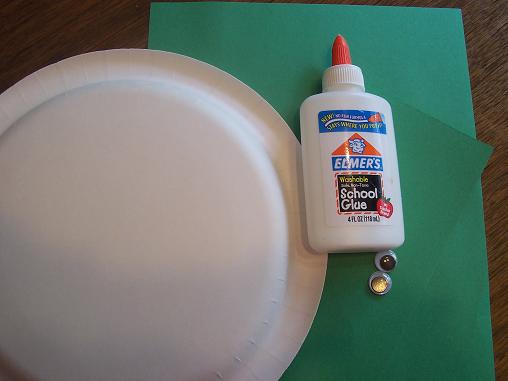
Here’s what you’ll need: paper plate, glue, green construction paper, wiggly eyes.
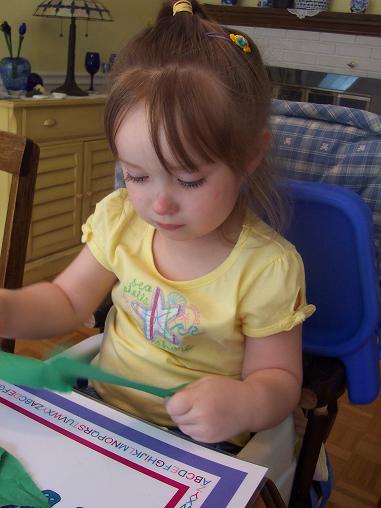
Tear the construction paper into little pieces. This helps to strengthen the muscles in the hand that are necessary for the control needed to learn how to write.
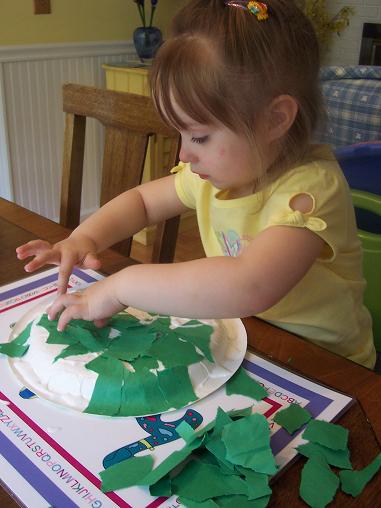
Glue the little pieces of paper onto the paper plate. Once the plate was all covered in construction paper we added a head and legs.
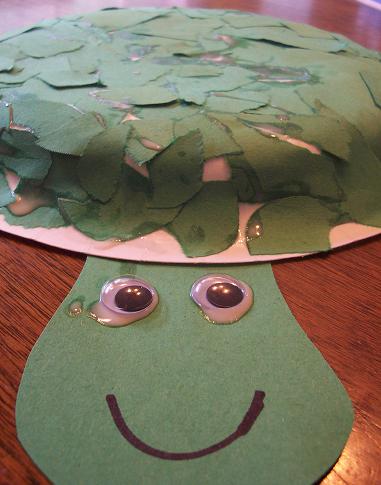
The finished turtle.
Fish Aquarium
May
Since we’re learning about things that live in the ocean this week we made a fish aquarium today. We are pretending that we caught some fish in the ocean and we are keeping them as pets in our aquarium.
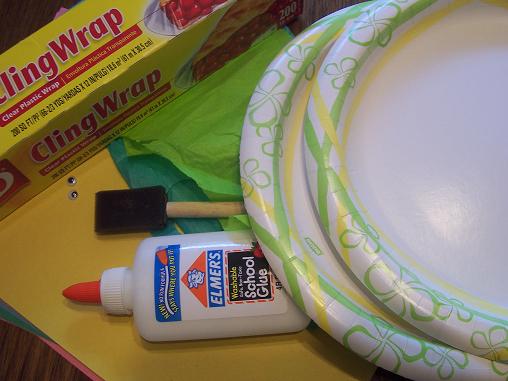
Here’s what you’ll need: 2 paper plates, construction paper in various colors, tissue paper- green and blue, glue, wiggly eyes and some clear plastic wrap. Also- not pictured- you’ll need tape and adult scissors.
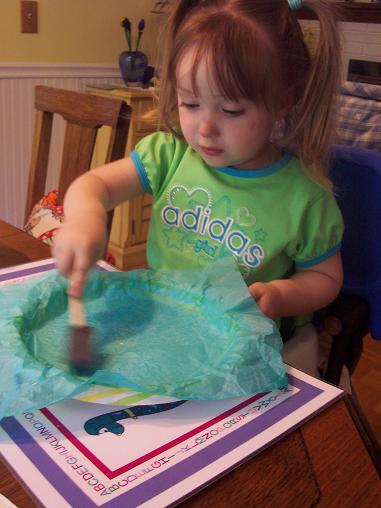
We used tissue paper to make the plate blue- but if you have a blue paper plate that would be easier. I would have preferred to have painted the plate blue, but since we are in transition from one house to the next right now our paint is somewhere in my parents garage. So, we used tissue paper.
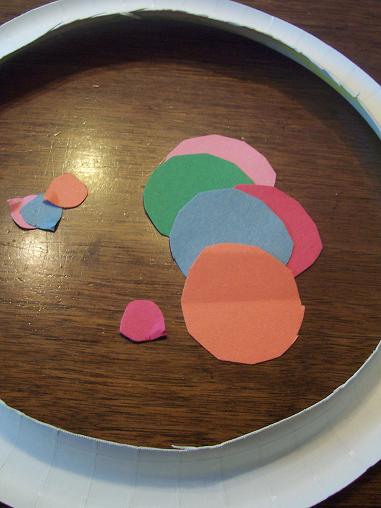
While your child is busy gluing the tissue paper on (or painting the plate) cut out the center of the 2nd paper plate. Also cut out some little circles to decorate this paper plate. Then have your child glue those circles on the plate with the missing center.
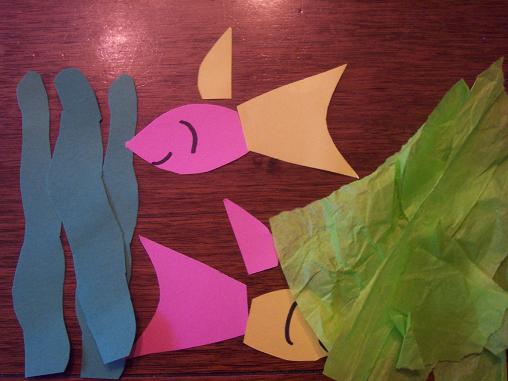
While your child glues the circles on, cut out some seaweed and some fish. I also tore up some tissue paper to be used for seaweed. Normally I would have Hailey tear the tissue paper up (very good for those little muscles in the fingers), but her hands were all covered in glue from the previous steps, so I just did it for her.
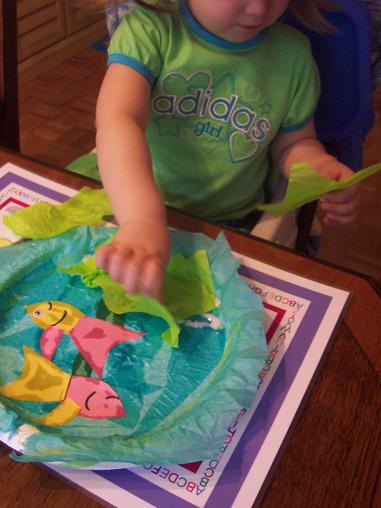
Put everything together. We scrunched up the tissue paper to look like seaweed at the bottom and glued the fish on. I had actually planned to add some seashells, but could not find my collection.

Stretch a piece of clear plastic wrap onto the back of the plate with the center cut out. Tape it in place. This was the hardest step- once I finally got it stretched nice and tight, Hailey hit it with her hand and it came undone.
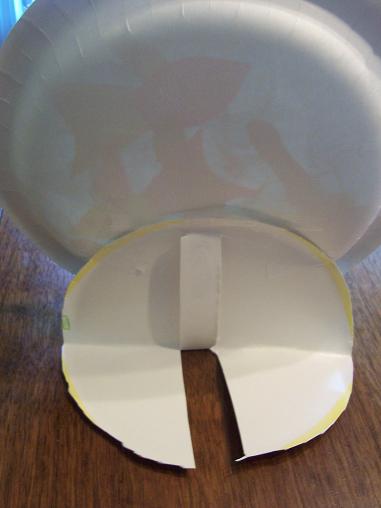
Use the piece you cut out of the middle of the one plate to make a stand on the back of the aquarium.

Our finished fish aquarium.
Paper Plate Jellyfish
May
This week our theme is going to be the Ocean. We started out by making a letter O Octopus yesterday. Today we made a cute Jellyfish.
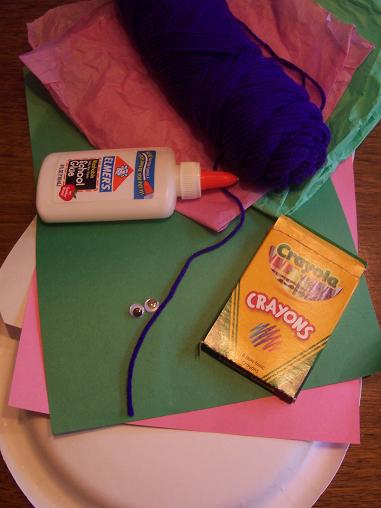
Here is what you’ll need: paper plate, construction paper, yarn, tissue paper, crayons, wiggly eyes and glue.
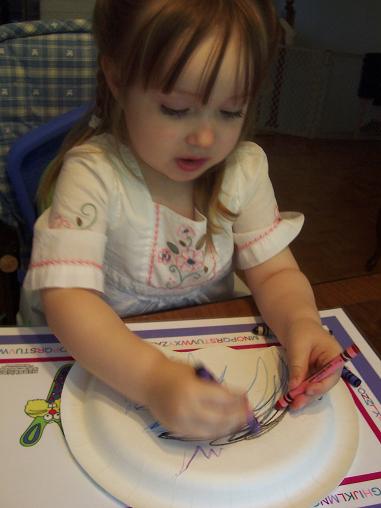
Cut the paper plate on one side to look like the bottom of a jellyfish. Then have your child color the plate.
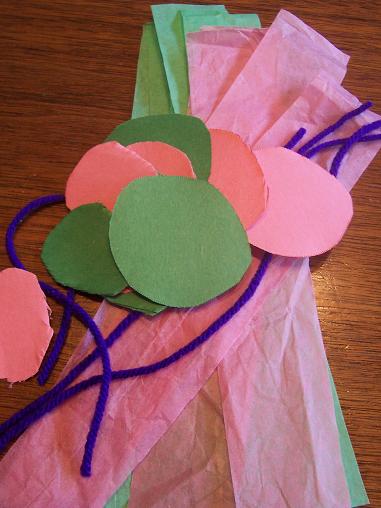
While your child is busy coloring, cut out some circles, strips of tissue paper and pieces of yarn.
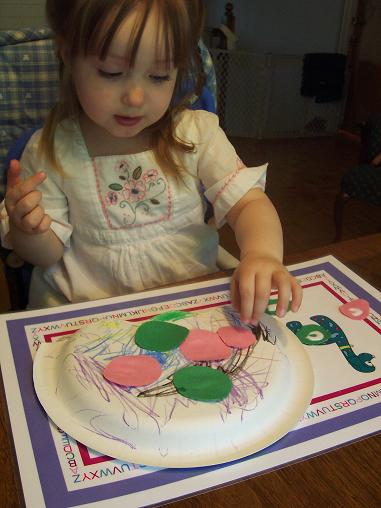
Glue some spots onto your jellyfish.
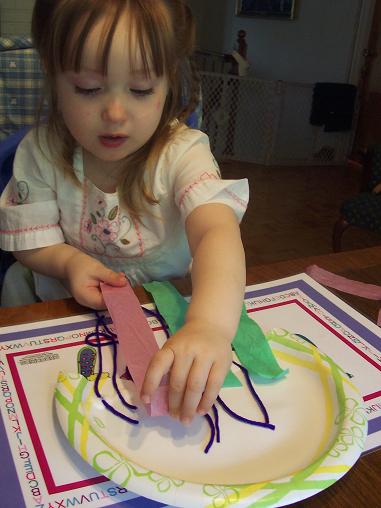
Turn the plate over and glue the yarn and tissue paper onto the back to represent the tentacles.

The finished jellyfish.
Heart Wreath
Feb
I had planned to wait until next week to post our Valentine’s Day crafts, but I’m in the mood to start now. So, we’re starting today instead.
We made this very easy and cute Heart Wreath.
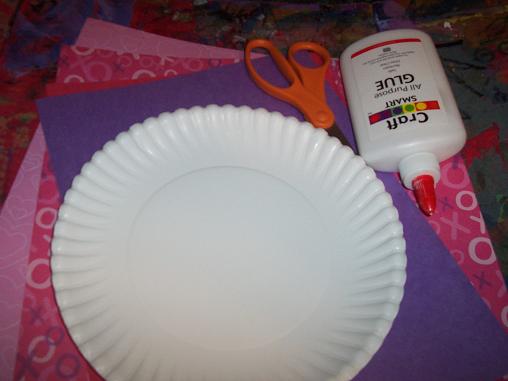
Here’s what you’ll need: paper plate, paper, scissors and glue.
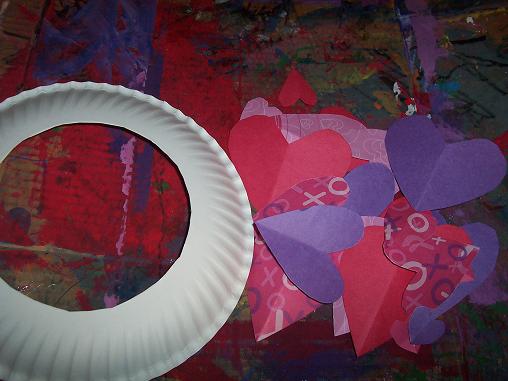
Cut the center out of the paper plate and cut hearts out of the paper.
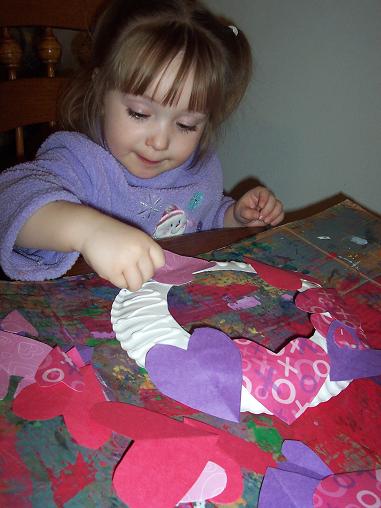
Glue your hearts onto the plate.
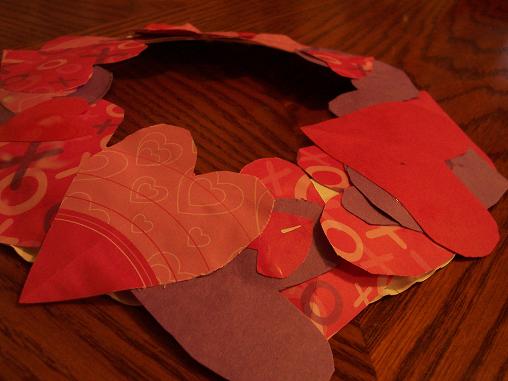
The finished Heart Wreath, which you can proudly display with your Valentine’s Day decorations.
