Archive for the ‘Paper Plate Crafts’ Category
Orange, Triangles and the Number Three
Oct
Our color this month is orange and our shape is the triangle. Here is one of the crafts we did to reinforce this information.

Here’s what you’ll need: orange paint, paper plate, something to paint with, black and green paper.

Paint the plate orange.
Cut out some black triangles and a green stem for your child. Or if your child is older you should have your child do the cutting.

Once the paint is dry, glue on the stem and triangles. I did not tell Hailey where to put the triangles for this project, I simply suggested where they could go if she wanted them to be eyes, nose, mouth, etc. She picked where to put them though.

The finished pumpkin.
Our number this month is the number 3 and here is the craft we did last week for that.

Here’s what you’ll need: a large number 3, construction paper in a different color, paint, paper plate, and some fun paint rollers. (Hailey got those paint rollers for her birthday, aren’t they cute!!)

Put some paint on the roller and paint the number 3.

I cut out the number 3, glued it to the other paper, added the word “Three” and put three stickers on. I added this to our number wall.
Ladybug Craft
Jun
One of the themes I am focusing on this month with Hailey is ladybugs. We have read some ladybug books (She loves “The Grouchy Ladybug” by Eric Carle) and looked at pictures of ladybugs. So, the other day we made a ladybug.
 What you’ll Need:
- Paper plate
- Markers or paint (I had planned to use paint, but
we were all out of red paintI didn’t feel like dealing with the mess) - Black circles (I pre-cut these because Hailey is too young for scissors) and a face for the lady bug.
- Glue
- A cooperative toddler
Directions:
Paint or color the paper plate. Then glue on face and spots. Simple!


The completed ladybug.
Remember- when doing art activities with toddlers the process is much more important than the end product. Hailey had a blast making her ladybug.
Sponge Painting
May
I have done several finger painting projects with Hailey and I decided it was time to try something different. So we did some sponge painting. Sponge painting is a great activitiy to try with a toddler. Sponge painting can be done with all sorts of different materials but I picked a regular old sponge. Since we are working on learning shapes I cut the sponge in half to make two squares.

A very easy set up:
- Paper plate
- Paint
- Sponge(s)
- Painting paper
Then I put Hailey at the table and just let her explore the paint and the sponges.


The sponges have an interesting texture and leave an interesting print on the paper. Hailey enjoyed painting for quite a long time.
Then she started finger painting on the plate that I had put the paint on. Hailey was drawing lines on the plate in the paint. So, I started writing letters for her since I am working on letter recognition with her.

Then Hailey wanted me to write her name and Brooke’s name.

Then we used the sponge as an eraser and wrote more names and letters. She loved it! When she was done we let the plate dry with Brooke’s name on it and it turned out great.
From this project I thought of a new project to do- we are going to finger paint on paper plates. When Hailey is done experimenting I will write a letter on the plate and leave it to dry. Eventually we will have the entire alphabet.
Umbrella Painting
Apr
In keeping with the theme of Spring I did an Umbrella Painting project with Hailey yesterday.
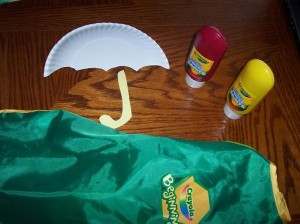 What you’ll need:
- -paper plate cut in the shape of an umbrella
- -card stock in the shape of a J for the handle
- -finger paint
- -smock
- -a place set up to put the project to dry when you’re done
Let’s get started!
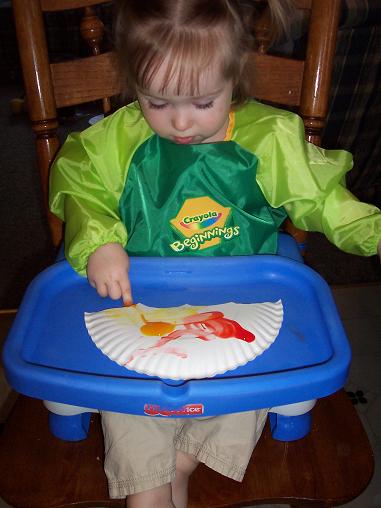
Hailey had never finger painted before, so she was a little unsure of touching it at first.

Soon she was enjoying herself.

Finally she really got into it and got both hands covered in paint.

While Hailey was painting I kept a little dialog going with her. I started out with some simple questions like, “What are we making,” “What color is this” etc. And then I moved on to some more open ended questions. Open ended questions are important because they enhance your child’s language. Rather than a simple answer they have to think about their response. Some good open ended questions to ask might include “What does it feel like,” “Why do you think the red and yellow turned orange” and “What do you see.” With a toddler you aren’t going to expect complex answers but you are still helping to expand their vocabulary and thinking skills.
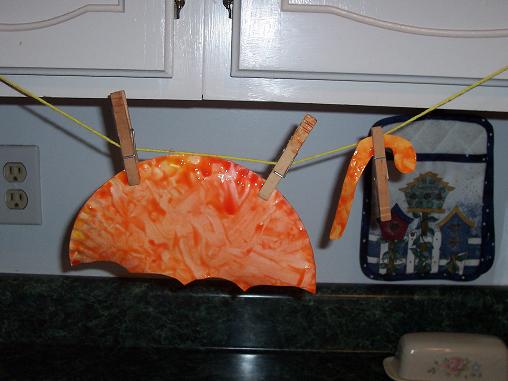
Hanging the pieces up to dry.
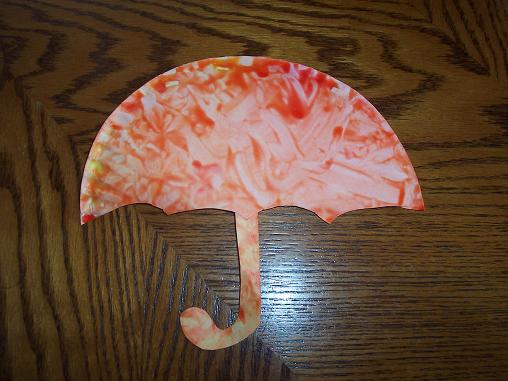
The finished umbrella.
Tags: finger painting with toddler, free toddler activity, umbrella craft, umbrella painting
