Archive for June, 2009
Full Moon
Jun
We are starting a theme about space and Hailey absolutely loves the moon. So, when I saw a cute moon over at No Time for Flashcards I knew that Hailey would love this idea. I have done this before to make clouds or snow but thought to use it for a moon. It turned out cute though.

Here’s what you’ll need: glue, shaving cream, bowl, spoon, construction paper and a cereal box. We used the inside of the cereal box to make our moon because you need a heavy kind of paper to make it.
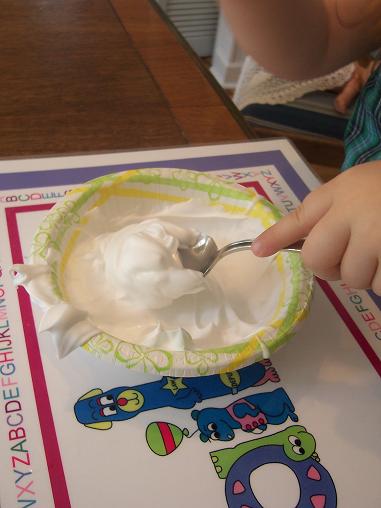
Mix equal parts of shaving cream and glue together.
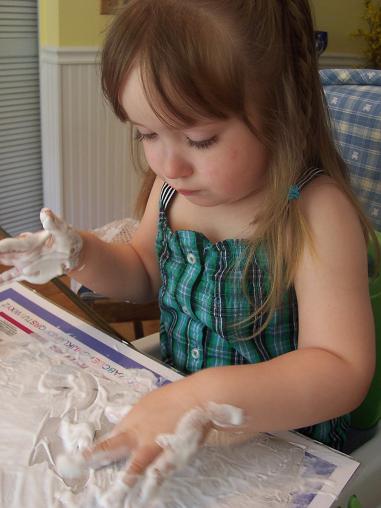
Have fun! Hailey loved playing with the mixture. This kept her occupied for a very long time.
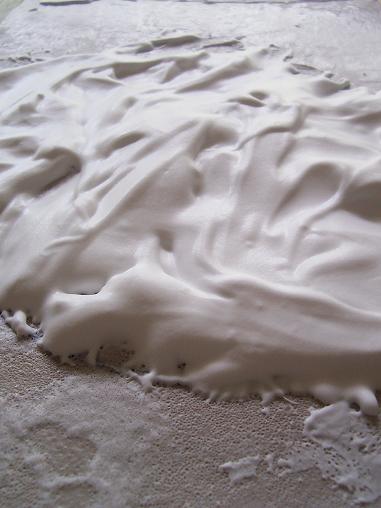
Leave the shaving cream and glue to dry. I left ours over night to make sure it was dry.
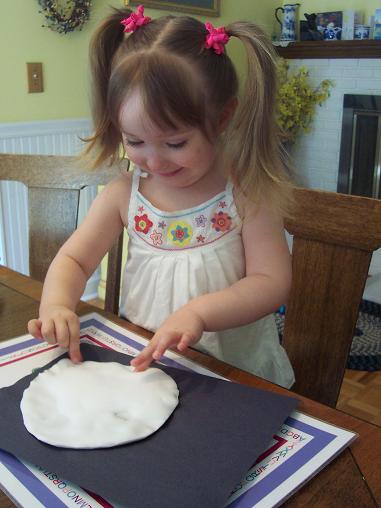
Once it’s dry, cut out the circle shape and glue it onto a black piece of construction paper.
Seahorse
Jun
We finished up our ocean theme by making this cute seahorse.
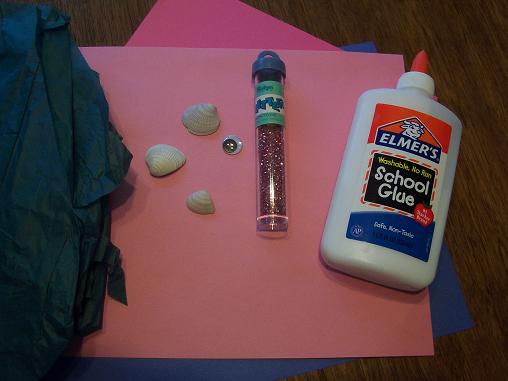
Here’s what you’ll need: construction paper, tissue paper, glue, shells, glitter, wiggly eye.
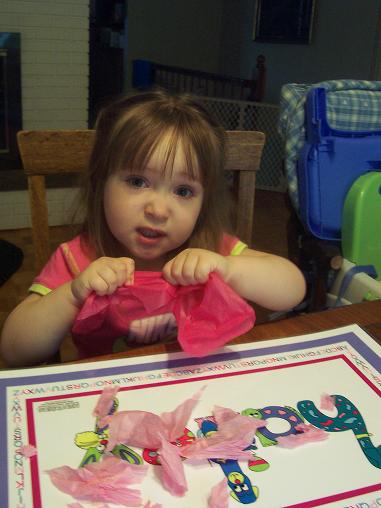
Tear the tissue paper into little pieces and then crumple it up.
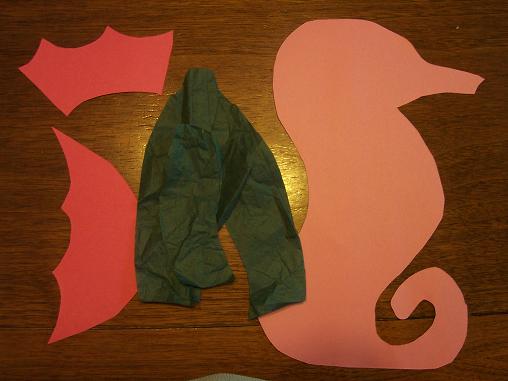
While your child is busy tearing and crumpling the tissue paper, cut out a seahorse and fin from the construction paper and seaweed from the tissue paper.
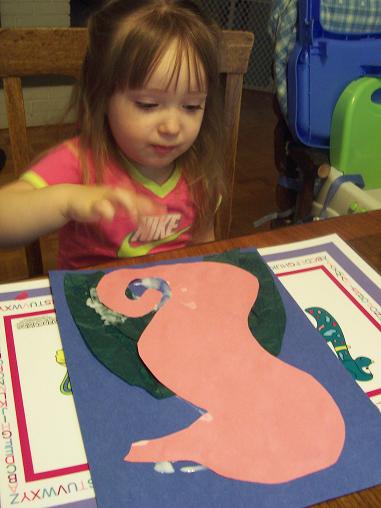
Glue on the seaweed and the seahorse.
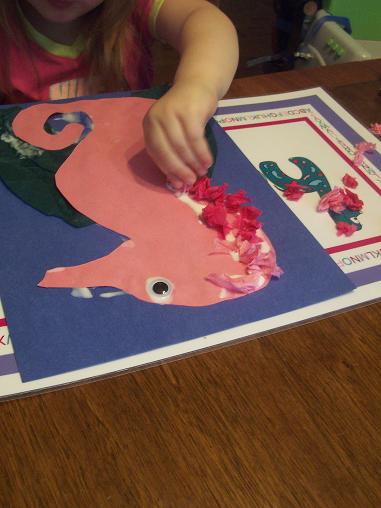
Add the wiggly eye and the tissue paper to the seahorse.
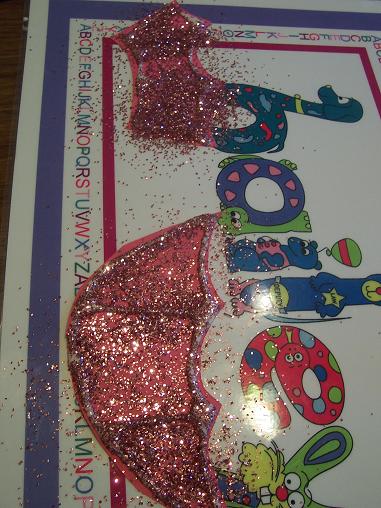
Outline the fin with glue and then sprinkle with glitter.
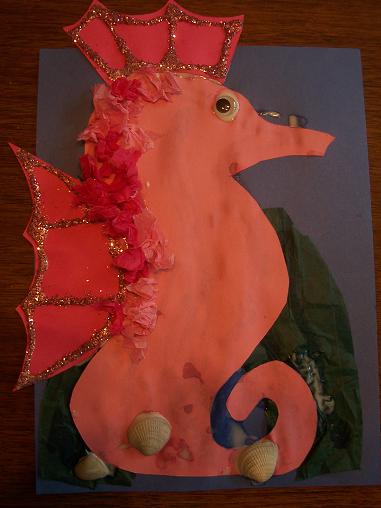
Our finished seahorse.
Hermit Crab
Jun
Today we made a hermit crab as part of our ocean theme.
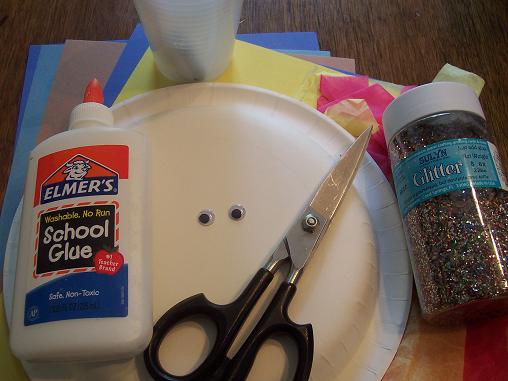
Here’s what you’ll need: paper plate, glue, wiggly eyes, construction paper in variety of colors, tissue paper, something to mix some glue and water in, and glitter (optional).
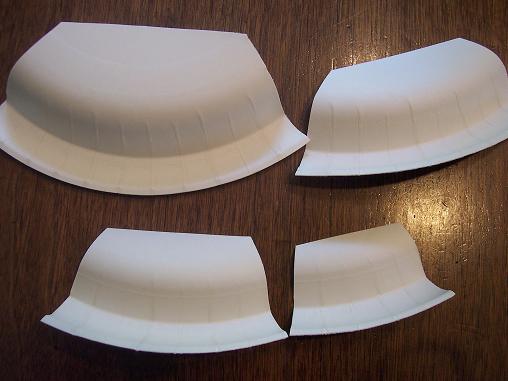
Cut the paper plate into 4 pieces- each piece a little smaller than the one before.
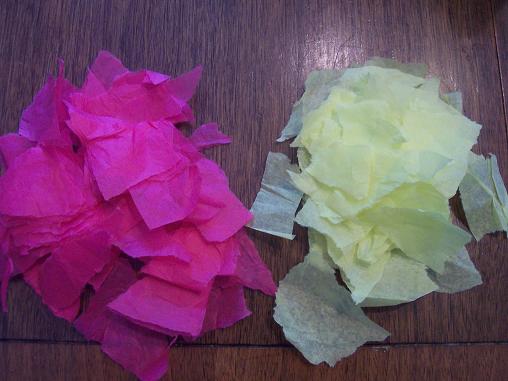
Tear up your tissue paper- you can use any two colors you want.
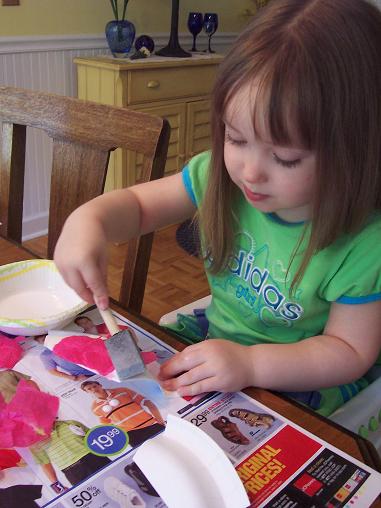
Mix glue and water- more glue than water and brush it onto the paper plate- cover the plate with tissue paper. You can paint the paper plates instead of using tissue paper too.
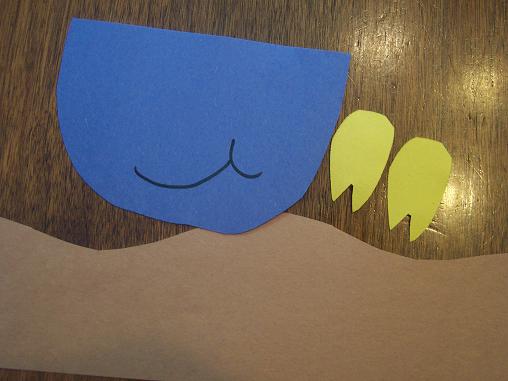
While your child is busy putting the tissue paper on, cut out a face and claws for your hermit crab and some sand for the beach.
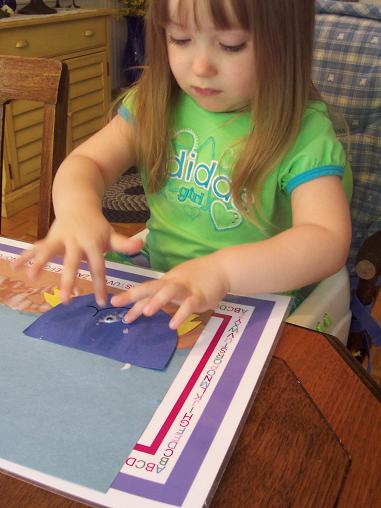
Glue on the crab’s face, claws and eyes.
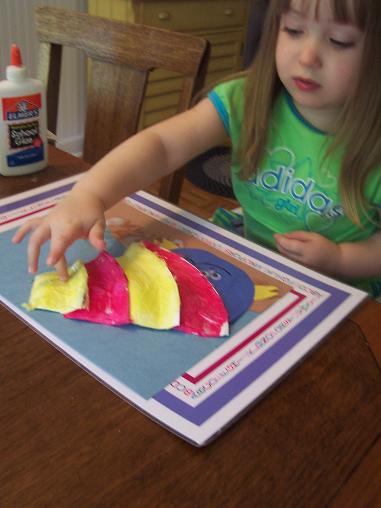
Then glue on the tissue paper covered paper plates.
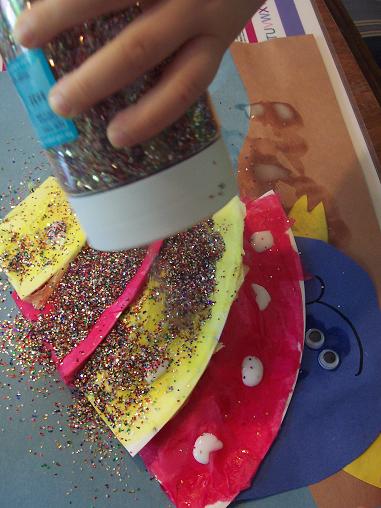
After it has dried- put some dots of glue on and add some glitter.
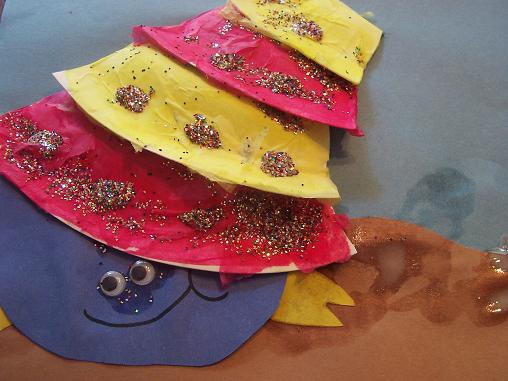
The finished hermit crab.
Letter of the Week- Letter R
Jun
Our letter this week was the letter R. I saw this cute idea over at No Time for Flash Cards and knew that Hailey would love it. So we made a Rainbow R.
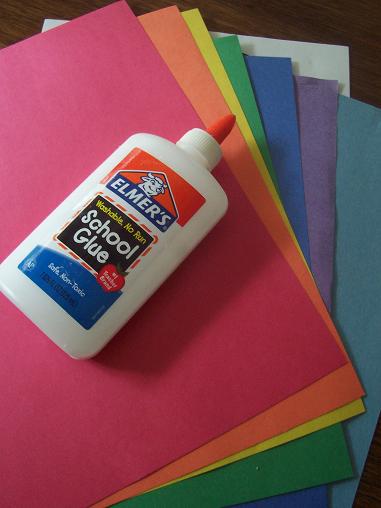
Here’s what you’ll need: construction paper in all of the colors of the rainbow, white paper, glue and another piece of construction paper.

Cut the pieces of construction paper into strips.

Draw the R on the white paper- make sure you can see the marker through the back of the paper. Put glue all over the R.

Glue the strips of construction paper on. I showed Hailey how to put the first one on and then I handed her each color after that so she could put them on herself and they would be in the right order.

Cover the whole paper with the rainbow pieces of construction paper. The turn the paper over and cut out the R.

Glue the R onto another piece of construction paper. We used blue so it would look like the sky.

Our finished Rainbow R.
