Archive for October, 2008
Creation Days 6 and 7
Oct
We finished up our Creation theme with days 6 and 7.
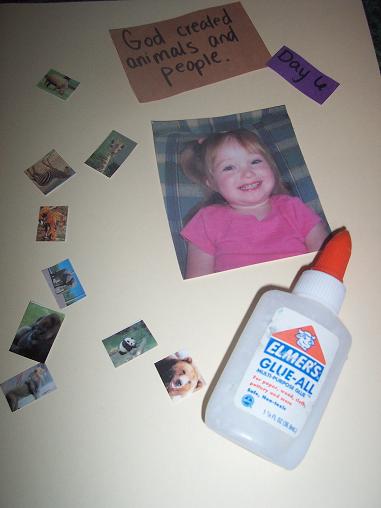
For day 6 you will need: glue, card stock, picture of your child, picture of various animals, paper that says “Day 6” and paper that says “God created animals and people.”
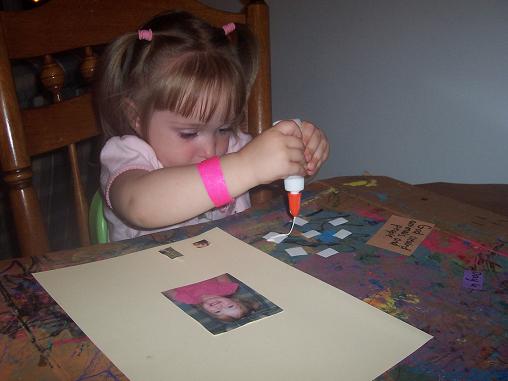
Have your child glue his/her picture in the middle of the paper and then put the pictures of the animals all around.
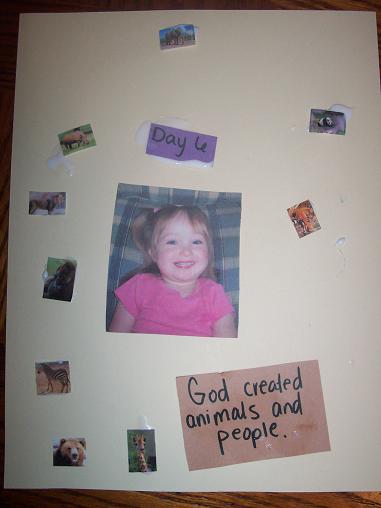
Finished Day 6- God created animals and people.
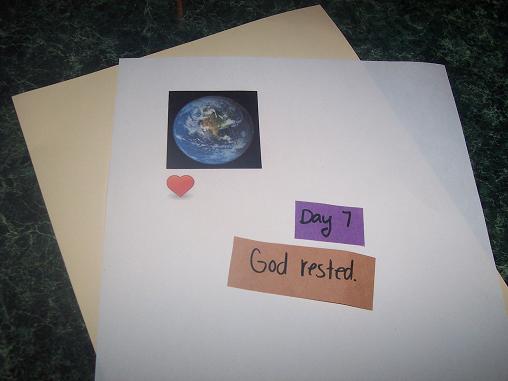
For day 7 you will need card stock, glue, a paper that says “Day 7,” a paper that says “God rested,” a picture of the earth and a heart. When I sent these images to the printer they were much bigger. I’m not sure why they ended up so small when I actually printed them. Then I was having some computer and printer problems and didn’t want to deal with the hassle of reprinting them. But, I wanted them to be much bigger.
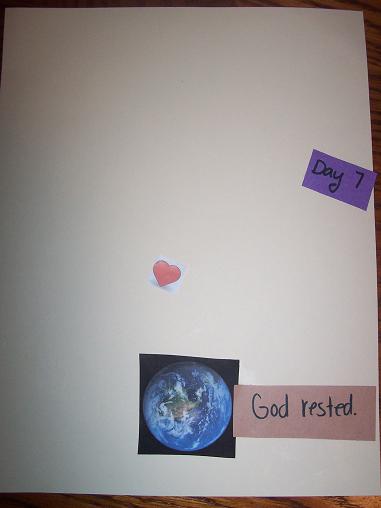
The finished Day 7- God rested.
You see all of the days from our creation series at Story of Creation.
Circle Sponge Painting
Oct
I usually have a number, shape and color activity to share but I really slacked because these activities were from the week before Hailey’s birthday and we were getting ready to go out of town. So, I only have one activity to share for a circle project we did.
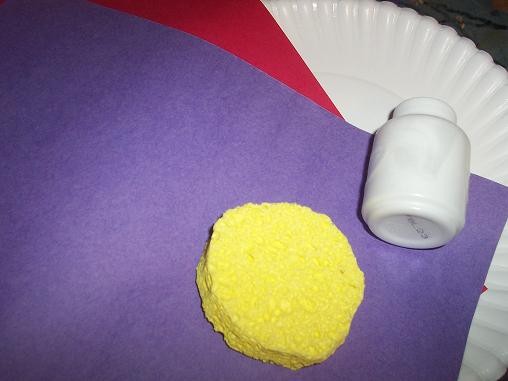
Here’s what you’ll need: paint, paper, sponge cut like a circle and a paper plate.
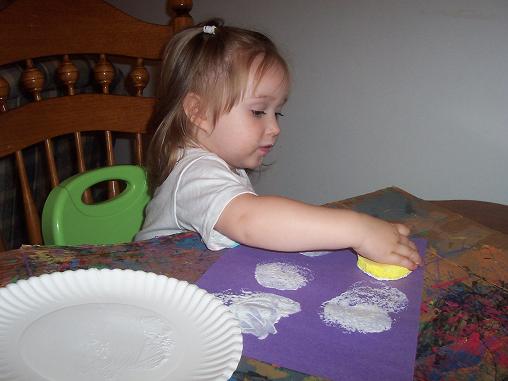
Dip the circle sponge into the paint and stamp onto the paper. I always spread the paint really thin on the paper plate as the prints work better this way.
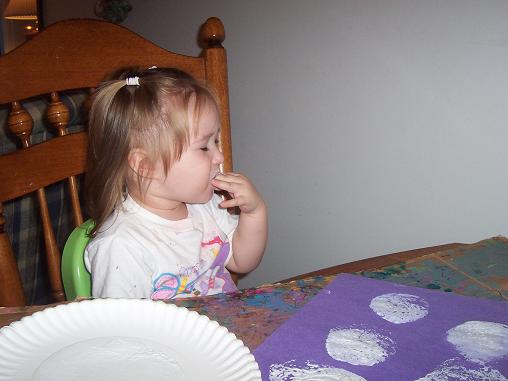
Hailey has her eyes closed eating the paint because she thinks I can not see her when she closes her eyes.
More Apple Fun
Oct
Our theme again this week was Apples. We made an Apples Up On Top book based on the Ten Apples Up On Top book by Dr. Seuss.
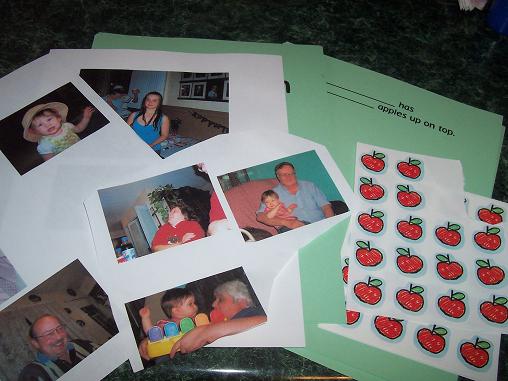
Here’s what you’ll need: a cover page that says “Ten Apples Up On Top,” 10 pictures of your child’s favorite people, apple stickers (55 of them), glue, scissors, and an ending page that says “The End.”
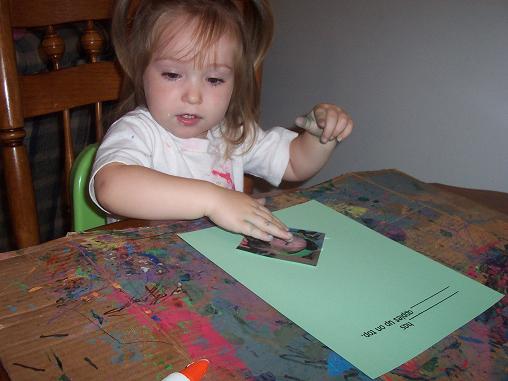
On each page I printed out “_____ has _____ apples up on top.” Then Hailey glued a picture of one of her favorite people on each page.
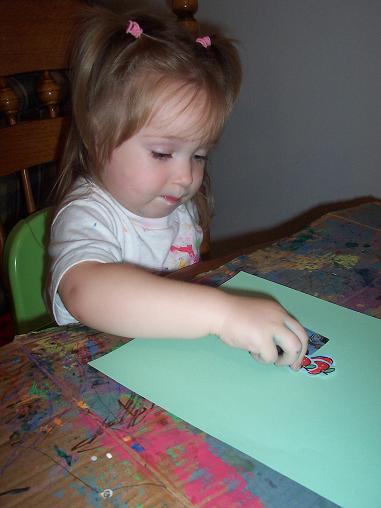
Then we added stickers on top of their heads. One person had one apple, another had two, all the way up to 10.
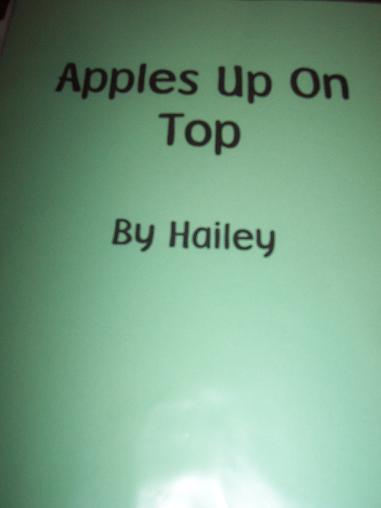
Here is the cover of her book. I put her book into slip covers then used those metal rings to hold it all together.
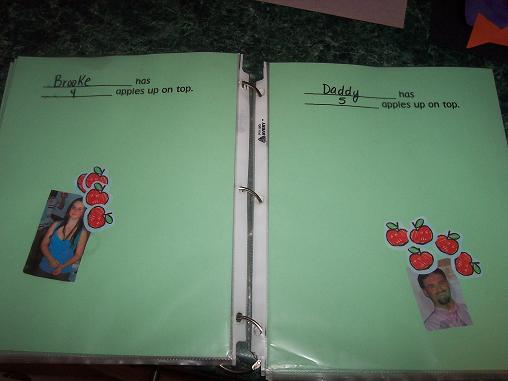
Here is a sample of two of her pages.
Then we did some apple sorting based on color.
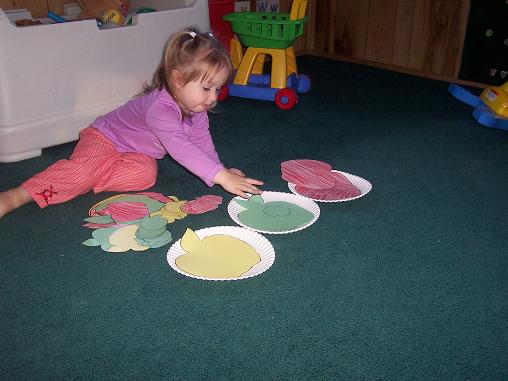
All the red, green and yellow apples were sorted correctly. (If you are curious about her purple and red outfit see this Already post on my Livin’ With Me blog.)
Letter of the Week- Letter D
Oct
I’m a week behind in posting our activities. These activities are actually from a couple of weeks ago. But we were out of town last week when I would have normally posted these. And since we weren’t home most of the week I didn’t do many activities with Hailey. She has also been really busy enjoying her new presents from her 2nd birthday and hasn’t wanted to do many crafts. We’re getting back into our regular routine this week though. So, I’ll be back to my regular posting and we’ll be doing lots of stuff that I’ll be sharing next week.
On to our activities:
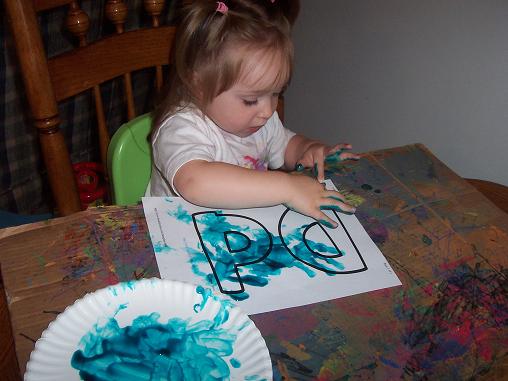
Hailey decorated the letter D using finger paint. She does one of these each week for our letter of the week (using something different to decorate with each week)- then I cut it out and put it on construction paper and hang it on our refrigerator.
Then we made a D Dragon- an idea I found over at No Time for Flashcards.
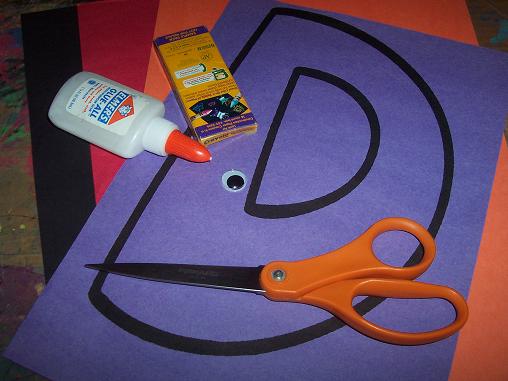
Here’s what you’ll need: a large letter D on construction paper, 3 other pieces of construction paper in varying colors, crayons, scissors, wiggly eye and glue.
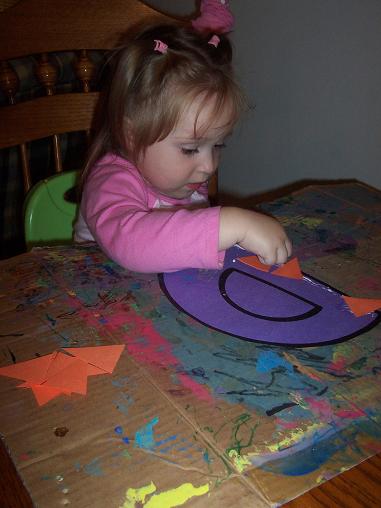
First I had Hailey color her letter D, but she wasn’t very interested in coloring it. So, we moved on to the next step. I cut up a bunch of triangles and had her glue them along the side of the D.
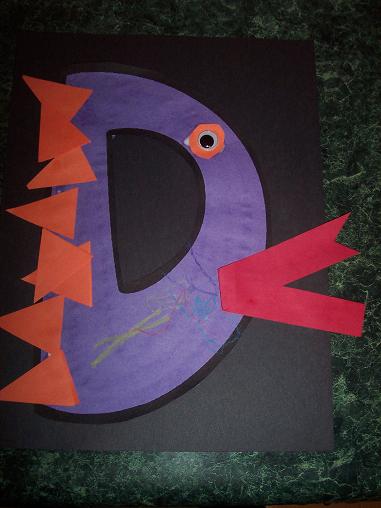
We added an eye and some fire coming out of his mouth. Then I glued it onto the black construction paper. This is our finished letter D dragon.
I decided to try something new with Hailey this week. I bought these dobbers a while ago but we haven’t used them yet. Since they make dots and dots start with D, I decided to use this activity for the letter D.
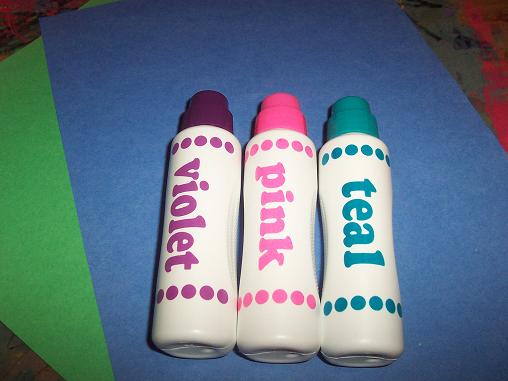
Here’s what you’ll need- dobbers and construction paper.
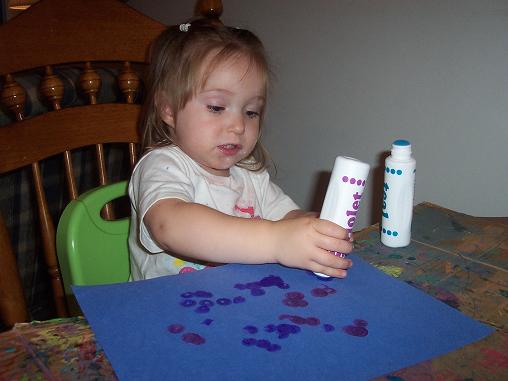
Hailey loved these dobbers. I loved them to because it didn’t matter how hard she hit the paper- they did not splatter. She dropped one and it hit the wall and the floor and wiped right off (I cleaned it immediately).
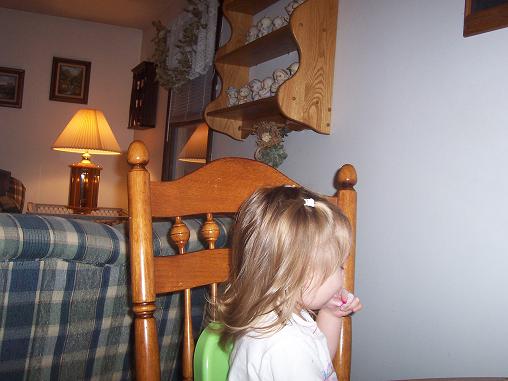
Hailey’s new thing to do is to turn away from me, close her eyes and eat whatever we are working with. So, here she is- thinking I can’t see her- rubbing her finger on the dobber and then licking it off.
