Archive for the ‘Toddler and Preschool Activities’ Category
Shark Craft
Jun
This shark craft doesn’t take very long to do- it took a while to draw the shark (Thanks Mom!) but actually doing the project only took a few minutes.
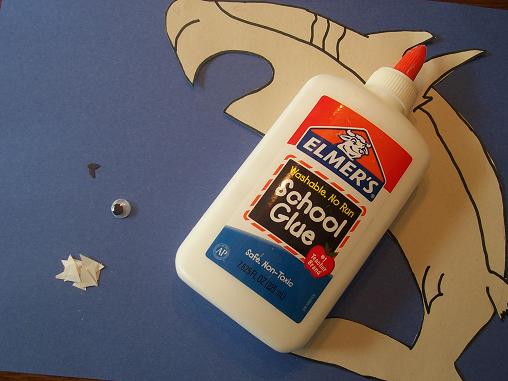
Here’s what you’ll need: blue construction paper, shark drawing cut out, wiggly eye, 2 small black ovals, several small white triangles and glue.
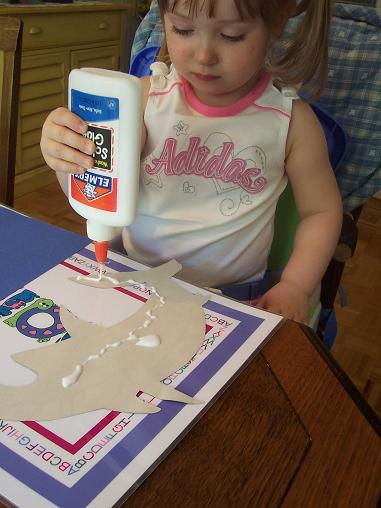
Glue the shark onto the blue construction paper.
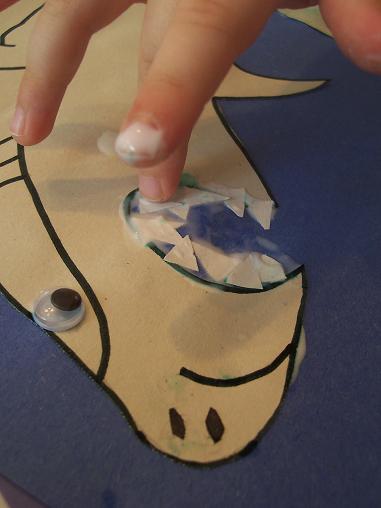
Glue the 2 black ovals on for the sharks nose and add a wiggly eye. Then put several white triangles in his mouth for the teeth. Talk about the shapes and colors of the items your child is gluing on.
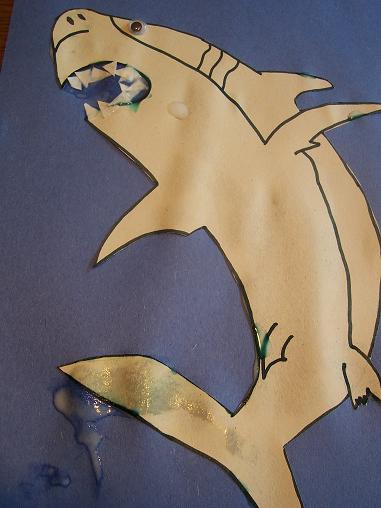
Hailey’s finished shark.
Letter of the Week- Letter Q
Jun
This week our letter was the letter Q. I thought a Queen would be really cute, but since we just made a P for Princess last week I thought we should do something else. So, we made a Quilt.
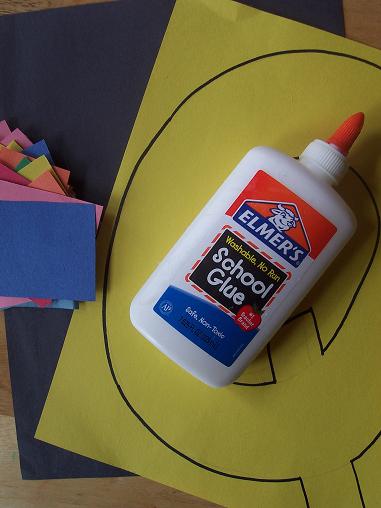
Here’s what you’ll need: construction paper with a Q on it, glue, squares of construction paper in various colors, another piece of construction paper.
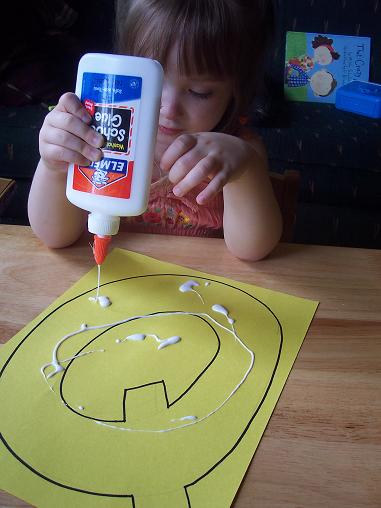
Put glue all over the Q.
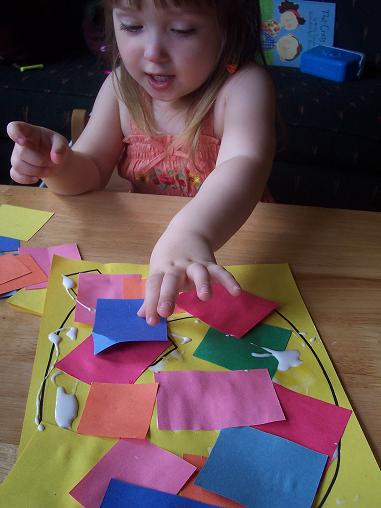
Glue the squares all over the Q. This is a great time to also talk about colors and the square shape of the papers.
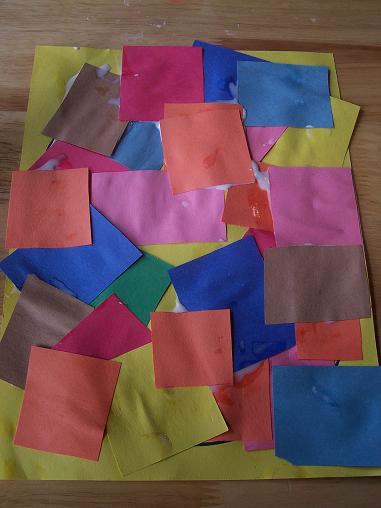
After the entire paper was covered in the squares I cut out the Q. The reason I did it on yellow paper was so that I would be able to see the black lines through the back of the paper. So be sure to use a light colored piece of paper.

Q is for Quilt.
Tot School Week In Review
Jun
Hailey is 32 months old.
We didn’t do a whole lot of Tot School this week- I don’t know what we were doing but it just seemed like there weren’t enough hours in the day to get much work done this week. So, I’m only sharing a few activities this week. Our letter was the letter P and we continued to work on our ocean theme. Here are the activities we did this week with links to the activities I posted about.
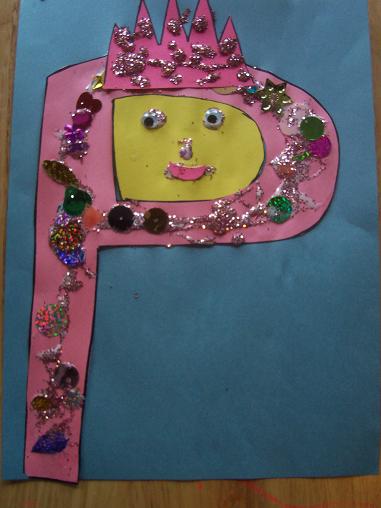
We made a P Princess.
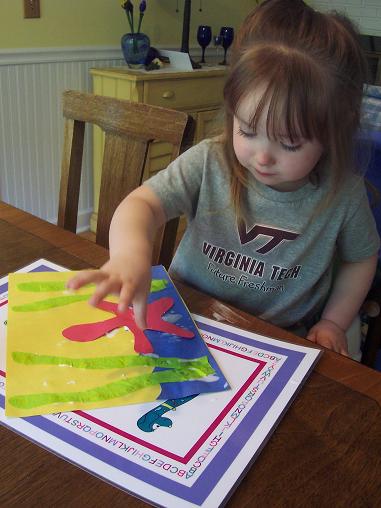
Hailey found a starfish craft in a book and wanted to make it.

We made this really cute little crab.
And that’s all we did this week! Stop by 1+1+1=1 and see what the other tots did last week.
Cute Little Crab
Jun
As we continue our ocean theme we learned about crabs today and made a crab. It turned out really cute.
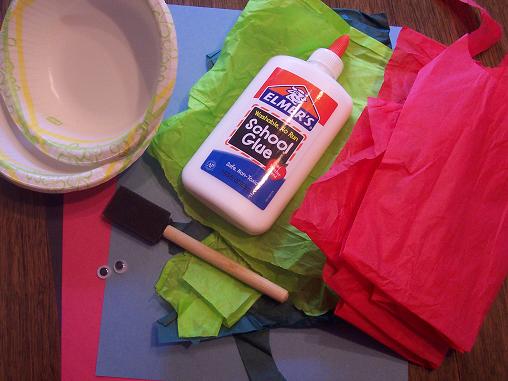
Here’s what you’ll need: construction paper, tissue paper, glue, wiggly eyes, 2 paper bowls and something to brush the glue on with.
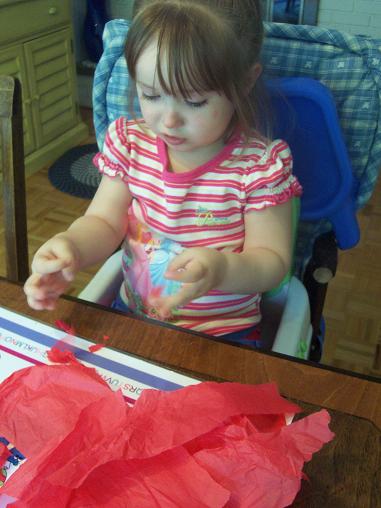
Hailey did a great job tearing up the red tissue paper.
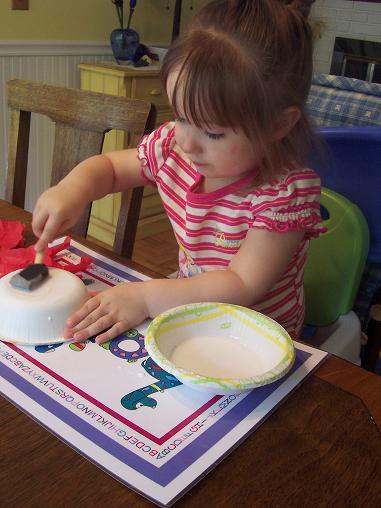
In one bowl mix a little bit of water in with some glue and brush it onto the bottom and sides of the other bowl.
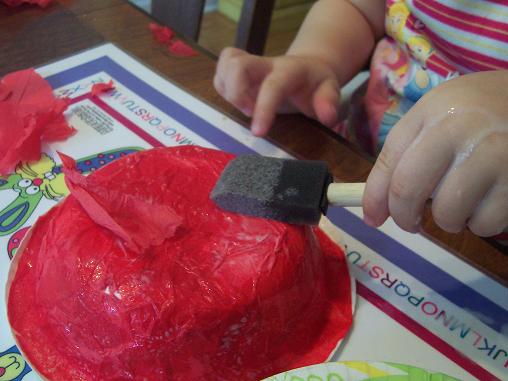
Cover the bottom and sides of the bowl with red tissue paper. You can also do this with paint instead of tissue paper if you’d like to.
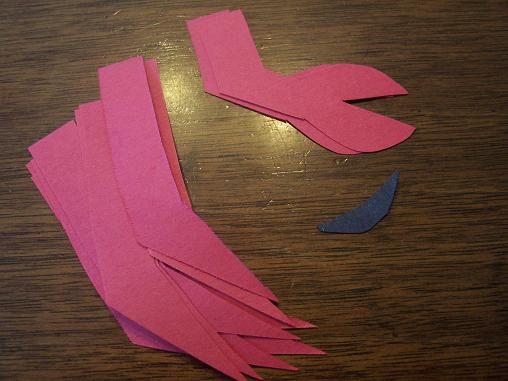
While Hailey was busy covering her bowl with tissue paper I cut out a mouth and some legs. There are 8 regular legs and 2 legs with claws. I also cut out some seaweed from the green tissue paper which I forgot to take a picture of.
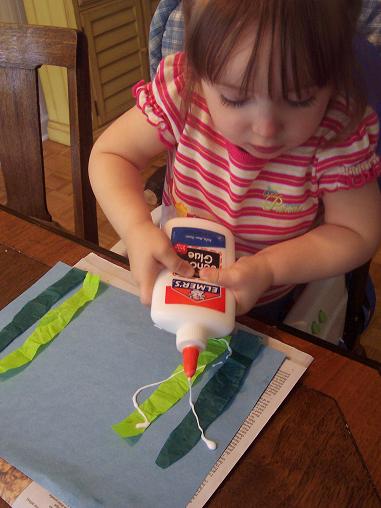
Glue on the seaweed.
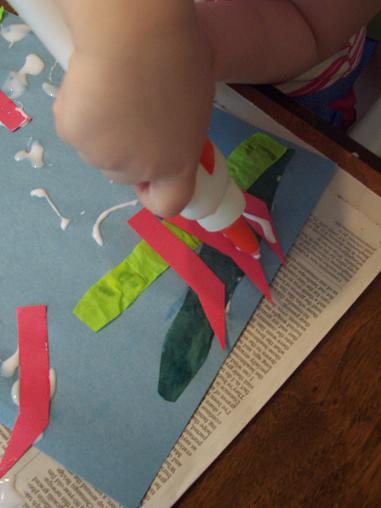
Add the legs.
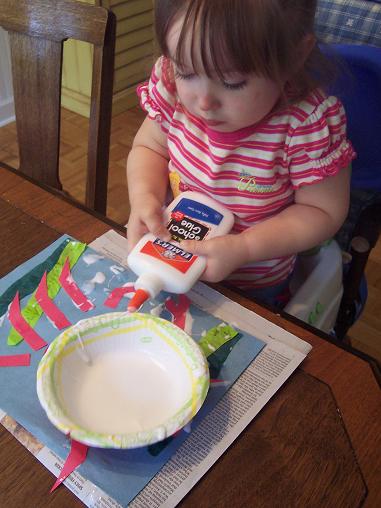
Turn the bowl covered in tissue paper right side up and put glue all over the rim.

Add eyes and a mouth and you have your finished crab. (Hailey used so much glue that when I took this picture 5 hours after we made the crab- the glue was still wet!)

