Archive for the ‘Painting’ Category
Butterfly Finger Painting
Sep
Here is a really simple butterfly craft you can do with a toddler of any age.
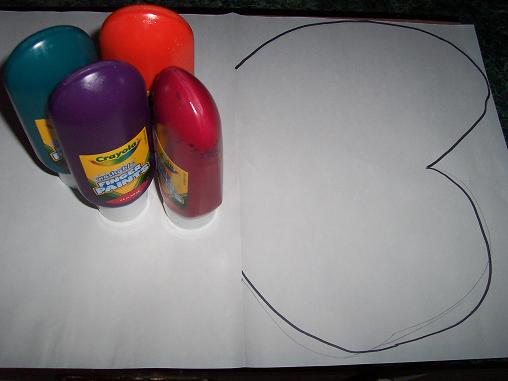
Here’s what you’ll need- finger paint and paper with half of a butterfly drawn on one side of the paper. Since you will be having your child paint only half of the paper and then folding the paper over to create a symmetrical print, make sure you fold the paper before hand to make it easier to fold over when it’s time for that step.
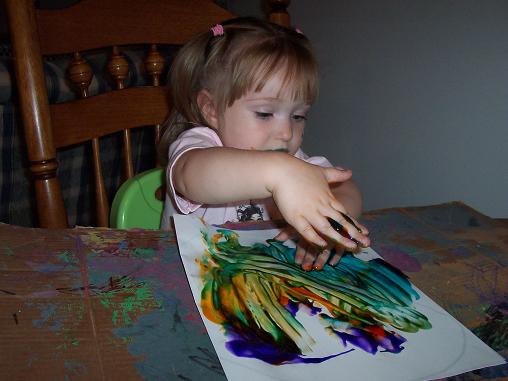
I folded the paper in half so that Hailey could only see the half of the paper I wanted her to paint because “only paint this side of the paper” would not have been a direction she would have followed. Then I had her paint just the one side of the paper. (My butterfly outline is actually on the other side of the paper so that I didn’t have to worry about being able to see it through the paint.)
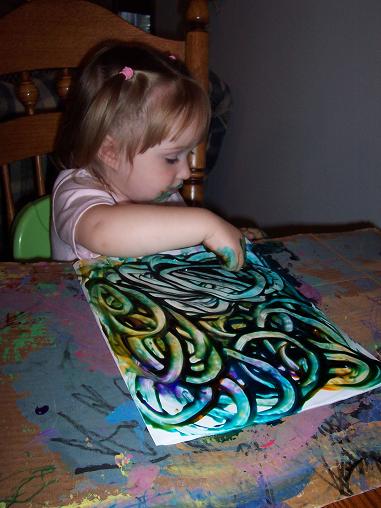
Get to work finger painting. And also, in case you can’t tell by Hailey’s face, it’s best to eat some of the paint too. And apparently finger paint tastes better than Tempera paint because I literally had to pull Hailey’s fists out of her mouth with the finger paint. Then when I was trying to clean her up afterwards she was trying to lick the paint off her hands before I could wash it. Anyhoo…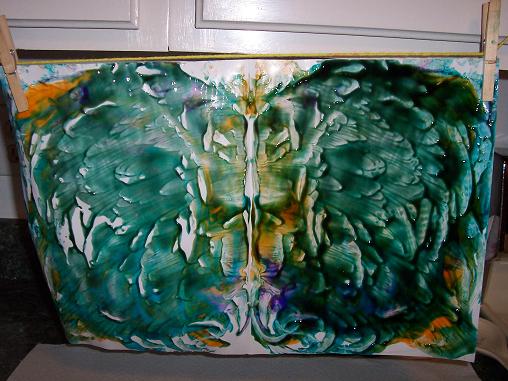
Once your child is all done painting, open the paper up and then fold the paper over to create a print on the other half of the paper that is the same as the one your child just painted. Then hang it up to dry.
(Hint- I also had another piece of paper ready to be painted because I knew Hailey was going to want to try it again after she saw the results. And I was right.)
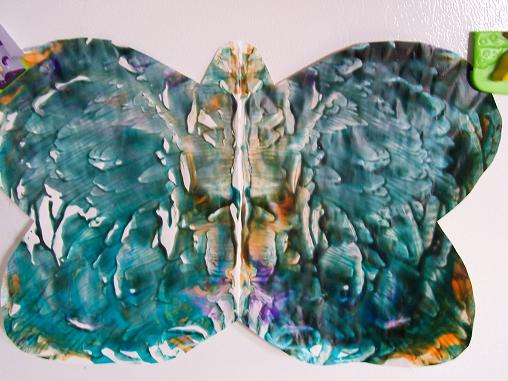
Here is Hailey’s finished butterfly.
Paper Towel Caterpillar
Aug
Here is a cute caterpillar craft that Hailey and I made.
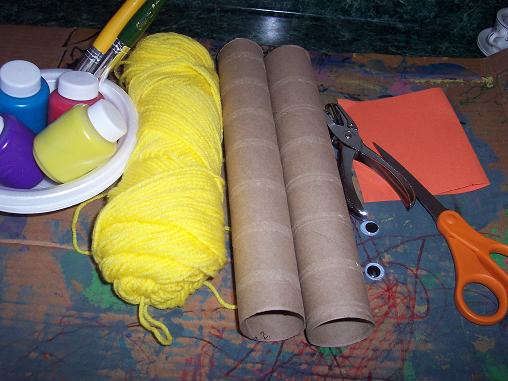
Here is what you’ll need: paper towel tubes, paint, paint brushes, yarn, scissors, wiggly eyes, small piece of construction paper and hole puncher.
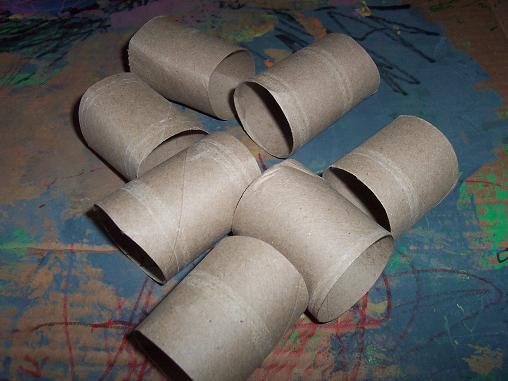
Cut the paper towel tubes into several little pieces- I did seven. These will make up the body of the caterpillar.
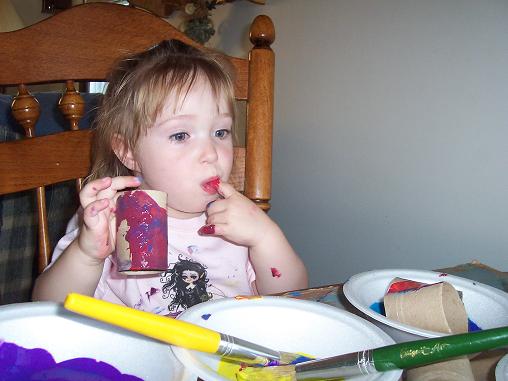
Why does she always eat the paint? It doesn’t even smell good, I can’t imagine that it tastes good. An unrelated note about the shirt Hailey has on- we received it as a product to review but I find it to be inappropriate. So, I have turned it into Hailey’s painting shirt and am hoping it will be covered with paint soon. She calls the shirt “my weird shirt.”
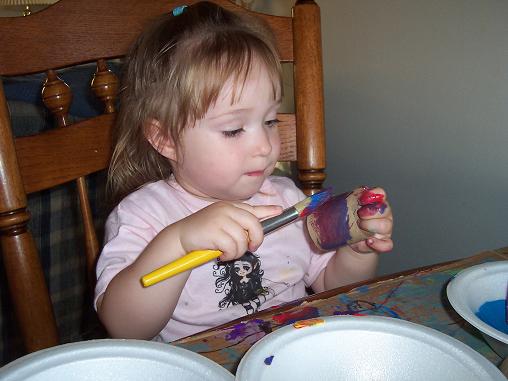
After eating some of the paint, get to work painting the paper towel tubes.

Let the paint on the paper towel tubes dry. Then take two of your pieces and punch a hole in one end of each piece- these will be the head and the end of the body. Then take the rest of your pieces and punch a hole in both ends of each piece.

After you punch your holes, use yarn and thread it through the caterpillar. Don’t pull it too tight or you won’t be able to move his body around. Then add wiggly eyes and use the construction paper to make antenna.
Caterpillar Fun
Aug
We have five caterpillars right now that we are watching turn into butterflies. They are currently in the chrysalis stage and it is so fascinating to watch. So, we have been doing a bunch of caterpillar activities and will be starting to do some butterfly projects too. For the next few days I’ll be sharing some of the caterpillar fun we’ve been having.
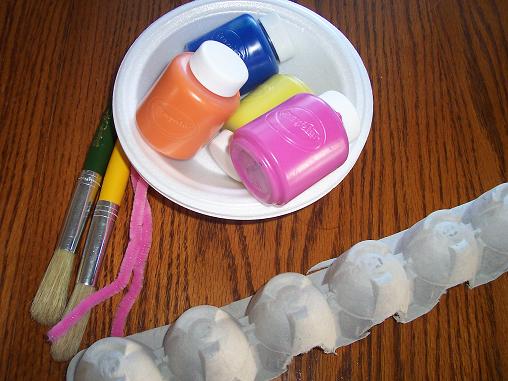
Here’s what you’ll need: half of an egg carton, paper bowls, paint, paint brushes and pipe cleaner.

Paint the egg carton. And if you’re a toddler have a little taste of the paint. Apparently the blue is good.
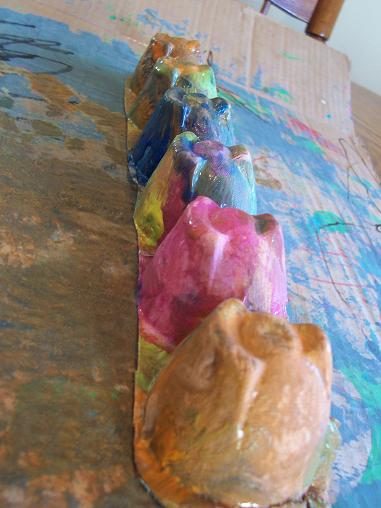
Cover the entire egg carton with paint and then let it dry.
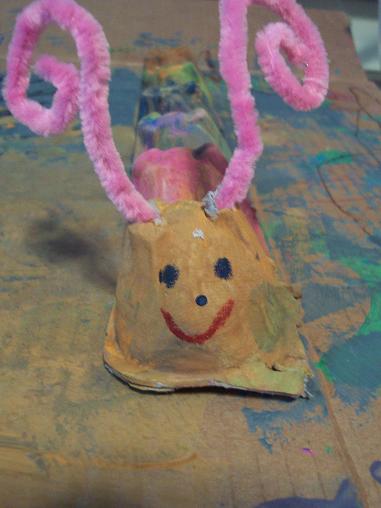
After it dries- poke two holes in the top to thread your pipe cleaner through- then curl the ends to look like antenna. Add eyes, nose and mouth.
Star Painting
Aug
I found another fun idea over at No Time for Flashcards that went well with our Twinkle, Twinkle, Little Star theme. So, we decided to give it a try.

You’ll need: Card stock or construction paper (I used card stock), crayons, several dark colors of paint to mix together or black paint if you have it, paper plate and paper bowl, something to stir with if you’re mixing paint (I used the craft stick) and foam brushes.
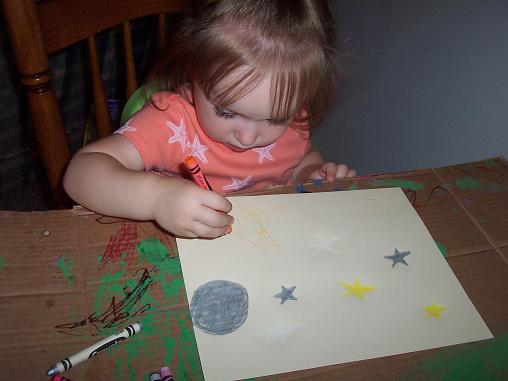
First- draw several stars, a moon, some planets, etc. You will need to press pretty hard when you are coloring.
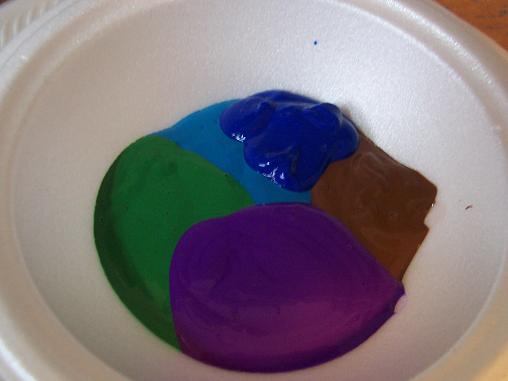
Put some dark colors together or if you have black paint- just use that.

Stir the paint together.
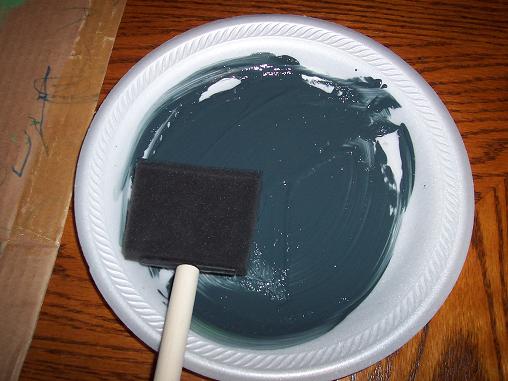
Put a very thin layer on the plate.
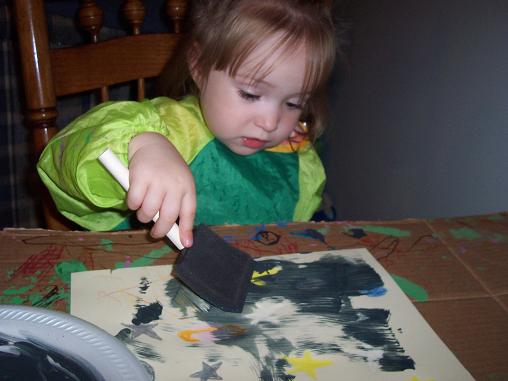
Paint over your stars, planets and moon.
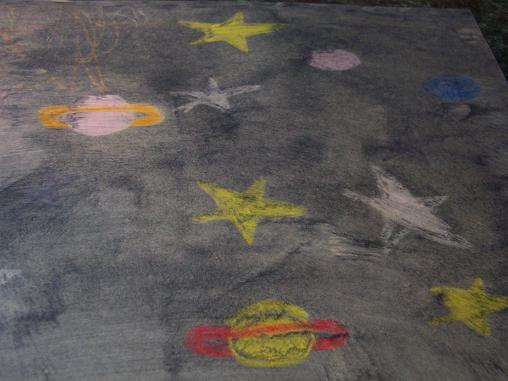
The finished picture. (I had actually drawn a lot more stars using silver and gray, but our paint turned out the same color and you can’t really see a lot of our stars.)
