Archive for the ‘Bee Crafty Kids’ Category
Bee Crafty Kids- Acorn Craft
Aug
Welcome back to the Bee Crafty Kids link up that I am co-hosting with To The Moon and Back, Look! We’re Learning and Monster’s Ed Homeschooling Academy.
We have been so busy all week getting ready to go on vacation that we ran out of time to do a craft. So, I’m sharing an old one with you. With fall right around the corner I thought it would be fun to share a fall activity.
Here is a simple and cute acorn craft:

First you’ll need to paint a brown piece of paper with a darker shade of brown.

Once the paint dries, rip apart the paper. Also, rip apart a piece of regular brown paper.

Glue the lighter colored brown paper to the top of the acorn and the brown paper that was painted to the bottom of the acorn.

The finished acorn.
Now it’s your turn! Link up and share what you and your kids have been busy making. Grab a button so others can join in the crafting fun too 🙂
<div align="center"><a href="http://ourcraftsnthings.com/" title="Our Crafts N Things"><img src="http://i1165.photobucket.com/albums/q594/dustybug83/BeeCraftyKids3_zps44074ad6.png" alt="Our Crafts N Things" style="border:none;" /></a></div>
Rules are simple:
~Enter the direct link to one or more of your own posts that showcase a craft or hands on activity for children.
~A link back with the above button is appreciated, but not required
~Try to at least comment on one or two of the other blogs that took the time to share and join!
Be sure to like me on Facebook and follow me on Pinterest so you don’t miss any of our fun activities.
Bee Crafty Kids- Art Clips
Aug
Welcome back to the Bee Crafty Kids link up that I am co-hosting with To The Moon and Back, Look! We’re Learning and Monster’s Ed Homeschooling Academy.
We recently set up our homeschool classroom and needed a way to display our artwork.
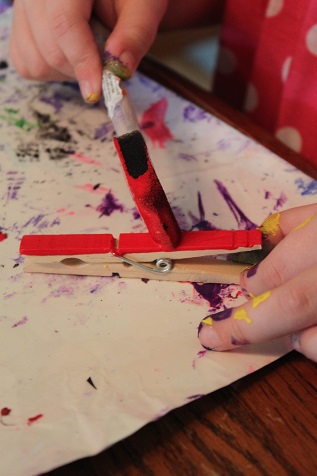
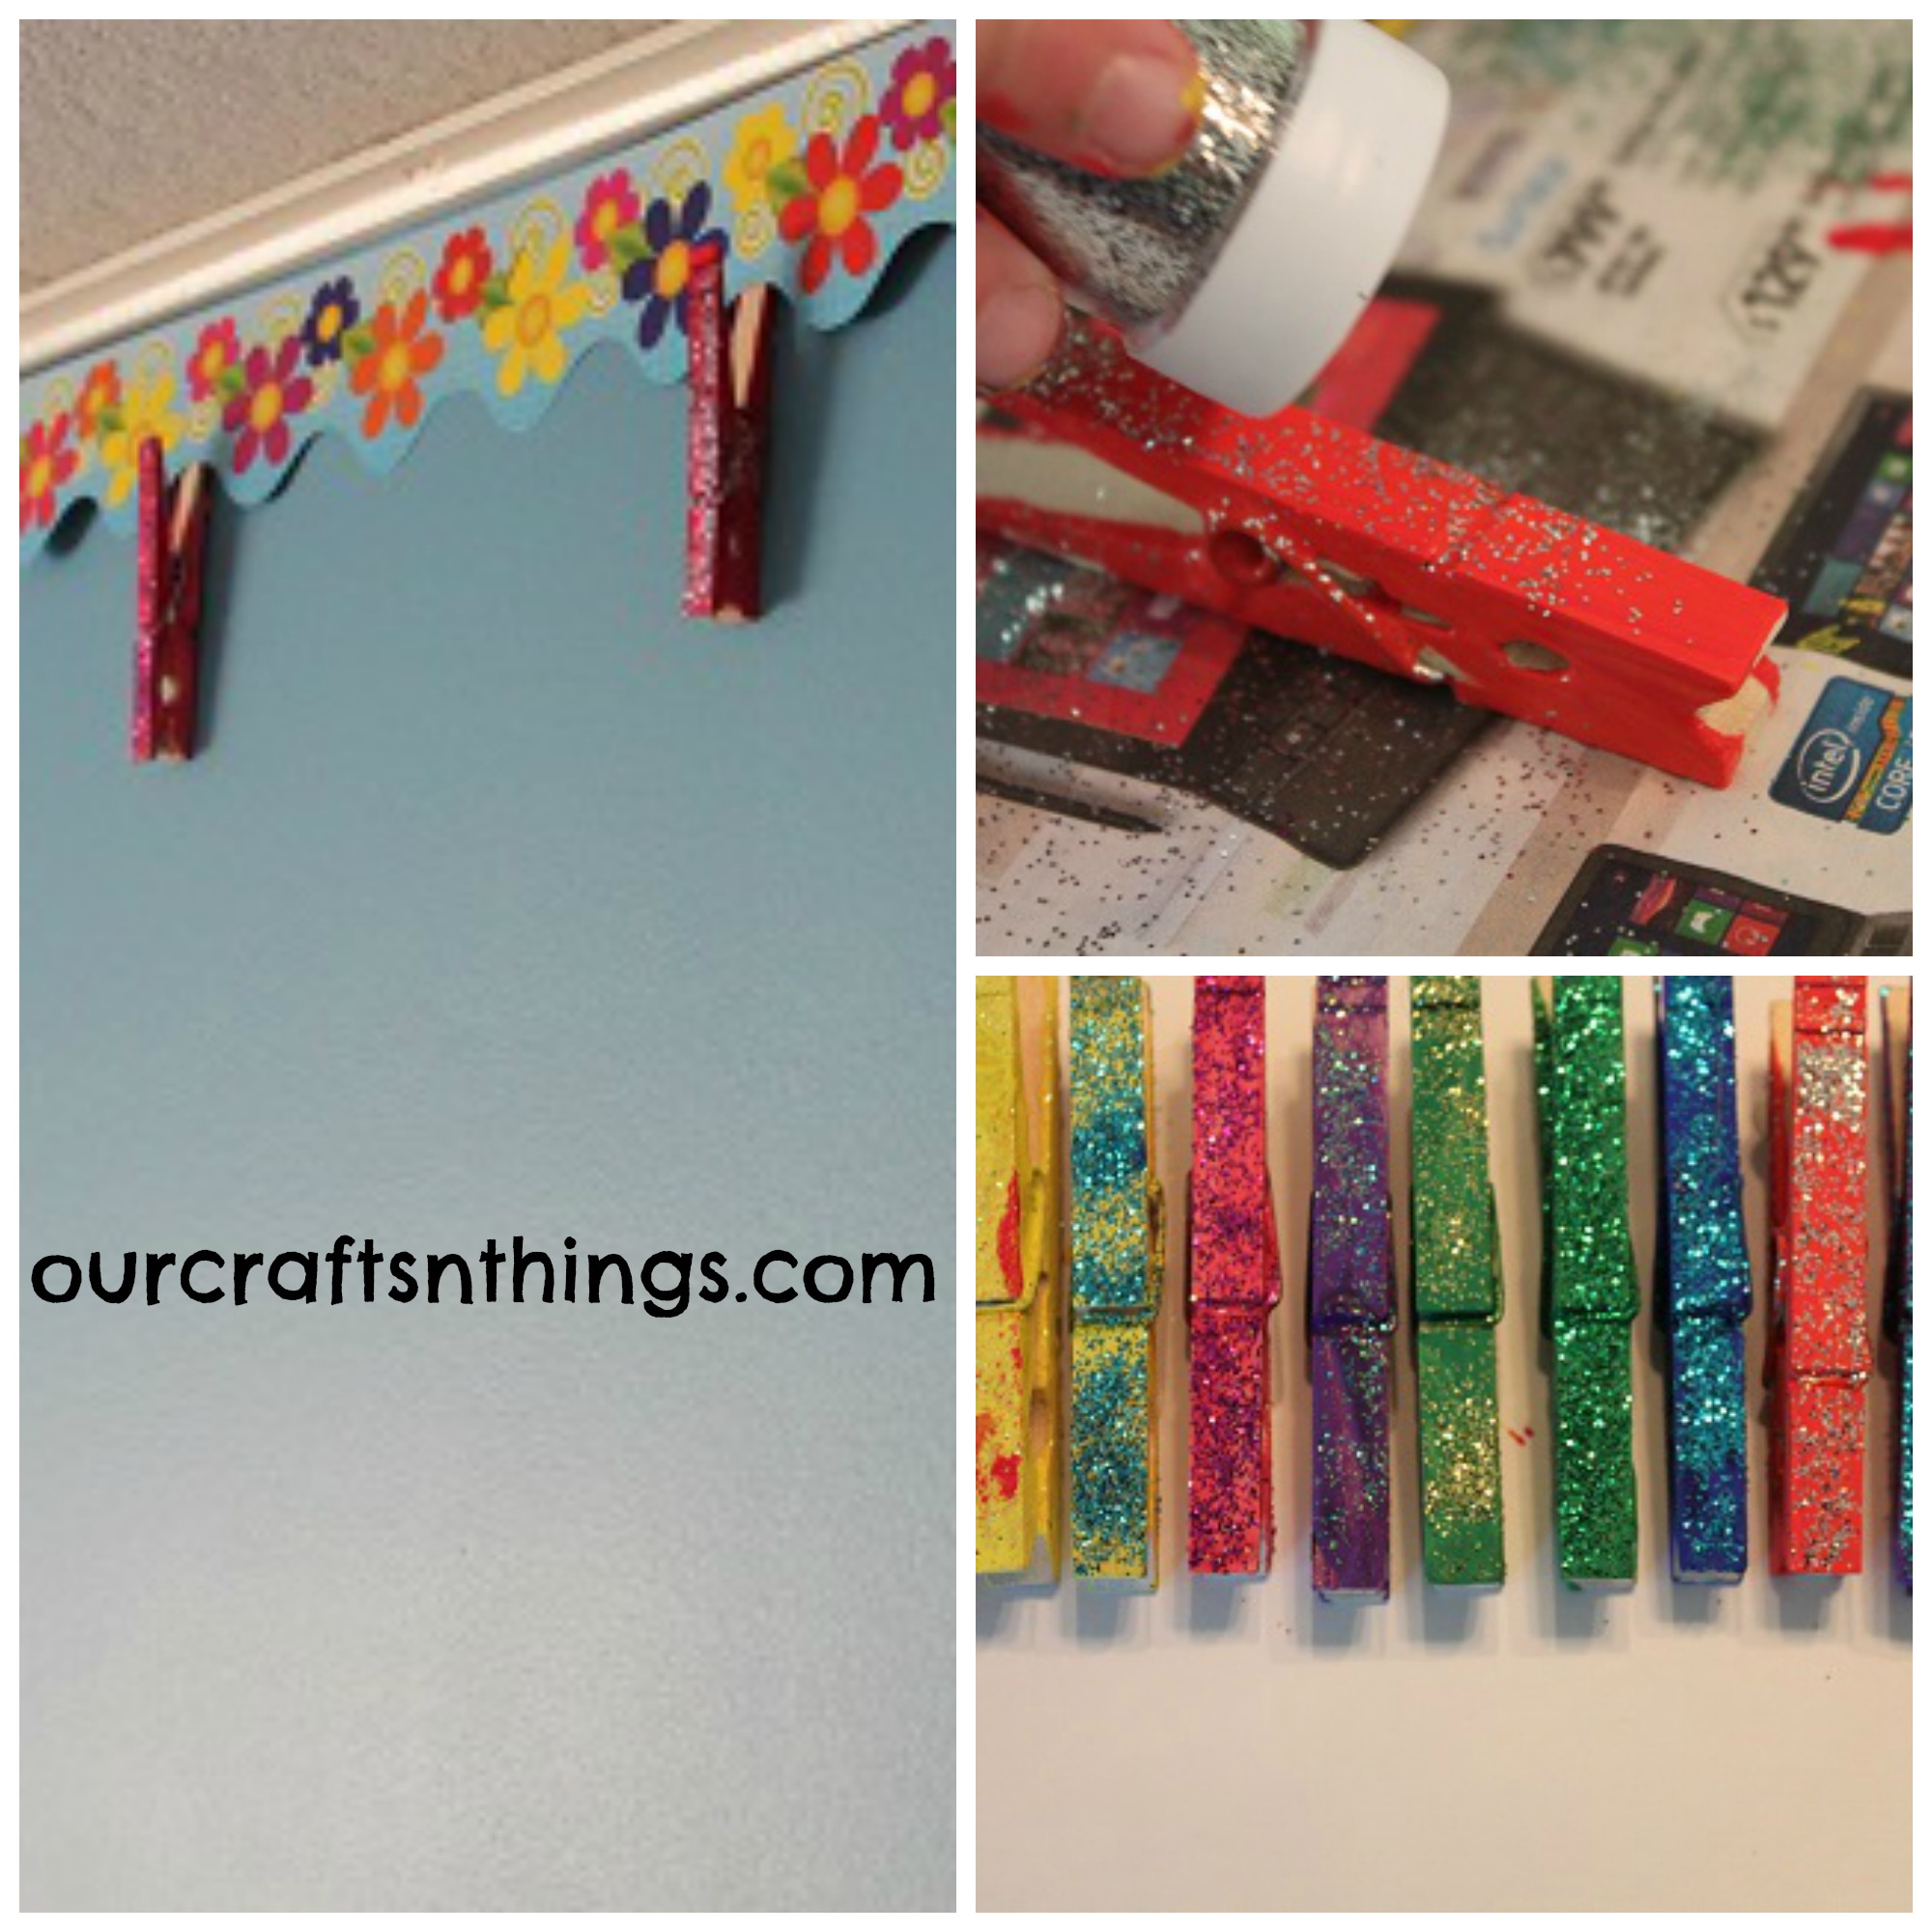
Hailey and Hunter painted some clothespins. (Hunter only painted 1 and then lost interest.)
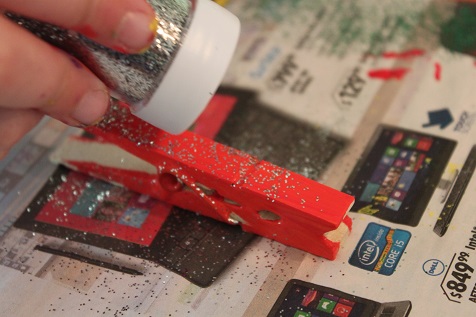
While the paint was still wet, Hailey sprinkled some glitter on.
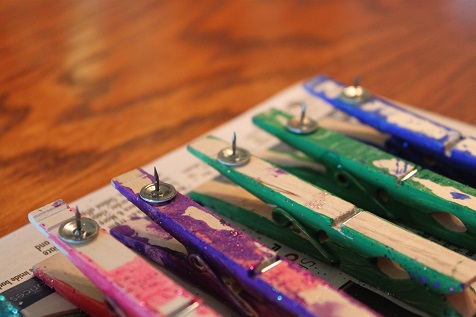
Once the paint/glitter was dry, I used super glue to attach tacks to the back of the clothespins.
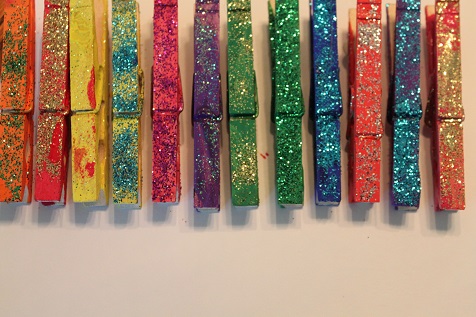
The finished clothespins- so pretty and sparkly.
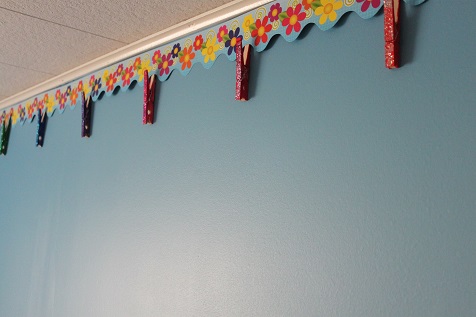
Then I put a boarder up around the ceiling in our classroom. I pushed the tacks into the wall, just under the edge of the boarder.
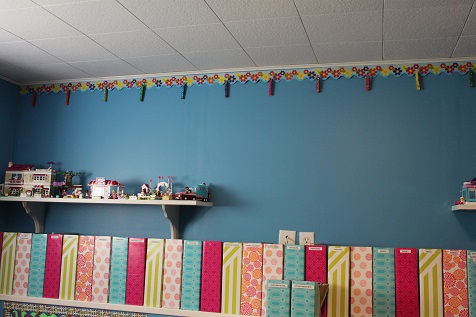
The completed art clips.
Now it’s your turn! Link up and share what you and your kids have been busy making. Grab a button so others can join in the crafting fun too 🙂
<div align="center"><a href="http://ourcraftsnthings.com/" title="Our Crafts N Things"><img src="http://i1165.photobucket.com/albums/q594/dustybug83/BeeCraftyKids3_zps44074ad6.png" alt="Our Crafts N Things" style="border:none;" /></a></div>
Rules are simple:
~Enter the direct link to one or more of your own posts that showcase a craft or hands on activity for children.
~A link back with the above button is appreciated, but not required
~Try to at least comment on one or two of the other blogs that took the time to share and join!
Be sure to like me on Facebook and follow me on Pinterest so you don’t miss any of our fun activities.
Bee Crafty Kids- Disney Autograph Books
Aug
Welcome back to the Bee Crafty Kids link up that I am co-hosting with To The Moon and Back, Look! We’re Learning and Monster’s Ed Homeschooling Academy.
We are preparing for our annual trip to Disney World, and since we go every year we own all of the different autograph books that are sold in Disney World. We want to have something a little different, so Hailey decided that she wanted to make her own for this trip.
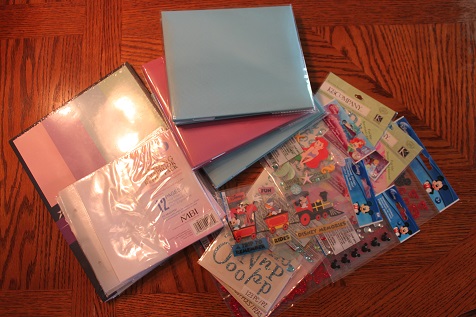
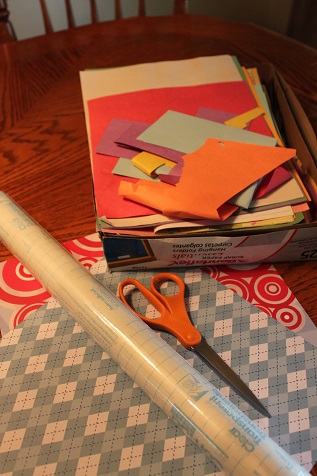
Here is what we used to make our books:
small scrapbooks (you can use any size you like, but we picked 6×6)
refill pages for the scrapbooks
scrapbook stickers
cardstock
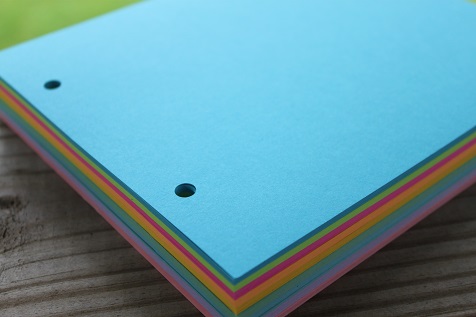
I took the cardstock to Kinkos and brought one of the pages from the scrapbook and asked them to cut the cardstock down to the same size and to drill holes in the same spots. I’m sure I could have done it myself, but it only cost about $5, so it was worth it to me to have them do it.
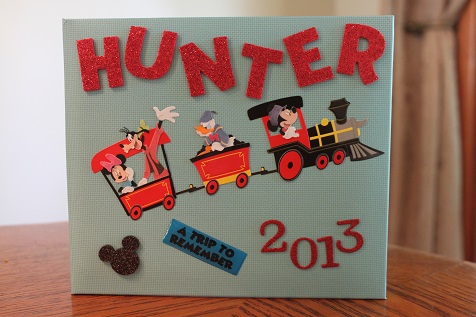
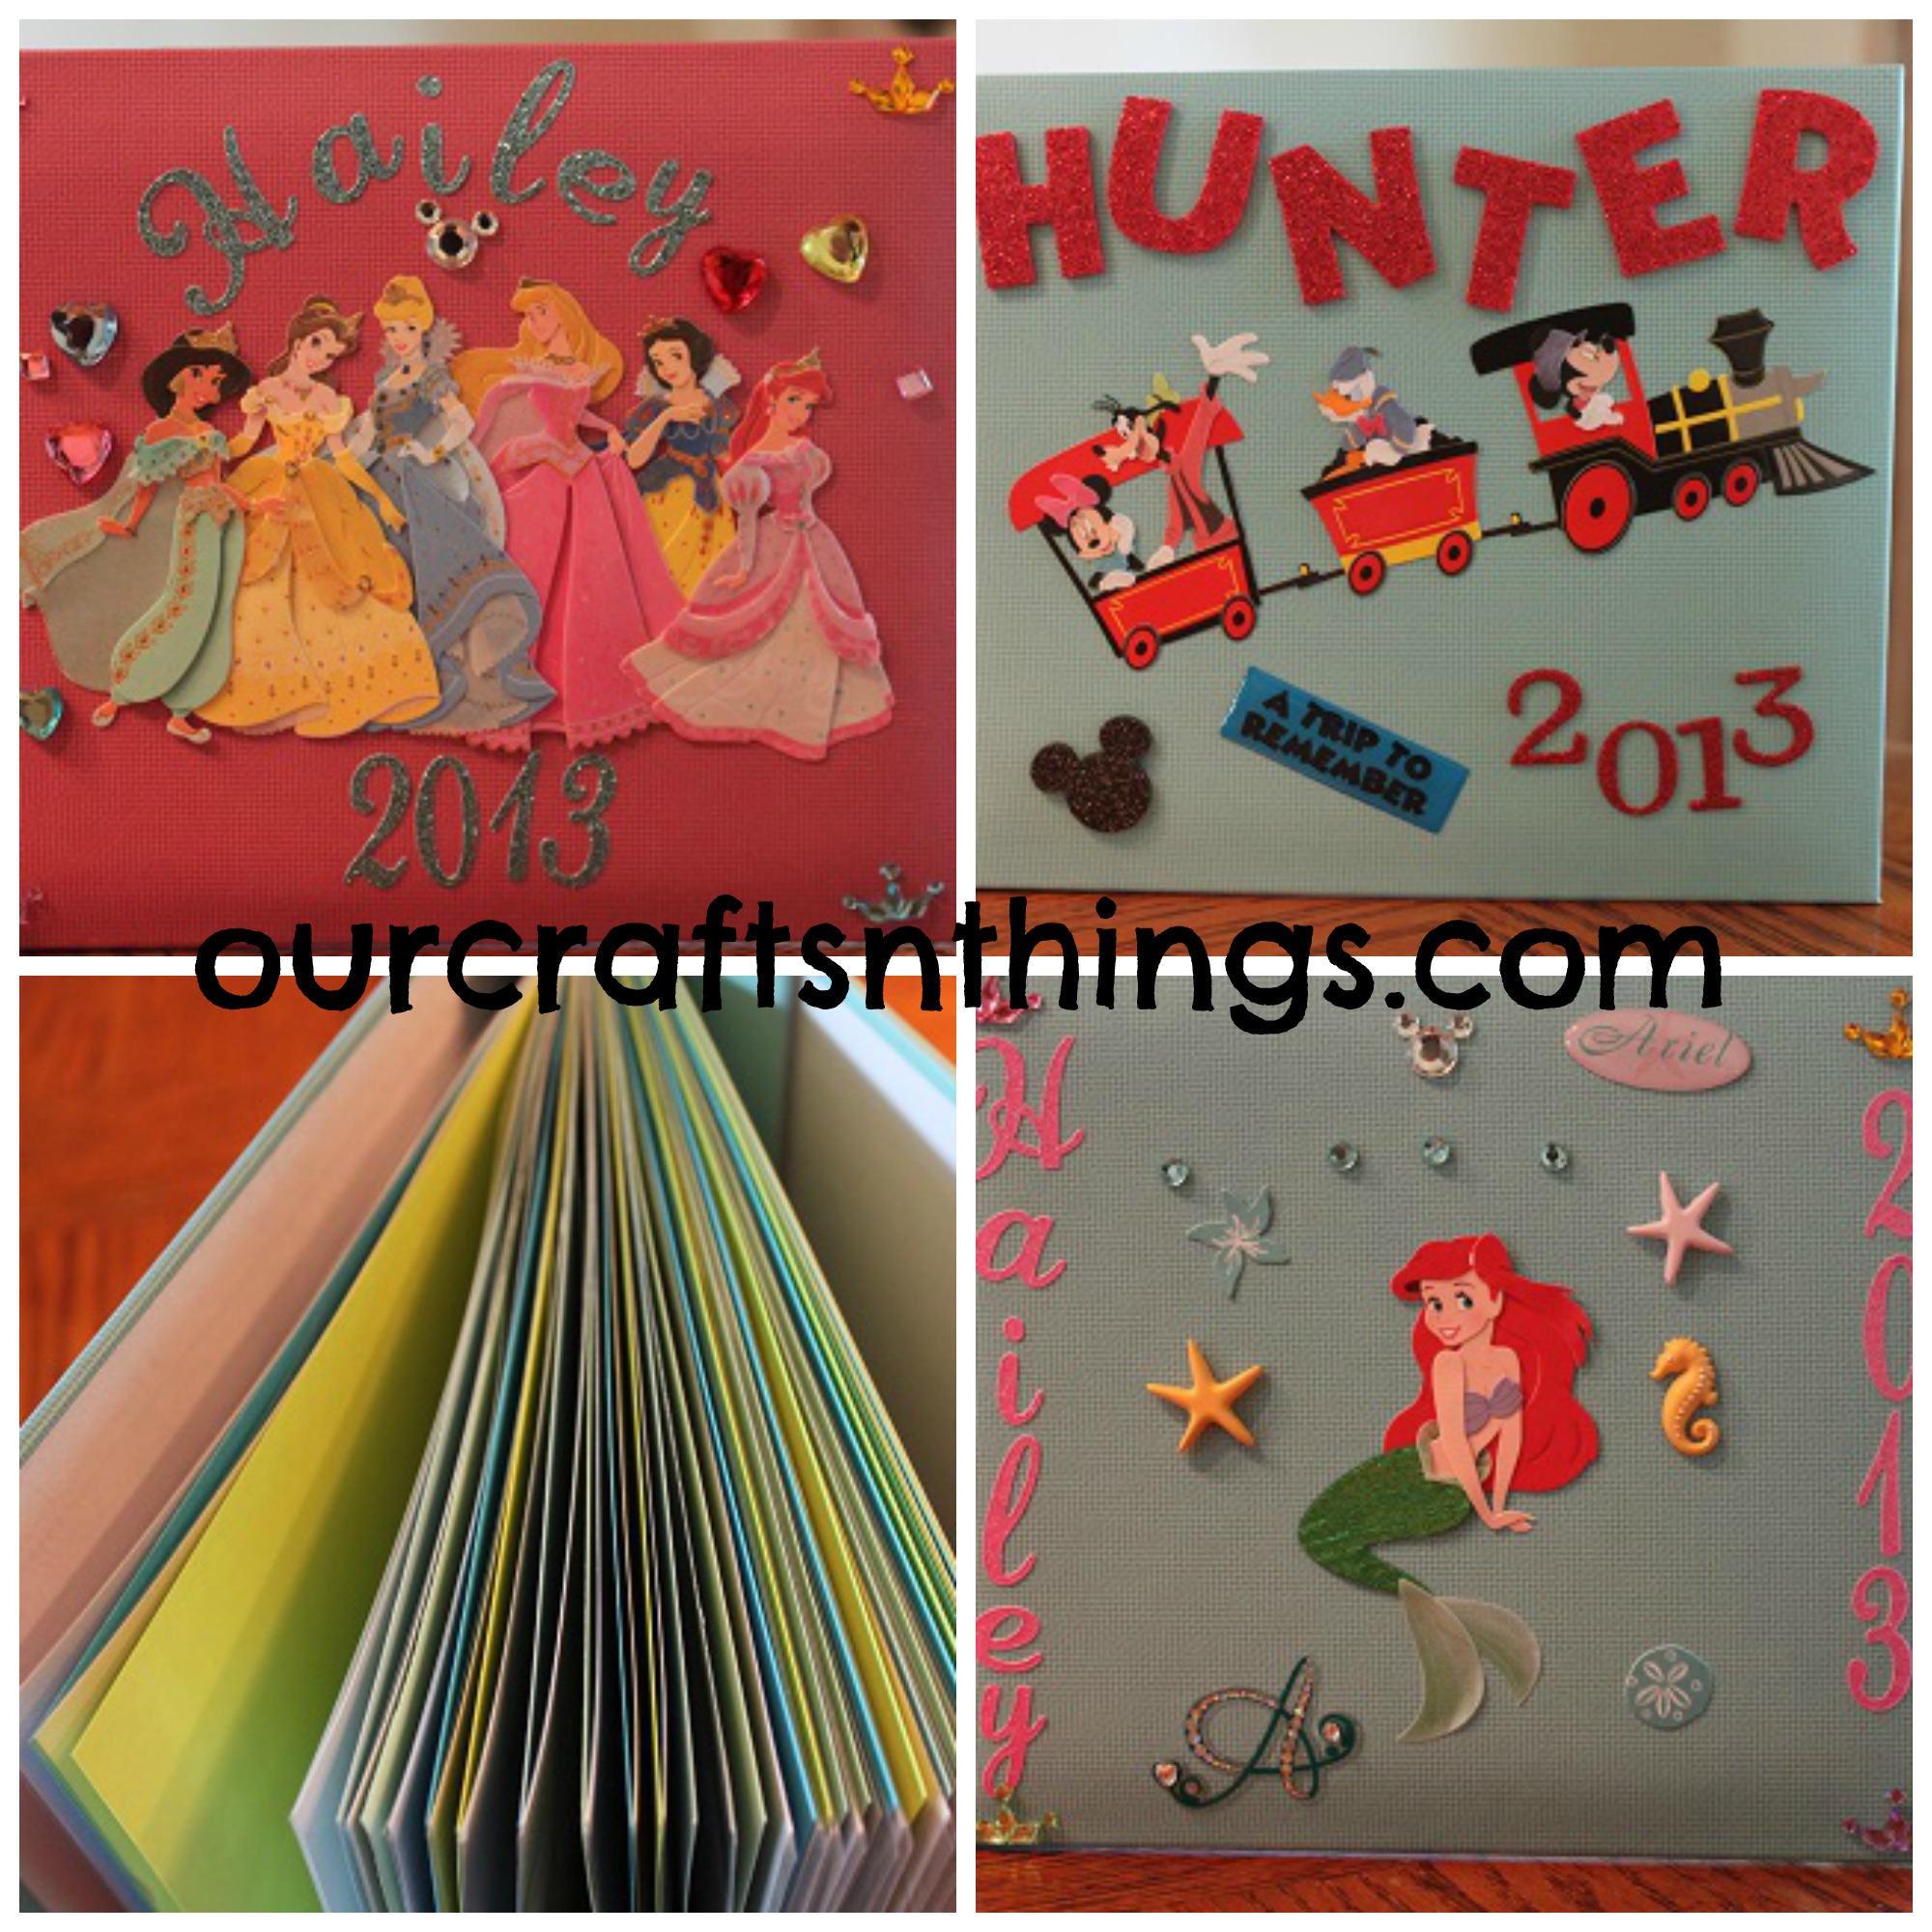
I decorated the front of Hunter’s book since he isn’t old enough to do it.
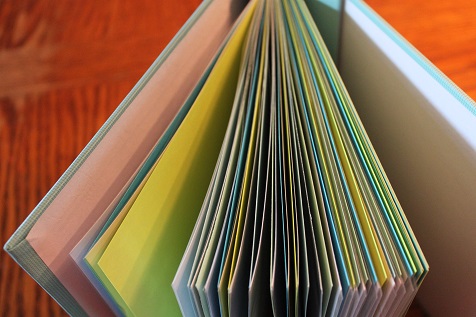
Then I put the cardstock in between all of the scrapbook pages, so that every other page will be a spot for a character to sign. Then when we get home we’ll add pictures with the characters. The book only came with 10 pages in it, so I added some of the refills for the scrapbook pages so that we will have room for more pictures and autographs.
Hailey made 2 books- this is her first one. She figured out how she wanted everything set up and did it all herself.

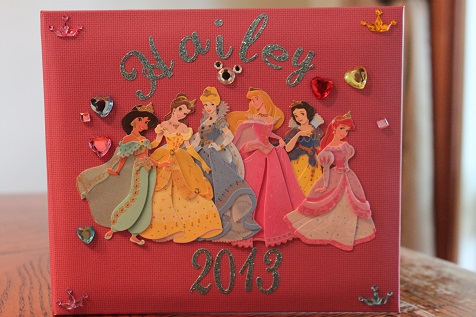
Hailey’s other book with her favorite princess on the cover.
We did the inside of Hailey’s books the same as Hunter’s. Every other page is cardstock and I added extra refill pages. She loves to meet the characters and get autographs, so we needed a lot of pages.
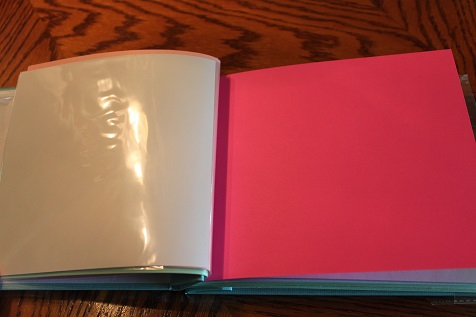
Just so you can see what the inside looks like- Hailey will have a character sign the cardstock. When we get home she’ll add a picture of that character in the photo page.
Now it’s your turn! Link up and share what you and your kids have been busy making. Grab a button so others can join in the crafting fun too 🙂
<div align="center"><a href="http://ourcraftsnthings.com/" title="Our Crafts N Things"><img src="http://i1165.photobucket.com/albums/q594/dustybug83/BeeCraftyKids3_zps44074ad6.png" alt="Our Crafts N Things" style="border:none;" /></a></div>
Rules are simple:
~Enter the direct link to one or more of your own posts that showcase a craft or hands on activity for children.
~A link back with the above button is appreciated, but not required
~Try to at least comment on one or two of the other blogs that took the time to share and join!
Be sure to like me on Facebook and follow me on Pinterest so you don’t miss any of our fun activities.
Bee Crafty Kids- Fish Aquarium Craft
Aug
Welcome back to the Bee Crafty Kids link up that I am co-hosting with To The Moon and Back, Look! We’re Learning and Monster’s Ed Homeschooling Academy.
The craft we made this week was so easy and there was no mess involved at all!
Here is what you’ll need:
contact paper
scissors
scrap construction paper
scrapbook paper (although you could easily use construction paper instead)
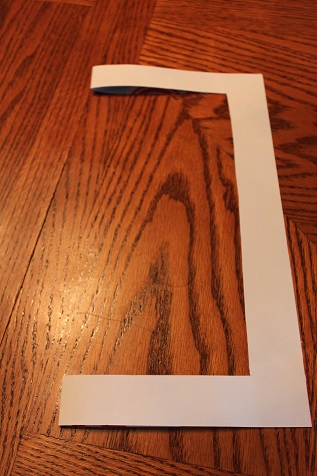
Fold the scrapbook paper in half and cut a square out of the middle.
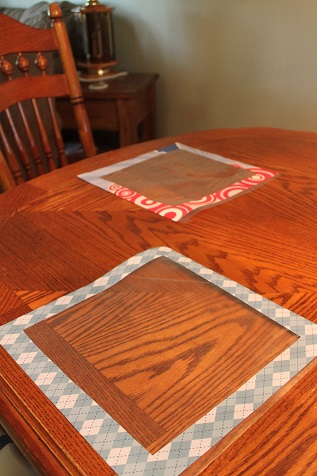
Put contact paper on the back of your frame, sticky side up.
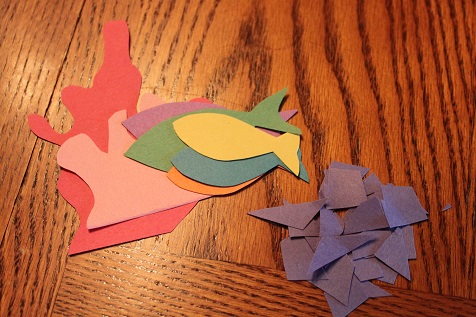
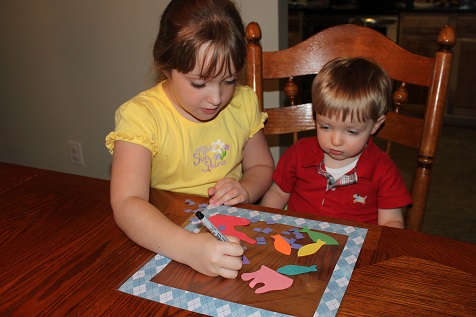
Cut out pieces to go in the aquarium using the scrap construction paper.
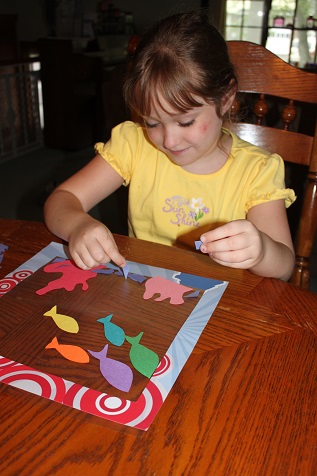
Hailey very carefully adding all of her pieces to her aquarium.
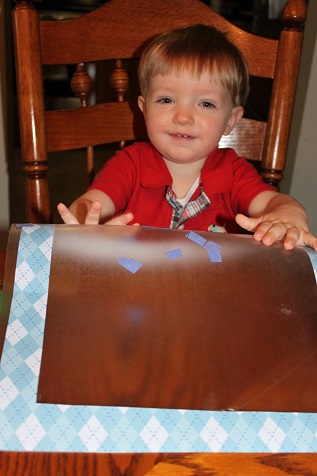
Hunter liked feeling how sticky the contact paper was, but he did eventually put his pieces on.
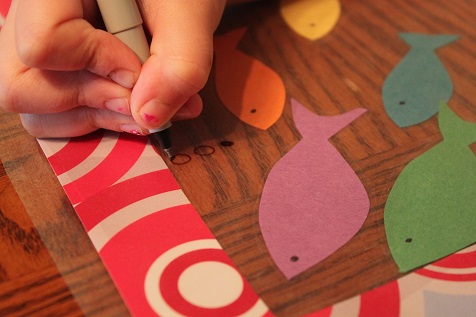
Hailey helped Hunter add some eyes to his fish. As she would add an eye he would point to another fish and say, “Another one.”
I added another piece of contact paper over the the top of the fish. Then Hailed added some air bubbles.
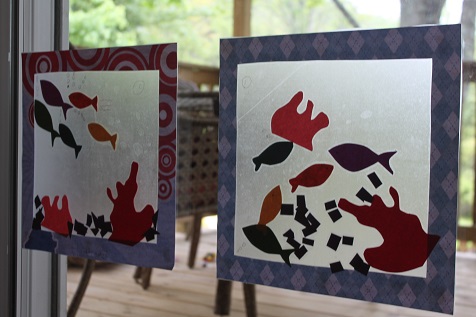
Our finished fish aquariums.
Now it’s your turn! Link up and share what you and your kids have been busy making. Grab a button so others can join in the crafting fun too 🙂
<div align="center"><a href="http://ourcraftsnthings.com/" title="Our Crafts N Things"><img src="http://i1165.photobucket.com/albums/q594/dustybug83/BeeCraftyKids3_zps44074ad6.png" alt="Our Crafts N Things" style="border:none;" /></a></div>
Rules are simple:
~Enter the direct link to one or more of your own posts that showcase a craft or hands on activity for children.
~A link back with the above button is appreciated, but not required
~Try to at least comment on one or two of the other blogs that took the time to share and join!
Be sure to like me on Facebook and follow me on Pinterest so you don’t miss any of our fun activities.
