Archive for December, 2012
Christmas Tree Craft
Dec
Since going back to work about a month ago I have been really struggling with finding time to post crafts. I am going to repost some of our Christmas crafts from last year in case you’re looking for ideas. I really hope to be able to find time to post a few new ones too. Hopefully after the busyness of the holidays is over I’ll have a bit of extra time to get back to posting some crafts.
Anyways- here’s an easy Christmas Tree project:
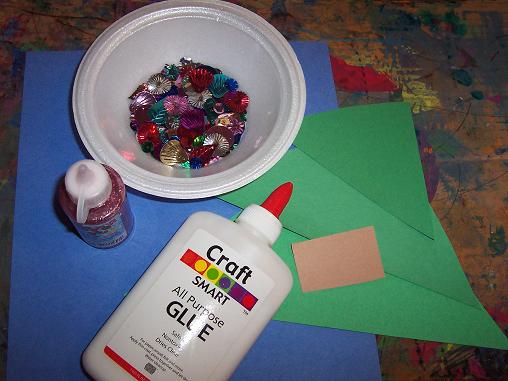
Here’s what you’ll need: a piece of blue construction paper, 3 green triangles- small, medium and large, a small brown rectangle, glue, glitter glue, sequence (and whatever else you want to use to decorate your tree).
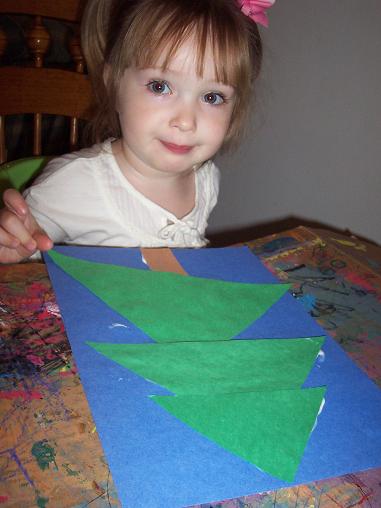
Glue the triangles and the rectangle onto the blue paper to make a Christmas tree.
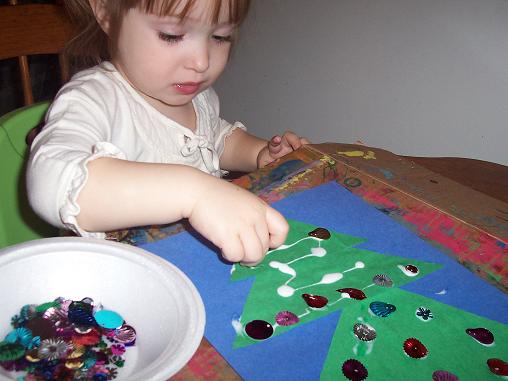
Glue the sequence on the tree.
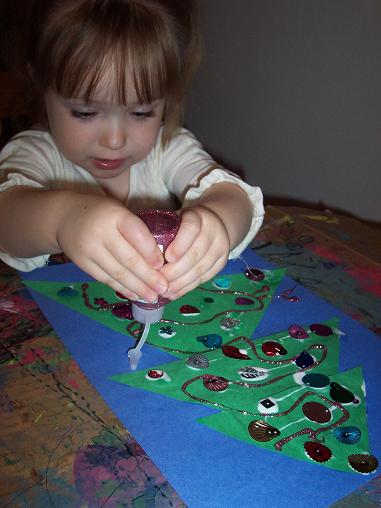
Add some glitter glue (or just regular glitter if you don’t mind the mess).
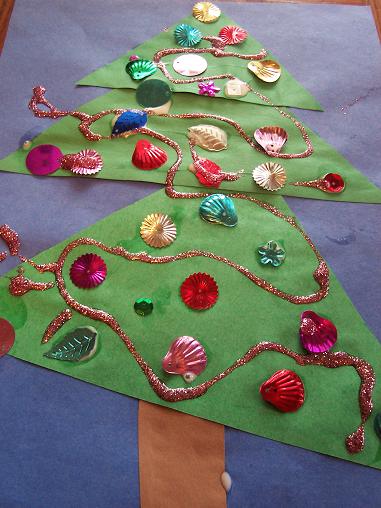
The finished Christmas tree.
Boxy Snowman
Dec
It has been so cold where we live that it’s just not possible to get outside to play in the snow. Plus Hailey has been sick and I just don’t want to take her outside. So, I came up with this idea so we could build a snowman inside.
Here’s what you’ll need:
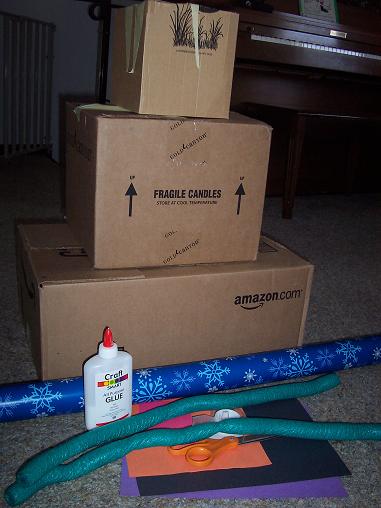
3 boxes- small, medium and large, wrapping paper, scissors, tape, glue, construction paper and 2 things you can use for the snowman’s arms.
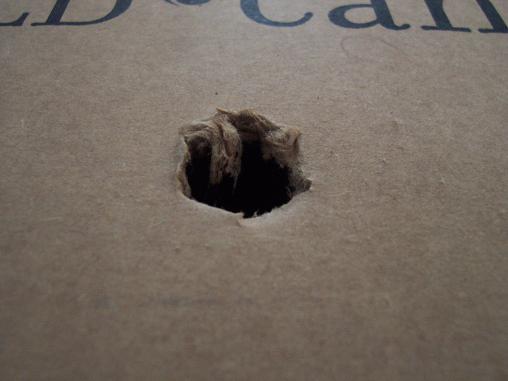
In the medium sized box- cut a small hole on 2 sides for the arms.
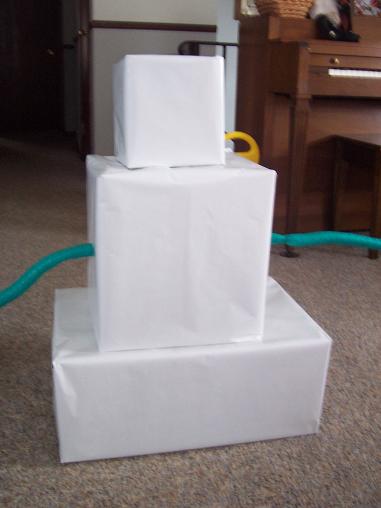
Turn your wrapping paper inside out and wrap the boxes with the white side showing. Put the arms through the holes in the middle sized box.
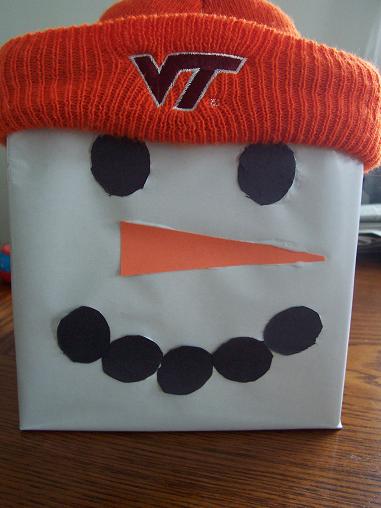
Make a face on the smallest box and add a hat.
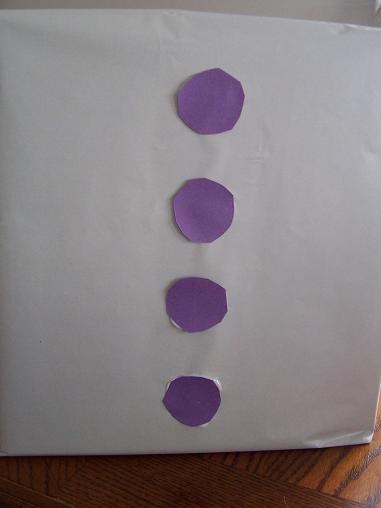
Add some buttons to the medium sized box.
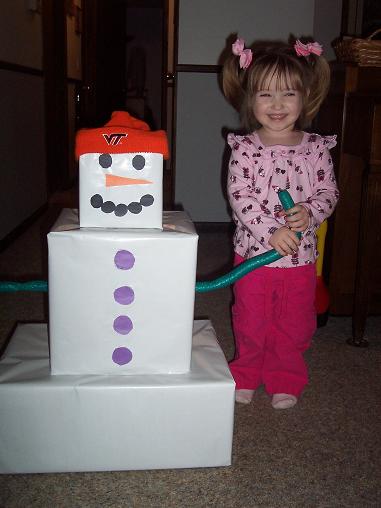
Hailey loved the snowman.
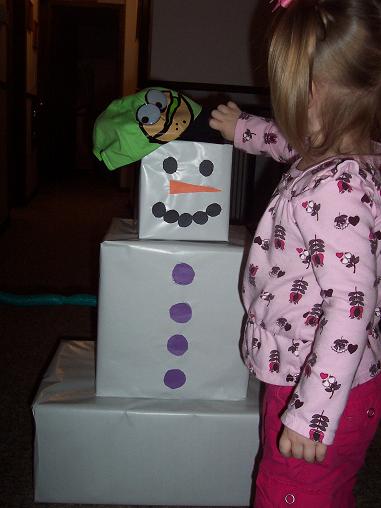
She loved taking him apart and putting him back together (we had to change the hat because the other one would not stay on).

Hailey dancing with the snowman.
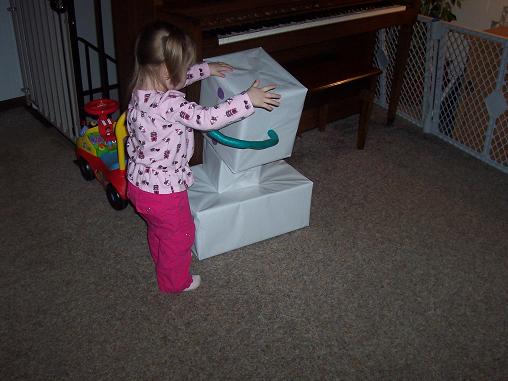
And she thought it was funny to put him together the “wrong” way.
Handprint Christmas Gift
Dec
This is the gift that Hailey made for her grandparents last year for Christmas.

Here is what you’ll need: an old gift box, construction paper, red and white paint, something to paint with, a fine tip marker, sequence, glue and a pipe cleaner.

Paint your child’s hand white.
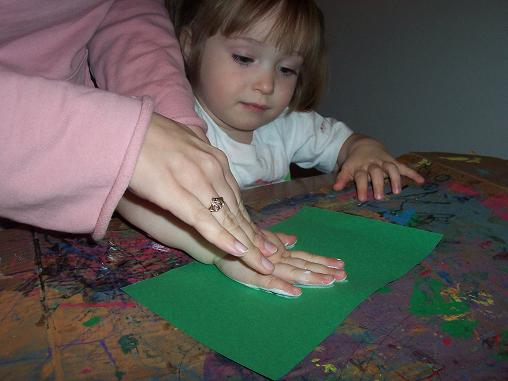
Press onto the paper.

Whenever we do a project that involves a hand print I always have extra paper there for Hailey to make hand prints on once I am done with her- so here she is having fun stamping her hand prints all over the paper.
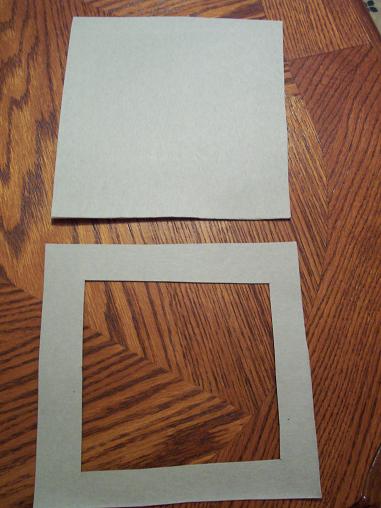
From the box- cut 2 squares. Cut the center out of one of the squares- this will be your frame.

Paint the frame.

Once the frame is dry, add some sequence or any kind of decoration you want.
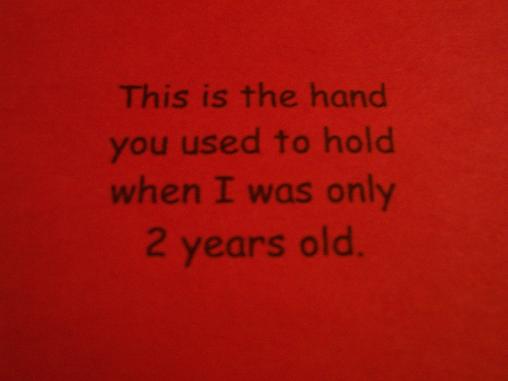
Sorry for the blurriness of this picture. Anyhoo- write your poem on construction paper. Or if you have messy handwriting like I do, just print it out. This is the poem we are using:
This is the hand
you used to hold
when I was only
2 years old
Of course you can use any poem you want.
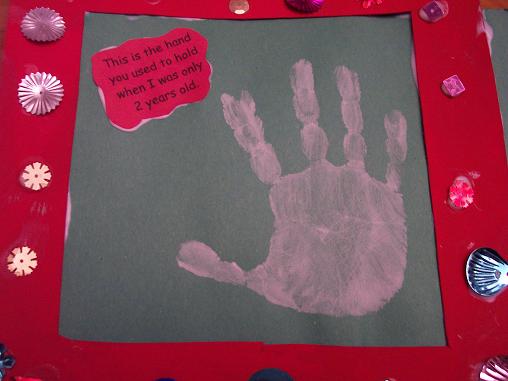
Put everything together.
We then put a magnet on the back of this so it could hang on the refrigerator. A cute and easy keepsake.
