Archive for May, 2009
Letter of the Week- Letter O
May
Our letter this week is the letter O and we made a fun Octopus.
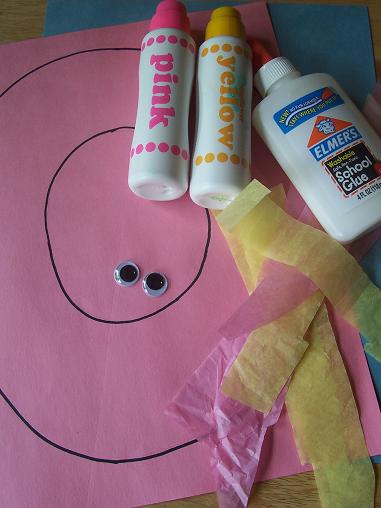
Here’s what you’ll need: paper with a large letter O, 8 strips of tissue paper for the arms, 2 wiggle eyes, paint dobbers and glue.
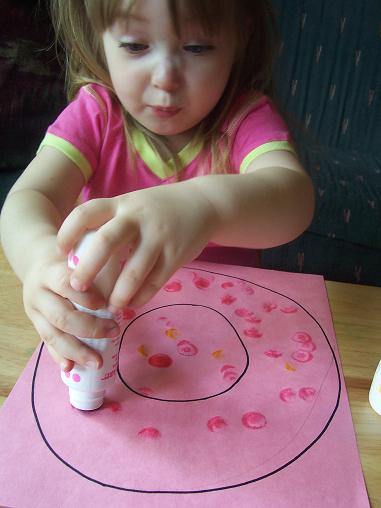
Use the paint dobbers to decorate the O.
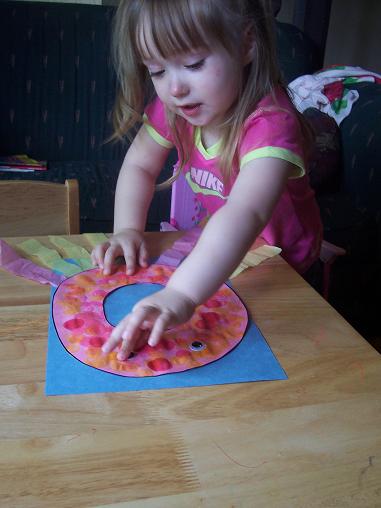
Glue the tissue paper onto the back of the letter O and then add the eyes.
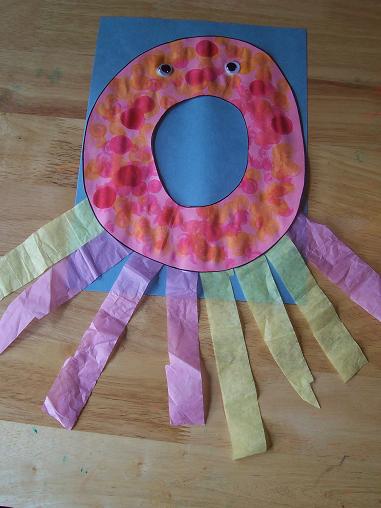
The finished letter O Octopus.
Tot School- Week in Review
May
Hailey is 31 months old.
We had another great week of Tot School. Our letter this week was the letter N and our theme was spring. Here are the activities that we did this week with links to the activities that I posted about during the week.
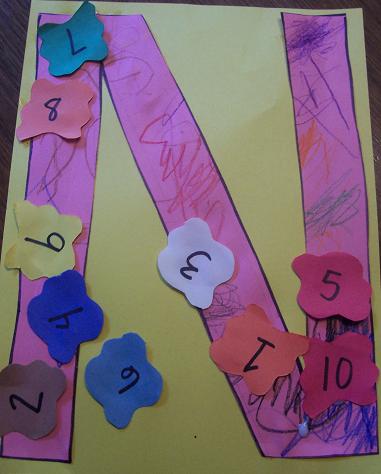
Our letter of the week was the letter N, so we made this Numbers N.
Our theme this week was spring– here is what worked on:
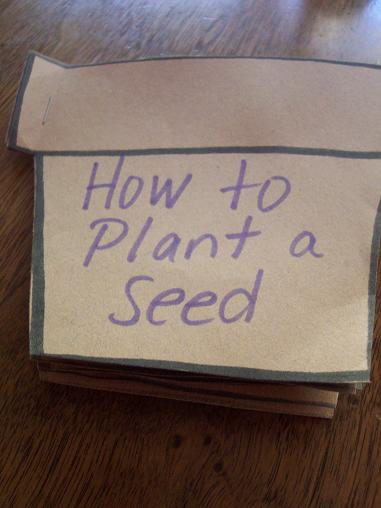
We made a book about How to Plant a Seed.
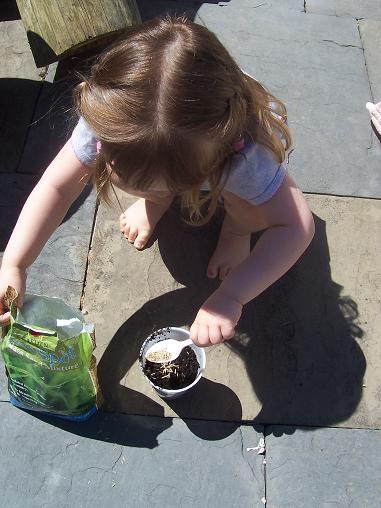
Then we planted some grass seed in a cup and we have been watching it all week.
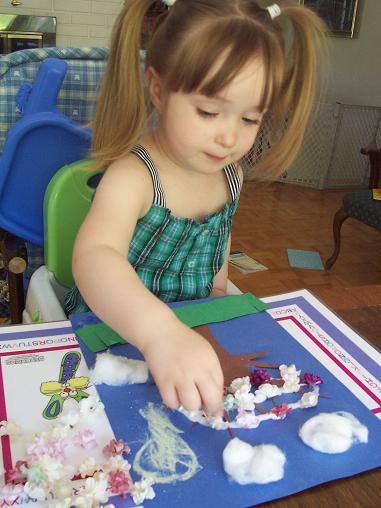
Then we talked about how trees look different in the winter versus the spring and made a really pretty spring tree.
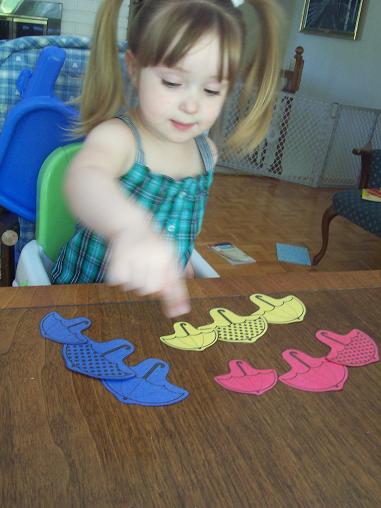
Hailey worked on sorting umbrellas by color.
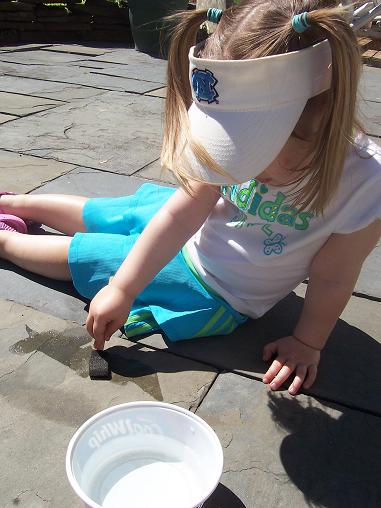
We painted outside with water.
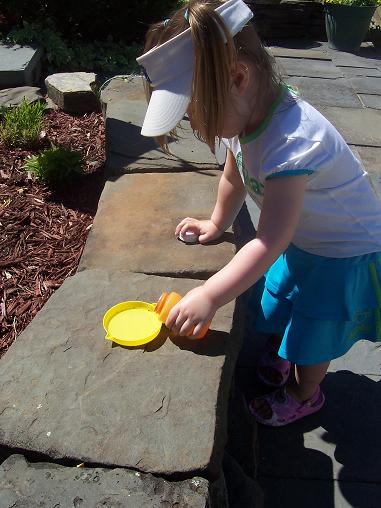
Hailey practiced pouring some bubble solution.
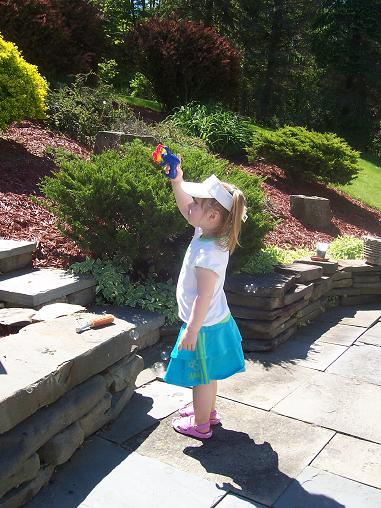
And, of course, she loved playing with her bubbles.
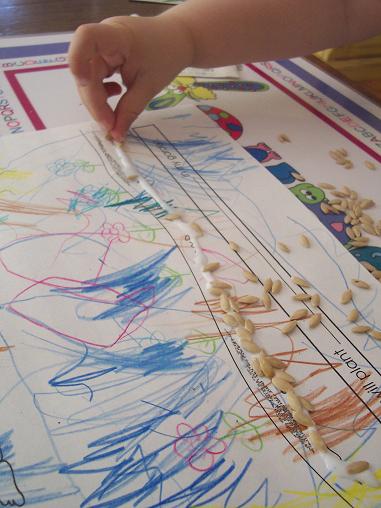
We pretended to make a garden and Hailey decided that she would plant some cucumber seeds in her garden.
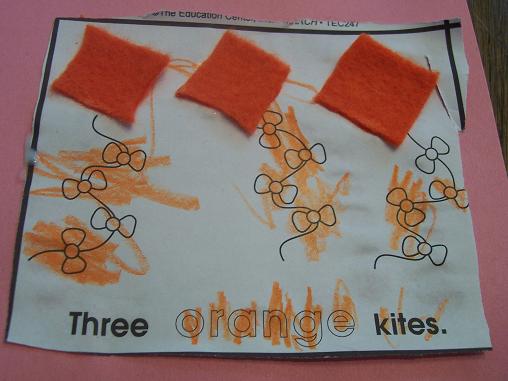
We made a spring counting book– here is one of the pages from the book- after Hailey colored I gave her three pieces of orange felt to glue on.
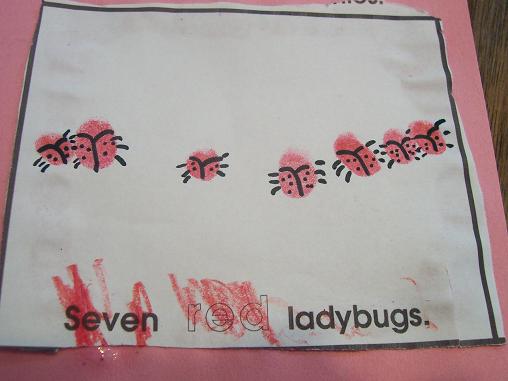
This is another page from Hailey’s spring counting book– we used a red stamp pad for this page and used Hailey’s finger to make prints for the ladybugs. Then I used a black marker to make them look like ladybugs.
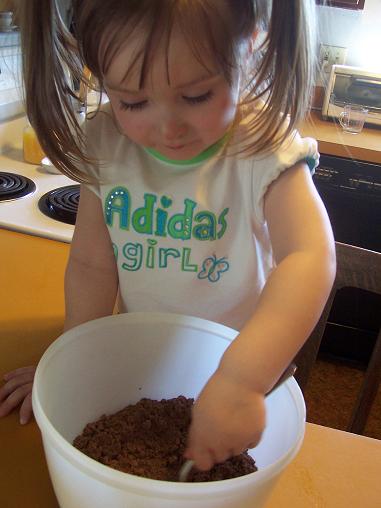
We also made some yummy brownies.
We had a fun and busy week. Check out what the other tots have been up to over at 1+1+1=1.
Spring Counting Book
May
For the last day of our spring theme we made a cute spring counting book. Rather than show all of the materials in one large group I am going to show you how we made each page of the book. This is something I found in a Mailbox magazine and printed out but you could easily make this yourself.
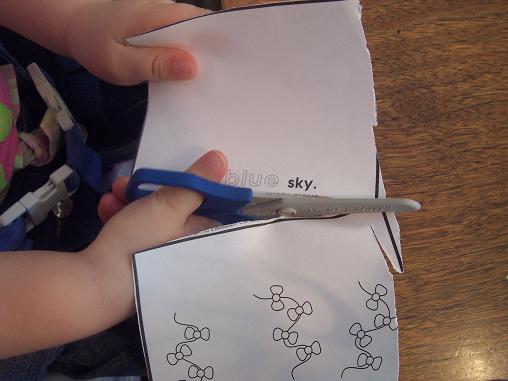
First Hailey cut the pages apart. She did an excellent job cutting and staying pretty close to the black line!
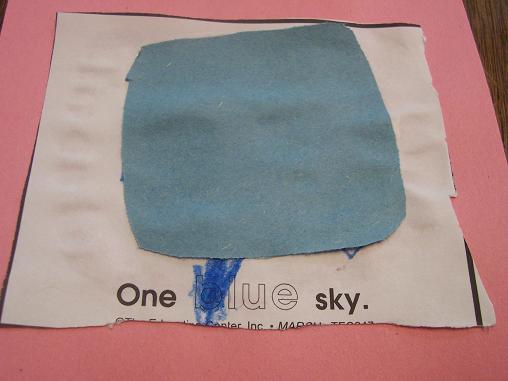
For the first page- Hailey colored the word blue and then added a little blue square of construction paper to represent the sky. We also glued each page onto a piece of construction paper for durability and to make it easier to staple everything together at the end to make it into a book.
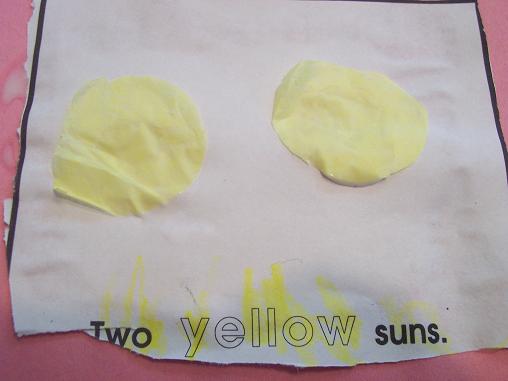
Hailey colored the word yellow and then added two circles of tissue paper for the suns.

After Hailey did some coloring I gave her three pieces of orange felt to make the kites.
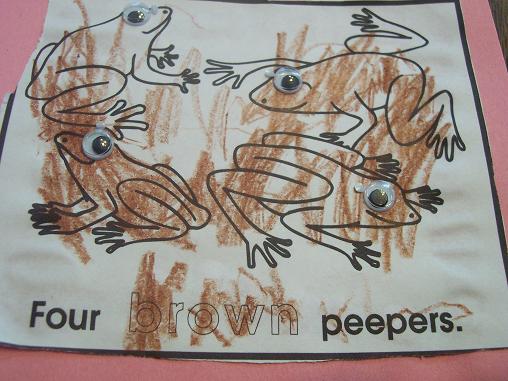
Hailey colored everything brown and then added the wiggle eyes.
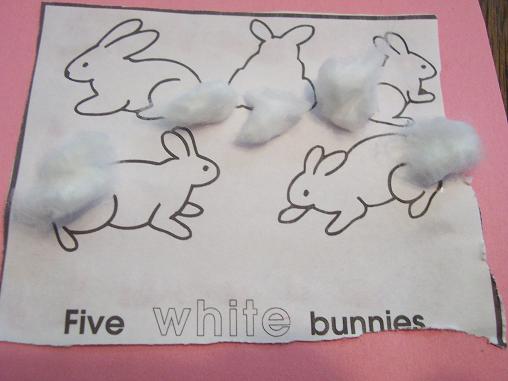
Hailey glued on some little cotton balls for the bunnies tails.
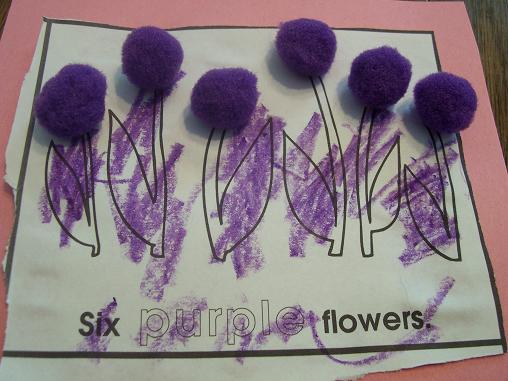
We added purple pom poms to this page for the flowers after Hailey colored everything purple.

This was Hailey’s favorite page- she put her finger onto a red stamp pad (a “washable” stamp pad). The she stamped her finger onto the paper. I added some lines and dots to make it look like ladybugs.
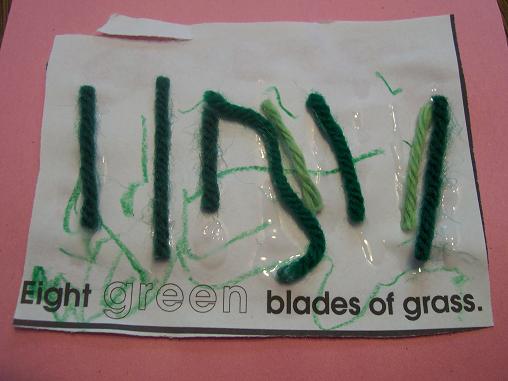
Hailey glued on 8 pieces of green yarn for this page.
Once everything was dry I added a title page (“It Must Be Spring Time!”) and stapled everything together to make it into a book. It turned out really cute- and it was a fun to tie our spring theme together with colors and counting.
I Will Plant…
May
For our next spring project we made a picture of what Hailey wanted to plant in her garden.
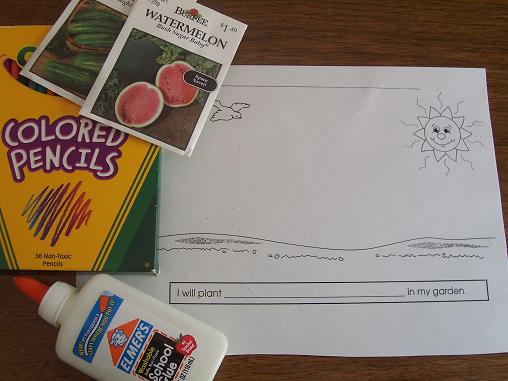
Here’s what you’ll need: paper to draw what you want to plant in your garden (mine is from one of my Mailbox magazines, but you could easily make your own), glue, colored pencils, seeds.
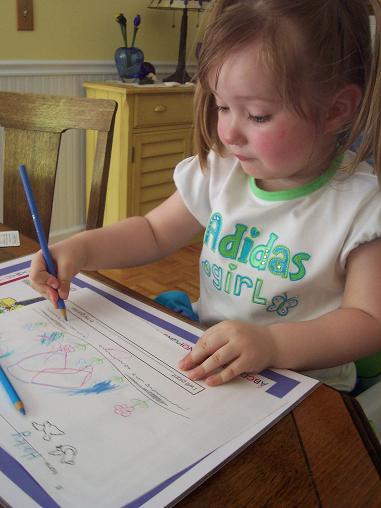
Color the picture.
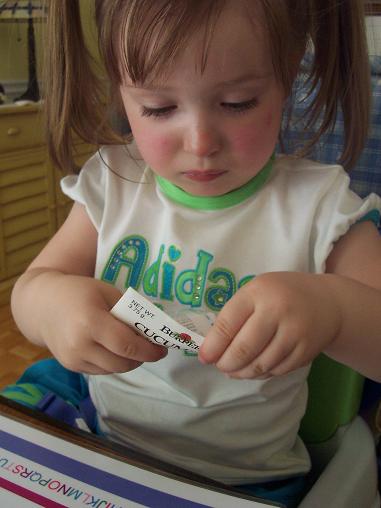
Open the seeds- Hailey decided she wanted to plant cucumber seeds “like Larry” (from the Veggie Tales).

Put some glue on the paper and add your seeds.

Hailey’s completed picture with some cucumber seeds and her picture of her garden.

