Archive for September, 2008
Story of Creation- Day 3
Sep
This week we continued learning about the 7 days of creation. Hailey is still working on her memory verse- “God created all things. John 1:3” She can say it with prompting and it is incredibly cute.
We made a nature collage, emphasizing that God made all of these things.

Here’s what you’ll need: Go for a walk (or right to your back yard) and collect various pieces of nature. We have some flowers, leaves, grass, sticks, etc. And you’ll also need some clear contact paper.
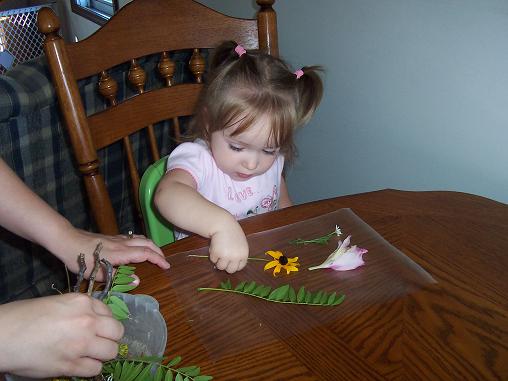
Stick your pieces of nature to the contact paper.
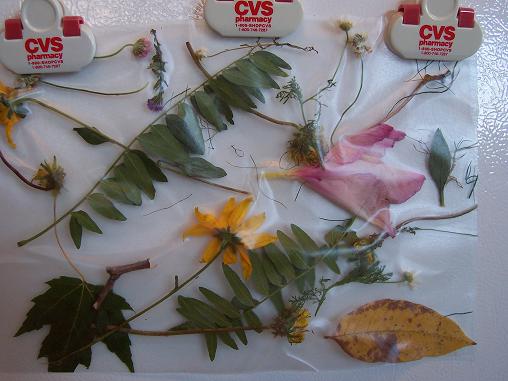
Add a piece of contact paper to the other side to seal your project. Hang it up on the refrigerator.
Then we made our Day 3 picture to add to the first two days we already made.
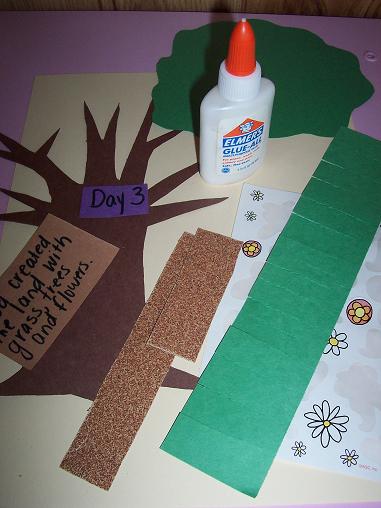
Here’s what you’ll need: card-stock, sandpaper for land, tree shape, green for leaves on tree, green for grass, flower stickers, glue, piece of paper that says “Day 3” and paper that says “God created the land with grass, trees and flowers.”

Put everything together.
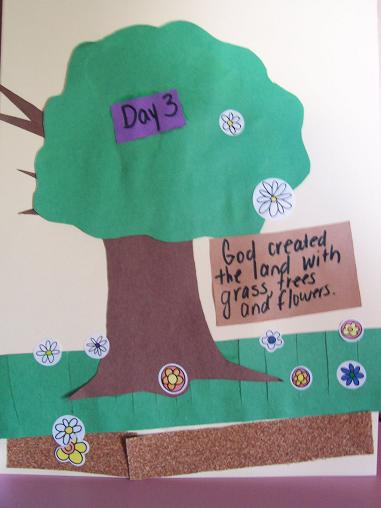
The finished picture for day 3.
Number One and Cirlces
Sep
Our number again was the number one. I pick a number to concentrate on for two weeks because it seems like it’s a little harder for Hailey to recognize her numbers than her letters.
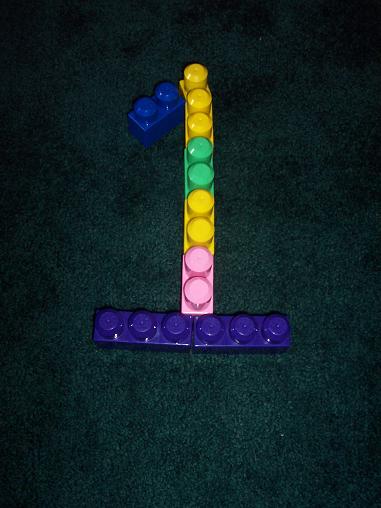
We used Legos to make the number 1.
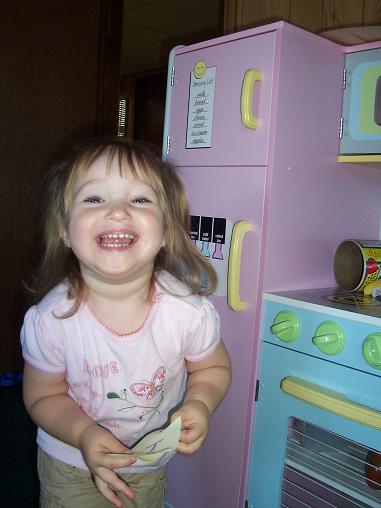
I wrote the number 1 on post it notes and stuck them all over Hailey’s playroom and our family room. Hailey had a blast finding the numbers and then sticking them all over the place again.
Our shape is still the circle as I am only doing one shape each month. Hailey actually knows all of her basic shapes, so I may need to rethink my plan and start teaching her some of the harder shapes.
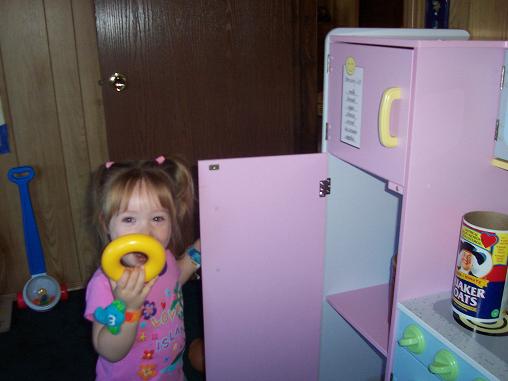
Hailey looked around her playroom for various toys shaped like a circle.
We made a circle sun-catcher.
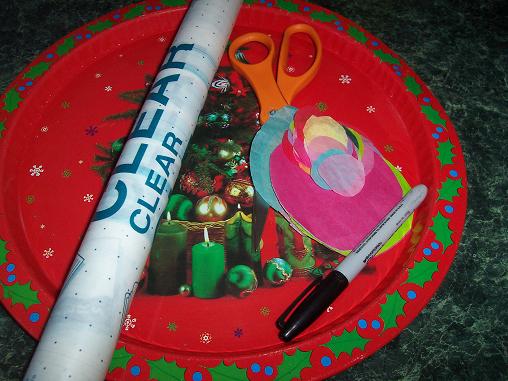
Here’s what you’ll need: clear contact paper, marker, scissors, something to draw a big circle with, circles cut out of tissue paper in varying sizes.

Draw a circle onto the contact paper and then remove the backing. Put contact paper on the table (I taped it down so that it wouldn’t get stuck on Hailey’s arm) then add tissue paper circles. I also left the contact paper as a square so that when I added the other piece of contact paper I wouldn’t have to try to line up the circles. Then after I put the other piece of contact paper on it was very easy to just cut out the circle shape.
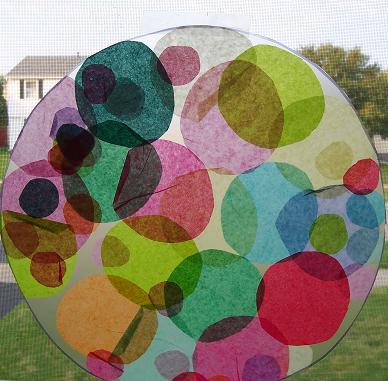
Hang your circle sun-catcher on the window.
We also painted using red- our color of the month (another idea I may need to rethink as Hailey knows all of her basic colors) but I posted about that on Monday with our letter of the week.
All About Me- Week 2
Sep
Our theme again last week was All About Me. We did a couple of projects:
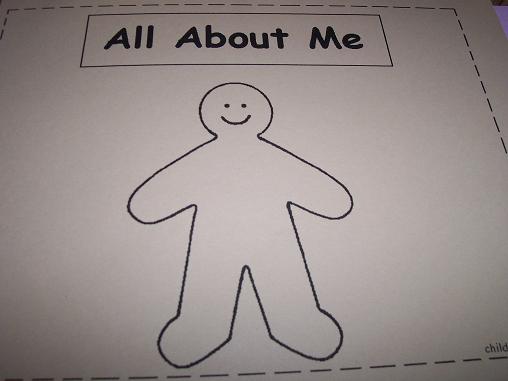
We made an All About Me book.
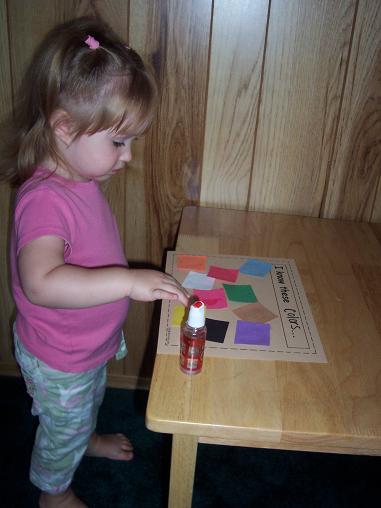
Here is Hailey gluing some pieces on the “I know these colors…” page.
The All About Me book turned out really cute. There is a page with Hailey’s picture on it, one with her family, one of her favorite animals, favorite foods, favorite color, one with the colors she knows, one with the letters she knows, one with her hand-prints, etc. It turned out really nice so I covered it in contact paper so that it will last forever- I hope.
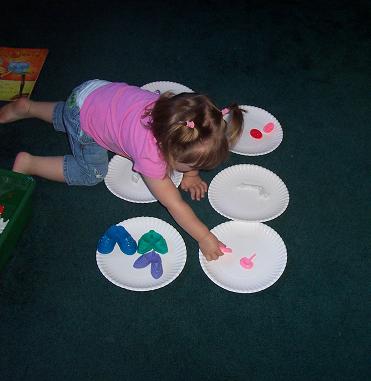
We did a sorting game with Mr. Potato Head’s body parts. This is the first time I’ve ever done a sorting activity like this and Hailey caught right on and did great.
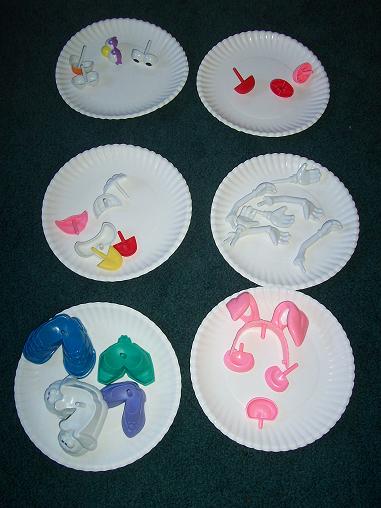
All of the body parts sorted.
Letter of the Week- Letter B
Sep
Our letter of the week last week was the letter B and we did several activities to help Hailey learn the letter B.
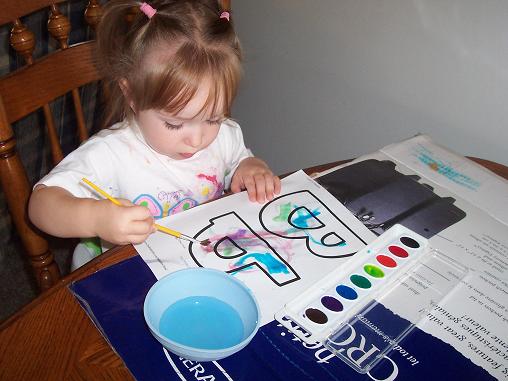
Hailey used water colors for the first time to paint the letter B. It only took a couple of tries before she understood that she had to dip the brush into the water and then the paint and then she loved it. She spent a lot longer with the water colors than she usually does with regular paint. (And- an added bonus- she didn’t even try to eat it… yet)
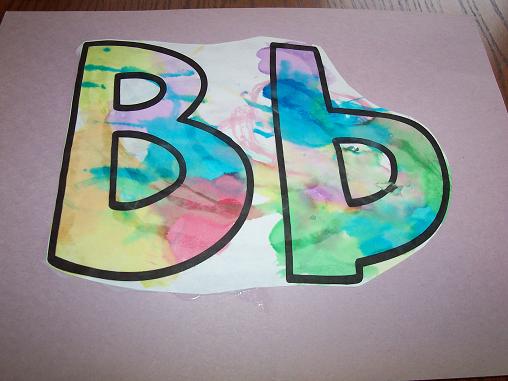
This is the finished letter B that I cut out and glued onto construction paper. It hangs on our refrigerator all week so that Hailey will see it a lot.
We also made a Bumble Bee out of the letter B- an idea I saw over at No Time for Flashcards.
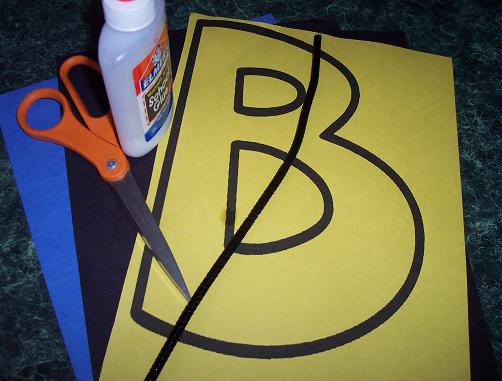
Here’s what you’ll need: a large letter B on yellow construction paper, black and blue construction paper, scissors, glue and pipe cleaner.
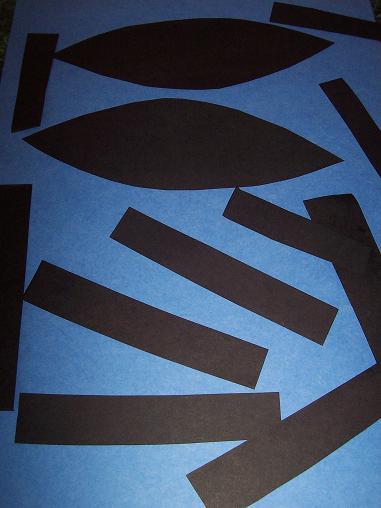
Cut out several lines to be stripes on the bumble bee and two wings out of the black construction paper.

I cut out the B but left the centers of the B in so that the paper would be a bit sturdier. Hailey glued the stripes on.
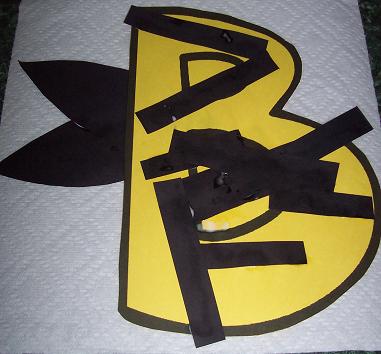
Glue the wings onto the back of the B.
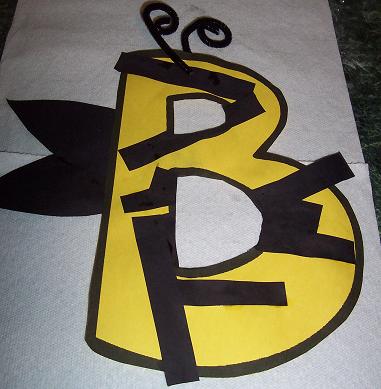
Use the pipe cleaner to make antenna and thread it through the B. I put the antenna through a stripe so that the B would be less likely to rip. Cut out the centers of the B.
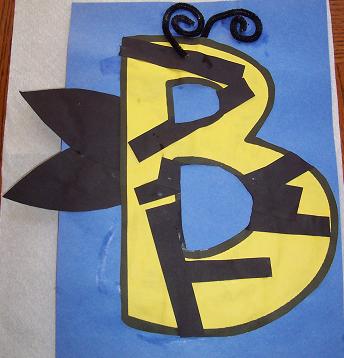
Here’s the finished Bumble Bee B, glued onto blue construction paper for added durability.
We also played hide the letter B using some felt letter B’s which I hid around our house for Hailey to find. She also enjoyed the letter B activities at Star Fall.

Hailey colored her Letter B book. Later we added pictures to it and then I put the book together. (If you look closely you’ll be able to see that Hailey is wearing her bathing suit over her clothes.)
Here is our last letter B project of the week:
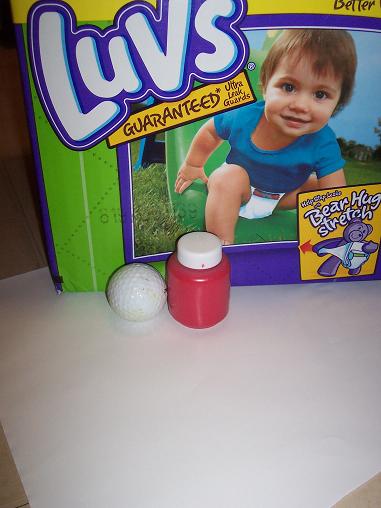
Here’s what you’ll need: a deep box, a piece of paper, golf ball and paint.
I didn’t get any pictures while we did this project- but I dipped the ball into the paint and then dropped it into the box with the paper in it. Hailey shook the box around to spread the paint. This project combined several of our themes last week- B for the ball, red for our color, and circle (ball) for our shape.
It will be a long time before we do something like this again though. Hailey got frustrated while we were working on it and she took the ball out and threw it across the room. This resulted in a very sad mommy and a very sad toddler as well as lots of red paint to clean up.
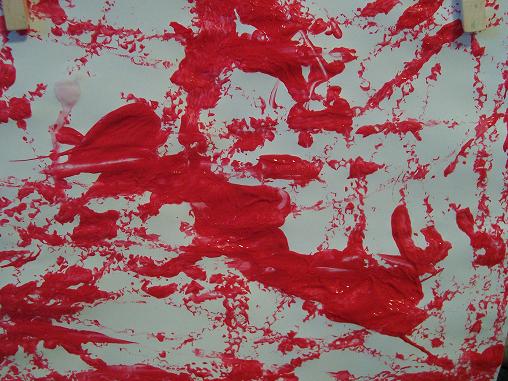
The finished picture.
