Aug
Our Homeschool Classroom
We have been excitedly setting up and getting ready for our first year of homeschooling. Although our first day of school isn’t until September, I am pretty much ready to start. We are going on vacation soon and I want everything to be done before we go. I still have a few organizational type things to do, but for the most part we are all set. Here is a peek at where we are planning to have school everyday.
This room is in the downstairs of our house, off of our family room. It’s not a huge room, but I think it will work for us.
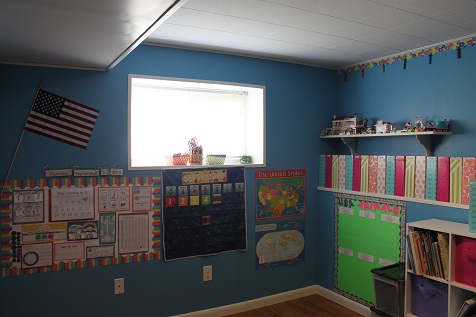
This is what the room looks like from the doorway. The window made it really hard to get a picture of this wall, but this wall has our calendar and calendar board. I have another post coming that shows what we are using on our calendar board. We also have our flag and some maps on that wall. There is a window shelf where I am keeping a few of my supplies.
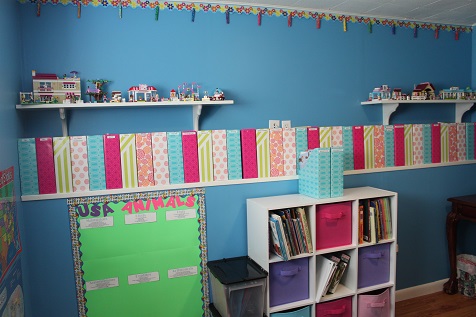
Along the very top of this wall where there the flower boarder is will be where we will display our artwork. I have a post in the works for that, to show how we made it. Then there are shelves that display some of the Lego creations Hailey has done. She loves to put them together and then display them. This wall has magazine holders full of books. The magazine holders are labeled for different types of books (fall, Christmas, winter, Dr. Seuss, Disney, science, etc.) We also have a “USA Animals” board where we will put pictures of the animals we learn about while we do Road Trip USA. Then there are some bins where I will keep my papers organized. There is also a shelf that has some oversized books that wouldn’t fit in the magazine holders and well as some bins.
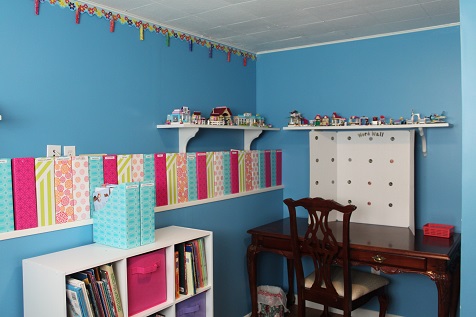
This is Hailey’s desk. We will probably share it, but for the most part this will be Hailey’s workspace. There is also a Word Wall on her desk.
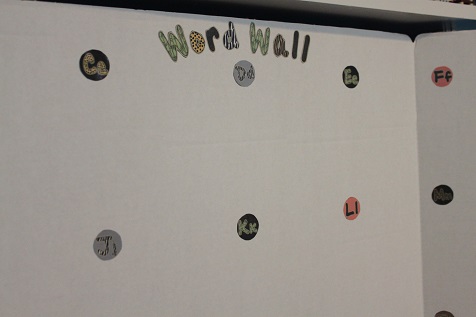
Here is a close up of the Word Wall. Hailey and I looked through Pinterest and she found an animal print that she liked. It’s free 🙂 on Tpt.
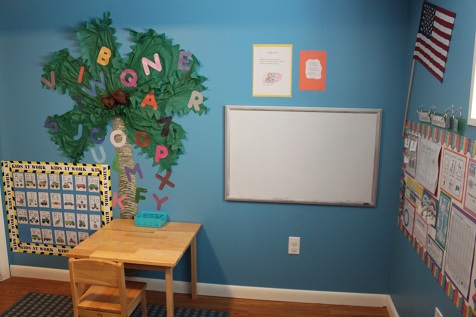
Here is the last wall of our classroom. This wall has our white board. Above the white board is our weekly Bible verse and our weekly poem. The little table is Hunter’s workspace. He already loves to sit there and work, so hopefully that will continue when we actually start school. You can also see our Chicka- Chicka- Boom- Boom tree that my mom helped me make a few years ago when Hailey was learning her ABCs. On the far left is Hunter’s ABC wall.
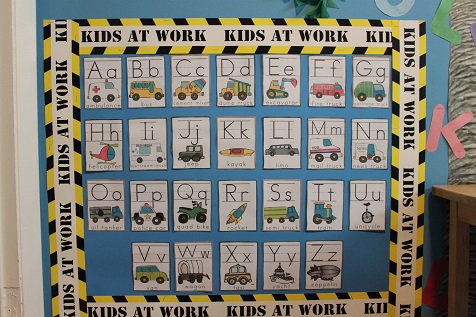
Here is a close up of the alphabet I am using for Hunter. When I found these Zoomin Moving ABC Wall Cards over at Royal Baloo I was so excited! Hunter loves anything with wheels so he was really happy to see these when I put them up.
We will also spread out into our family room where there are some comfy couches, perfect for snuggling up in with a good book. I’m sure there will be art projects done in the dining room so I have easy access to the kitchen. In other words, we will probably homeshool all over our house, but this room will be our main classroom. I hope you enjoyed the little tour of our homeschool room.
Be sure to like me on Facebook and follow me on Pinterest so you don’t miss any of our fun activities.
Aug
Bee Crafty Kids- Disney Autograph Books
Welcome back to the Bee Crafty Kids link up that I am co-hosting with To The Moon and Back, Look! We’re Learning and Monster’s Ed Homeschooling Academy.
We are preparing for our annual trip to Disney World, and since we go every year we own all of the different autograph books that are sold in Disney World. We want to have something a little different, so Hailey decided that she wanted to make her own for this trip.
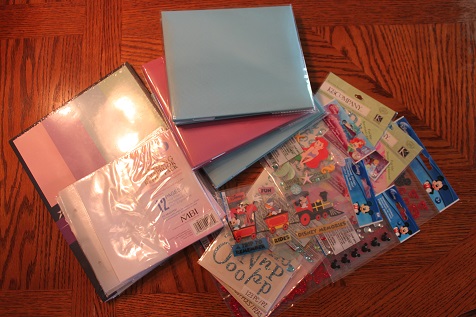
Here is what we used to make our books:
small scrapbooks (you can use any size you like, but we picked 6×6)
refill pages for the scrapbooks
scrapbook stickers
cardstock
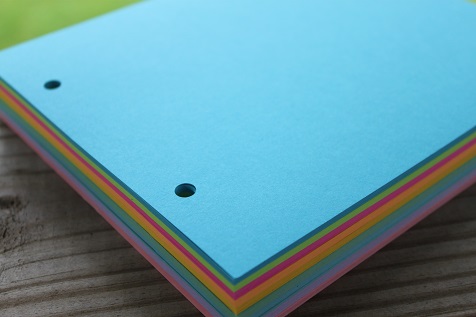
I took the cardstock to Kinkos and brought one of the pages from the scrapbook and asked them to cut the cardstock down to the same size and to drill holes in the same spots. I’m sure I could have done it myself, but it only cost about $5, so it was worth it to me to have them do it.
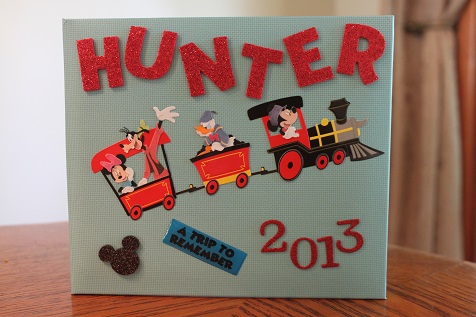
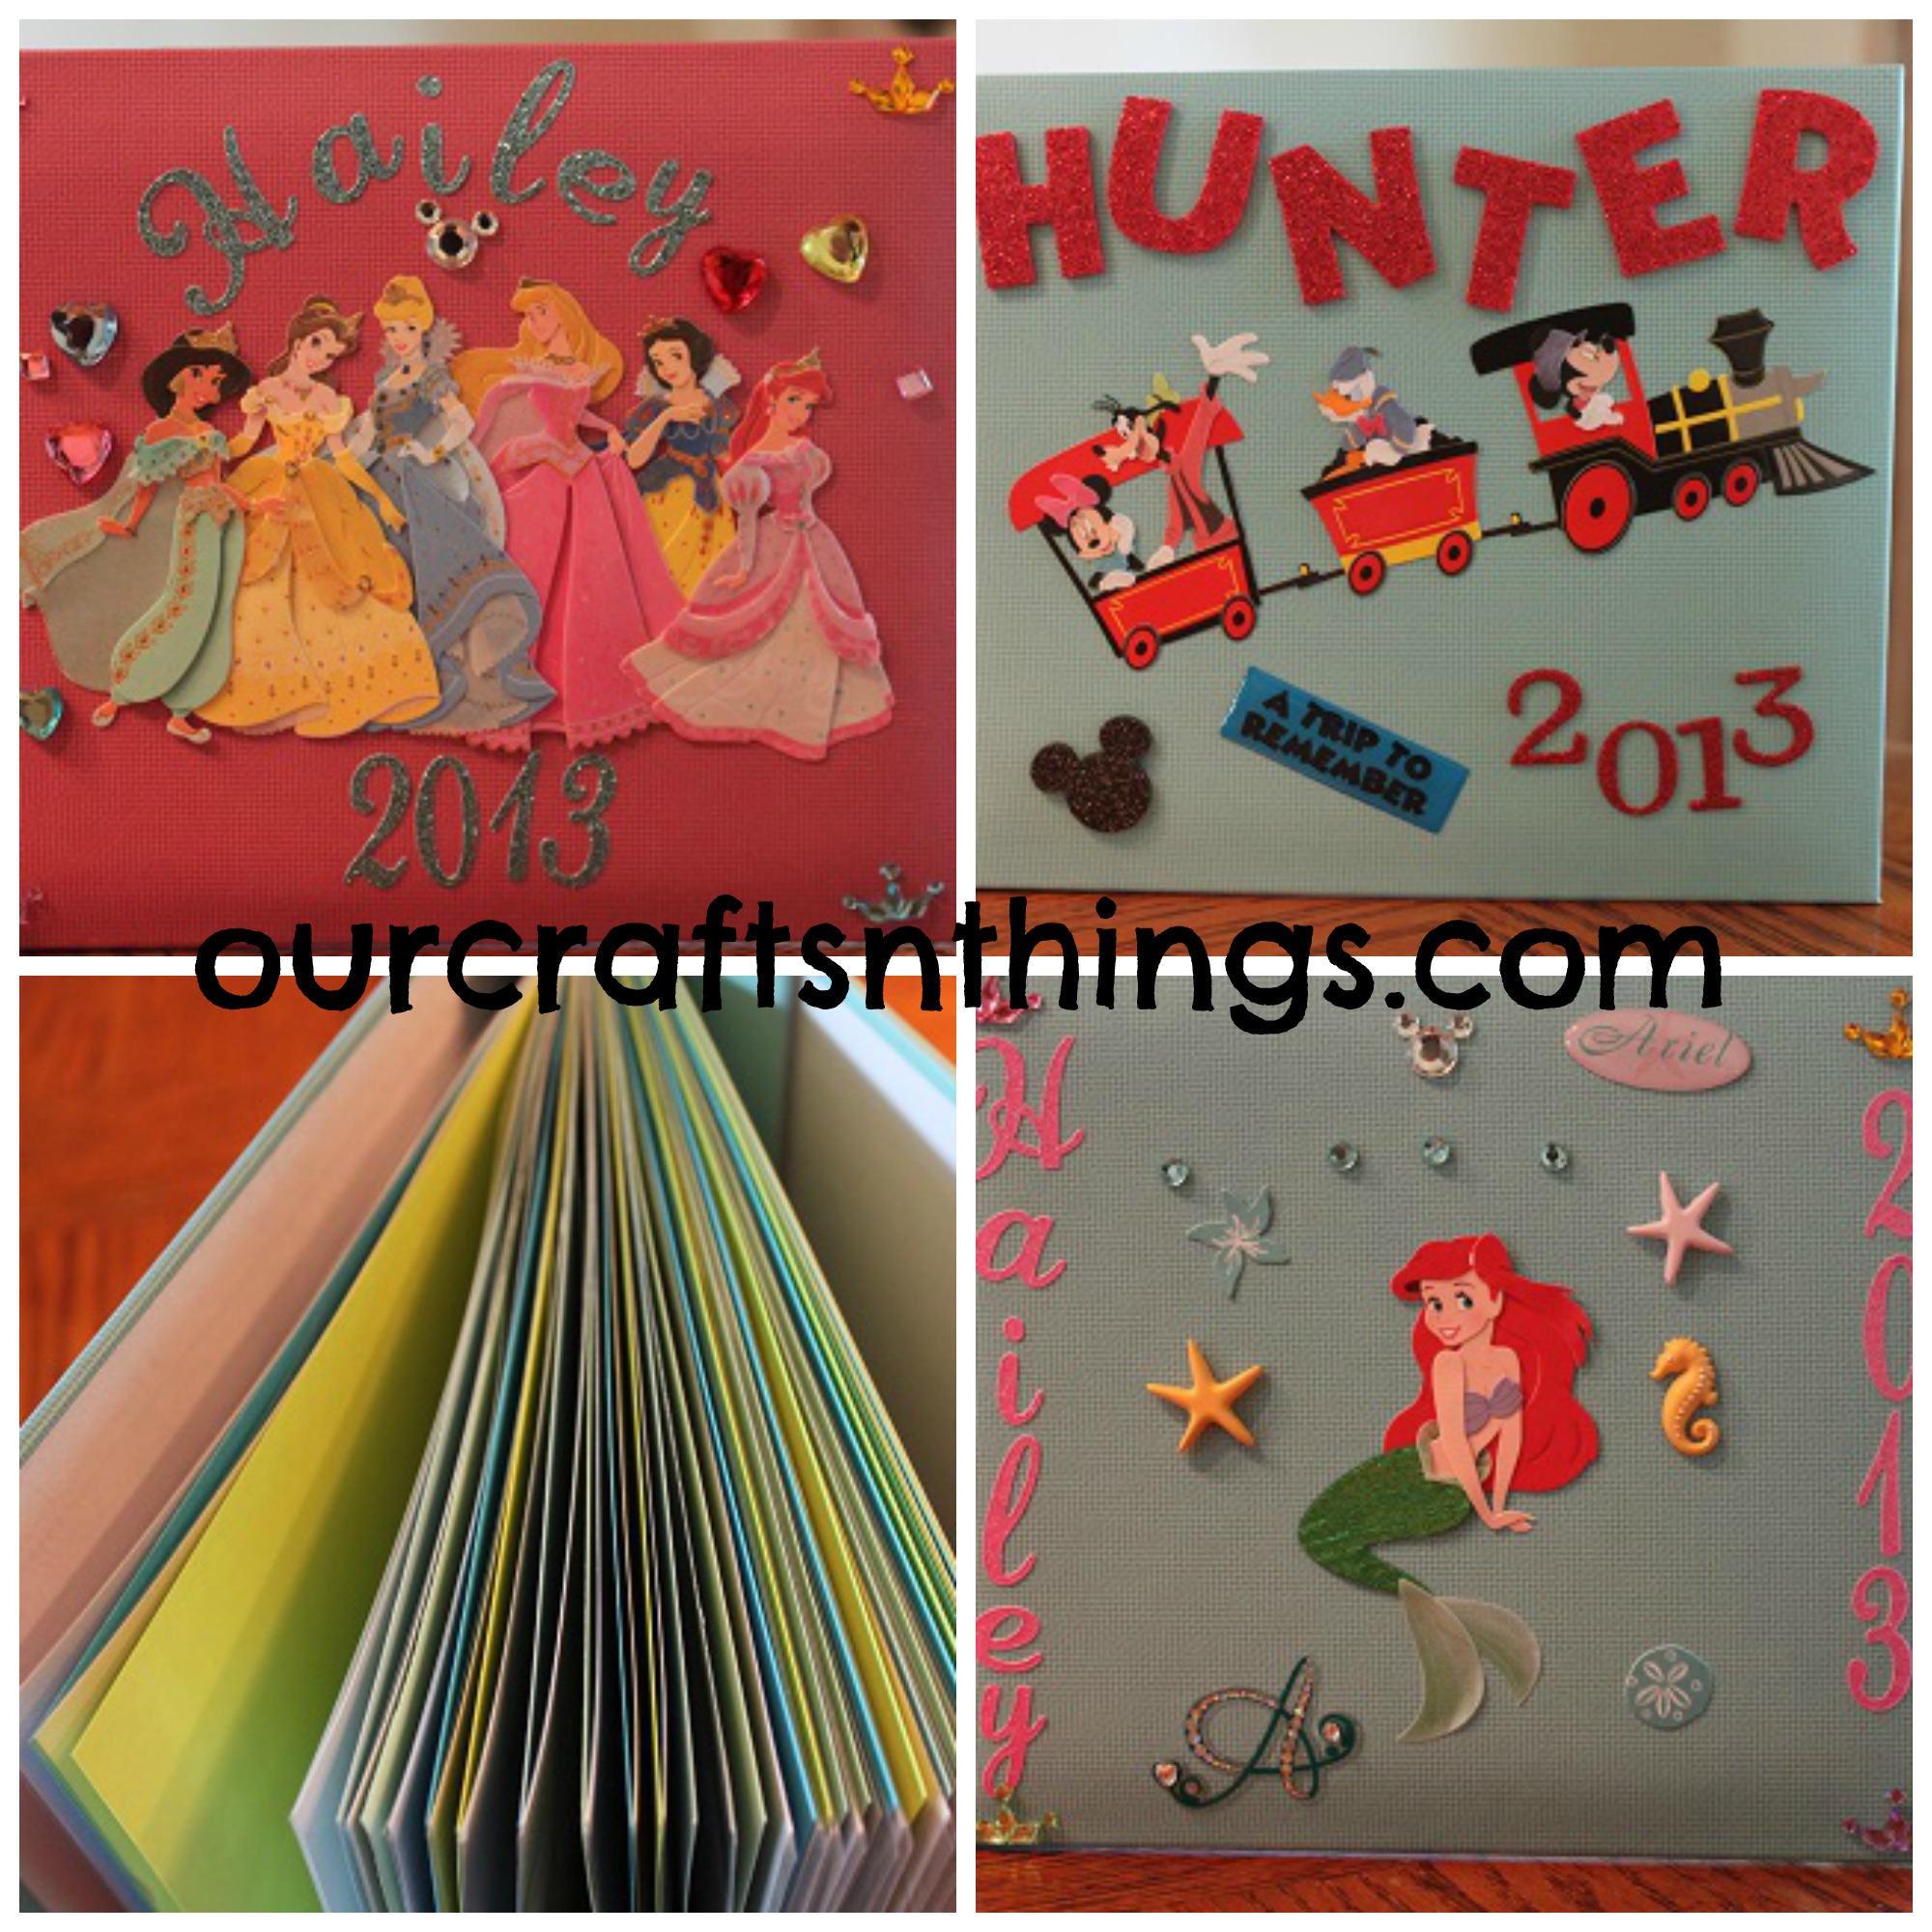
I decorated the front of Hunter’s book since he isn’t old enough to do it.
Then I put the cardstock in between all of the scrapbook pages, so that every other page will be a spot for a character to sign. Then when we get home we’ll add pictures with the characters. The book only came with 10 pages in it, so I added some of the refills for the scrapbook pages so that we will have room for more pictures and autographs.
Hailey made 2 books- this is her first one. She figured out how she wanted everything set up and did it all herself.

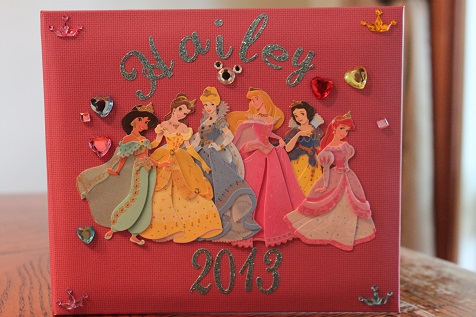
Hailey’s other book with her favorite princess on the cover.
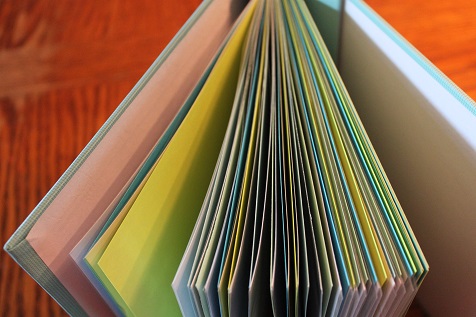
We did the inside of Hailey’s books the same as Hunter’s. Every other page is cardstock and I added extra refill pages. She loves to meet the characters and get autographs, so we needed a lot of pages.
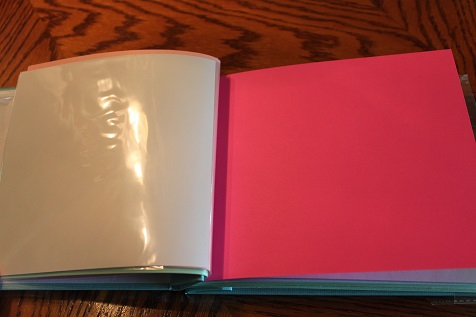
Just so you can see what the inside looks like- Hailey will have a character sign the cardstock. When we get home she’ll add a picture of that character in the photo page.
Now it’s your turn! Link up and share what you and your kids have been busy making. Grab a button so others can join in the crafting fun too 🙂
<div align="center"><a href="http://ourcraftsnthings.com/" title="Our Crafts N Things"><img src="http://i1165.photobucket.com/albums/q594/dustybug83/BeeCraftyKids3_zps44074ad6.png" alt="Our Crafts N Things" style="border:none;" /></a></div>
Rules are simple:
~Enter the direct link to one or more of your own posts that showcase a craft or hands on activity for children.
~A link back with the above button is appreciated, but not required
~Try to at least comment on one or two of the other blogs that took the time to share and join!
Be sure to like me on Facebook and follow me on Pinterest so you don’t miss any of our fun activities.
Aug
History Rocks! Part 1 Curriculum Review and Giveaway
I was recently given the chance to check out a history curriculum from Jill at Enchanted Homeschooling Mom. Jill has a Member’s Only website where she has 250+ printables- there are unit studies, activity packs and printable curriculum like History Rocks! I was super excited to get to check out her history curriculum!
History Rocks! Part 1 uses “Boys Who Rocked the World: Heroes from King Tut to Bruce Lee” by Michelle Roehm McCann as its text.

Here is a description of the book from Amazon:
“This engaging and thought-provoking collection of influential stories provides forty-six illustrated examples of strong, independent male role models, all of whom first impacted the world as teenagers or younger. This updated and expanded edition of Boys Who Rocked the World encompases a variety of achievements, interests, and backgrounds, from Wolfgang Amadeus Mozart and Steve Jobs to Crazy Horse and Stephen King—each with his own incredible story of how he created life-changing opportunities for himself and the world. Personal aspirations from today’s young men are interspersed throughout the book, which also includes profiles of teenagers who are rocking the world right now—boys like John Collinson, the youngest person to climb the Seven Summits, and Alec Loorz, who founded the nonprofit organization Kids vs. Global Warming.”
The History Rocks! curriculum is geared for 1st-5th grade, is over 400 pages and has 46 units- one for each of the male role models from the book. Some units contain more activities than others, but all have plenty of fun things to do. You will find mapping skills, reading, writing and fun projects covered throughout the curriculum and so much more!
Each unit starts out with a page of questions to answer after reading the chapter from the book. Then the students write about why this person was important in history and what could have been different if that person did not do what he did. It’s great way to get the students thinking after reading each chapter. After that the units vary in what they contain- one might have a lesson in using an encyclopedia, some physics, a movie about the person, etc. There are also links to other activities, coloring pages and more so you don’t have to go searching for anything extra to supplement.
The units do not have to completed in any particular order, you can just pick someone who is interesting to your child and start there.

Since Hailey wants to be an artist, we decided to look at the unit about Pablo Picasso. First we read the chapter in “Boys Who Rocked the World: Heroes from King Tut to Bruce Lee” by Michelle Roehm McCann all about Picasso. The book is very interesting- we all found it very easy to read and it kept our attention.
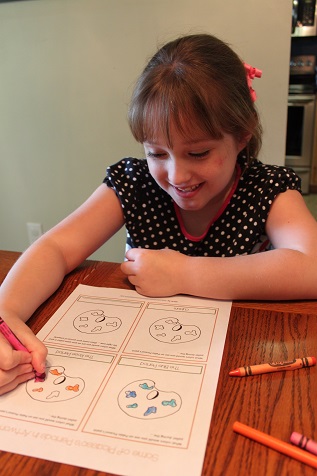
Hailey colored a paper about what kinds of colors she thought Picasso would have had on his pallet during the various periods in his life (Blue Period, Rose Period and Cubism). Then she had to color what colors she would have on her pallet right now… she picked some happy colors because we’re going to Disney World soon and some sad colors because she saw a puppy at the store that she wanted and I wouldn’t get it for her 🙂
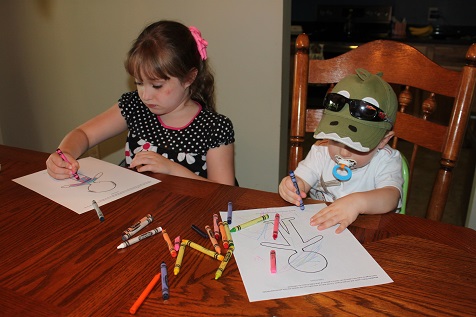
Hailey and Hunter made paper dolls of Pablo Picasso.
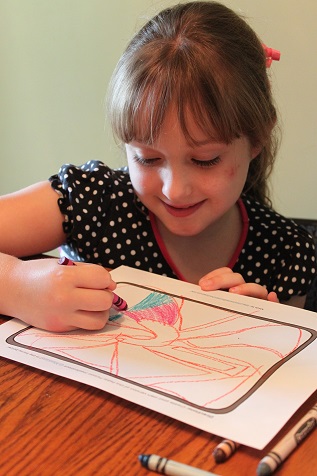
Hailey created her own masterpiece after looking at Three Musicians by Pablo Picasso.
We really enjoyed this history curriculum! I think it makes a great supplement or fun add on, and I would definitely recommend it. History Rocks! Part 2 is coming soon and will feature the girls who rocked history. I can’t wait to see it!!
If you would like a chance to win a copy of History Rocks! Part 1, you can enter below for a chance to win!
a Rafflecopter giveaway
Disclaimer: I received a free copy of this product in exchange for my honest review. I was not required to write a positive review nor was I compensated in any other way. All opinions I have expressed are my own or those of my family. I am disclosing this in accordance with the FTC Regulations.
Tags: Giveaway
Aug
Dolphin Lapbook
We spent the month of July learning all about the ocean and doing lots of ocean art projects. Throughout the month, Hailey also worked on a dolphin unit from Amanda Bennett Unit Studies. It was the first time we used one of her units and we both really enjoyed it. It’s amazing how much I learned right along with Hailey.
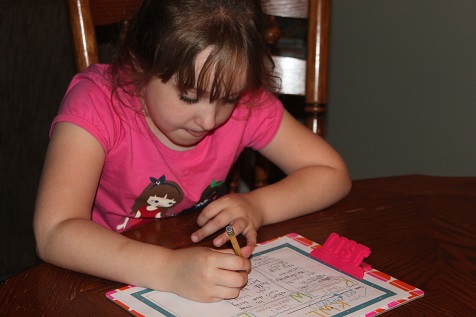
The first thing Hailey did was make a KWL chart. (This was just something we did, it was not included in the unit.)
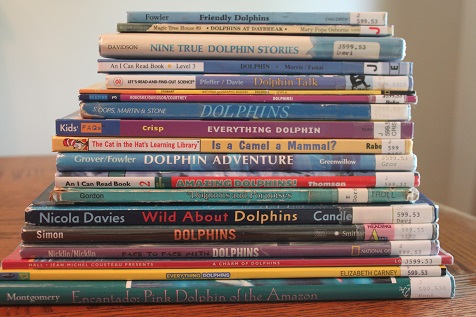
Using the recommendations in the unit study, we borrowed a bunch of dolphin books from the library.
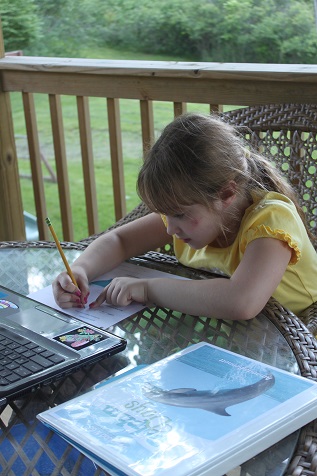
Hailey liked being able to work outside.
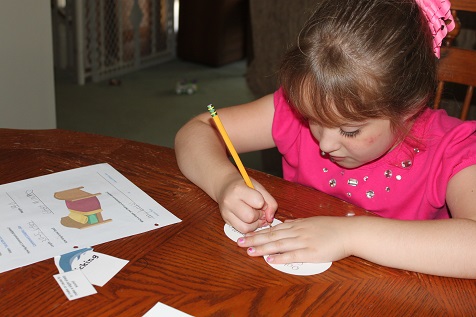
Making a piece for the lapbook
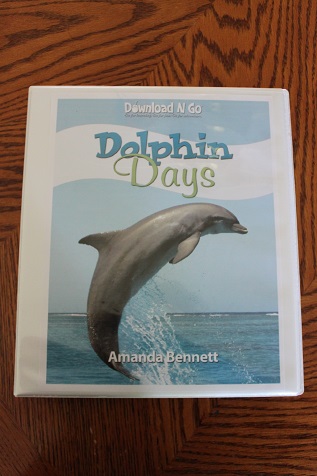
We kept all of the papers that Hailey did in this binder.
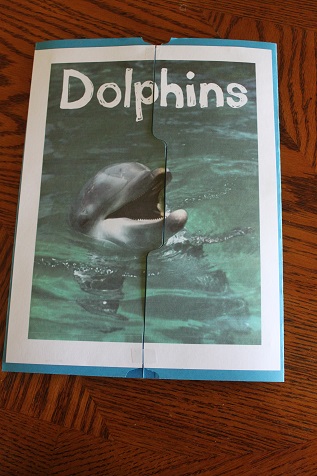
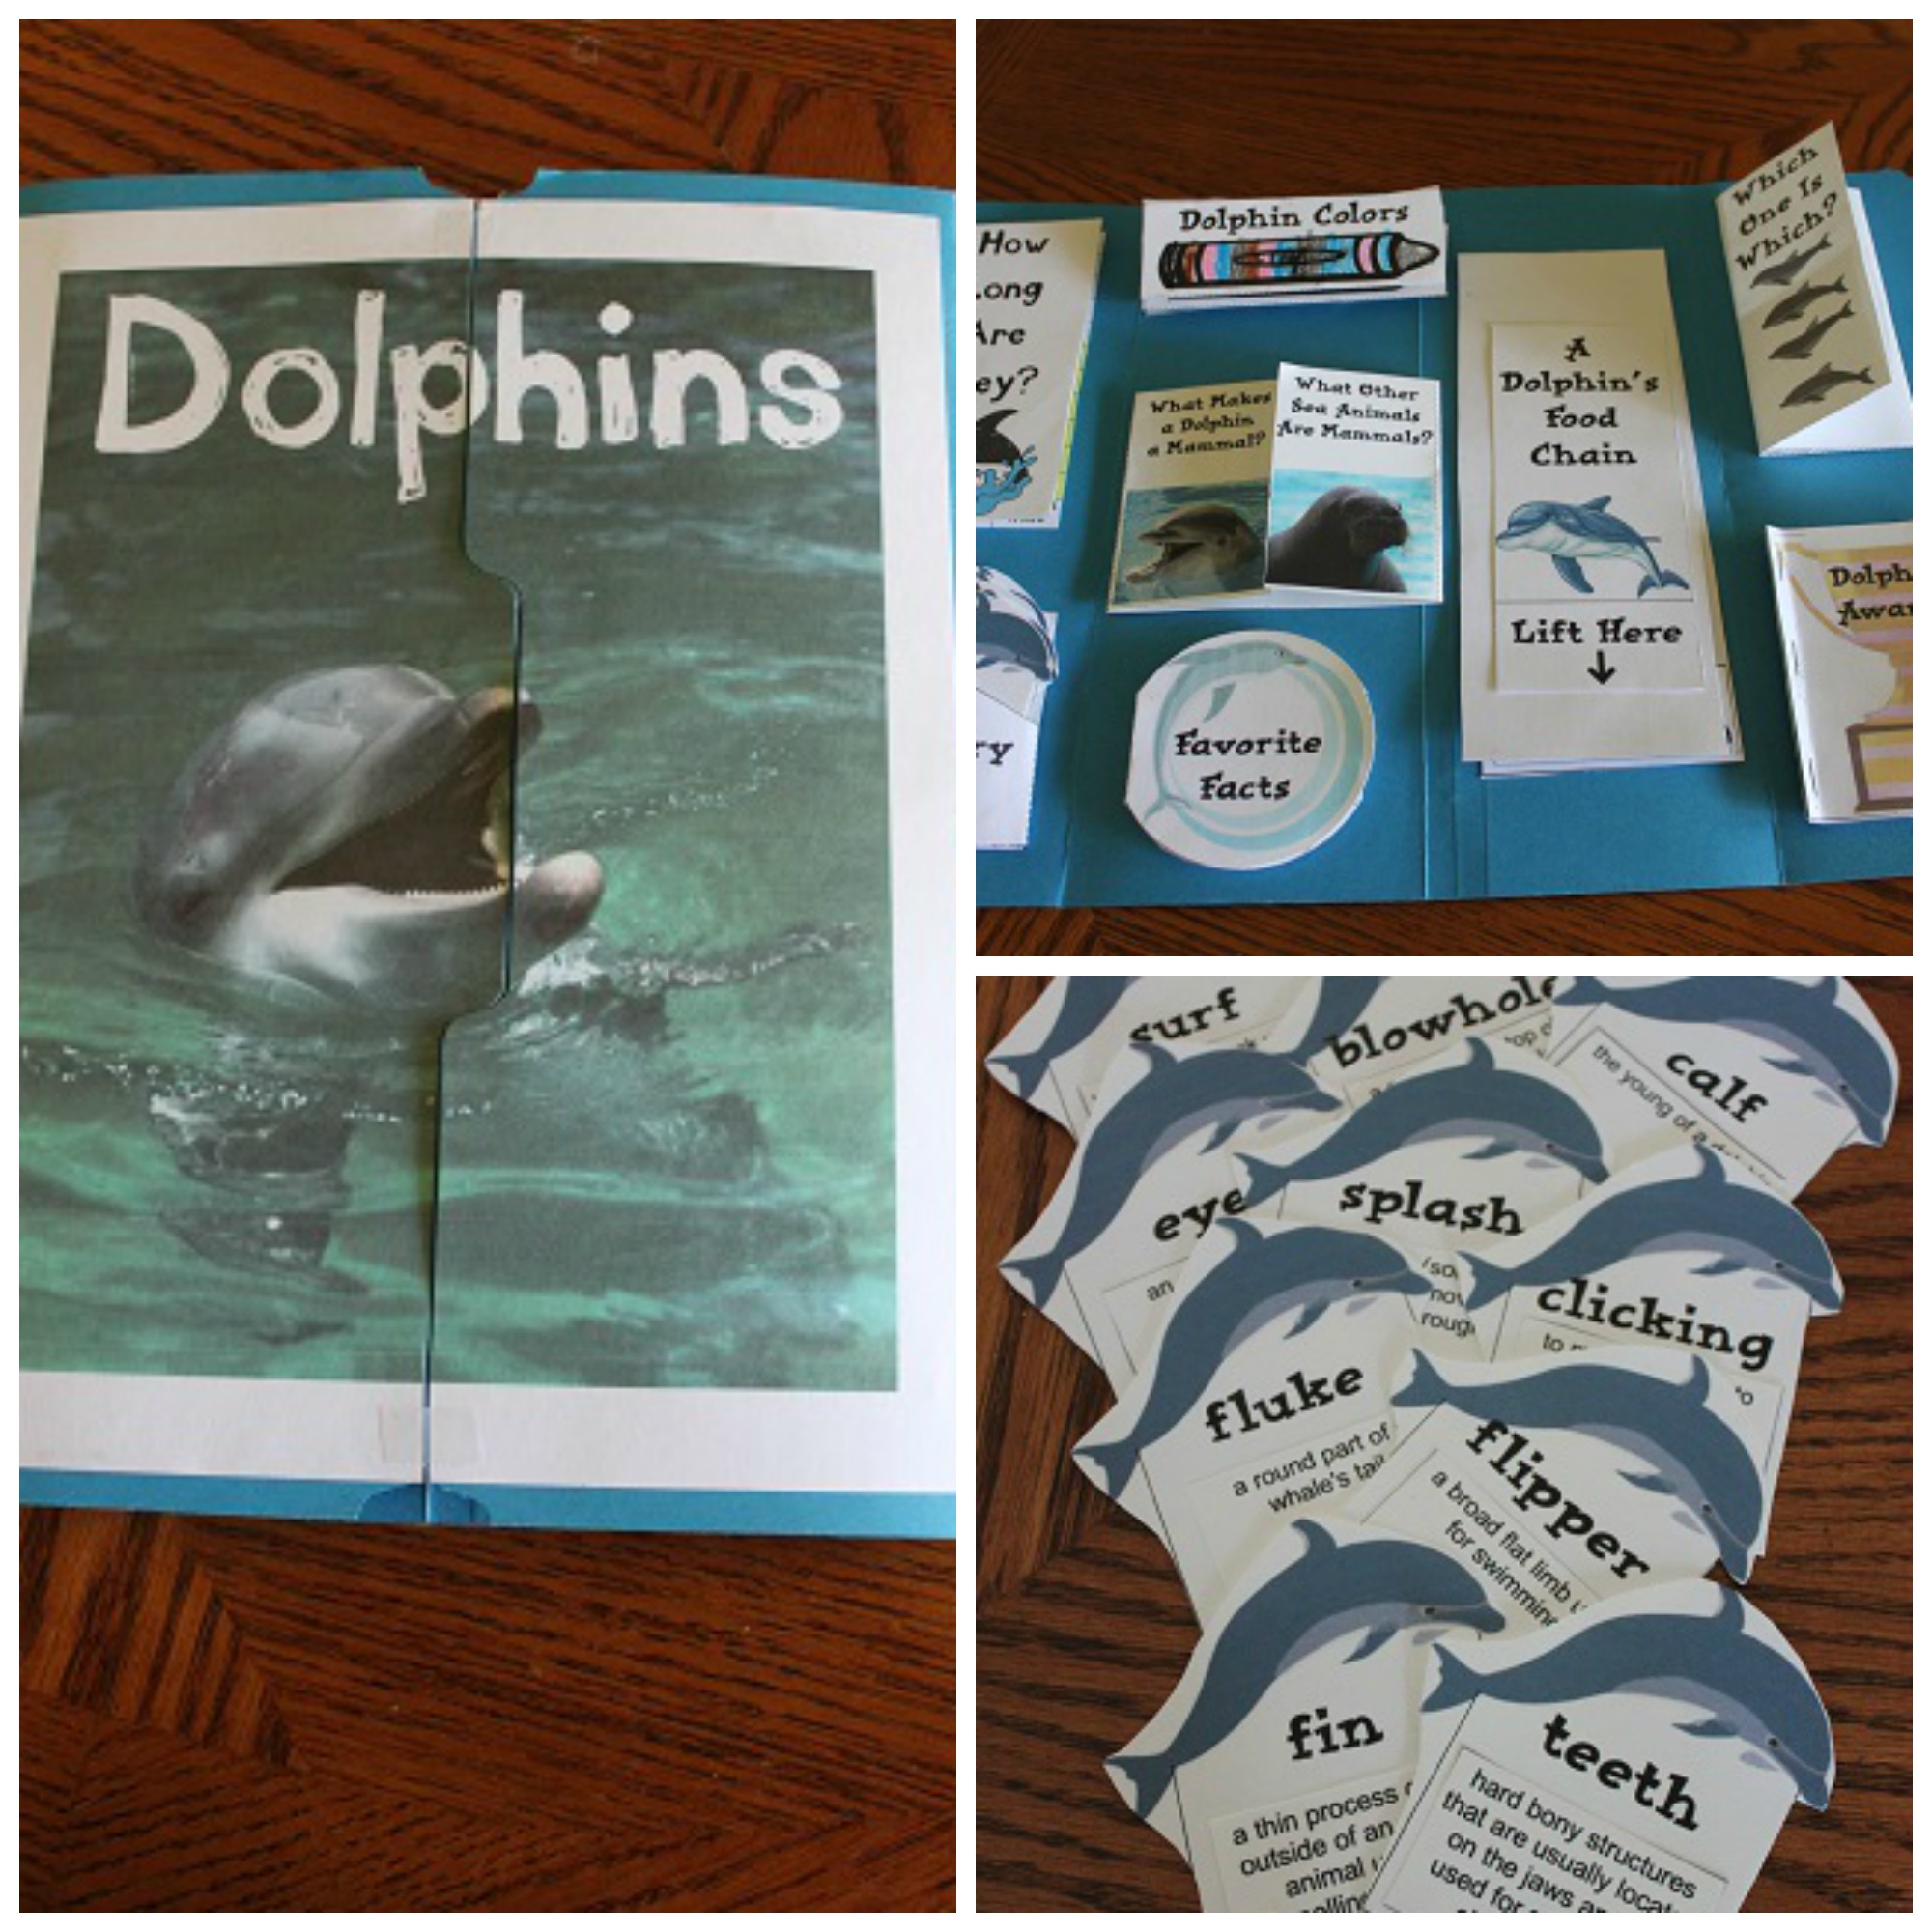
The cover for the lapbook we made. I got this cover from Homeschool Share.
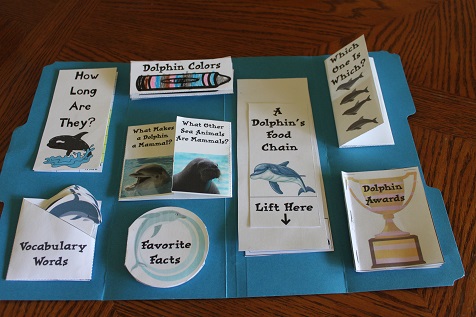
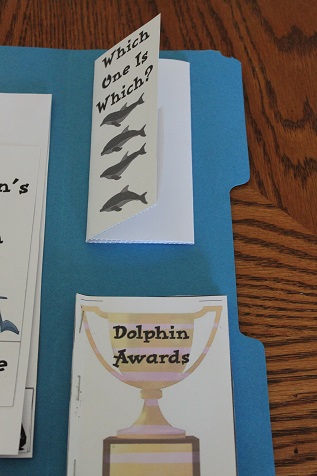
The inside of the lapbook. Everything in here is from the Amanda Bennett Unit Study except the “How Long Are They?” piece.
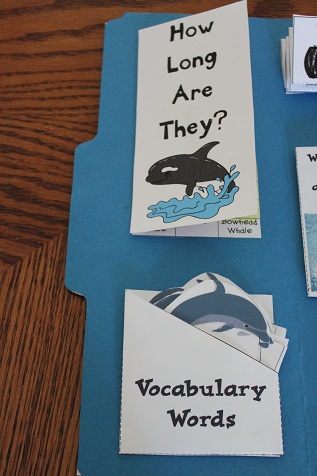
Close up of the left flap- “How Long Are They” is from Homeschool Share.
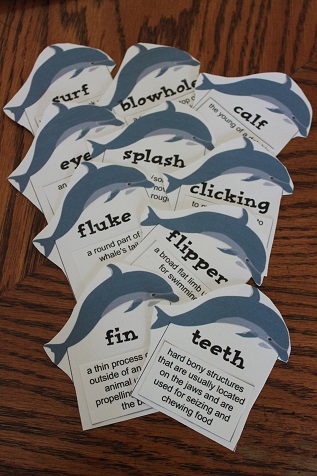
Here are some of the vocabulary words included. There were other more challenging words for older students.
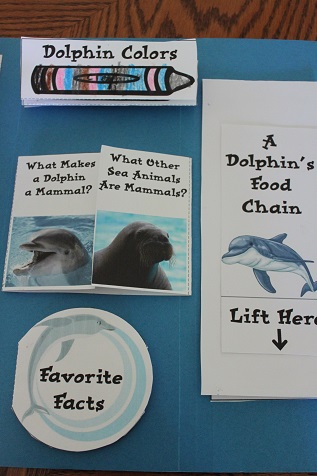
Middle section
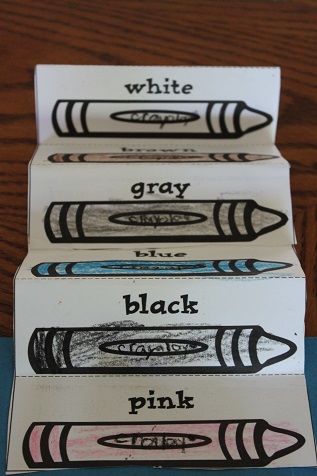
The accordion style book showing different colors that dolphins can be.
Right flap
We had a lot of fun doing this unit and making this lapbook! We all learned so much!!
Be sure to like me on Facebook and follow me on Pinterest so you don’t miss any of our fun activities.
