Archive for the ‘Paper Plate Crafts’ Category
Poppins Book Nook- Ocean/Beach Theme
Jul

The theme for the Poppins Book Nook for the month of July is ocean/beach. This worked out perfectly for us because Hailey really showed a big interest in learning about the ocean after our recent trip to the beach.
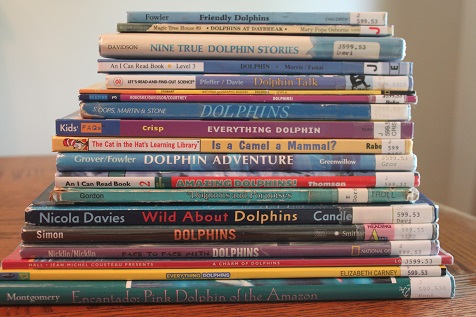
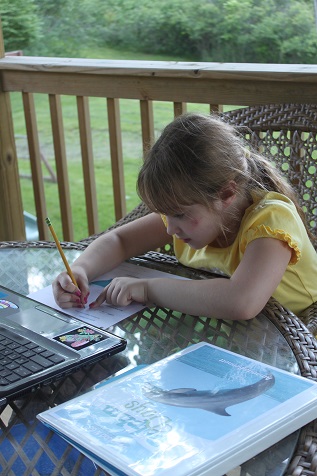
The first thing Hailey did was make a KWL chart… she listed the things she knows and the things she wants to know.
Then we got some books out of the library… some ocean related books…
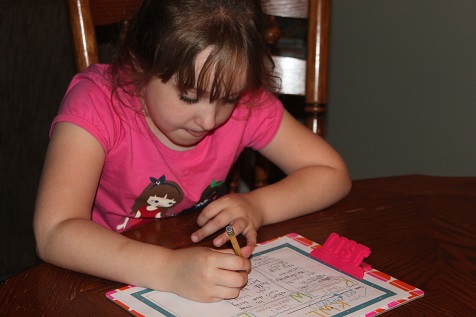
and some dolphin related books. There were just so many good ones I couldn’t decide what to pick!
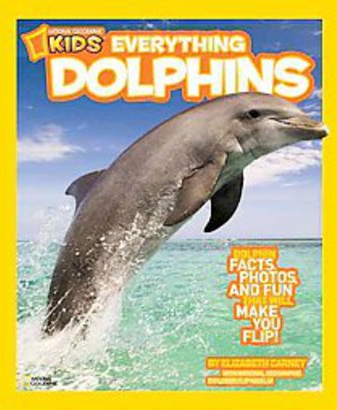
We really enjoyed the books, but this was our favorite. There were so many interesting facts and bright, colorful pictures.
Hailey is working on a unit study about dolphins. We didn’t finish it in time to include it in this post, but I hope to post about later this week as we are almost done.
She is also creating a dolphin lapbook, which is not done either. Come back later this week to see a post about that.
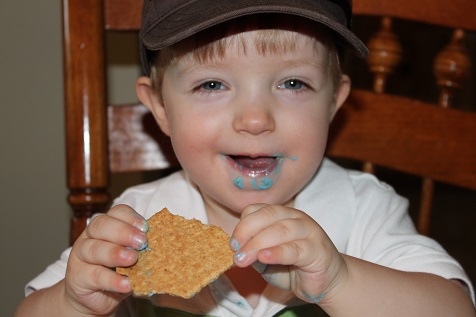
We made a yummy treat to go along with our ocean theme… Hunter ate his before I could take a picture.
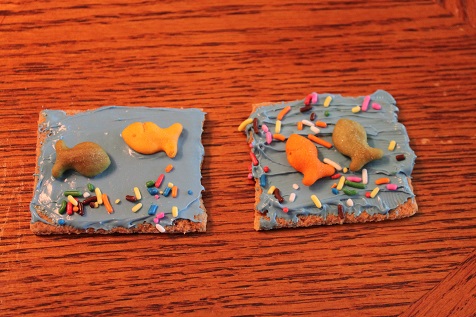
They turned out cute! It’s just a graham cracker with blue frosting, some goldfish and some sprinkles.
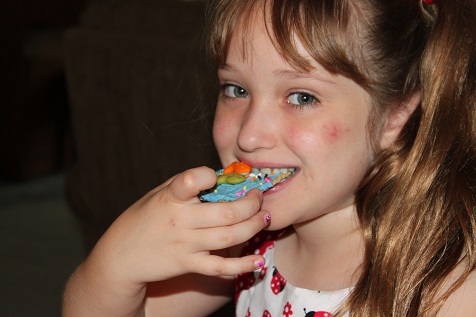
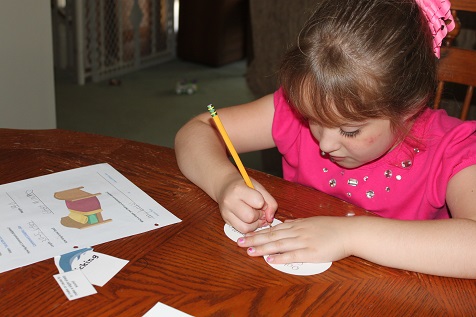
Hailey was pleased with the results too 🙂
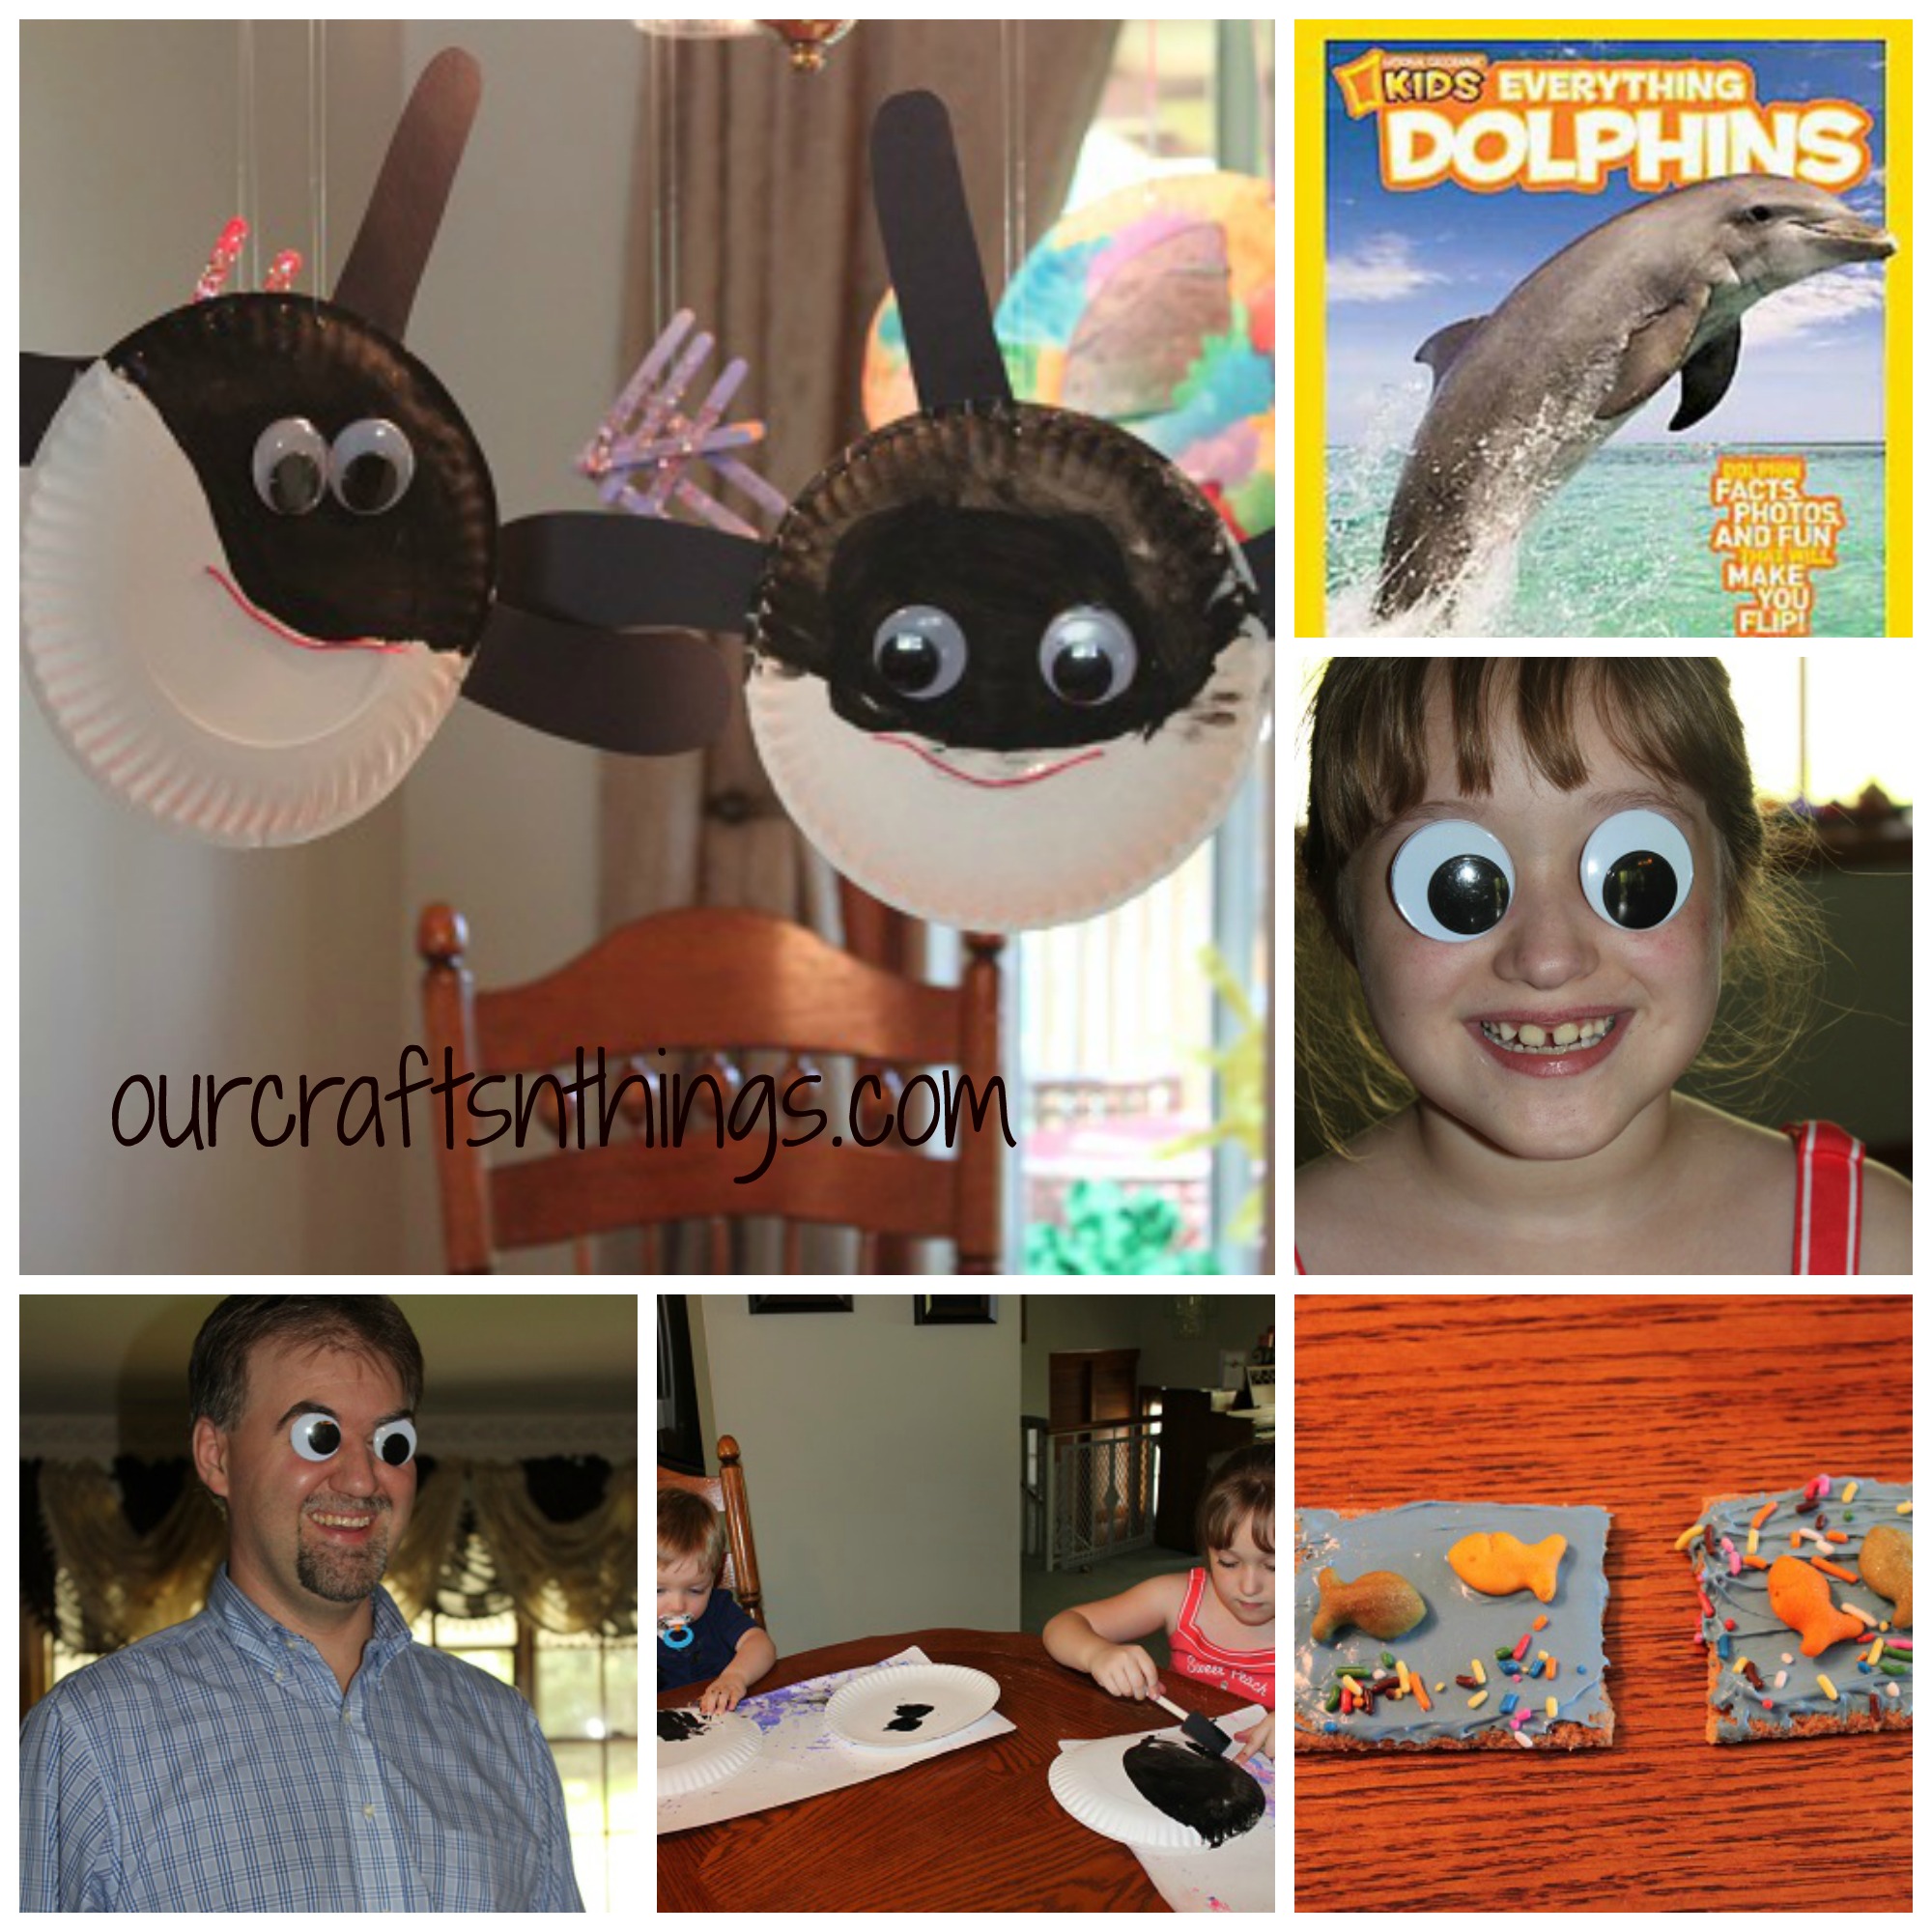
Of course, we had to make a craft, and we decided to make a killer whale.
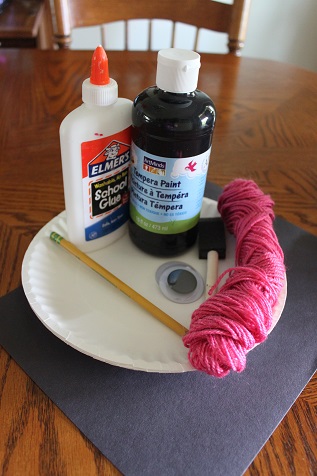
You’ll need:
paper plate
black paint
black construction paper
something to paint with
pencil
googly eyes
glue
yarn
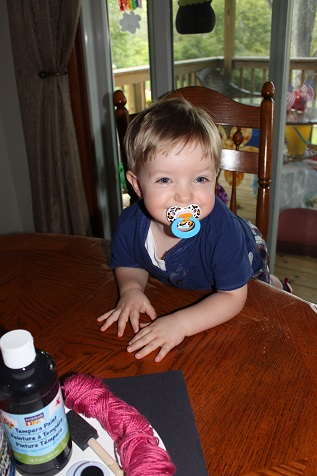
Hunter saw me setting up to do an activity and he got super excited to get started!
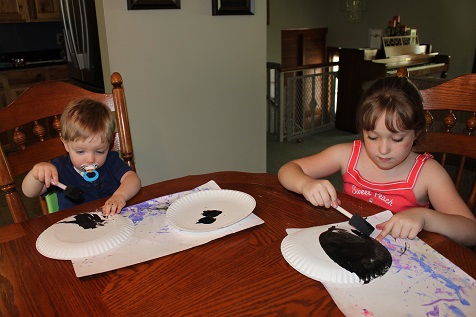
The first thing we did was draw a line with a pencil on the plates, showing how far we wanted the black paint to go. Then Hunter and Hailey painted their plates.
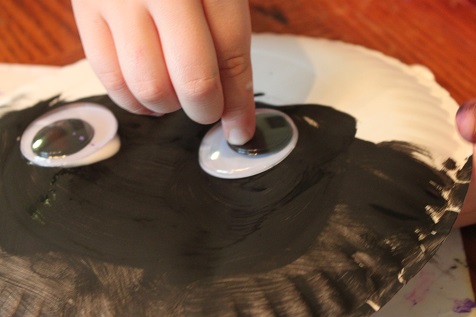
Add some googly eyes
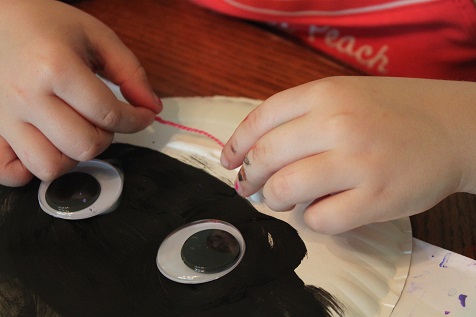
Some yarn for a mouth

Our completed killer whales.
If you’re looking for more beach/ocean related activities I have posted several this month- check them out!
Be sure to like me on Facebook and follow me on Pinterest so you don’t miss any of our fun activities.
Check out some (or all!) of the other bloggers participating in Poppins Book Nook:
Enchanted Homeschooling Mom – Royal Baloo – 3 Dinosaurs – Monsters Ed – Chestnut Grove Academy – Growing in God’s Grace – Royal Little Lambs – Life with Moore Babies – Teach Beside Me – The Usual Mayhem – Mum Central – Fantastic Fun and Learning – Kathys Cluttered Mind – Play Create Explore – Toddler Approved – Growing Book by Book – Adventures in Mommydom – B-Inspired Mama – The Fairy and The Frog – Edventures with Kids – Learning & Growing the Piwi way – A Gluten Free Journey – Mom to Crazy Monkeys – No Doubt Learning – Preschool Powol Packets – To The Moon and Back – Our Craft ~N~ Things – Farm Fresh Adventures – Proverbial Homemaker
Inspiration credit: Pinterest
If you have your own fun activity to link up, you can that here:
Bee Crafty Kids- Rainbow Fish
Jul
I am super excited to be co-hosting the Bee Crafty Kids link up!! Every Friday I will be posting a fun craft that you can do with your kids. I will be co-hosting with 3 other wonderful ladies. Since it’s our first week to host together I wanted to introduce you to the other Bee Crafty Kids co-hosts:
Dusty is a stay at home mother of three who is expecting her fourth child this summer! She has been married to the love of her life for nearly 8 years and is trying to figure out her own path while devouring chocolate and leaning on the Lord. She blogs about homeschooling, home making, motherhood, and faith at To the Moon and Back. You can also keep up with her on Facebook, Pinterest, or Twitter.
Jolene is a homeschooling blogger who hails from Johannesburg, South Africa. She is a wife and mom of 4 children aged 11, 6, 4 and 22 months. Her family are all avid readers and love spending time together reading, watching movies and spending time in the outdoors. You can read her blog at Monsters Ed Homeschool Academy and follow along as she homeschools on Facebook, Twitter and Pinterest.

Selena is a former tax accountant-turned-homeschooling mom of four. She is a homeschooling graduate herself who was able to go on to college and begin a career in finance, so she knows from experience that homeschooling works! The family practices eclectic homeschooling and both Selena and her husband Jay weave in aspects from all of the major homeschooling methods to create a well-rounded, relaxed learning style for their children. Selena shares her family’s homeschooling adventures every weekday at Look! We’re Learning! Readers can keep up with the family by subscribing via email or by following Look! We’re Learning! on Pinterest, Facebook, Twitter, or Google+.
Now, on to the fun craft I have planned to share with you!!
Here at Our Crafts ~N~ Things we are learning all about the ocean and the beach throughout the month of July.
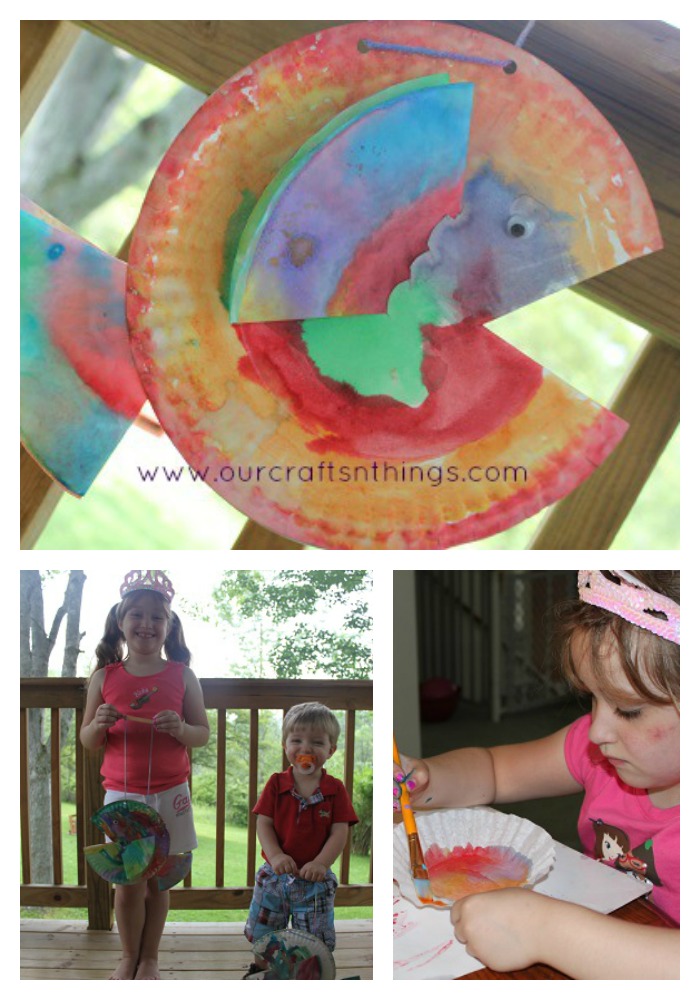
Today our craft is this super cute and simple rainbow fish.
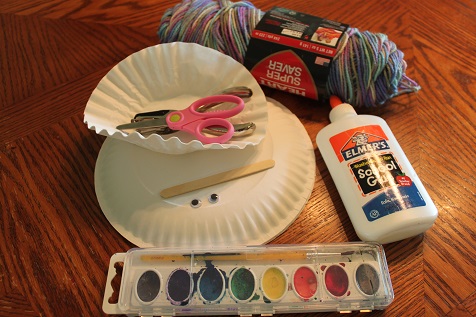
Here is what you’ll need: 2 paper plates, 3 coffee filters, water colors, wiggly eyes, craft stick, scissors, hole punch, glue and yarn.
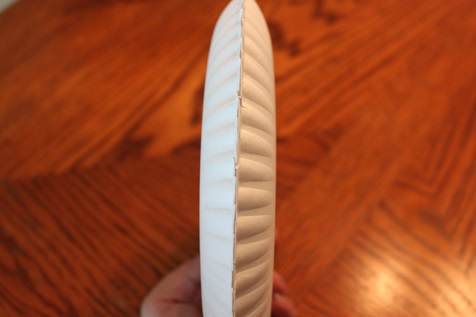
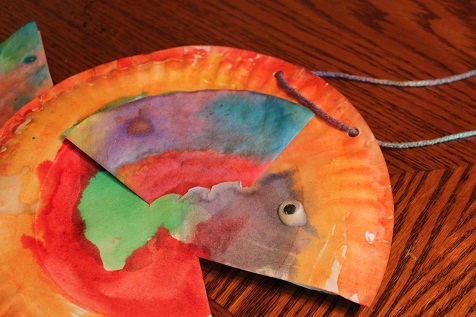
Line up the 2 paper plates like this.
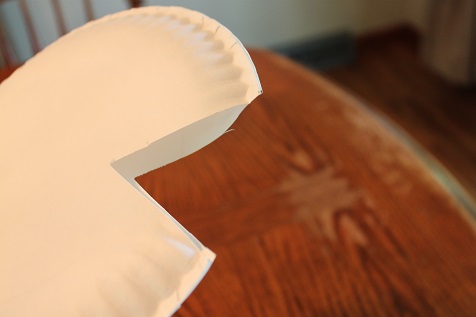
Cut out a small triangle shape while holding the plates together, which will be the mouth.
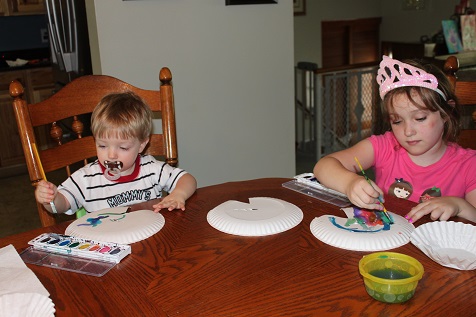
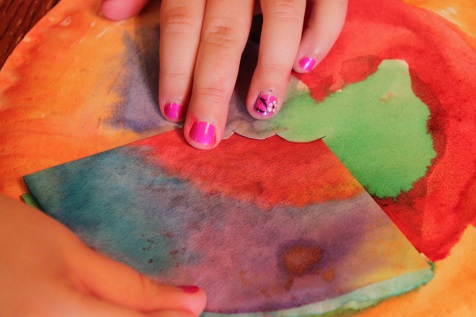
Have each child use water colors to paint 2 paper plates.
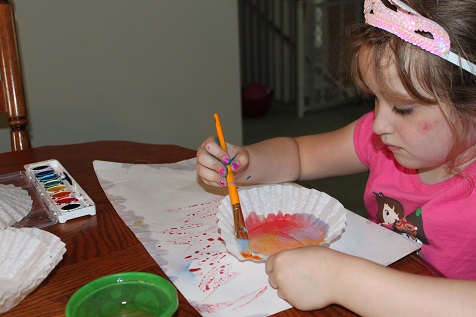
Each child will need to paint 3 coffee filters using water colors.
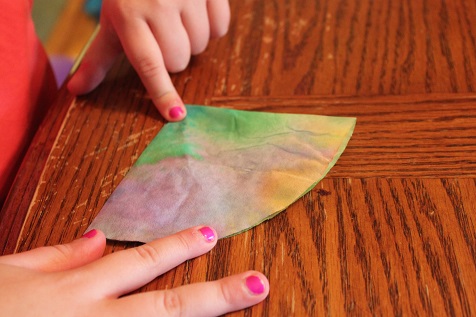
Once everything is dry, fold the coffee filters into fourths.
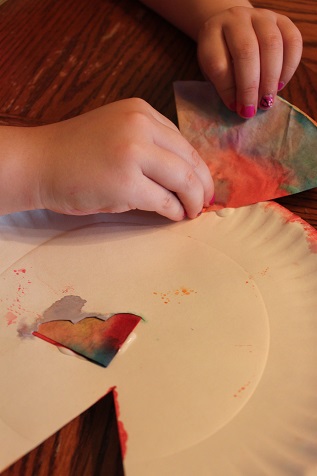
Cut a slit around the middle of each plate, behind the mouth for gills. Insert the pointed end of the coffee filter into the gill.

Turn the plate over and glue the pointed end of the filter onto the back of the plate.
Repeat using the other plate and coffee filter.
Next glue the tip of the 3rd coffee filter onto the back of your plate, this will be the tail.
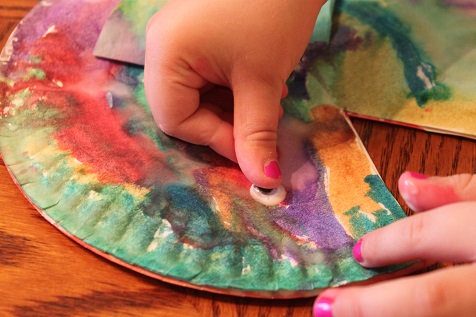
Add a wiggly eye to each plate.
Glue the paper plates together.
Punch 2 holes into the top of the fish and thread the yarn through.
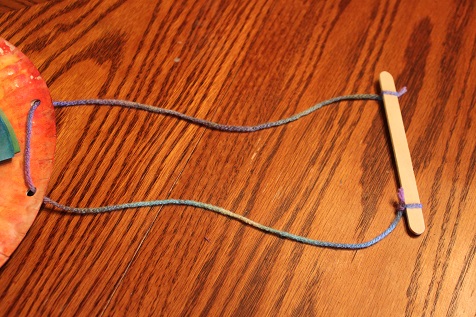
Tie the other ends of the yarn to the craft stick.
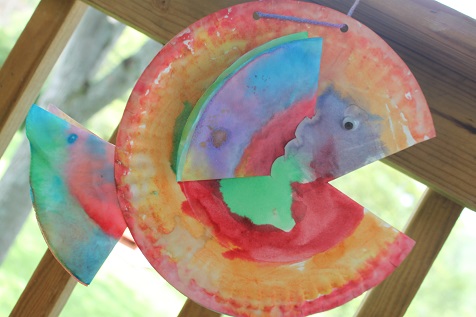
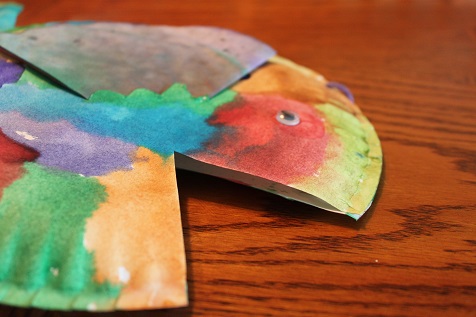
The completed rainbow fish.
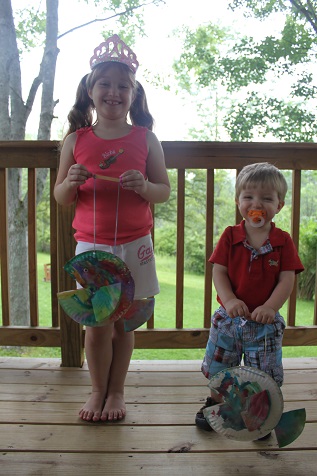
Have fun playing with your rainbow fish. They can be used as puppets 🙂
Now it’s your turn! Link up and share what you and your kids have been busy making. Grab a button so others can join in the crafting fun too 🙂
<div align="center"><a href="http://ourcraftsnthings.com/" title="Our Crafts N Things"><img src="http://i1165.photobucket.com/albums/q594/dustybug83/BeeCraftyKids3_zps44074ad6.png" alt="Our Crafts N Things" style="border:none;" /></a></div>
Rules are simple:
~Enter the direct link to one or more of your own posts that showcase a craft or hands on activity for children.
~A link back with the above button is appreciated, but not required
~Try to at least comment on one or two of the other blogs that took the time to share and join!
Tot School
May

Hunter is 16 1/2 months old.
These weeks need to stop flying by so quickly, it seems like I just did a Tot School post, but here I am again doing another one. This week we started a new color- orange, and continued our space theme.
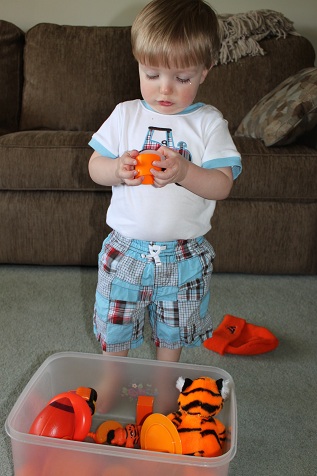
Hunter checking out his orange sensory bin.
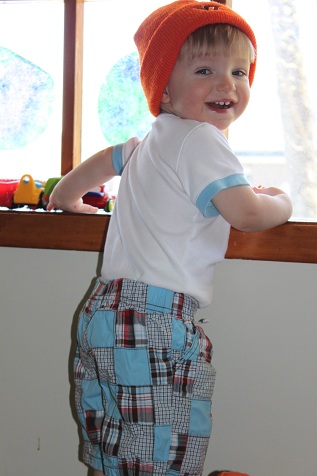
He wanted to wear this orange hat.
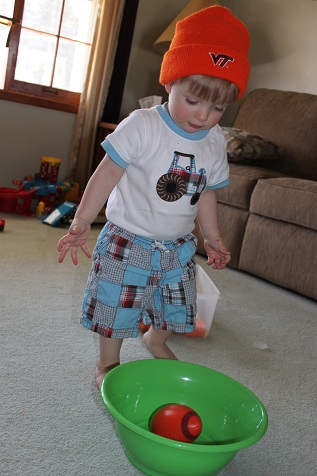
He kept his hat on and practiced throwing the football into a bowl.

This is Hunter working on making a moon rock. You can see the full post here, to see how we made them.

Our completed moon rocks, which I think turned out really great! Hunter has enjoyed playing with his rock all week. It didn’t hold up too well when he put it in his water table, but the water certainly looked nice and glittery.
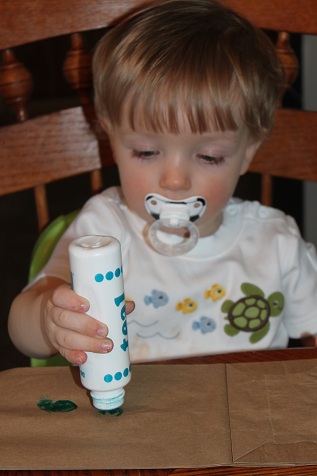
We also made paper bag aliens. Hunter loved using the do-a-dot markers to decorate his.

Hailey showing the completed aliens. (Full post here.)
We also made UFOs. (Full post here.)
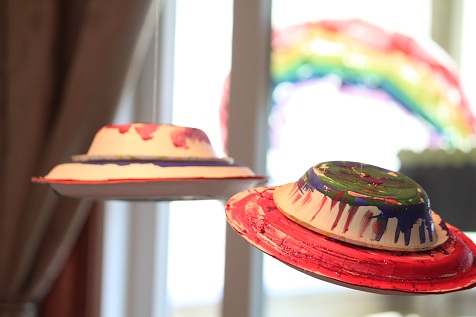
Here are the completed UFOs, hanging from our chandelier.
Stop by 1+1+1=1 to see what the other tots were up to this week.
Be sure to like me on Facebook and follow me on Pinterest so you don’t miss any of our fun activities.
UFO Craft
May
We are having so much fun with our space theme! There are so many ideas out there to try. Our latest project was to make a UFO.
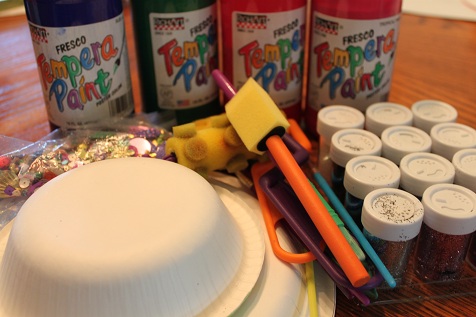
You’ll need 2 paper plates, a paper bowl, glue and anything else you want to use to decorate your UFO.
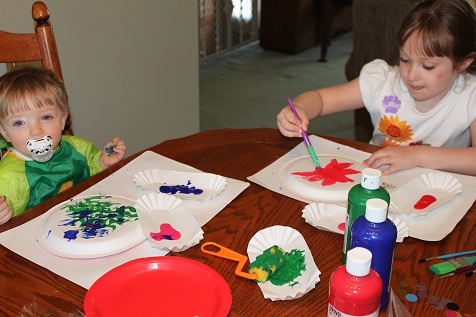
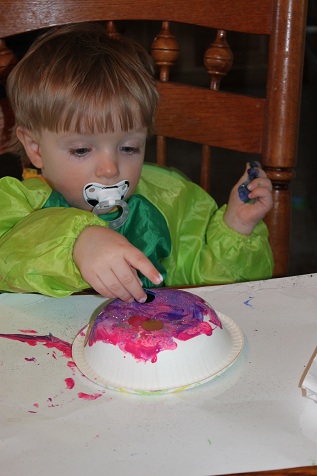
Hunter and Hailey painting their paper plates.
After painting his bowl, Hunter added some sequence.
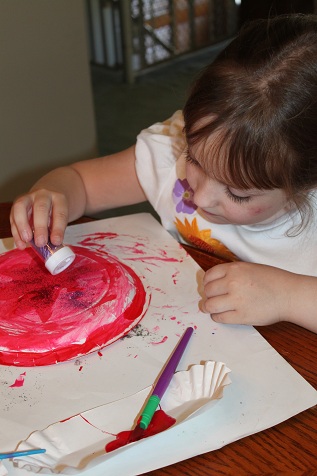
Hailey added some glitter.
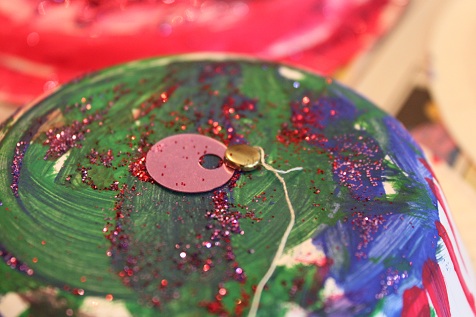
Once the bowls were dry, I used a brad to attach a string so that we would be able to hang up our UFOs.
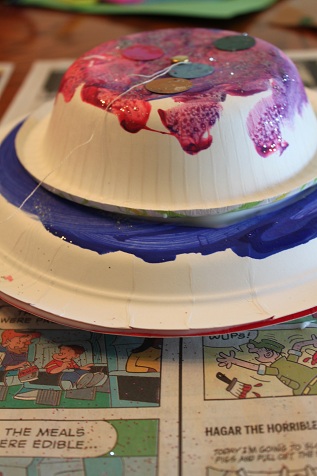
I glued the plates together and then glued the bowl on top.
The completed UFOs.
Be sure to like me on Facebook and follow me on Pinterest so you don’t miss any of our fun activities.
inspiration credit: Pinterest
