Archive for the ‘St. Patrick’s Day’ Category
Shamrock Man
Mar
Here’s a few more things we did for St. Patrick’s Day.
Shamrock Man:
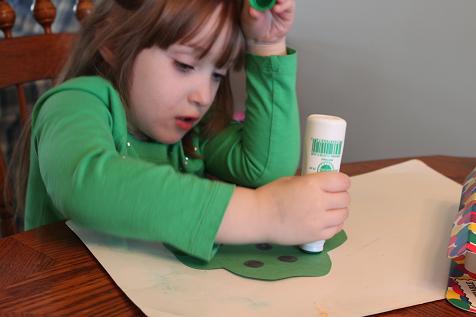
Hailey used her do-a-dot markers to make a face on the shamrock shape.
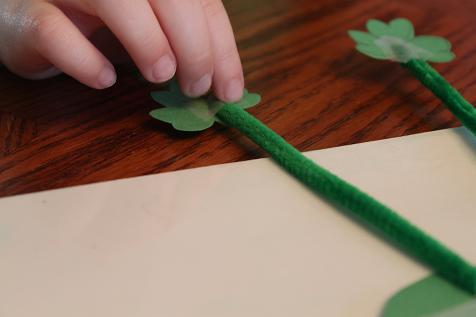
She taped pipe cleaner to the back of the shamrock shape and then taped shamrock shapes on for feet and hands.
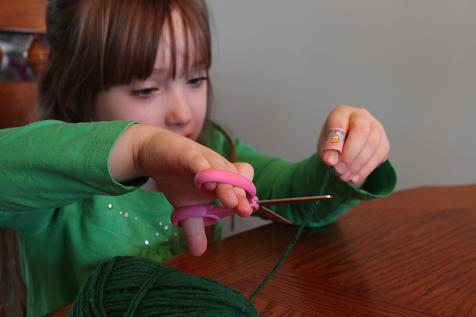
Then Hailey cut some yarn for hair.
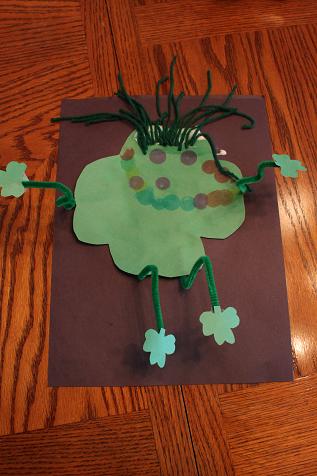
The finished shamrock man.
Some rainbow fun:
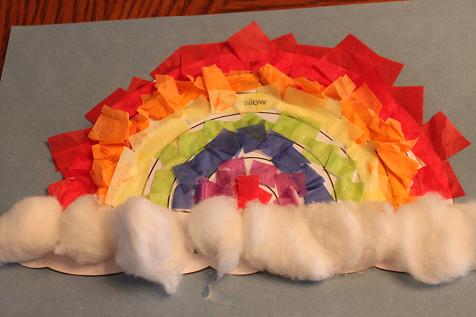
I had a printable in one of my Mailbox magazines for a rainbow with the correct color written in each row. Hailey glued squares of tissue paper on the correct spot.
The finished rainbow.
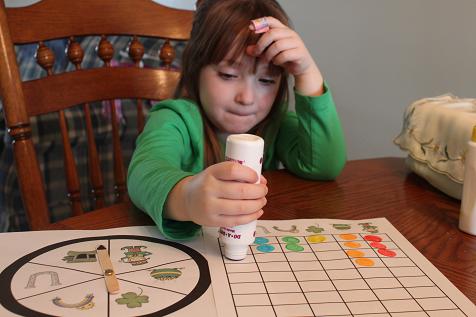
St. Patrick’s Day graphing:
I found this at Musings of Me. It was a fun graphing activity and Hailey loved it!
More Shamrock Fun
Mar
Here are a couple of activities that we did with shamrocks:
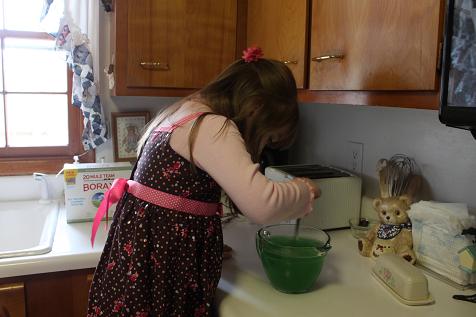
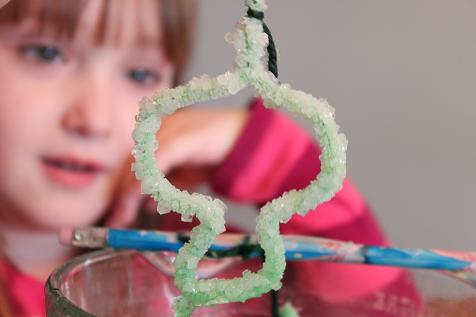
We wanted to try making a crystal shamrock and thought it would be fun if we could make the crystals green. I boiled 3 cups of water and we added 1/4 cup of borax (you can find it in the laundry aisle). We used a green piece of water coloring to turn the water green because we were all out of green food coloring.
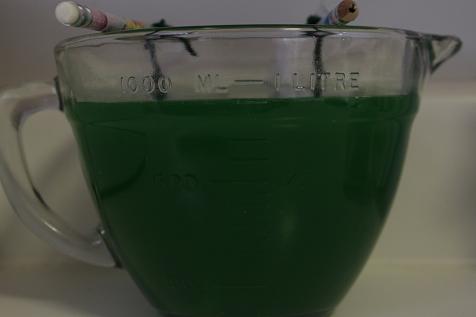
Then we used white pipe cleaners and shaped them (as well as we could) like shamrocks. We tied them to a pencil and put them in the borax/water mixture. I put it where it would not be disturbed and left it until the next day.
The crystal shamrock. It did not end up looking very green (or a whole lot like a shamrock!), but it was fun anyways.
Then we made another shamrock.
Cut up some yarn- we used 2 different colors of green.
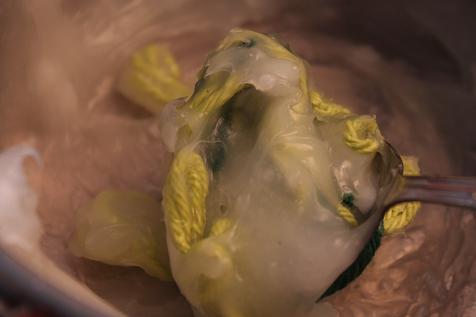
Then I mixed 1/2 cup of water and 1/4 cup of corn starch. Put it on the stove and slowly heat it. It starts out looking kind of milky and then it gets thick very quickly. Once it is thick, remove it from the heat.
Mix your yarn into the glue mixture.
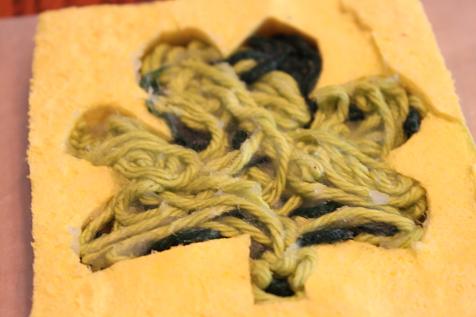
Ideally we would have used a shamrock shaped cookie cutter, but I could not find one anywhere. So I used a sponge and did my best to cut out a shamrock shape. Take the yarn and wipe the excess glue off using your fingers (this part is messy so be ready with some paper towels!). Press into your shamrock shape. I have it laying on wax paper. Then I took another piece of wax paper to hold on the yarn while I removed the sponge.
Let it dry over night.
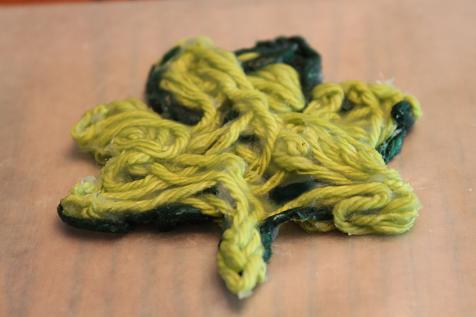
Our finished shamrock shape.
Cute Leprechaun
Mar
I saw this cute paper plate leprechaun over at Moments of Mommyhood and decided we should make it too.
First Hailey painted a paper plate.
Once the paint was dry she put on some eyes, nose and a mouth. Then she added a beard.
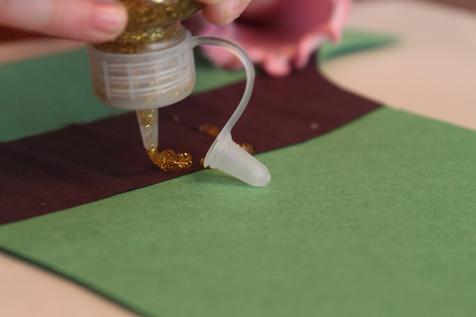
Hailey added a gold buckle to the hat.
Our finished leprechaun
A few other things:
Hailey also did a little cutting practice using this printable from Musings of Me.
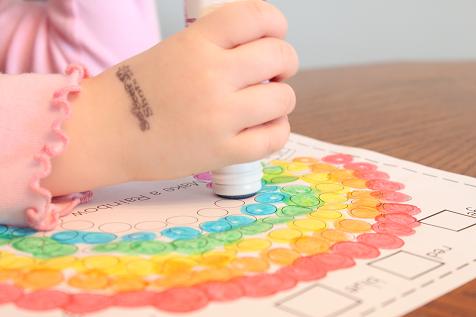
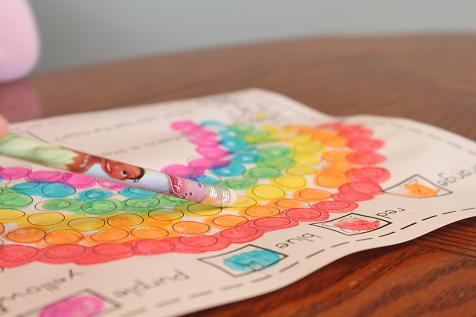
Hailey used her do-a-dot markers to make a rainbow.
After she made the rainbow she counted how many dots there were of each color and wrote the numbers. Then she decided that red had the most.
Shamrock Fun
Mar
This was definitely a project that was more about the process than the product.
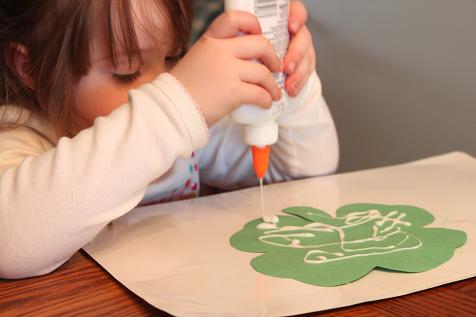
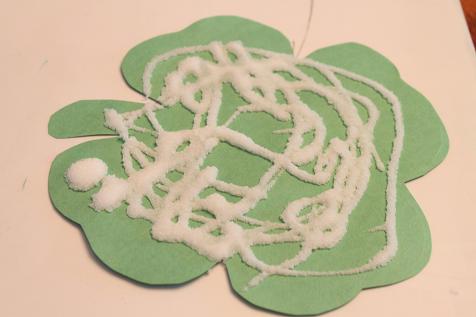
I gave Hailey a shamrock shape and had her put glue all over it, however she wanted it.
Then we covered the glue with salt.
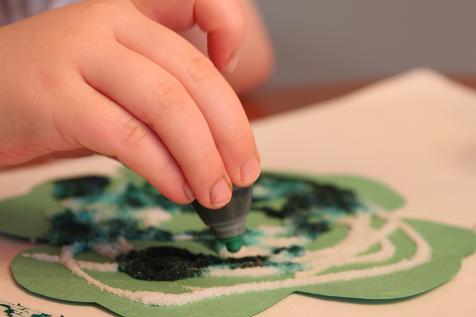
Then Hailey dipped a paint brush into green food coloring and touched it to the salt. The green spread to all the areas near by.
Then she took the bottle of food coloring and put drops onto the salt. It was really neat to watch it spread very quickly the areas around it.
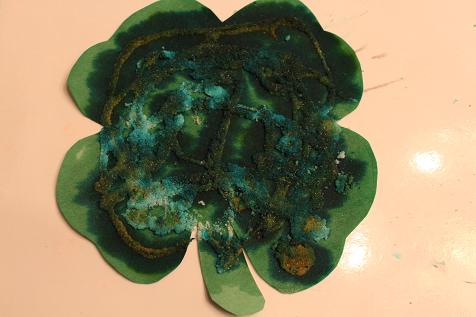
The finished shamrock. I definitely want to try this again but with a variety of colors of food coloring, allowing the colors to run together and mix.
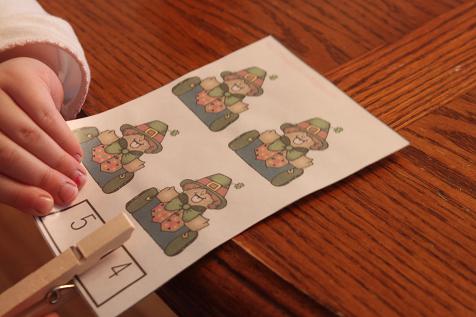
We also did this counting activity from Musings of Me– Hailey had to count and then put the clothespin on the correct number.
