Archive for the ‘School Age Activites’ Category
Bee Crafty Kids- Rainbow Fish
Jul
I am super excited to be co-hosting the Bee Crafty Kids link up!! Every Friday I will be posting a fun craft that you can do with your kids. I will be co-hosting with 3 other wonderful ladies. Since it’s our first week to host together I wanted to introduce you to the other Bee Crafty Kids co-hosts:
Dusty is a stay at home mother of three who is expecting her fourth child this summer! She has been married to the love of her life for nearly 8 years and is trying to figure out her own path while devouring chocolate and leaning on the Lord. She blogs about homeschooling, home making, motherhood, and faith at To the Moon and Back. You can also keep up with her on Facebook, Pinterest, or Twitter.
Jolene is a homeschooling blogger who hails from Johannesburg, South Africa. She is a wife and mom of 4 children aged 11, 6, 4 and 22 months. Her family are all avid readers and love spending time together reading, watching movies and spending time in the outdoors. You can read her blog at Monsters Ed Homeschool Academy and follow along as she homeschools on Facebook, Twitter and Pinterest.

Selena is a former tax accountant-turned-homeschooling mom of four. She is a homeschooling graduate herself who was able to go on to college and begin a career in finance, so she knows from experience that homeschooling works! The family practices eclectic homeschooling and both Selena and her husband Jay weave in aspects from all of the major homeschooling methods to create a well-rounded, relaxed learning style for their children. Selena shares her family’s homeschooling adventures every weekday at Look! We’re Learning! Readers can keep up with the family by subscribing via email or by following Look! We’re Learning! on Pinterest, Facebook, Twitter, or Google+.
Now, on to the fun craft I have planned to share with you!!
Here at Our Crafts ~N~ Things we are learning all about the ocean and the beach throughout the month of July.
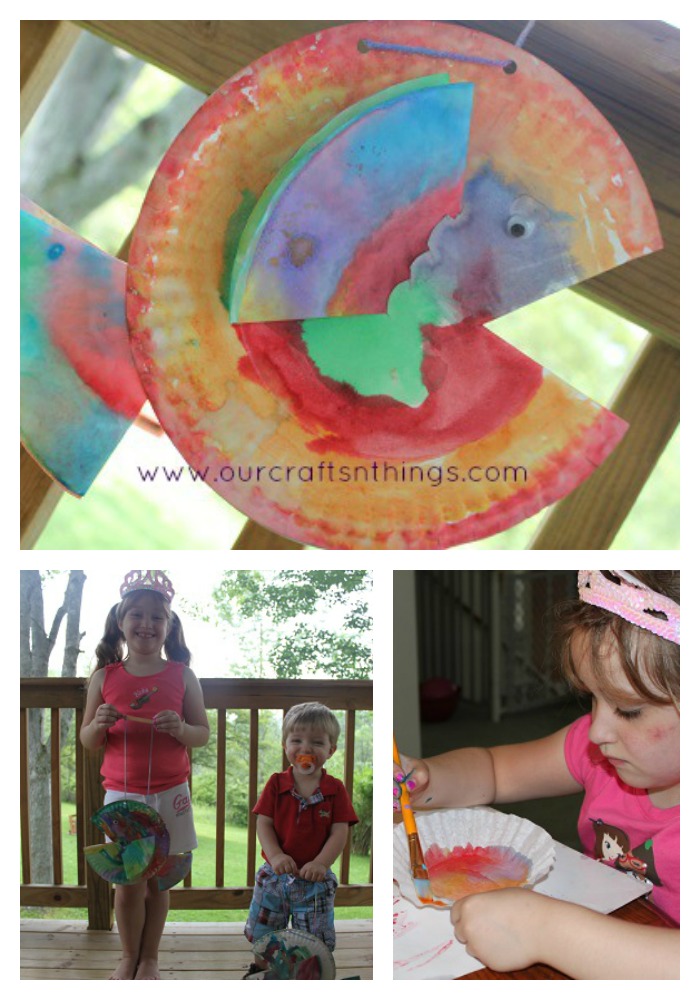
Today our craft is this super cute and simple rainbow fish.
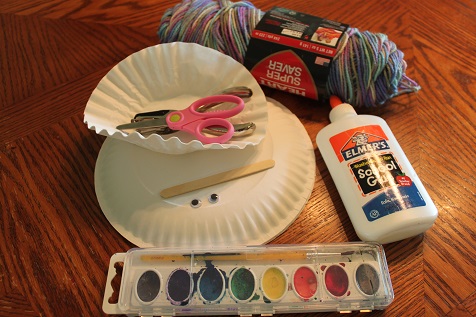
Here is what you’ll need: 2 paper plates, 3 coffee filters, water colors, wiggly eyes, craft stick, scissors, hole punch, glue and yarn.
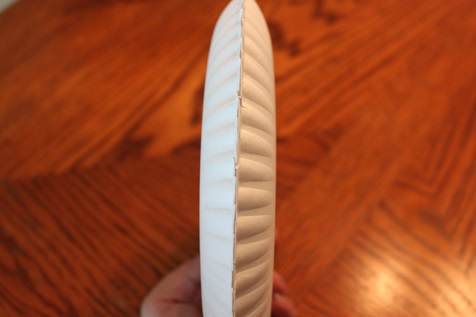
Line up the 2 paper plates like this.
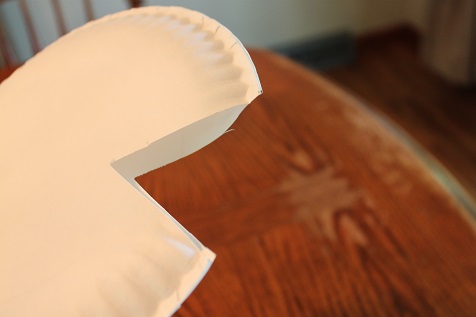
Cut out a small triangle shape while holding the plates together, which will be the mouth.
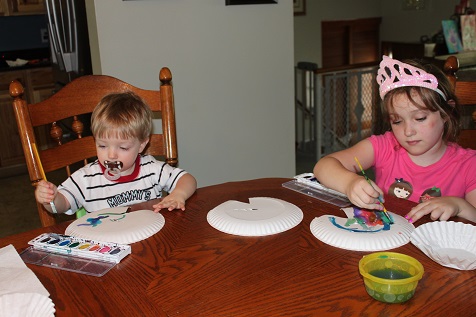
Have each child use water colors to paint 2 paper plates.
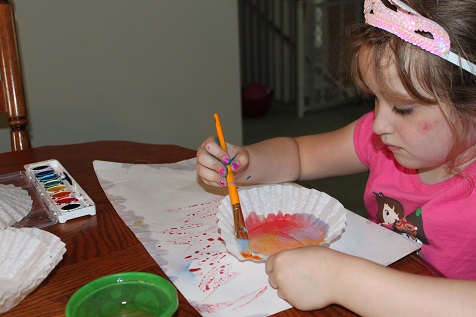
Each child will need to paint 3 coffee filters using water colors.
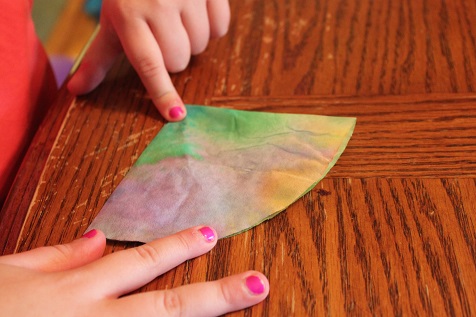
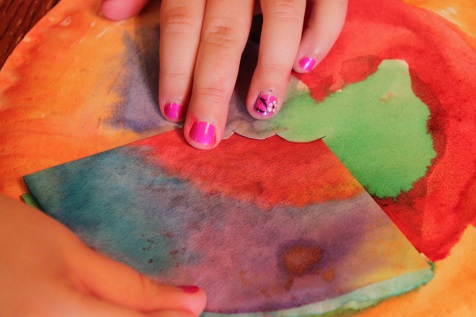
Once everything is dry, fold the coffee filters into fourths.
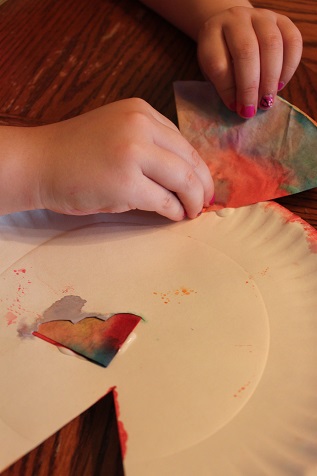
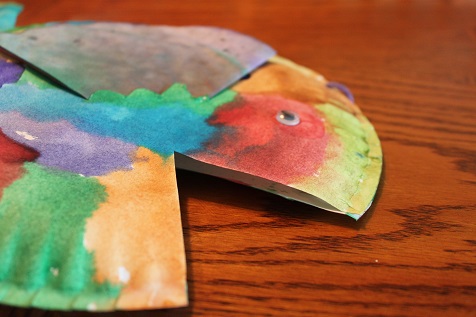
Cut a slit around the middle of each plate, behind the mouth for gills. Insert the pointed end of the coffee filter into the gill.

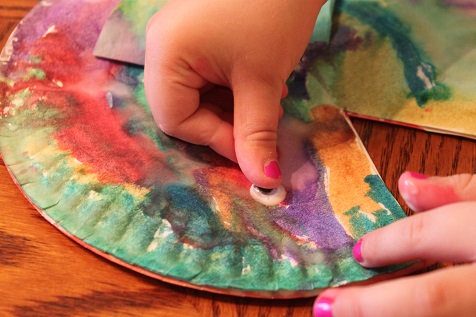
Turn the plate over and glue the pointed end of the filter onto the back of the plate.
Repeat using the other plate and coffee filter.
Next glue the tip of the 3rd coffee filter onto the back of your plate, this will be the tail.
Add a wiggly eye to each plate.
Glue the paper plates together.
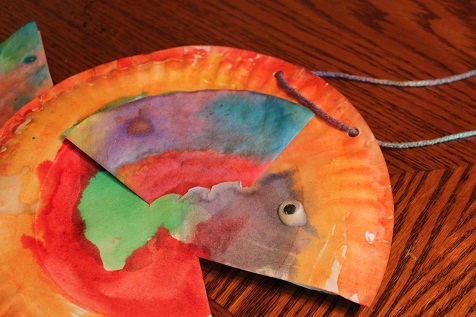
Punch 2 holes into the top of the fish and thread the yarn through.
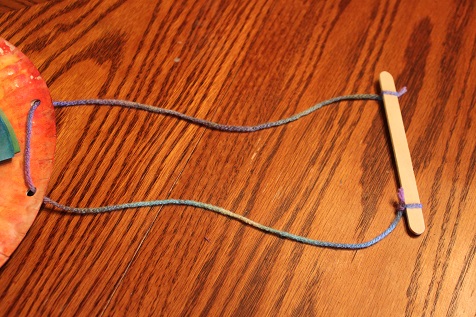
Tie the other ends of the yarn to the craft stick.
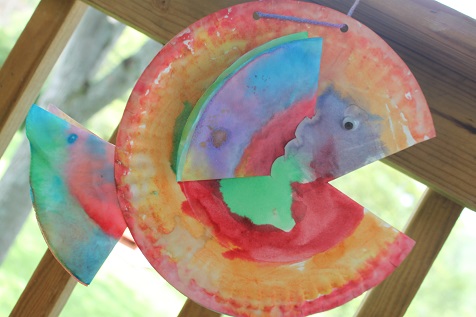
The completed rainbow fish.
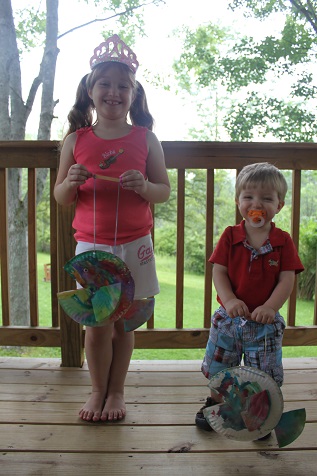
Have fun playing with your rainbow fish. They can be used as puppets 🙂
Now it’s your turn! Link up and share what you and your kids have been busy making. Grab a button so others can join in the crafting fun too 🙂
<div align="center"><a href="http://ourcraftsnthings.com/" title="Our Crafts N Things"><img src="http://i1165.photobucket.com/albums/q594/dustybug83/BeeCraftyKids3_zps44074ad6.png" alt="Our Crafts N Things" style="border:none;" /></a></div>
Rules are simple:
~Enter the direct link to one or more of your own posts that showcase a craft or hands on activity for children.
~A link back with the above button is appreciated, but not required
~Try to at least comment on one or two of the other blogs that took the time to share and join!
Spiny Sea Creature Craft
Jul
We are going to be spending this month learning all about the ocean and the beach.
Today we made spiny sea creatures.
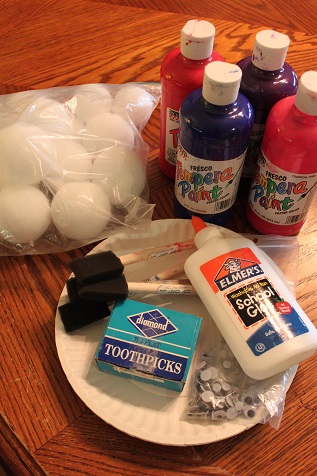
Here is what you’ll need: styrofoam balls, paint, something to paint with, paper plates, glue, toothpicks and wiggly eyes.
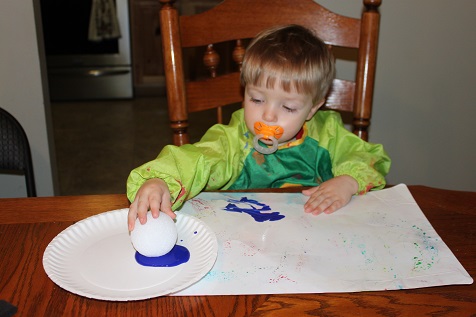
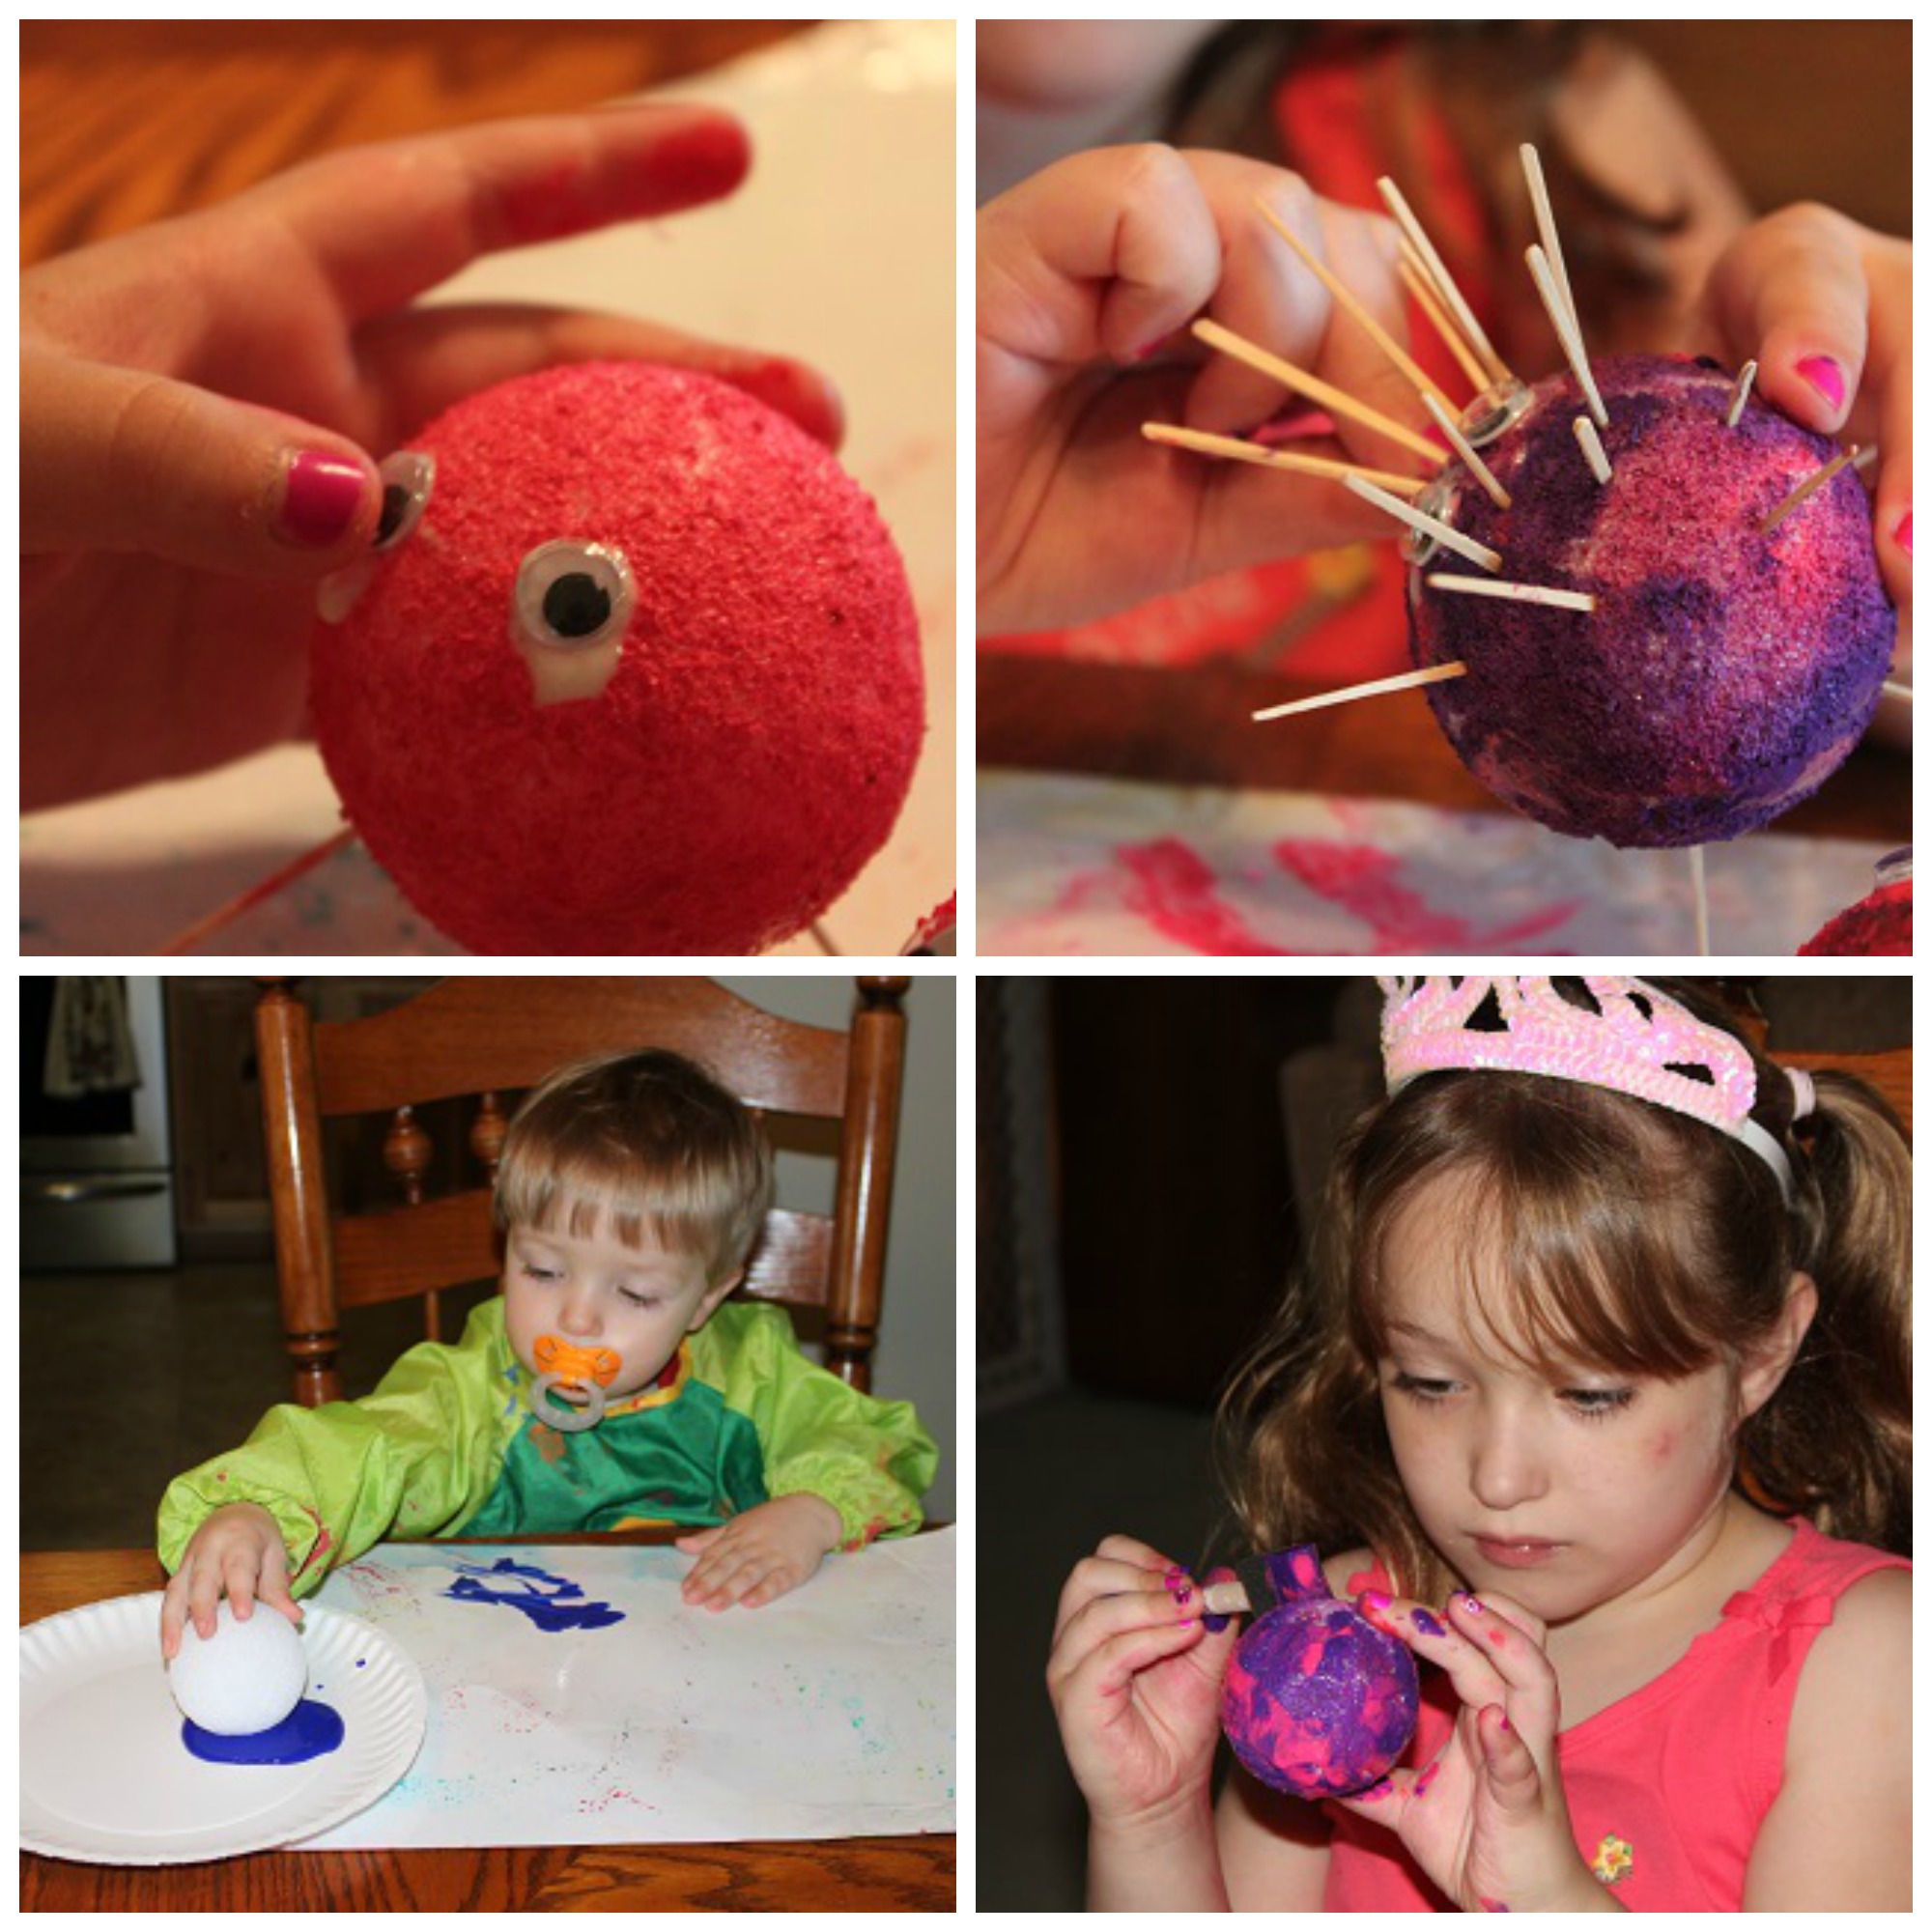
I put the paint on the paper plates. When Hunter sat down he picked up his ball and started rolling it in the paint. I hadn’t thought of doing it that way, but it actually made sense to try it that way.
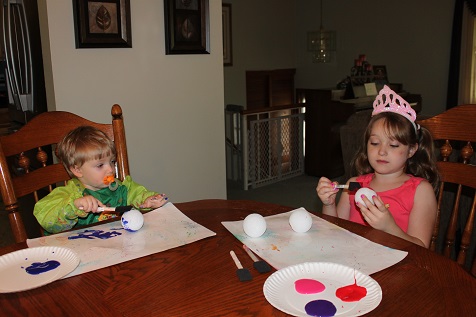
When Hunter saw Hailey using the foam brush he started using one too.
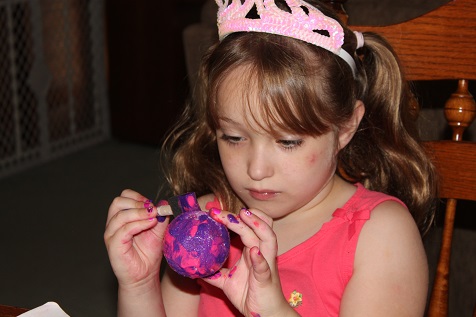
Hailey painting her sea creature.
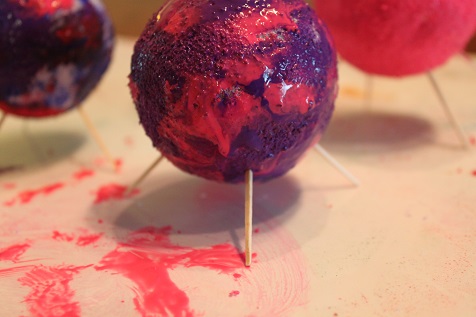
I stuck 4 toothpicks in the bottom of the balls so they could stay propped up to dry.
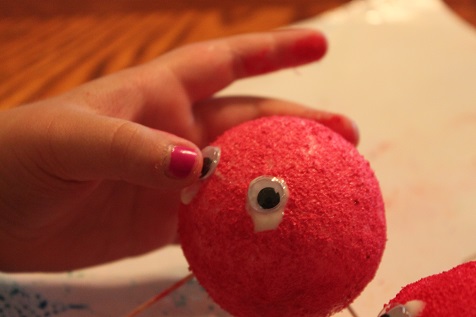
Once the paint is dry, add some eyes.
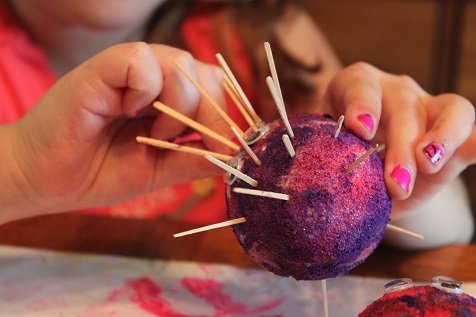
Then add as many or as few toothpicks as you want.
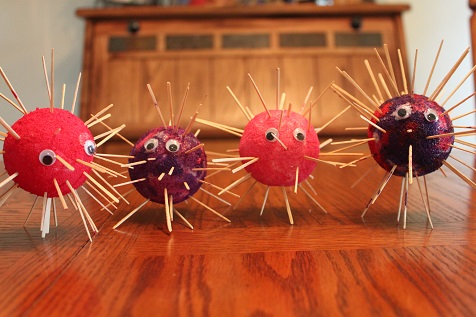
Spiny Sea Creatures
Be sure to like me on Facebook and follow me on Pinterest so you don’t miss any of our fun activities.
July 4th Candle Jar
Jul
Here is a fun candle jar decoration that we made for the 4th of July.
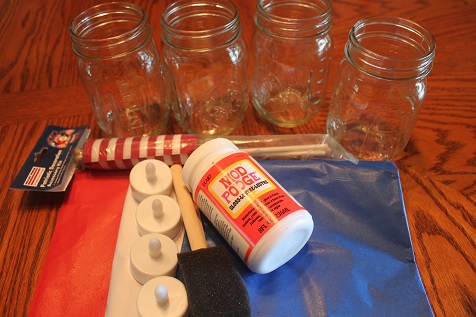
You will need some glass jars (we used canning jars), red, white and blue tissue paper, Mod Podge glue, battery operated candles and flags.
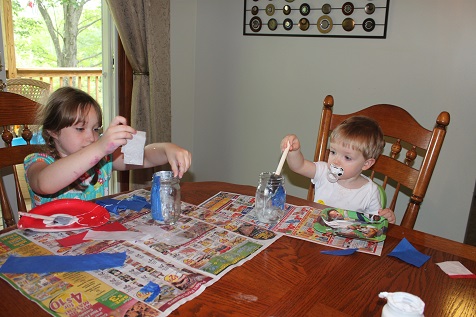
Decorate the inside of the jars using the red, white and blue tissue paper and the Mod Podge glue.
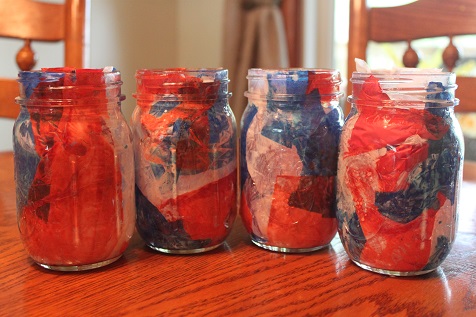
The jars, all decorated in red, white, and blue.
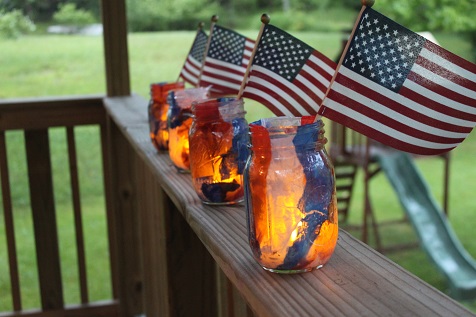
Once they were dry, we put the battery operated candle inside and added a flag.
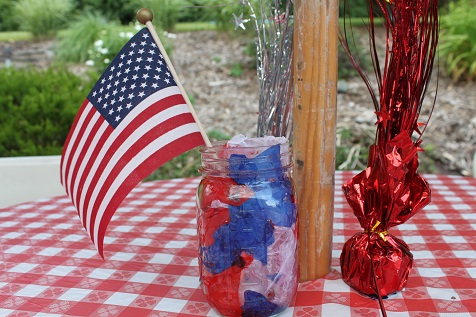
We had our family 4th of July picnic over the weekend, so they were added to the tables as a decoration.
Be sure to like me on Facebook and follow me on Pinterest so you don’t miss any of our fun activities.
Inspiration credit: Pinterest
July 4th Utensil Holder
Jul
This fun craft is a perfect decoration for your 4th of July picnic!
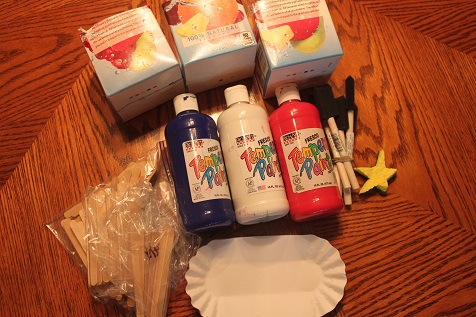
You will need 3 empty containers, I used the 1/2 gallon cardboard containers of juice. We don’t usually drink those, but they were on sale for $1, so they were perfect. You also need red, white and blue paint, something to put the paint in and something to paint with, craft sticks, star shaped sponge and some glue.
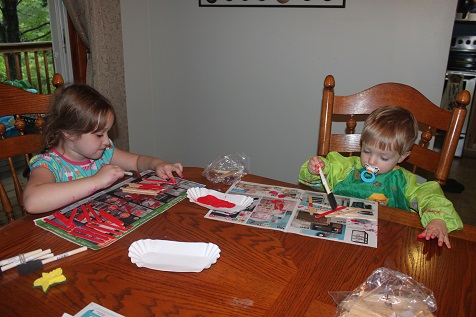
Hailey and Hunter painted the craft sticks red, white and blue.

Once the paint is dry, glue your craft sticks to the cardboard container. I used Mod Podge glue. (I did this step myself.)
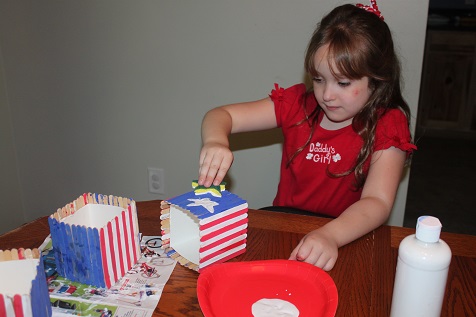
Hailey added some white star shapes, using the sponge on the blue sections.
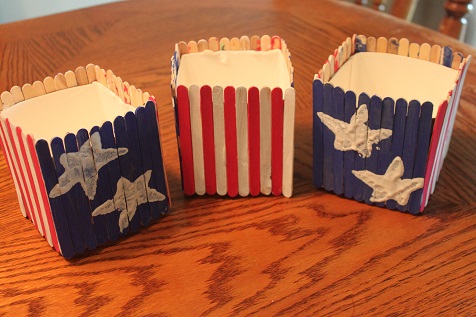
The finished utensil holders.
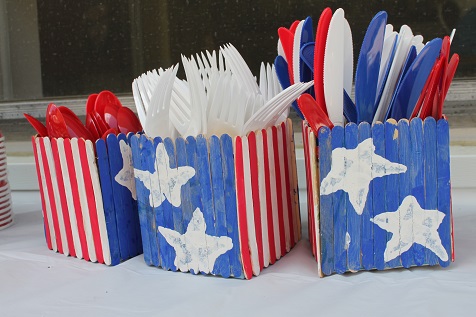
We had our family 4th of July celebration over the weekend, so we got to try them out 🙂
Be sure to like me on Facebook and follow me on Pinterest so you don’t miss any of our fun activities.
Inspiration credit: Motherhood on a Dime
