Archive for the ‘Painting’ Category
Dinosaur Oil Pastel Painting
May
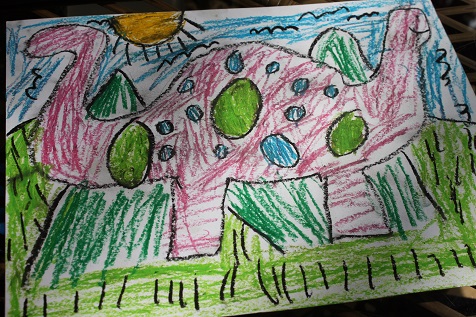
As we continue along with our dinosaur theme, Hailey made a really pretty dinosaur painting.

First, sketch a picture with a pencil.
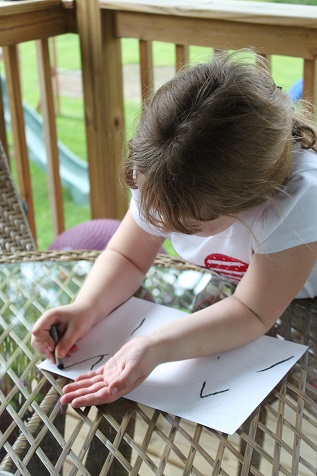
Next, trace your pencil with a black oil pastel.
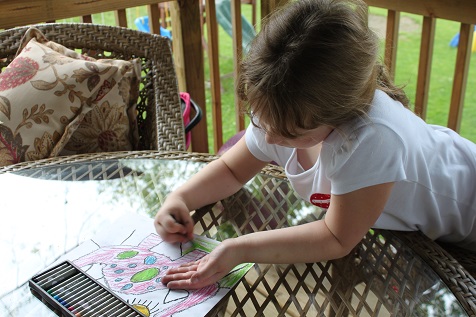
Color the picture using the oil pastels.
Don’t color the picture in completely, leave some white showing.
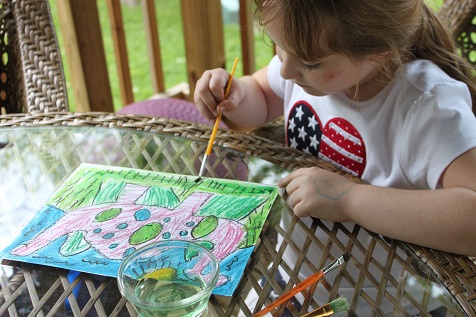
Next use water colors to paint over the oil pastels. The oil pastels will resist the water color.

Pretty and simple.
Be sure to like me on Facebook and follow me on Pinterest so you don’t miss any of our fun activities.
Dinosaur Fossils
May
We are learning all about dinosaurs this week and so we made some dinosaur fossils.
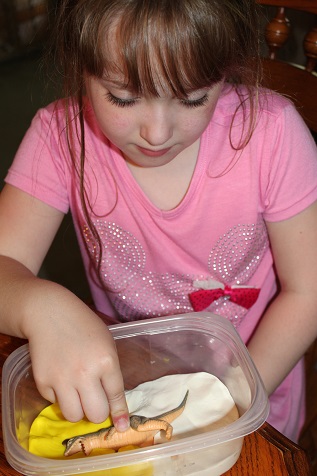
First we put some playdough into a plastic container and pressed a dinosaur into the playdough. Take the dinosaur out and see the indentation that it leaves in the playdough.
Hunter had great time making footprints with his dinosaur.
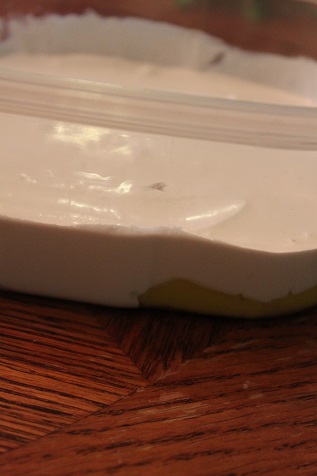
This picture didn’t come out, but it’s the only one I have of this step. Next mix up some Plaster of Paris (use a 2:1 ratio with water). Pour the plaster over your playdough so that it fills in the indentation left from the dinosaur.
We let ours dry for a couple of hours.
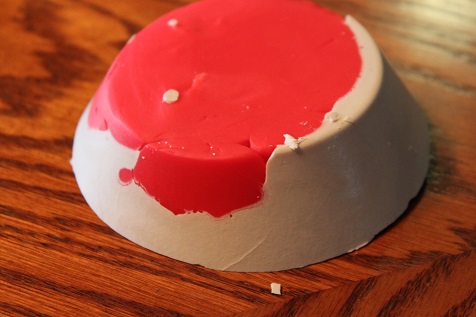
After the plaster was dry, I popped Hunter’s out of his styrofoam bowl.
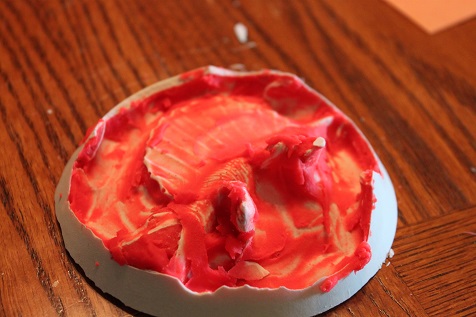
Then, peel off the playdough. This part ended up being kind of difficult. I would recommend using older playdough if you have it. Ours was new and still pretty sticky. I ended up scrubbing it off with water and a toothbrush. Or use white playdough if you have it, that is what Hailey used for half of hers and we couldn’t see what was left behind like we could with the red.
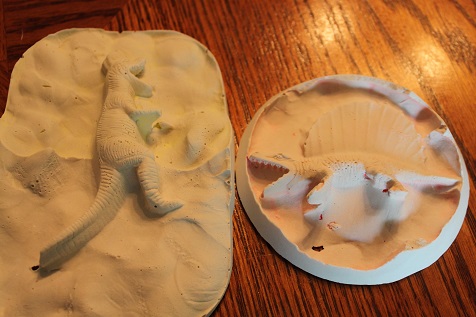
The completed fossils.
Then Hailey decided they should paint their fossils:
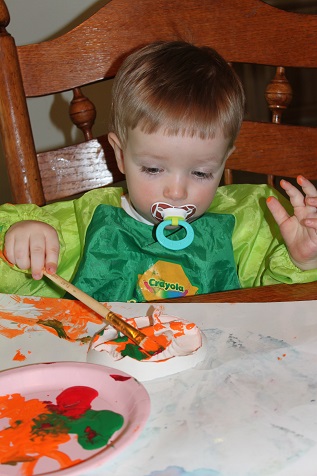
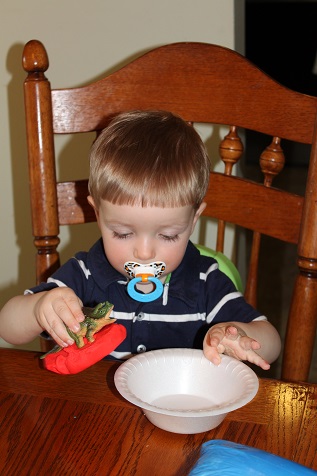
Hunter works so carefully when he paints.
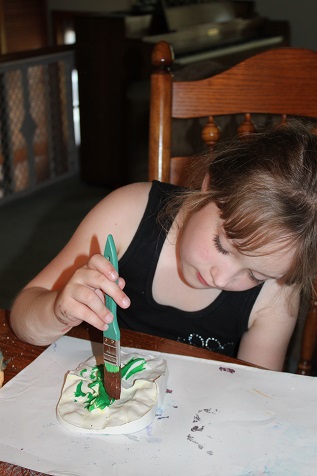
Hailey working on her painting.
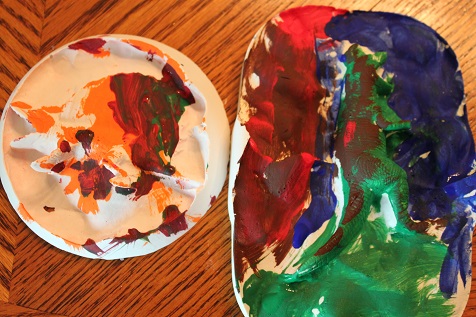
The painted fossils.
Be sure to like me on Facebook and follow me on Pinterest so you don’t miss any of our fun activities.
(Any containers you use for this activity should be ones that can be thrown away if necessary.)
Moon Rocks
Apr
The other day we took a little trip to the moon to celebrate our space theme… while we were there we collected some moon rocks. Just in case you are unable to go all the way to the moon, here is how to make you own moon rocks at home:
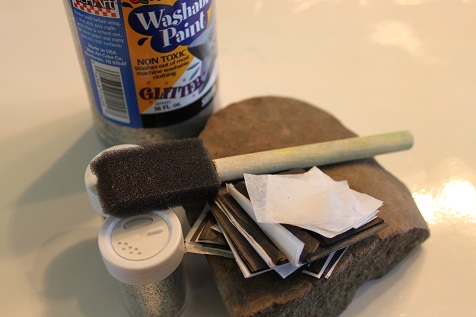
You’ll need some paint- the one pictured is a silvery paint with glitter in it. You have to use a lot of the paint or it doesn’t really show up. You’ll also need some black and white tissue paper, glitter, something to paint with and a rock.

Paint the tissue paper onto the rock. (The pacifier keeps the paint out of his mouth… usually.)
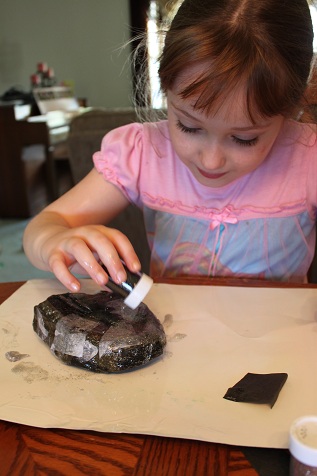
While your paint is still wet, add some glitter.

Our completed moon rocks.
Be sure to like me on Facebook and follow me on Pinterest so you don’t miss any of our fun activities.
idea credit: Pinterest
Tot School
Apr

Hunter is 16 months old.
Hunter was sick again this week so we didn’t do a whole lot of Tot School. We did still manage to do a few activities. We finished up the color yellow this week and also stared a space theme.
Hunter is constantly taking my aluminum foil out of the cupboard, so I decided to just give him a piece to play with to see if that would satisfy his curiosity.
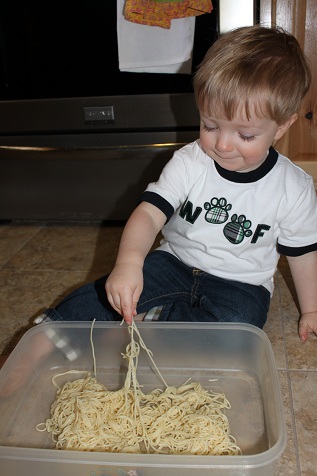
Hunter played with some cooked spaghetti- this didn’t keep his attention for very long. At first he didn’t want to touch it and when he finally did he only played with it for a few minutes.

He also used the spaghetti to paint with. This was definitely more interesting to him. He loves to paint!

For our space theme Hunter made a rocket ship using his name.
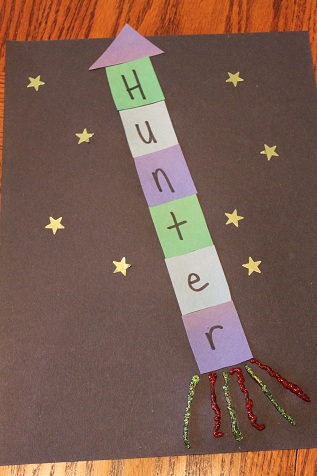
It turned out really cute, you can see the full post here.
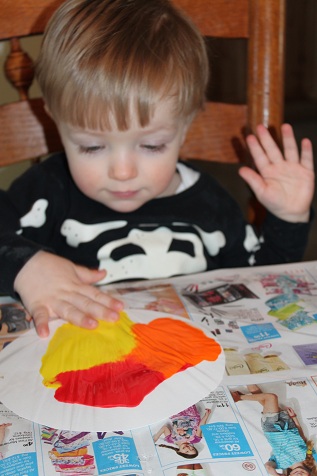
We made a really fun sun- Hunter loved it!!
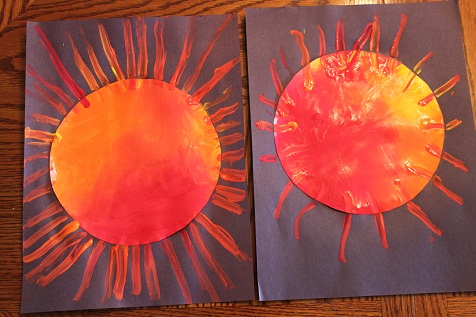
I love how the suns turned out!! You can see the full post here.
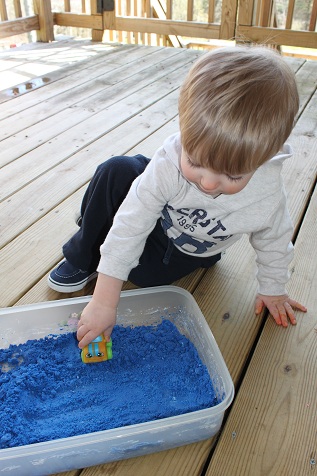
We also took a little trip to the moon 🙂 and brought back some moon sand that Hunter enjoyed playing with. You can see the full post for that here.
Stop by 1+1+1=1 to see what the other tots were up to this week.
Be sure to like me on Facebook and follow me on Pinterest so you don’t miss any of our fun activities.
