Archive for the ‘Painting’ Category
Snowstorm
Jan
Here’s a fun snowstorm that you can enjoy inside your warm house!
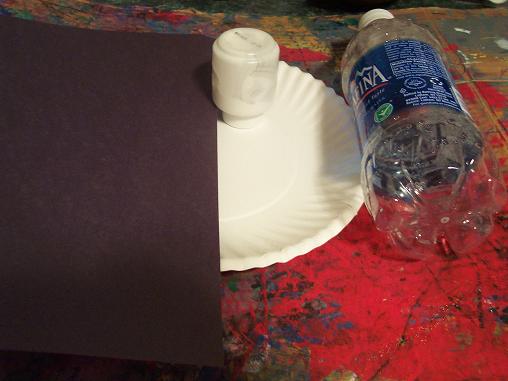
Here’s what you need: construction paper (black or blue), white paint and a water bottle.
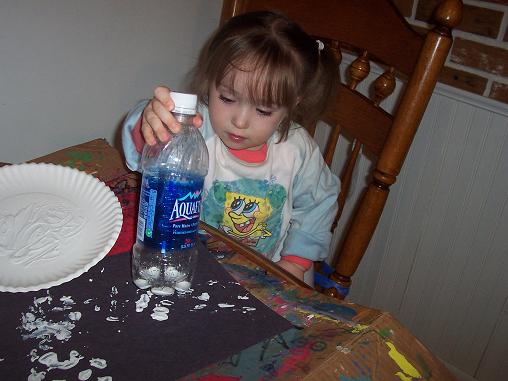
Put the bottom of the water bottle in the white paint and then stamp it onto your construction paper. Hailey loved doing this. She said, “Oh this is a nice snowstorm. I’m going to hang it on the fridge when it dries.”
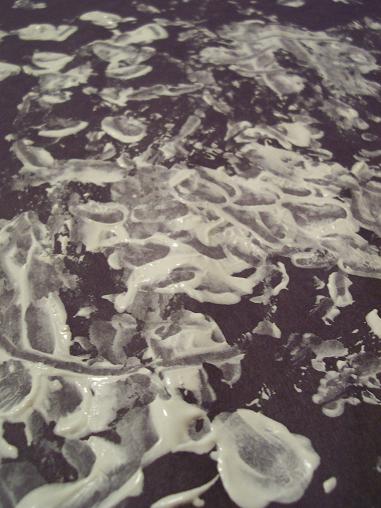
The finished snowstorm.
Letter of the Week- Letter G
Jan
Hailey is finally healthy enough to do some activities so we are finally back! Hopefully we’ll be back to stay this time- no more getting sick.
I am going to be doing things a little bit differently though. In the past I was trying to do way too many things with Hailey in one week. We did a letter project almost every day as well as a project relating to our theme, a number, shape and color activity, a Bible story activity, and more. It was getting to be too much for me to plan and get everything together. So, we will be doing less art activities than we were doing before.
So, getting back into our letter each week- this week is the letter G. I got this idea from No Time for Flashcards (I get almost all of my letter of the week activities from Allie- she has such cute ideas and Hailey always loves them).
Here’s what we made:
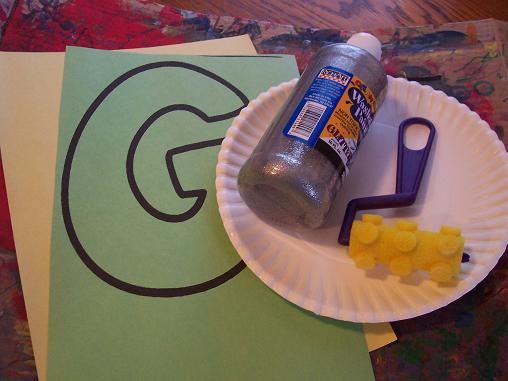
You’ll need: green paper with the letter G on it, gold (yellow) paper, glittery paint, and something to paint with.
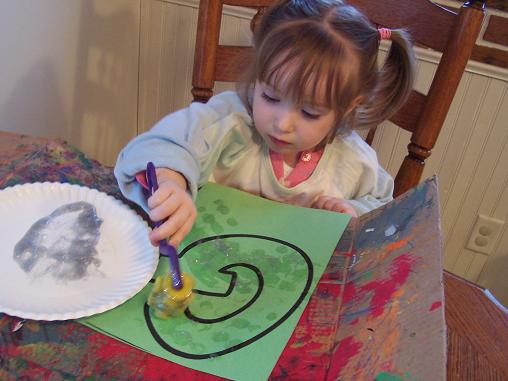
Hailey loved painting the G. I told her that we used Green paper because green starts with G and that we used Glitter paint because that starts with G.

The completed Glittery G.
Christmas Hand Print
Dec
I had meant to get this posted a little earlier so that you would have time to do it if you want to. But I have been so sick that I just haven’t been able to get sit at my computer for more than a couple of minutes at a time. I feel a little better today so I’m going to post this, hoping it all makes sense (I feel like I’m in a fog right now).
Anyhoo- it doesn’t really take all that long to do, it’s just that you have to allow time for the paint to dry. This is what Hailey made for her grandparents for a Christmas present this year (so no peeking Gramma and Nana!)

Here is what you’ll need: an old gift box, construction paper, red and white paint, something to paint with, a fine tip marker, sequence, glue and a pipe cleaner.

Paint your child’s hand white.
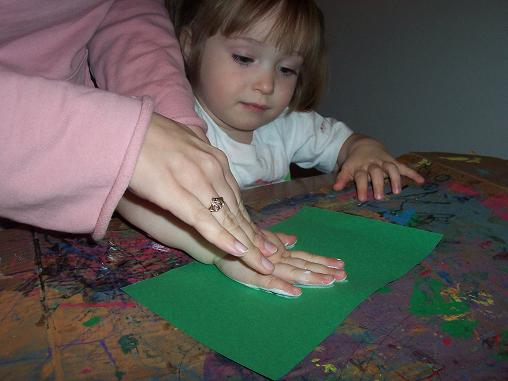
Press onto the paper.

Whenever we do a project that involves a hand print I always have extra paper there for Hailey to make hand prints on once I am done with her- so here she is having fun stamping her hand prints all over the paper.
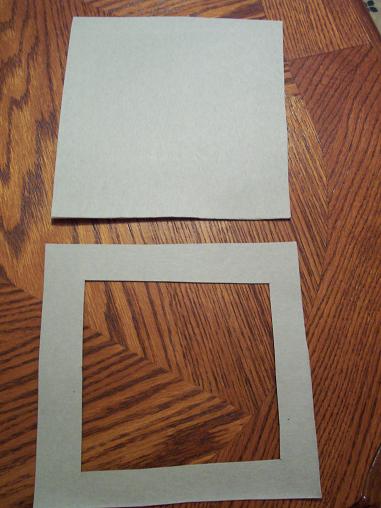
From the box- cut 2 squares. Cut the center out of one of the squares- this will be your frame.

Paint the frame.

Once the frame is dry, add some sequence or any kind of decoration you want.
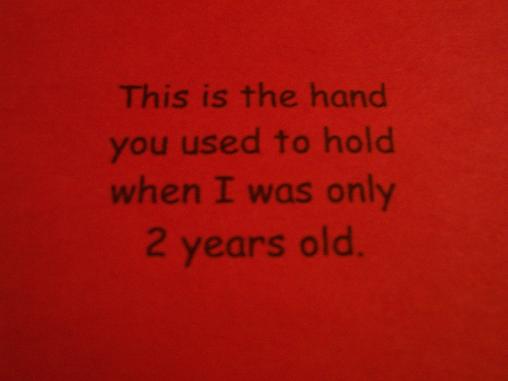
Sorry for the blurriness of this picture- too much cough medicine I guess. Anyhoo- write your poem on construction paper. Or if you have messy handwriting like I do, just print it out. This is the poem we are using:
This is the hand
you used to hold
when I was only
2 years old
Of course you can use any poem you want.
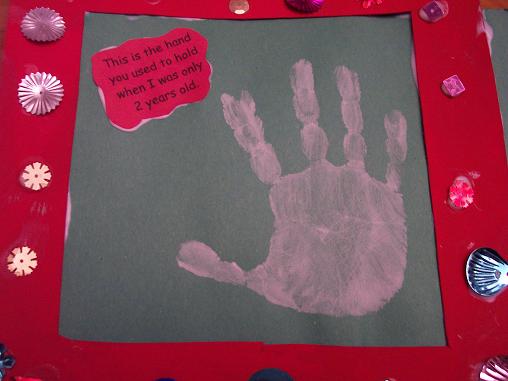
Put everything together.
Once I actually have enough strength, I will cut the excess off the sides and come back and post a picture of the final product. Also- when I first thought of this, in my mind it was going to be an ornament for the Christmas tree. Now that it’s done I see it is too big for that. So I’m not exactly sure what it is going to be. A magnet for the fridge? Just a frame? I don’t know yet. Any ideas?
Christmas Wreath
Dec
Here is another very simple and fun Christmas craft you can do with your toddler (or preschooler).
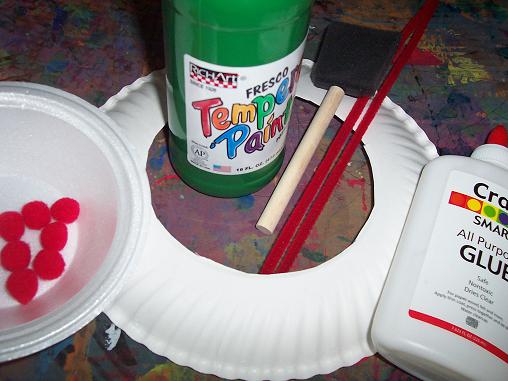
Here’s what you’ll need: paper plate with the center cut out, red pom poms, green paint, something to paint with, 2 red pipe cleaners and glue.
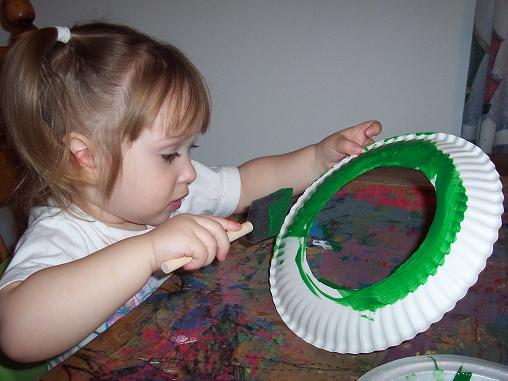
Paint the paper plate green.
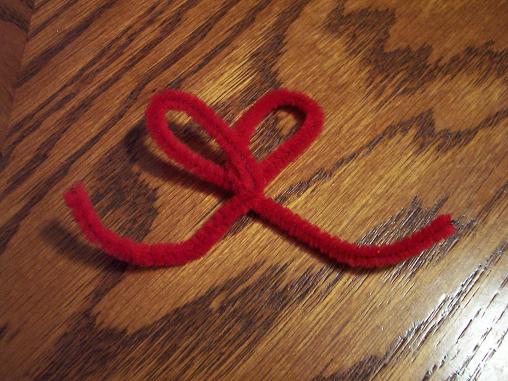
Do your best to make a bow out of one of the pipe cleaners. As you can see mine did not turn out very well but it worked just fine anyways.
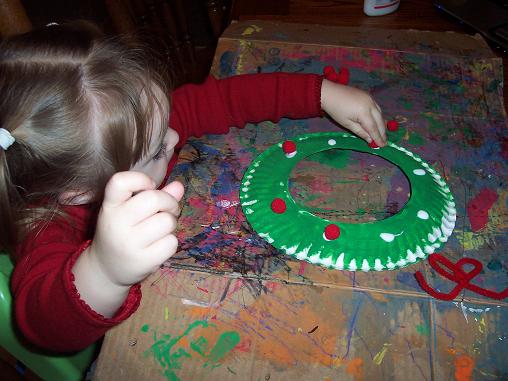
Once the paint is dry- glue the red pom poms on and then add your bow.
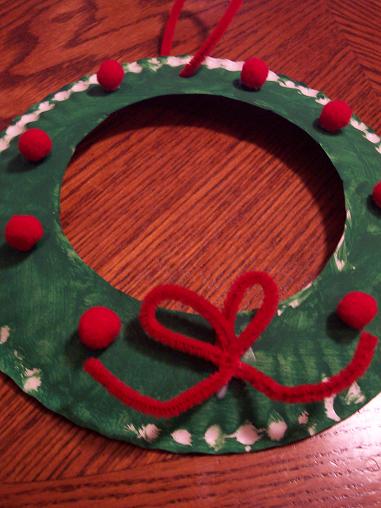
Thread the other pipe cleaner through the top of the wreath- and hang it up. Ours is haning next to our front door and Hailey is so proud to see it there.
