Archive for the ‘Letter of the Week’ Category
Letter of the Week- Letter D
Oct
I’m a week behind in posting our activities. These activities are actually from a couple of weeks ago. But we were out of town last week when I would have normally posted these. And since we weren’t home most of the week I didn’t do many activities with Hailey. She has also been really busy enjoying her new presents from her 2nd birthday and hasn’t wanted to do many crafts. We’re getting back into our regular routine this week though. So, I’ll be back to my regular posting and we’ll be doing lots of stuff that I’ll be sharing next week.
On to our activities:
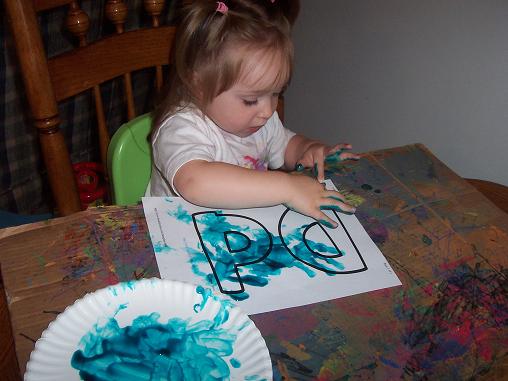
Hailey decorated the letter D using finger paint. She does one of these each week for our letter of the week (using something different to decorate with each week)- then I cut it out and put it on construction paper and hang it on our refrigerator.
Then we made a D Dragon- an idea I found over at No Time for Flashcards.
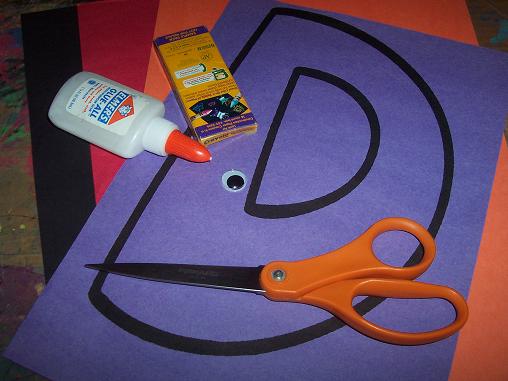
Here’s what you’ll need: a large letter D on construction paper, 3 other pieces of construction paper in varying colors, crayons, scissors, wiggly eye and glue.
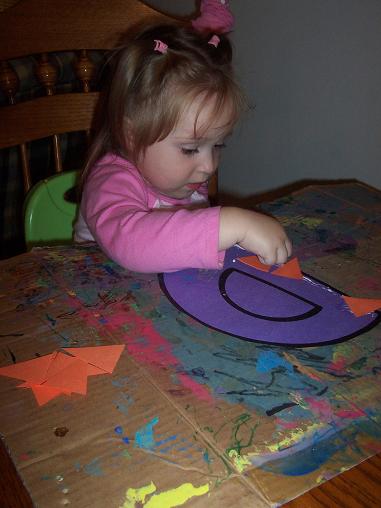
First I had Hailey color her letter D, but she wasn’t very interested in coloring it. So, we moved on to the next step. I cut up a bunch of triangles and had her glue them along the side of the D.
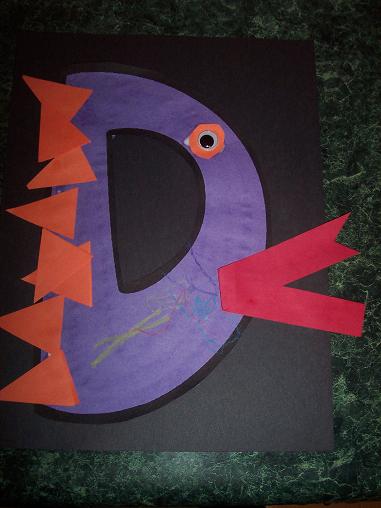
We added an eye and some fire coming out of his mouth. Then I glued it onto the black construction paper. This is our finished letter D dragon.
I decided to try something new with Hailey this week. I bought these dobbers a while ago but we haven’t used them yet. Since they make dots and dots start with D, I decided to use this activity for the letter D.
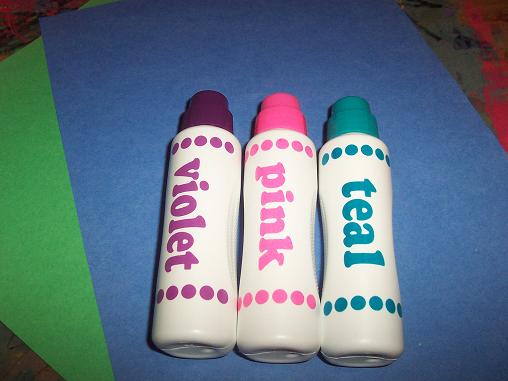
Here’s what you’ll need- dobbers and construction paper.
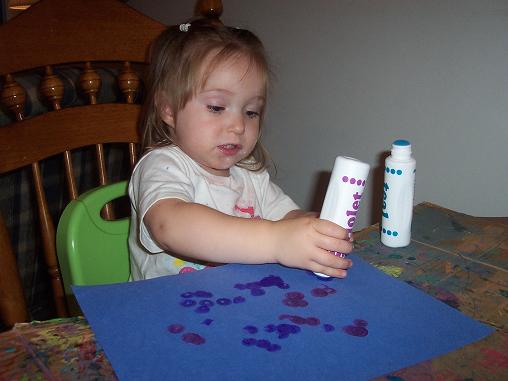
Hailey loved these dobbers. I loved them to because it didn’t matter how hard she hit the paper- they did not splatter. She dropped one and it hit the wall and the floor and wiped right off (I cleaned it immediately).
Hailey’s new thing to do is to turn away from me, close her eyes and eat whatever we are working with. So, here she is- thinking I can’t see her- rubbing her finger on the dobber and then licking it off.
Letter of the Week- Letter C
Sep
Last week our letter that we focused on was the letter C. And we did several fun activities. Every Monday I give Hailey a paper to decorate for our letter of the week and we decorate it using different methods (colored pencils, water colors, etc). This week we used markers to color the letter C.

Here is our finished Letter C which hangs on our fridge all week.
Then we made this cute letter C.

Here’s what you’ll need: a large letter C, another piece of construction paper, cotton and glue.
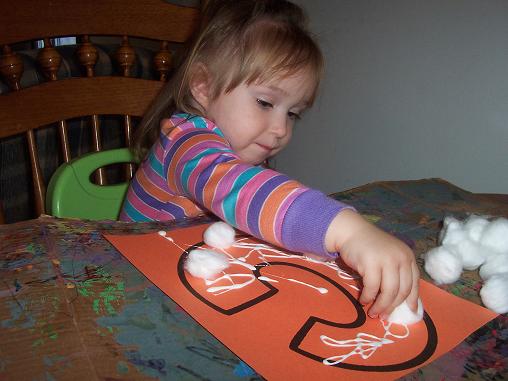
Glue the cotton onto the letter C- pointing out that cotton starts with C.
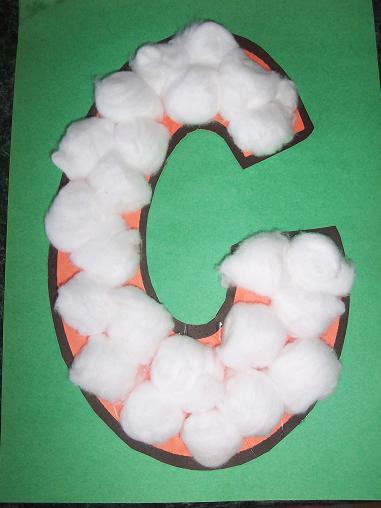
The finished letter C, which also hangs on our fridge.
We also did some of our usual letter activities. I hid felt C’s around our house for Hailey to find. I just realized we never visited Star Fall to do their letter C activities, but I will make sure we do that today.
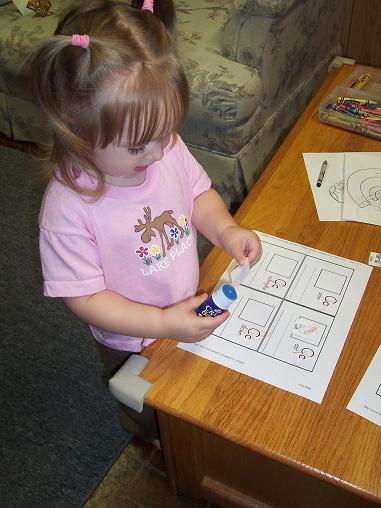
Here is Hailey gluing on pieces to her Letter C Book.
Last but not least- our favorite activity.
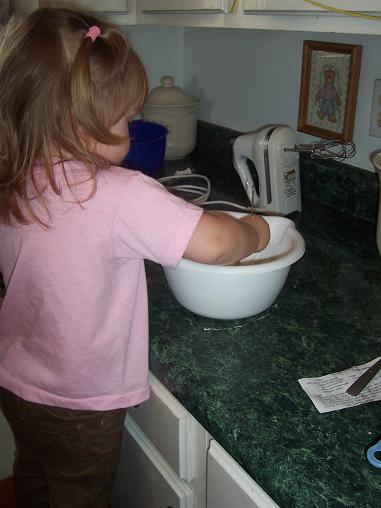
Hailey helped me to make some chocolate chip cookies.
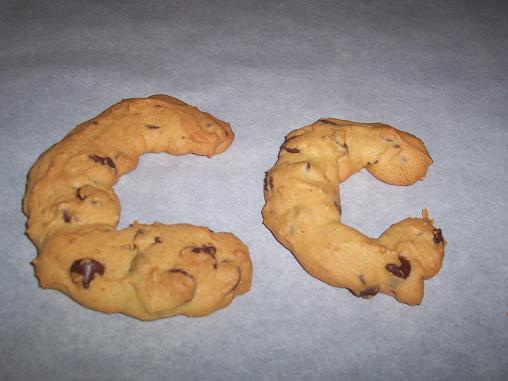
I shaped the cookies into the letter C. If you do this- be sure to leave plenty of space for your C to fill in so that you don’t end up with a blog. Also, if I did this again I would use sugar cookies instead of chocolate chip cookies because I think they would be easier to form. The chocolate chip cookie dough was really sticky to try to form into a C.

Enjoy your letter C cookies!
Letter of the Week- Letter B
Sep
Our letter of the week last week was the letter B and we did several activities to help Hailey learn the letter B.
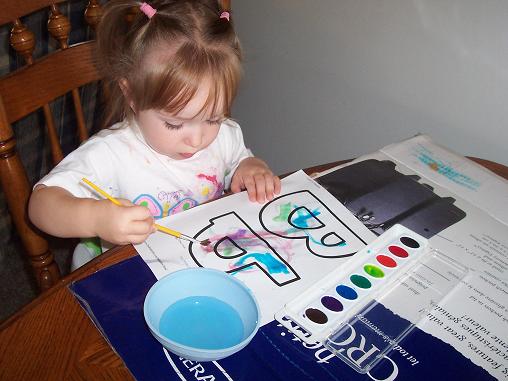
Hailey used water colors for the first time to paint the letter B. It only took a couple of tries before she understood that she had to dip the brush into the water and then the paint and then she loved it. She spent a lot longer with the water colors than she usually does with regular paint. (And- an added bonus- she didn’t even try to eat it… yet)
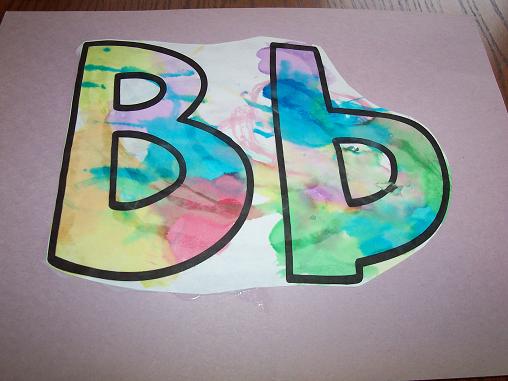
This is the finished letter B that I cut out and glued onto construction paper. It hangs on our refrigerator all week so that Hailey will see it a lot.
We also made a Bumble Bee out of the letter B- an idea I saw over at No Time for Flashcards.
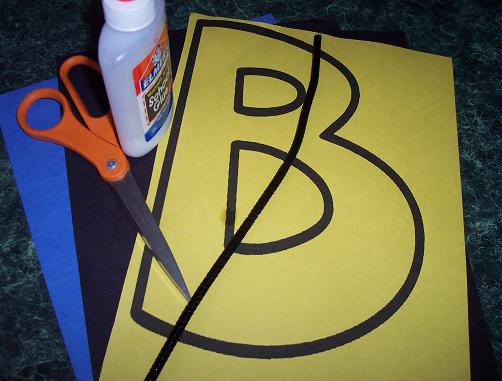
Here’s what you’ll need: a large letter B on yellow construction paper, black and blue construction paper, scissors, glue and pipe cleaner.
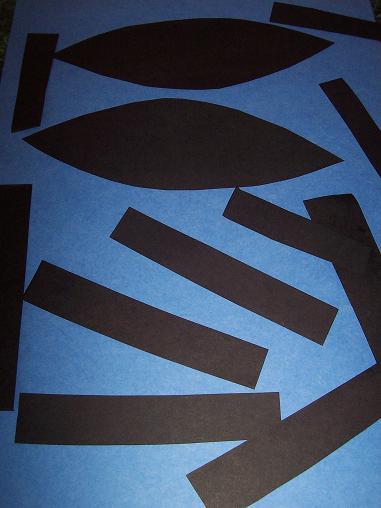
Cut out several lines to be stripes on the bumble bee and two wings out of the black construction paper.

I cut out the B but left the centers of the B in so that the paper would be a bit sturdier. Hailey glued the stripes on.
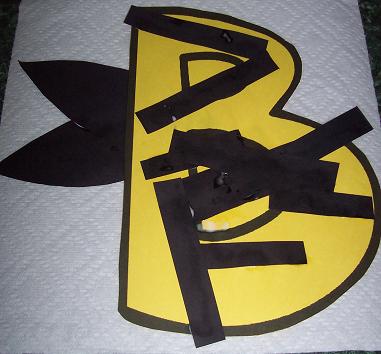
Glue the wings onto the back of the B.
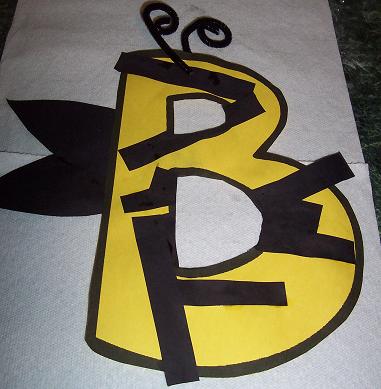
Use the pipe cleaner to make antenna and thread it through the B. I put the antenna through a stripe so that the B would be less likely to rip. Cut out the centers of the B.
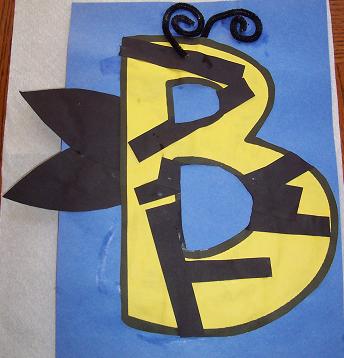
Here’s the finished Bumble Bee B, glued onto blue construction paper for added durability.
We also played hide the letter B using some felt letter B’s which I hid around our house for Hailey to find. She also enjoyed the letter B activities at Star Fall.

Hailey colored her Letter B book. Later we added pictures to it and then I put the book together. (If you look closely you’ll be able to see that Hailey is wearing her bathing suit over her clothes.)
Here is our last letter B project of the week:
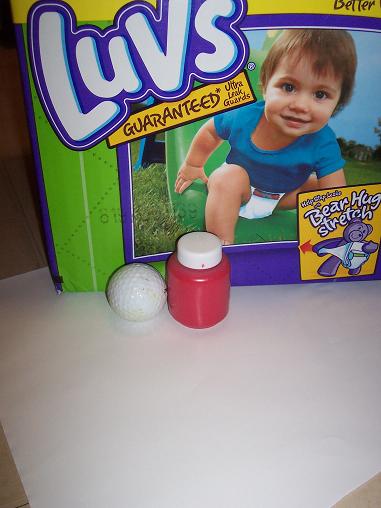
Here’s what you’ll need: a deep box, a piece of paper, golf ball and paint.
I didn’t get any pictures while we did this project- but I dipped the ball into the paint and then dropped it into the box with the paper in it. Hailey shook the box around to spread the paint. This project combined several of our themes last week- B for the ball, red for our color, and circle (ball) for our shape.
It will be a long time before we do something like this again though. Hailey got frustrated while we were working on it and she took the ball out and threw it across the room. This resulted in a very sad mommy and a very sad toddler as well as lots of red paint to clean up.
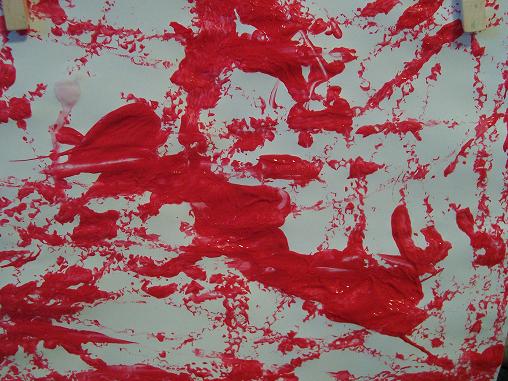
The finished picture.
Letter of the Week- Letter A
Sep
Last week was our first official week of Tot School. I have been doing crafts and learning activities with Hailey for a while but I decided that with the new school year I would start doing Tot School with her- which is basically just like pre-school except on a 2 year old level. I am going to break up our activities we do by category when I post about them- for example today I am going to share with you all of our letter activities we did last week. Then on the other days I will share with you our activities related to our theme, number, shape, color and Bible story.
So, our letter last week was the letter A- here are some of the activities I did with Hailey to help her learn the letter A.

On the first day we colored this Letter A Template. Hailey wasn’t feeling very well and I ended up doing most of the coloring.
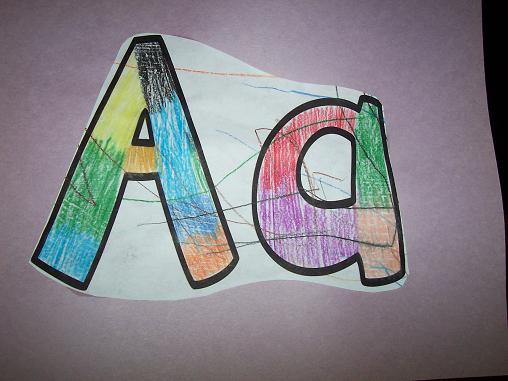
Then I glued the A onto a piece of construction paper. The letter of the week paper will hang on our refrigerator all week since that it a high traffic area and I want Hailey to see it as often as possible.
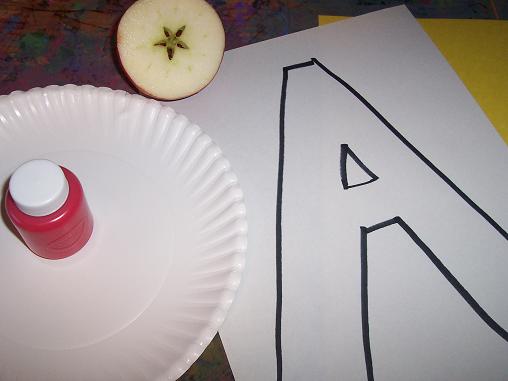
For our next letter A activity- you will need a large A on a piece of construction paper, another piece of construction paper, red paint and an apple cut in half.
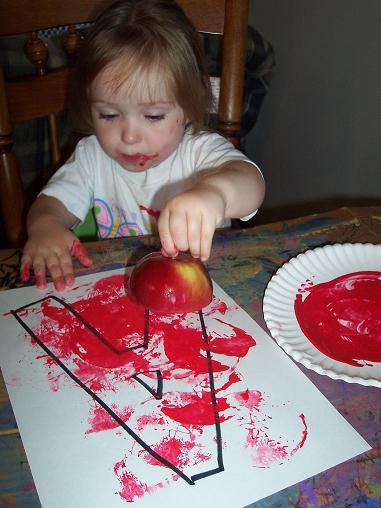
Dip the apple in the red paint and stamp it onto the letter A.
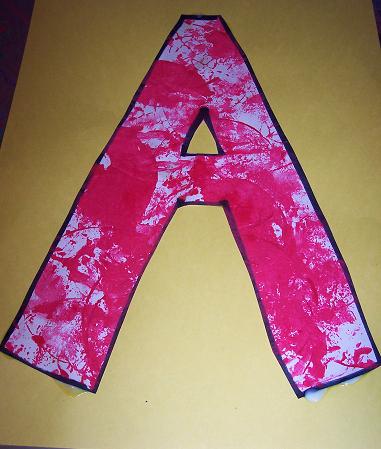
Cut the A out and glue onto a different color piece of construction paper. This also hangs on our refrigerator.
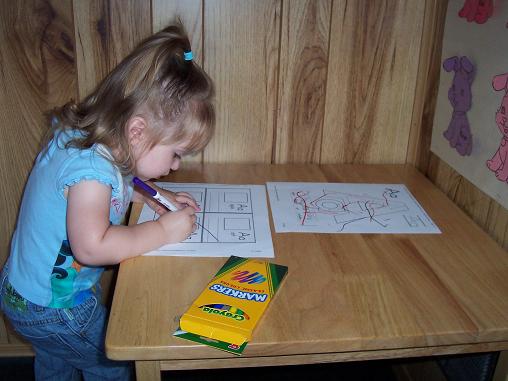
We also made this Letter A Book.
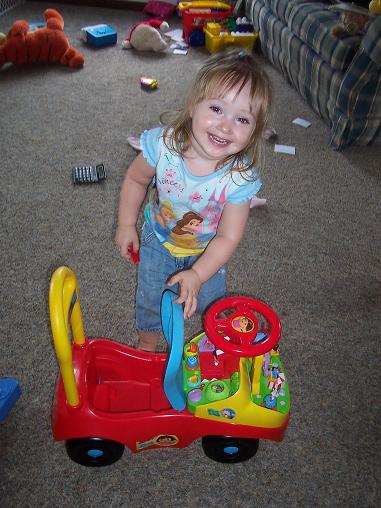
We played a hide the letter A game as well. I have a lot of felt and foam letters so I hid several A’s around our living room. Here is Hailey finding one of the A’s in the trunk of her car.
We also did the Letter A activities on the Star Fall website which was one of Hailey’s favorite activities.
Lastly, we made this really cute ant- I saw the idea for this over at No Time for Flashcards.
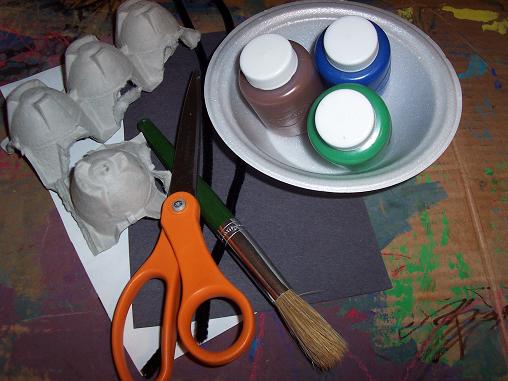
Here’s what you’ll need: black paint (I don’t have black, so I mixed these colors together to try to get a dark color), paint brush, 2 pipe cleaners, scissors, 1 section of egg carton that is three pieces long and 1 section that is just one piece, and wiggle eyes (I used black and white construction paper to make the eyes because our last project that had wiggle eyes on them- Hailey pulled them off and tried to eat them, so we aren’t ready for wiggle eyes yet)

Paint the egg carton. Why yes, Hailey did eat some paint- how could you tell?
After the paint had dried- cut two holes in the top of the 1 piece of egg carton and thread pipe cleaner through to create antenna. Then add your eyes to that piece. Cut holes in the three piece section of egg carton to thread pipe cleaner through for the legs. Then glue the head piece right on top of the first section.

Here is the finished ant.
