Archive for the ‘Colors’ Category
Letter of the Week- Letter Q
Jun
This week our letter was the letter Q. I thought a Queen would be really cute, but since we just made a P for Princess last week I thought we should do something else. So, we made a Quilt.

Here’s what you’ll need: construction paper with a Q on it, glue, squares of construction paper in various colors, another piece of construction paper.

Put glue all over the Q.

Glue the squares all over the Q. This is a great time to also talk about colors and the square shape of the papers.

After the entire paper was covered in the squares I cut out the Q. The reason I did it on yellow paper was so that I would be able to see the black lines through the back of the paper. So be sure to use a light colored piece of paper.

Q is for Quilt.
Spring Counting Book
May
For the last day of our spring theme we made a cute spring counting book. Rather than show all of the materials in one large group I am going to show you how we made each page of the book. This is something I found in a Mailbox magazine and printed out but you could easily make this yourself.

First Hailey cut the pages apart. She did an excellent job cutting and staying pretty close to the black line!

For the first page- Hailey colored the word blue and then added a little blue square of construction paper to represent the sky. We also glued each page onto a piece of construction paper for durability and to make it easier to staple everything together at the end to make it into a book.

Hailey colored the word yellow and then added two circles of tissue paper for the suns.

After Hailey did some coloring I gave her three pieces of orange felt to make the kites.

Hailey colored everything brown and then added the wiggle eyes.

Hailey glued on some little cotton balls for the bunnies tails.

We added purple pom poms to this page for the flowers after Hailey colored everything purple.

This was Hailey’s favorite page- she put her finger onto a red stamp pad (a “washable” stamp pad). The she stamped her finger onto the paper. I added some lines and dots to make it look like ladybugs.

Hailey glued on 8 pieces of green yarn for this page.
Once everything was dry I added a title page (“It Must Be Spring Time!”) and stapled everything together to make it into a book. It turned out really cute- and it was a fun to tie our spring theme together with colors and counting.
Shape Dinosuar
May
We finished up our dinosaur theme today by making a shape dinosaur. An activity like this can be incorporated into almost any theme to reinforce shapes, colors, counting, etc.

Here’s what you’ll need: various shapes cut out of construction paper, a piece of construction paper to glue everything onto and glue.

Glue the shapes onto the paper. Make sure to talk about colors and shapes and count the pieces as your child adds them on.

Here’s Hailey’s finished shape dinosaur.
Easter Wreath
Apr
Since we are busy trying to find a new house and trying to pack up our current house I am sharing a craft with you from last year. Hailey made this when she was 17 months old.
You will need a paper plate or a large piece of card stock, construction paper, scissors, and glue.
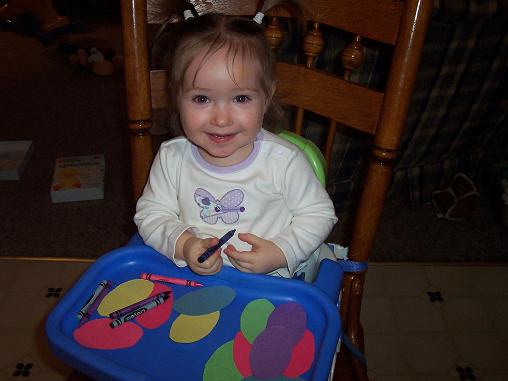
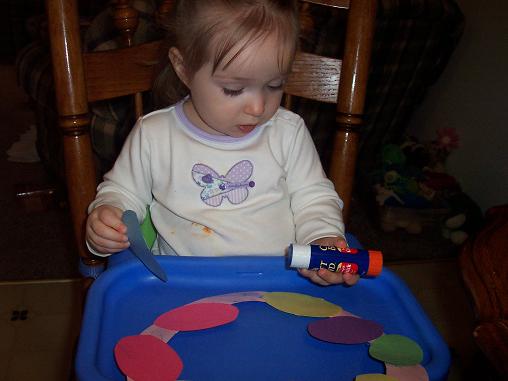
Cut out the center of the paper plate or the card stock (which is what I used because I was out of paper plates). Cut egg shapes out of different colored construction paper. Then let the kids decorate the eggs with crayons, markers and stickers.
Of course I had to cut the “eggs” out (I think age 3 is probably the right time to start allowing children to try out scissors on their own). But, Hailey did the coloring and even the gluing herself. While we were working on this acitivity I made sure to talk about the oval shape of the eggs as well as the circle shape of the wreath. I also made note of the colors of the eggs and the colors of the crayons Hailey was using. She LOVED it and cried when we were all done. So, here are some pictures of the fun.


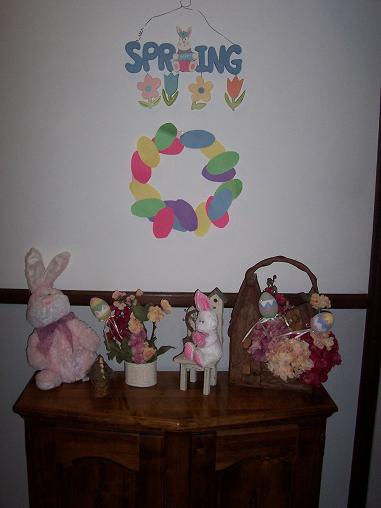
Hailey was so proud when she saw her Easter Egg wreath hanging up.
