Archive for May, 2008
Ham and Swiss Casserole
May
 I am always looking for some new tasty recipes, so I have decided to join Saturday Stirrings hosted by Dee Dee at It Could’ Been Worse. I can’t wait to see the deliciousness that everyone else is cooking up this week. So, here is my recipe- it’s quick, easy and very yummy.
Ham and Swiss Casserole
Prep time 15 Min
Cooking time 40 Min
Servings 6-8
INGREDIENTS
1 (8 ounce) package medium noodles, cooked and drained
2 cups cubed fully cooked ham
2 cups shredded Swiss cheese
1 (10.75 ounce) can condensed cream of celery soup, undiluted
1 cup sour cream
1/2 cup chopped green pepper
1/2 cup chopped onion
DIRECTIONS
In a greased 13-in. x 9-in. 2-in. baking dish, layer half of the noodles, ham and cheese. In a small bowl, combine soup, sour cream, green pepper and onion; spread half over the top. Repeat layers. Bake, uncovered, at 350 degrees F for 40-45 minutes or until heated through.
When I make it I usually use Cheddar cheese instead of Swiss cheese just because that’s what we like. This also freezes well, so you can double the recipe to freeze for a future meal.
Tags: Ham and Swiss Casserole
Pig Craft
May
This week I have been concentrating on farm animals with Hailey. She loves anything and everything that has to do with animals, so this is definitely a lot of fun. There are tons of books about farm animals that we enjoy reading. The other day we made a pig using a variety of shapes. When I was teaching pre-kindergarten I always did this with my class. It’s easy and cute and helps reinforce the names of the 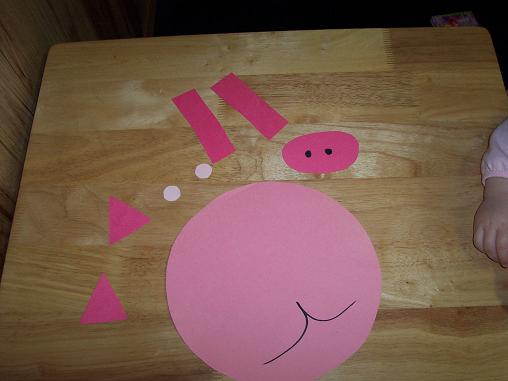 shapes.
What you’ll need:
- pink paper in 2 or 3 different shades
- scissors
- glue
Because Hailey is too young for scissors I cut everything out ahead of time. If you were doing this with preschoolers I would recommend letting them do the cutting.
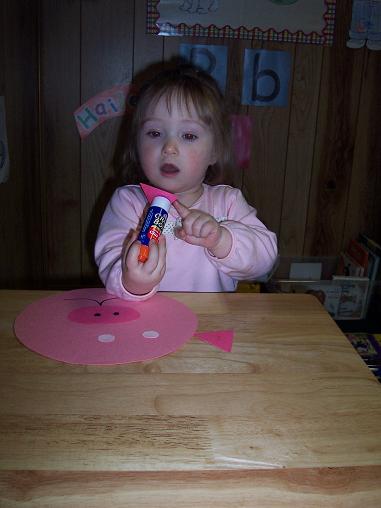
I let Hailey do all of the gluing- which she loves to do. She always cries when it is time to put the glue away. As she was gluing the pieces I talked about the shape of the piece she was working on and encouraged her to try to say the name of the shape too.
Once she had the glue on her piece I pointed to the place on the pig where the piece should go and she did the positioning of the pieces. I try to let her do as much of the actual project as possible.

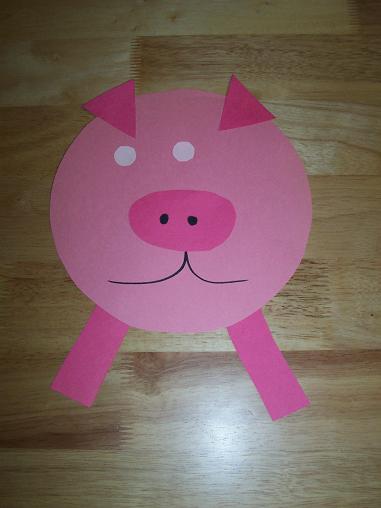
The finished pig
