Archive for the ‘Toddler and Preschool Activities’ Category
Letter of the Week- Letter E
Oct
Our letter of the week last week was the letter E.
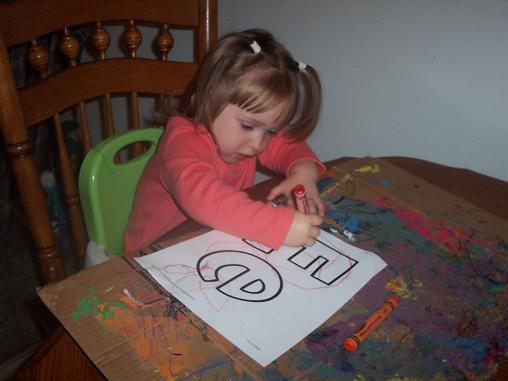
We started out our week with our usual letter paper to decorate. This week Hailey simply colored the letter E with crayons. Later I cut it out and glued it onto construction paper and posted it on our refrigerator. Each week she does one of these for our letter of the week and we always use something different to decorate the letters (colored pencils, markers, water colors, finger paints, etc.)
Then we made this Letter E Elephant, an idea I found at No Time for Flashcards.
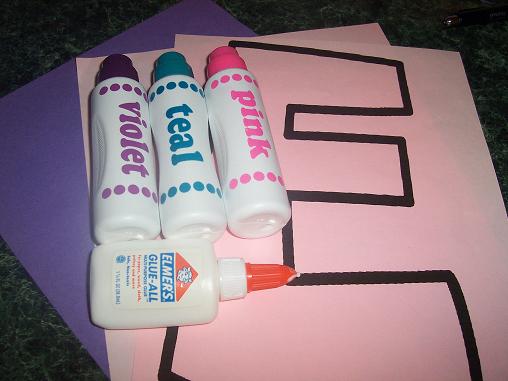
Here’s what you’ll need: a large E, an extra piece of construction paper in the same color as your E to make a trunk and an ear for the elephant, something to decorate your E with (we used the dobbers), glue and another piece of construction paper in a different color.
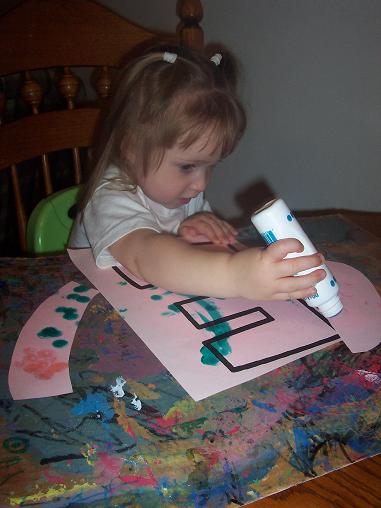
Decorate the E, the trunk and ear.
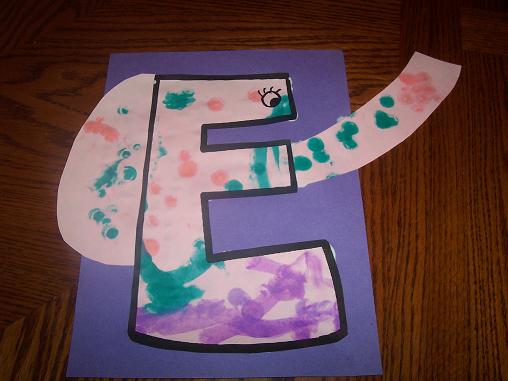
The finished letter E Elephant.
Then we made this Elmo:
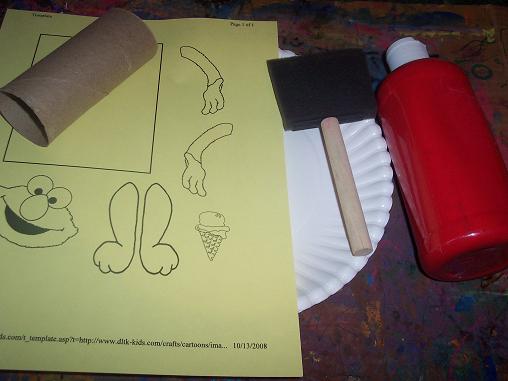
Here’s what you’ll need: An Elmo template printed on card stock, toilet paper roll, red paint, and something to paint with.
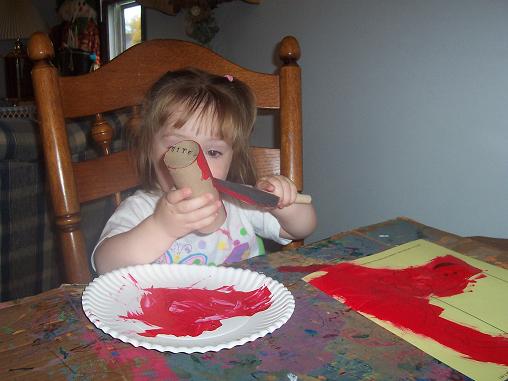
Paint the toilet paper roll and the Elmo template red.
Once it’s dry cut out the Elmo pieces and glue them onto the toilet paper roll.
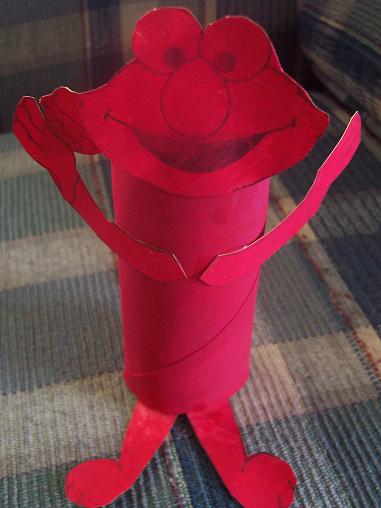
The finished Elmo.
Stop by 1+1+1=1 to see what the other moms are doing to keep their tots busy. Don’t forget to check back here everyday as I will post about our fall activities, our color and shape activities and our Bible activities.
Noah Matching Game
Oct
Our Bible theme for this month is the story of Noah. We started out by reading the story of Noah in Hailey’s Bible. I also have a book about Noah that we read. I don’t particularly like the book though so if anyone has any recommendations for a good Noah book, please share. We also started working on a new memory verse- “God will keep His promise. Hebrews 11:11.”
And then we played this matching game:
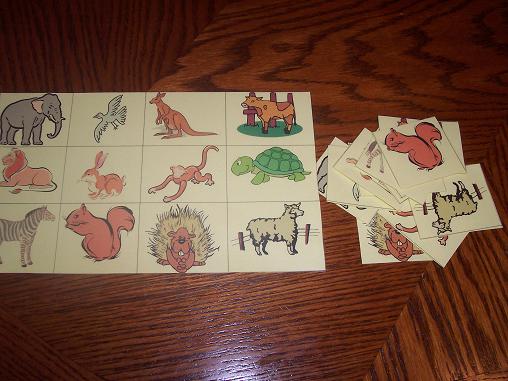
I printed out two copies of this Animal Matching Game onto card stock and covered them with contact paper. I left one copy as a whole piece and then cut up the other one into cards.
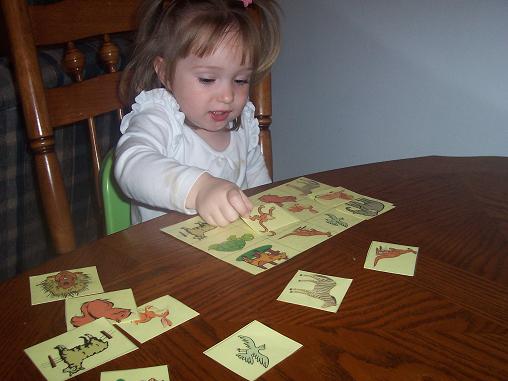
Then Hailey matched up the animals.
Very simple and Hailey loved it!
Orange, Triangles and the Number Three
Oct
Our color this month is orange and our shape is the triangle. Here is one of the crafts we did to reinforce this information.
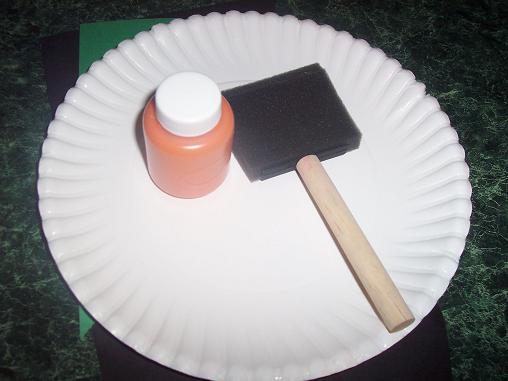
Here’s what you’ll need: orange paint, paper plate, something to paint with, black and green paper.
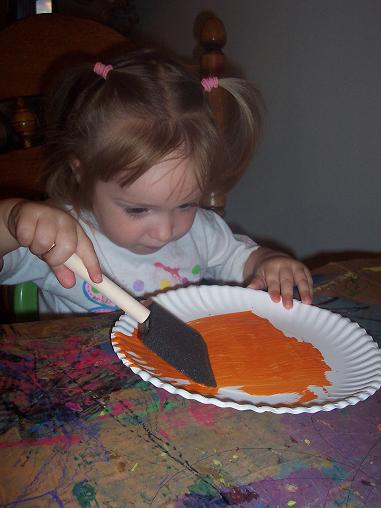
Paint the plate orange.
Cut out some black triangles and a green stem for your child. Or if your child is older you should have your child do the cutting.
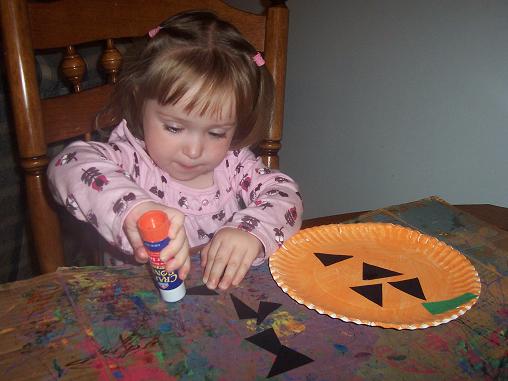
Once the paint is dry, glue on the stem and triangles. I did not tell Hailey where to put the triangles for this project, I simply suggested where they could go if she wanted them to be eyes, nose, mouth, etc. She picked where to put them though.

The finished pumpkin.
Our number this month is the number 3 and here is the craft we did last week for that.
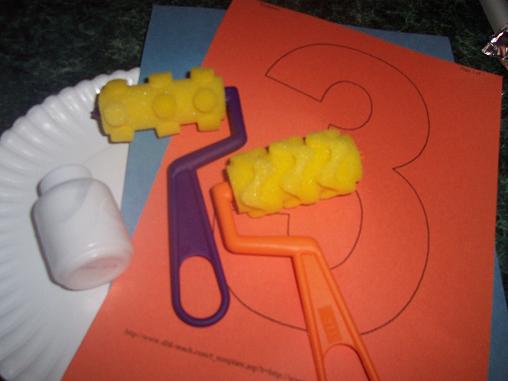
Here’s what you’ll need: a large number 3, construction paper in a different color, paint, paper plate, and some fun paint rollers. (Hailey got those paint rollers for her birthday, aren’t they cute!!)
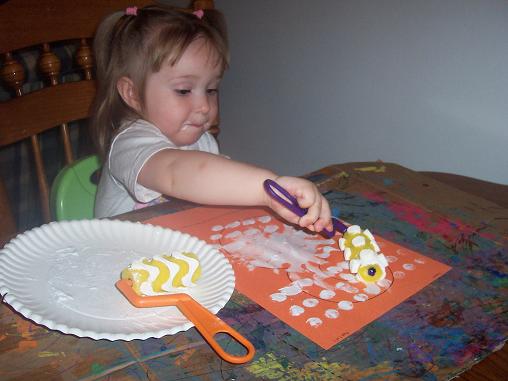
Put some paint on the roller and paint the number 3.
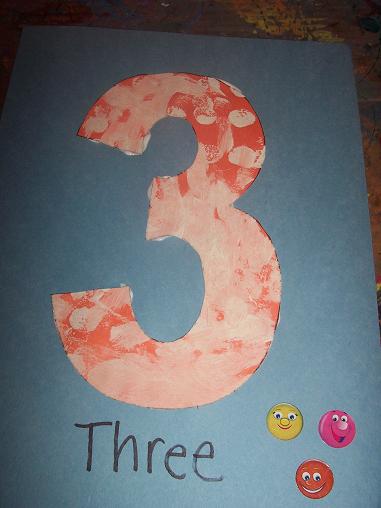
I cut out the number 3, glued it to the other paper, added the word “Three” and put three stickers on. I added this to our number wall.
Fall Activities
Oct
Our theme for the month of October is fall. So, last week we did some fall related activities.
We started out by going to see some real pumpkins.
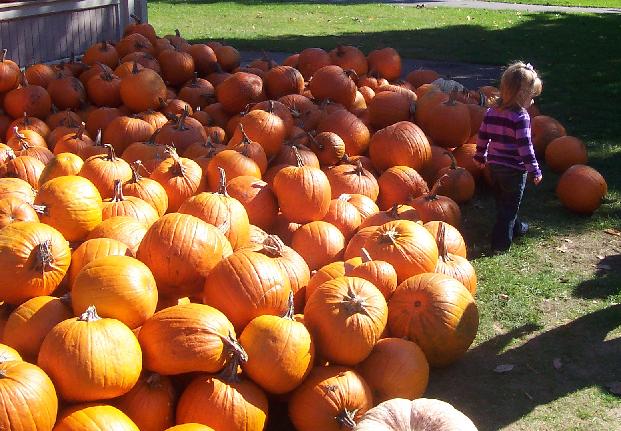
Hailey looking for the perfect pumpkin.

Hailey looking around at a (somewhat empty) pumpkin patch.
We also looked outside when we went on our walk and while playing in the back yard for some leaves.
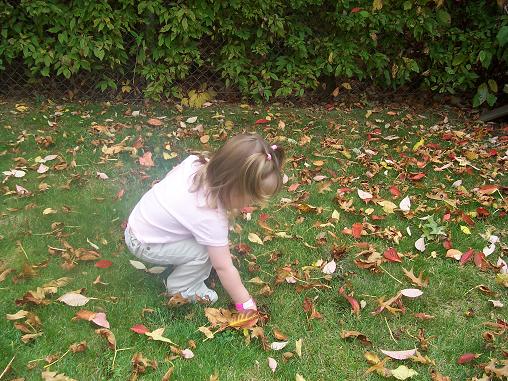
Hailey finding some leaves to add to her collection.
Then we made a leaf collage.
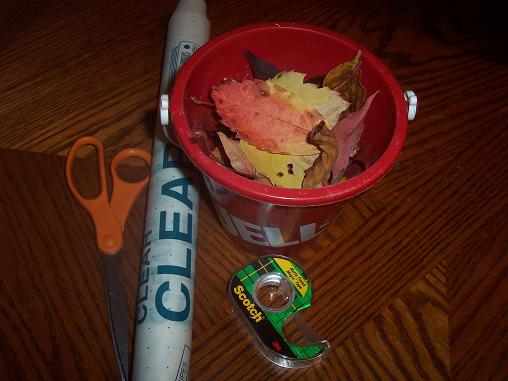
Here’s what you’ll need: your leaf collection, contact paper, scissors and tape.
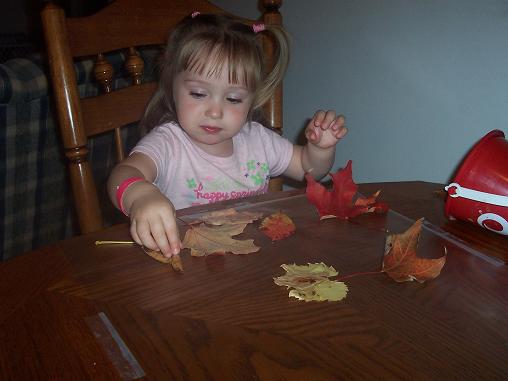
Put the contact paper onto the table, sticky side up. I added some tape to the sides to tape it down to the table so that it wouldn’t pull up every time Hailey’s arm brushed it. Then add your leaves to the contact paper.

After you finish adding leaves, put another piece of contact paper sticky side down on top of the piece of contact paper with the leaves on it. Put them together so that the sticky sides are touching, this will hold your collage together.
Then we did a fall painting:
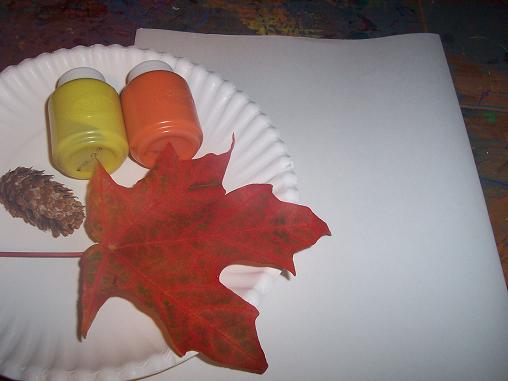
Here’s what you’ll need: paint, paper, and some fall related items- we used a pine cone and a leaf.

Hailey painting with the pine cone.
We had another fall related activity, but it also relates to our shape and color so I am saving it for tomorrow.
