Archive for the ‘Toddler and Preschool Activities’ Category
Hailey-o-saurus
May
Our theme for this week has been dinosaurs and today we made a “Hailey-o-saurus” dinosaur.
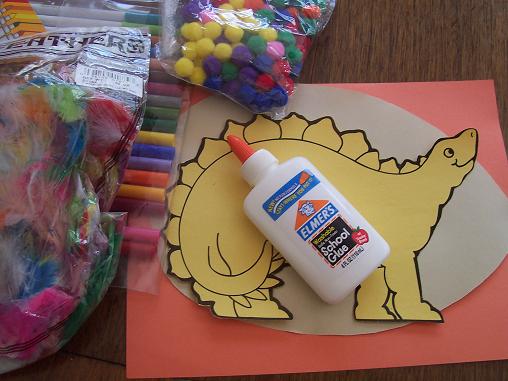
Here’s what you’ll need: Dinosaur shaped construction paper, egg shaped construction paper, blank piece of construction paper, markers, items for decorating (we used feathers and pom-poms) and glue.
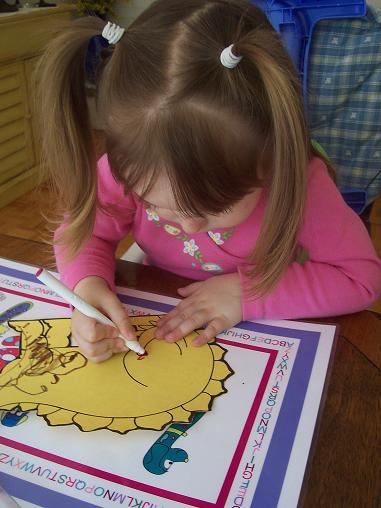
Hailey colored her dinosaur.
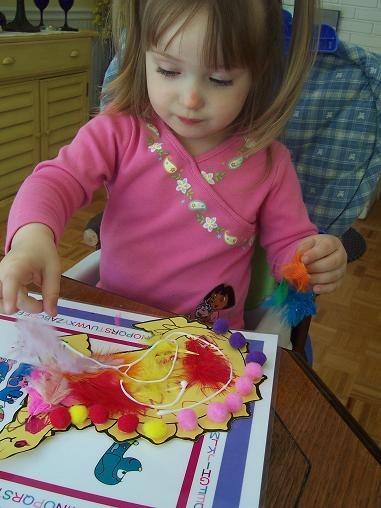
Then she glued on some pom-poms and feathers.
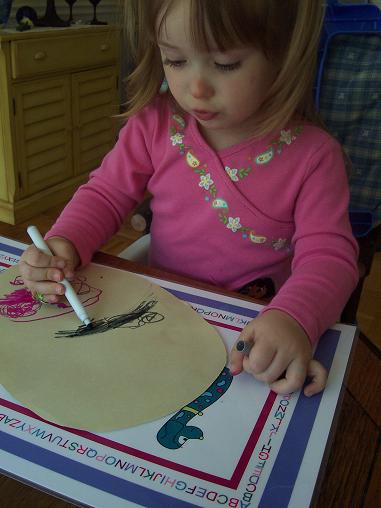
Then Hailey colored the dinosaur egg. While she was coloring I explained to her that dinosaurs hatched from eggs.
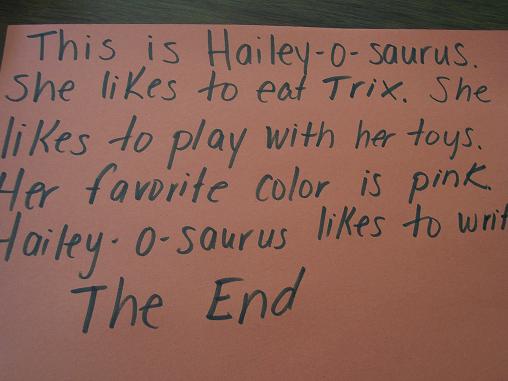
We wrote a story about “Hailey-o-saurus.” I asked some questions to get Hailey started and then she told me all about her dinosaur while I wrote down what she said.
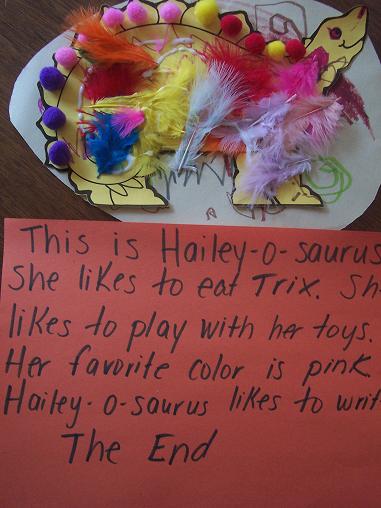
We glued the dinosaur onto the dinosaur egg and displayed it with the story Hailey wrote.
Dinosuar Bones
May
Our theme this week is dinosaurs. For our first art project we made some Dinosaur bones.
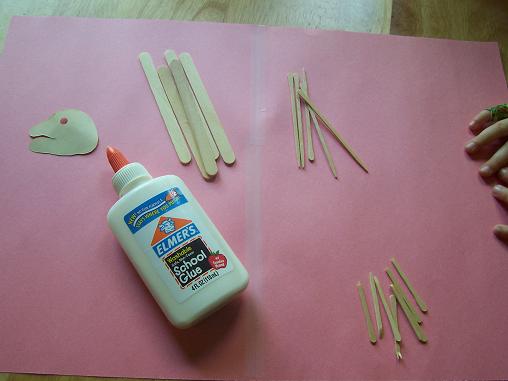
Here’s what you’ll need: dinosaur shaped head, regular and small craft sticks, glue and paper.
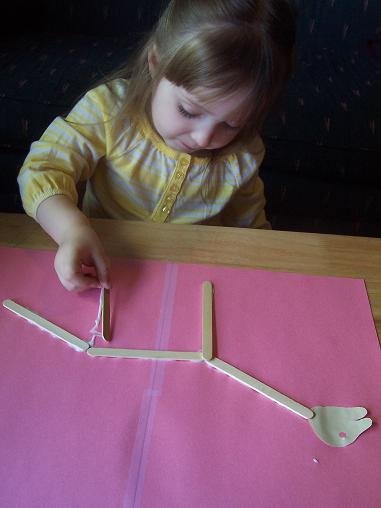
Glue the dinosaur head on and then use the regular sized craft sticks to make the dinosaur’s body- neck, back, tail and legs.
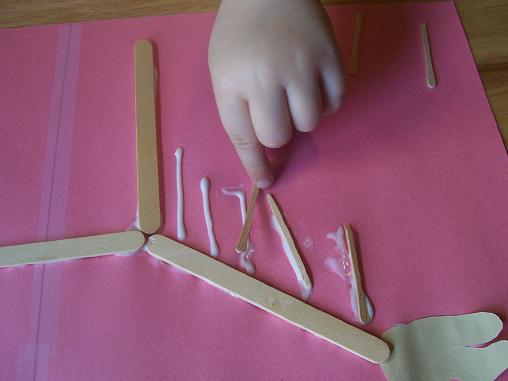
Some of the small craft sticks can be broken in half and then glued on.
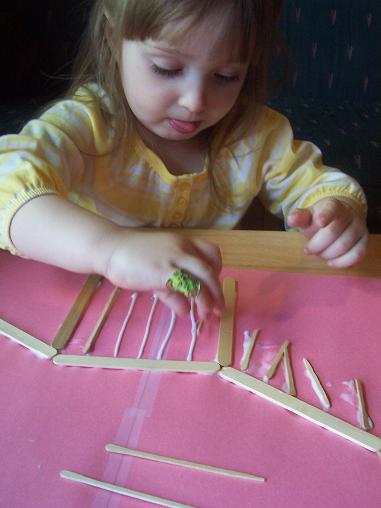
We added some more to the middle of the dinosaur.
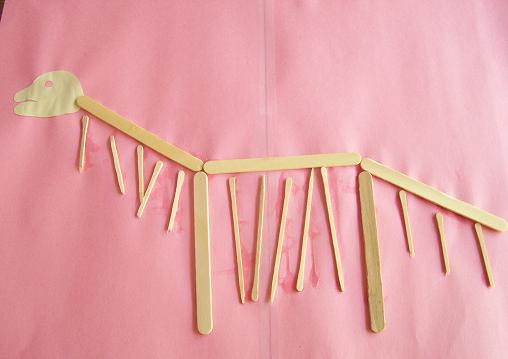
The completed dinosaur.
Mother's Day Flowers
May
If you didn’t see my post yesterday- be sure to check out the Mother’s Day Vase we made. Today I’m showing you the flowers we made to go inside the vase. (And remember- no peaking Gramma or Nana!)
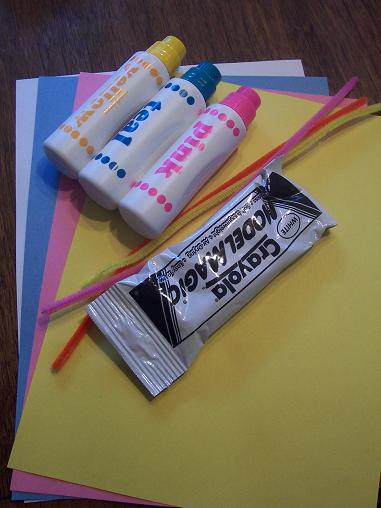
Here’s what you’ll need: 3 pieces of construction paper in various colors, photo paper, pipe cleaner, clay or playdough, something to decorate the paper with.
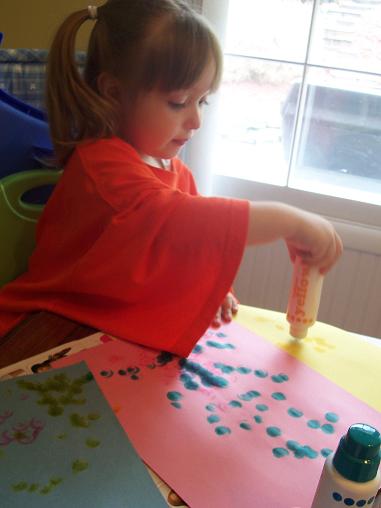
Hailey used the paint dobbers to decorate the paper.
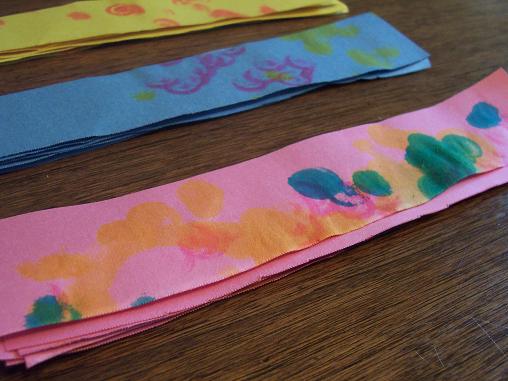
Cut three strips from each color of paper.
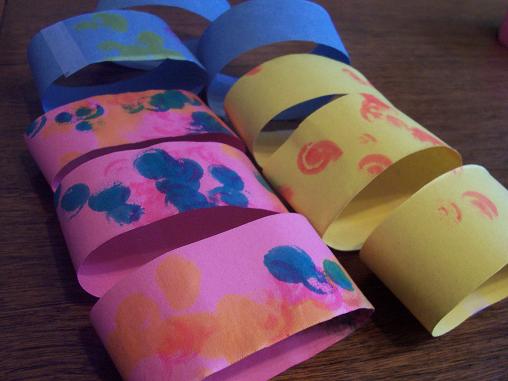
Make those strips of paper into loops- I taped them to make them stay in the loop shape.
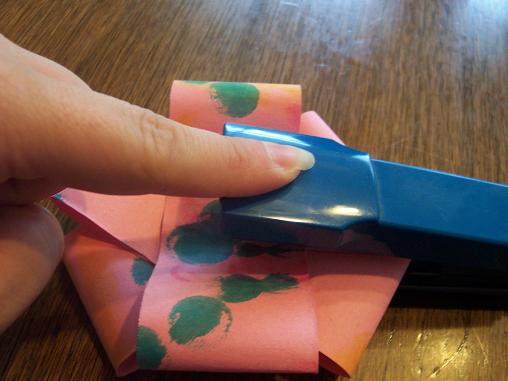
Then staple the three same colored loops together to create the flower.
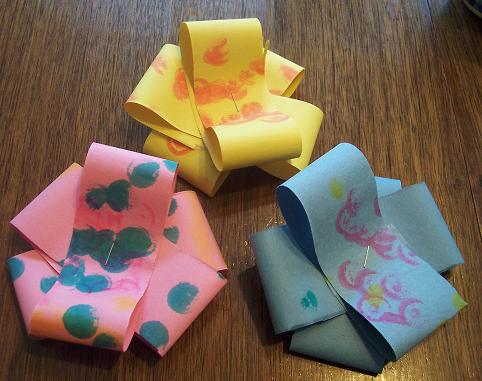
Here are the flowers.
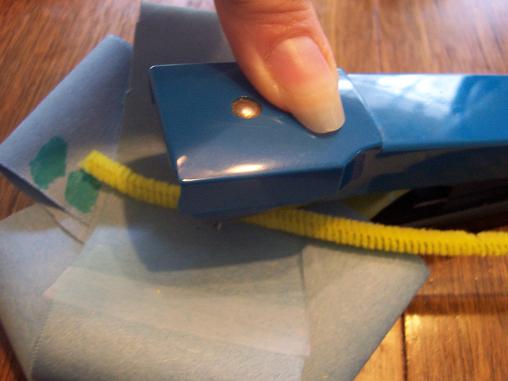
Staple pipe cleaner to the flower for the stem.
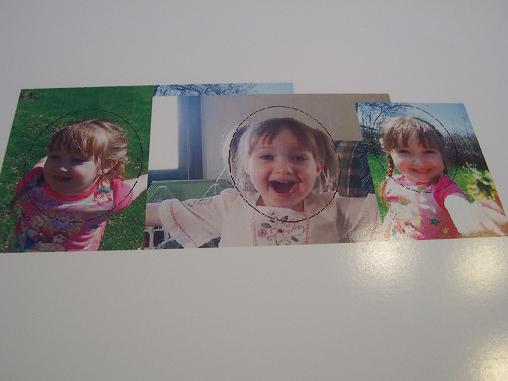
Print out some of pictures of your child on photo paper.
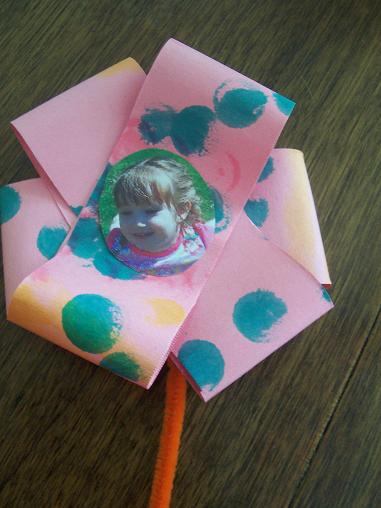
Cut out the picture in the shape of a circle and glue or tape it onto the middle of the flower.
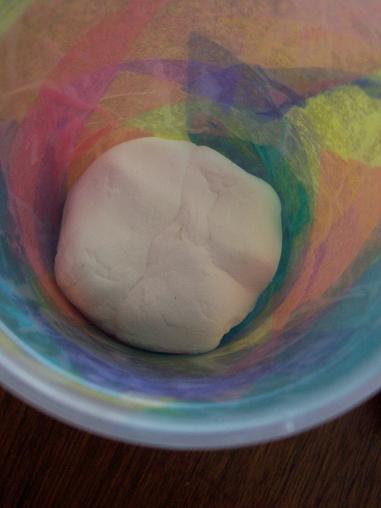
Get your vase and press some clay or playdough into the bottom.
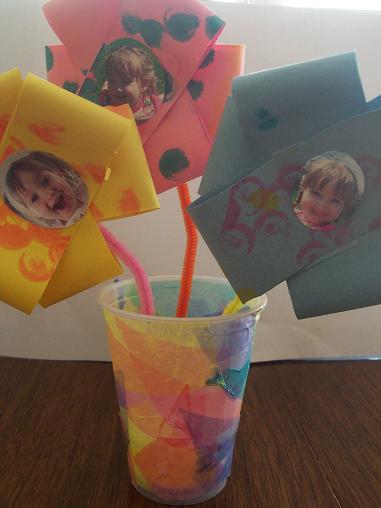
Press the flowers into the clay/playdough. Give the vase of flowers to a special mom or grandmother for Mother’s Day.
Mother's Day Vase
May
We are back! We are settled into my parents house for the next couple of weeks until our new house closes, so we are back with some crafts.
This is going to be a 2 part project- so be sure to come back tomorrow to see the finished product- it is super cute!!
Hailey is making this project to give to her grandmothers for Mother’s Day (no peaking Gramma and Nana!). For the first part of the project Hailey made a vase.
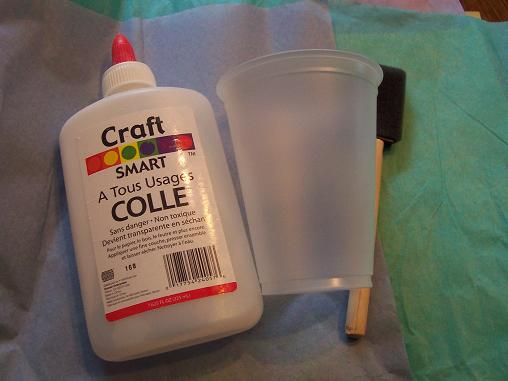
Here is what you’ll need: a cup or some kind of container to use as a vase, tissue paper, glue, brush for the glue.
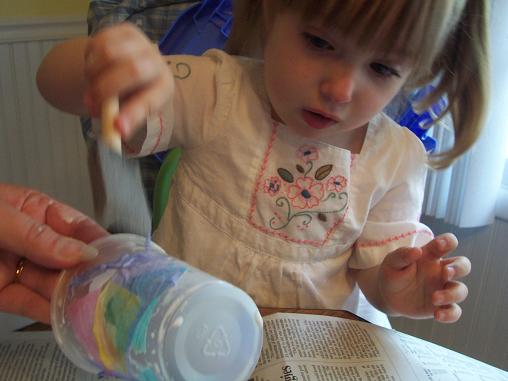
Mix some water with the glue and then brush the glue/water mixture onto the cup. Cover it with small pieces of tissue paper.
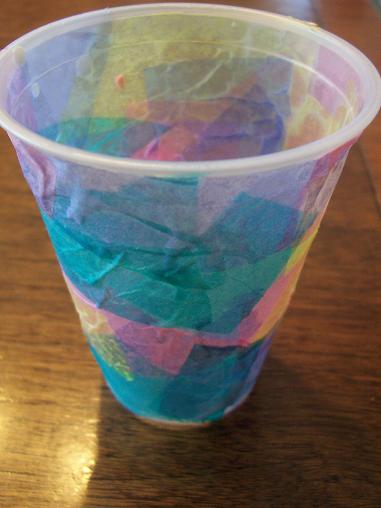
Here is the finished vase.
Tomorrow I will be posting the adorable flowers we made to go into the vase- they turned out sooooo cute so be sure to come back!
