Archive for the ‘Toddler and Preschool Activities’ Category
Disappearing Snowman Cookies
Jan
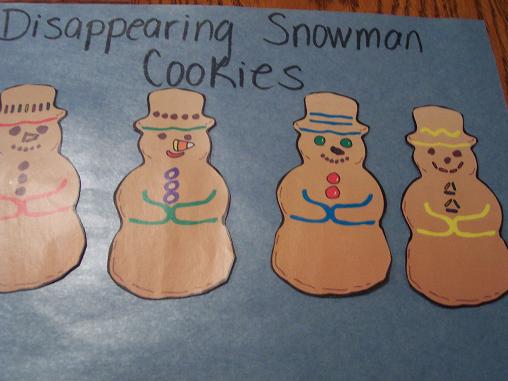
Here is a cute little Snowman finger play that your toddler or preschooler will love!
[Four] cookie snowmen sitting on a tray.
(Hold up [4] fingers.)
[Four] cookie snowmen, smiling all day.
(Point to smiling mouth.)
Along came a little child, rubbing his tummy.
(Rub tummy.)
One cookie disappeared. Yum, yum, yummy!
(Hold up 1 finger then lick lips.)
Repeat rhyme replacing numbers with three, two and then one.
I made this little poster to go with it:
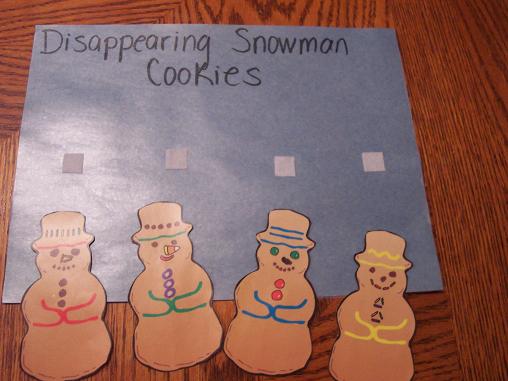
It’s just a piece of construction paper with contact paper on it. Then I put Velcro on the paper and on the back of the snowmen. I also wrote the words to the finger play on the back of the paper.
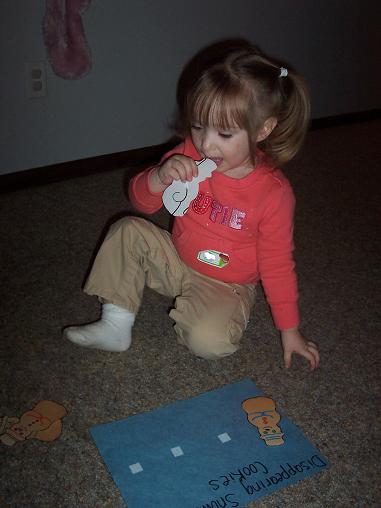
After we did it together a few times Hailey took over and did the finger play by herself. Here she is pretending to eat the snowman cookie.
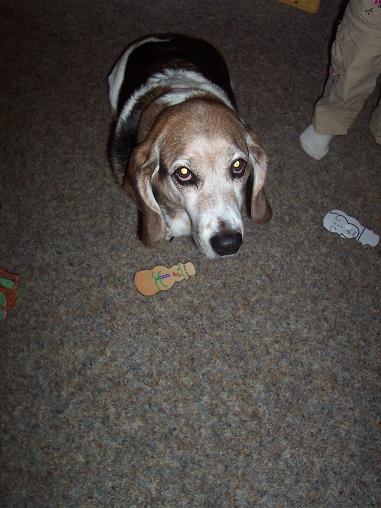
Hailey shared the snowman cookies with Dottie. As you can see Dottie is thrilled to get to be a part of this!
A Simple Snowman
Dec
Here is a really simple, really cute and really fun snowman craft:
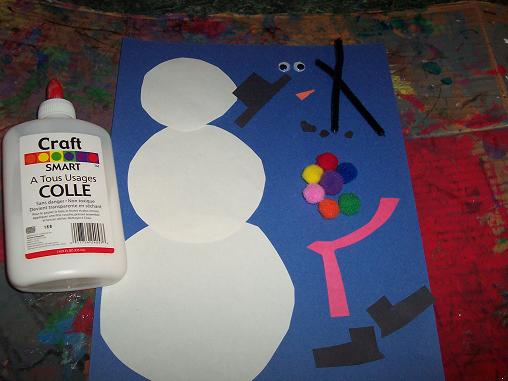
You’ll need: 3 white circles- small, medium and large, construction paper to glue your snowman on, glue and some items to decorate your snowman.
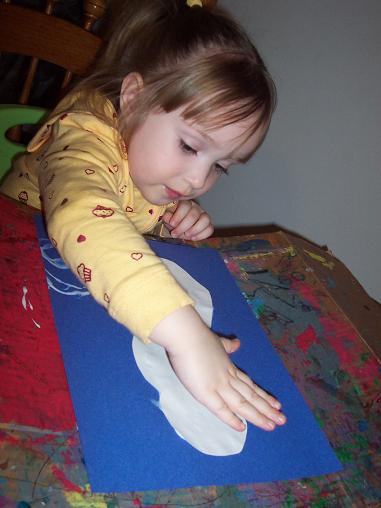
Glue your circles onto your paper.
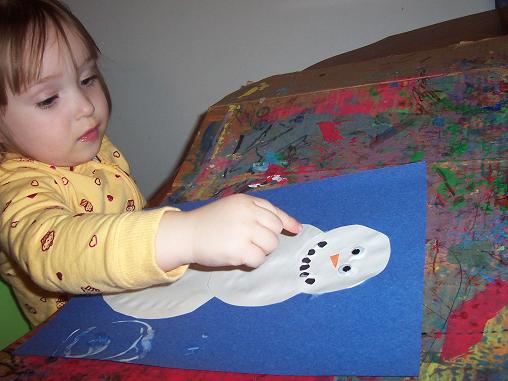
Add your decorations to your snowman.
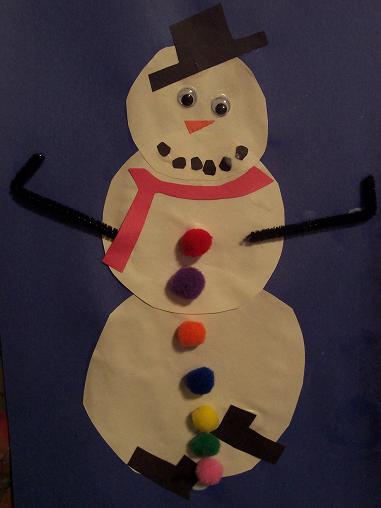
The finished snowman.
Boxy Snowman
Dec
It has been so cold where we live that it’s just not possible to get outside to play in the snow. Plus Hailey has been sick and I just don’t want to take her outside. So, I came up with this idea so we could build a snowman inside.
Here’s what you’ll need:
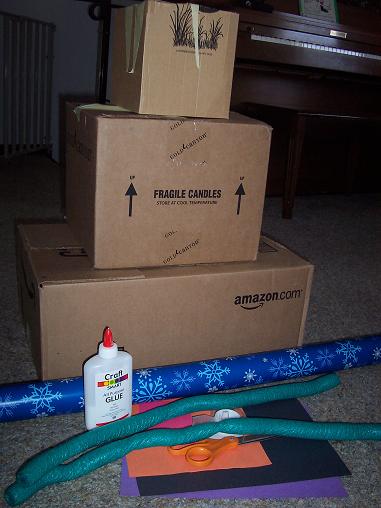
3 boxes- small, medium and large, wrapping paper, scissors, tape, glue, construction paper and 2 things you can use for the snowman’s arms.
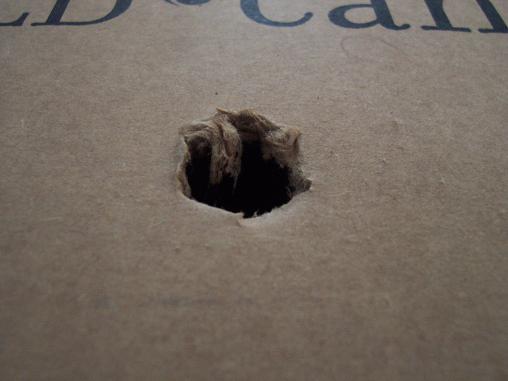
In the medium sized box- cut a small hole on 2 sides for the arms.
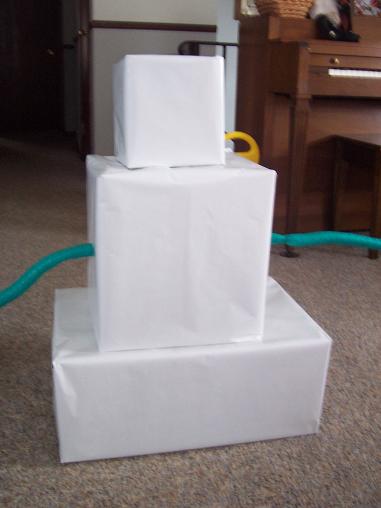
Turn your wrapping paper inside out and wrap the boxes with the white side showing. Put the arms through the holes in the middle sized box.
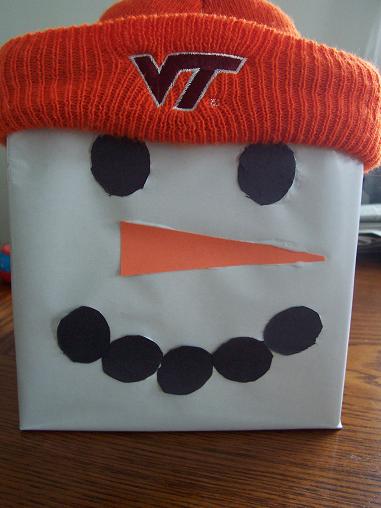
Make a face on the smallest box and add a hat.
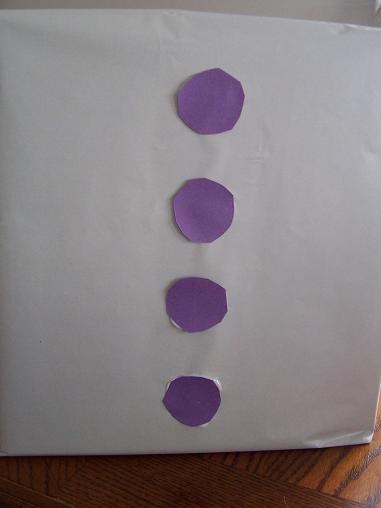
Add some buttons to the medium sized box.
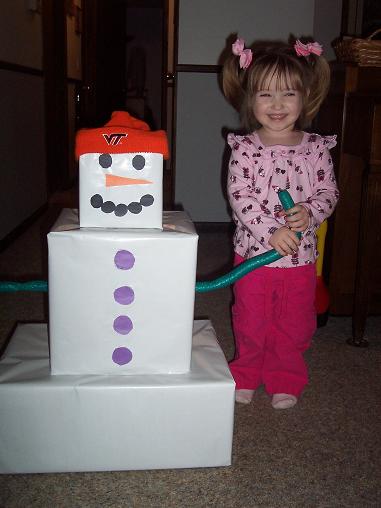
Hailey loved the snowman.
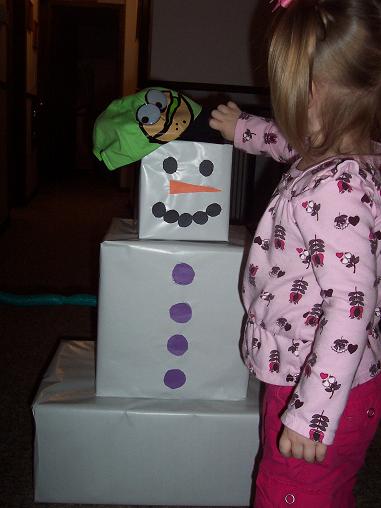
She loved taking him apart and putting him back together (we had to change the hat because the other one would not stay on).

Hailey dancing with the snowman.
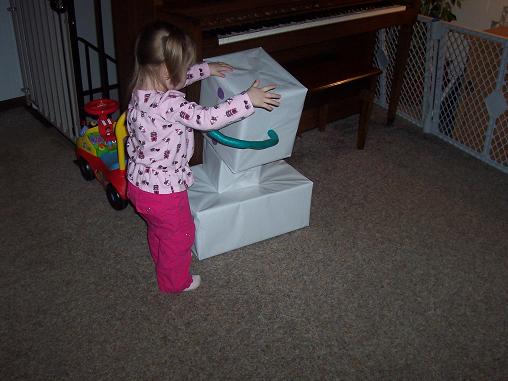
And she thought it was funny to put him together the “wrong” way.
Letter of the Week- Letter M
Nov
Our letter this week is the letter M- and as usual I found a cute idea over at No Time for Flash Cards. We changed it just a bit, but the idea is the same. We made a Mountain M.
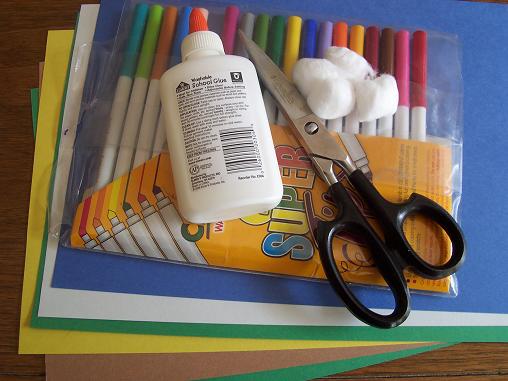
Here’s what you’ll need: construction paper (brown, yellow, white, blue, 2 greens), markers, glue and scissors.
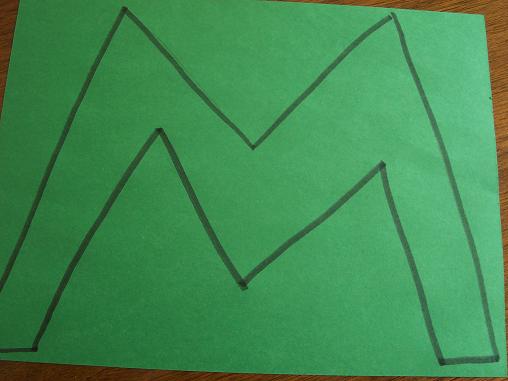
Make an M on the green paper.
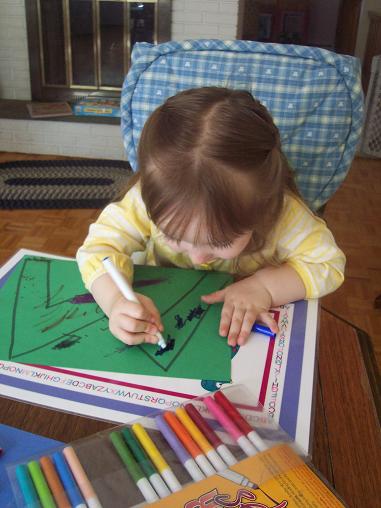
Give your child some markers (or whatever you want to use) to decorate the M.
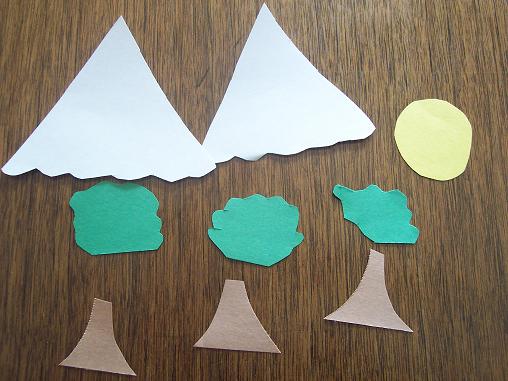
While Hailey was coloring her “M” I cut these out from the other construction paper- 2 white pieces for snow on the top of the mountain, some trees and a sun.
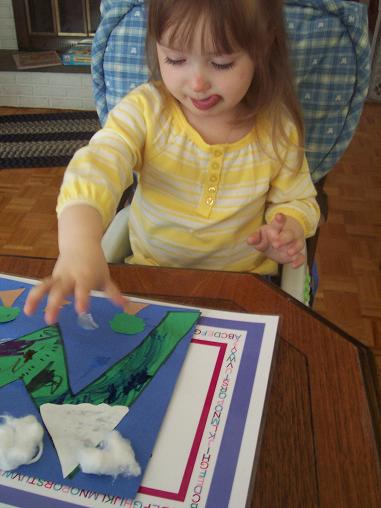
Cut the M out and glue it onto the blue construction paper and then add some clouds (cotton), the sun, trees and snow.
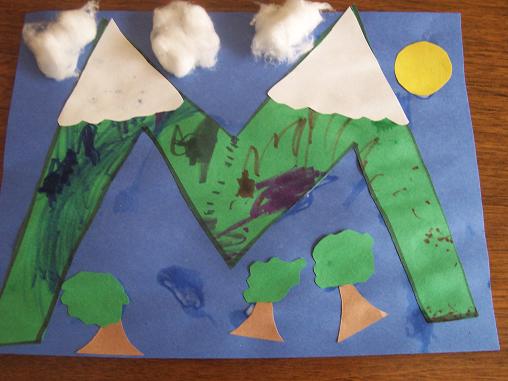
Here’s the finished Mountain M.
