Archive for the ‘Letter of the Week’ Category
Letter of the Week- Letter U
Jul
Sorry that we disappeared all week! We were enjoying family from out of town at the beginning of the week and then on Wednesday we finally had our closing for our new house- so we’ve been a bit busy! We probably won’t be around a whole lot next week either while we get settled in. But we did have time to do one activity this week- our letter of the week was the letter U. I showed Hailey some choices for a craft we could do and she picked to make the Unicorn U that we saw at No Time for Flash Cards.
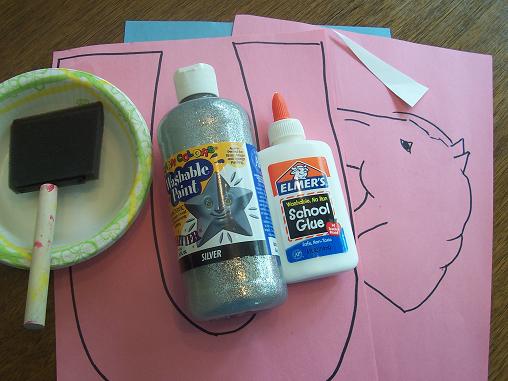
Here’s what you’ll need: a U and a horse shape in a color of your choice, a horn for the unicorn, another piece of construction paper, paint, glue and something to paint with. We used silver glitter paint- it dries very sparkly looking.
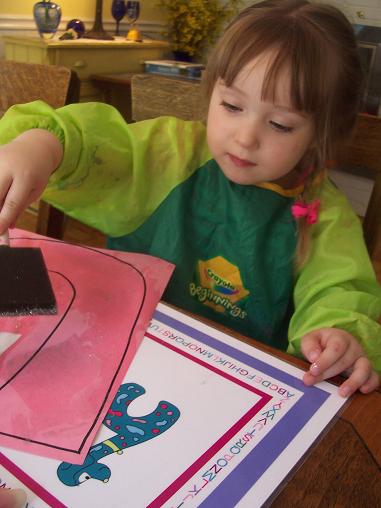
Paint the letter U.

Paint the horse. (By the way- my mom drew this horse for us since I have no artistic ability! Thanks mom!)

Glue everything together- and here is your Unicorn U.
Letter of the Week- Letter T
Jun
Our letter this week is the letter T and so we made a Train.
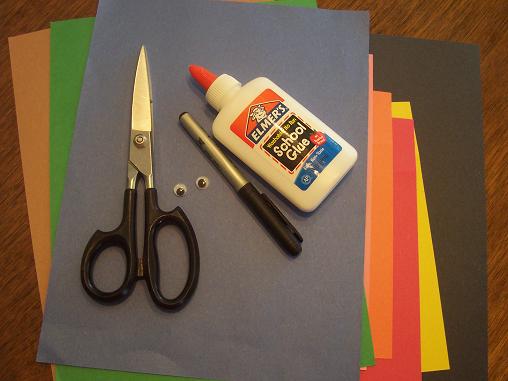
Here’s what you’ll need: construction paper, glue, marker, eyes, scissors.
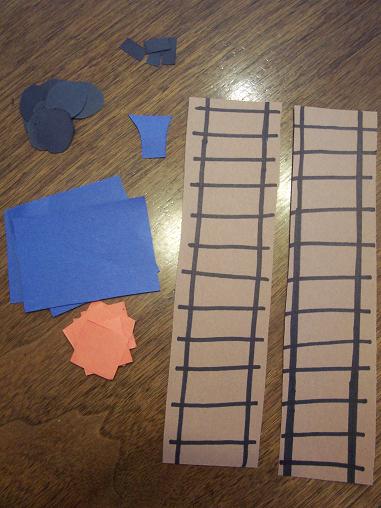
Cut out the train tracks and some shapes for the train.
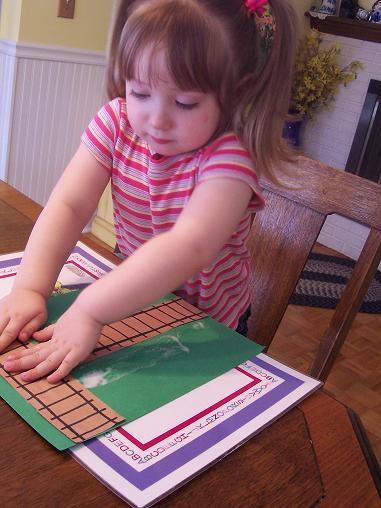
Glue the tracks onto the paper in the shape of a T.
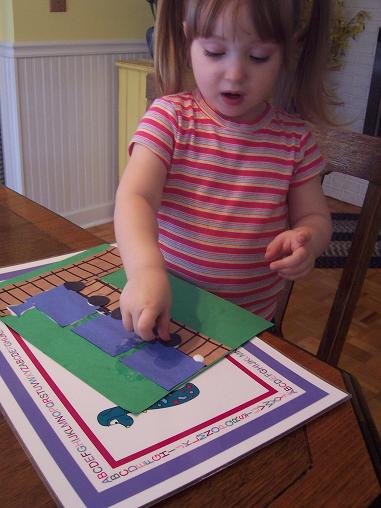
Add a train on the tracks.
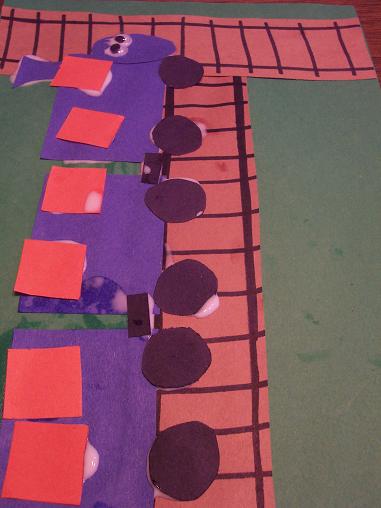
The completed T is for Train. (You’ll notice our train has eyes- Hailey asked to add eyes to the train and when I told her that trains don’t have eyes she said, “Thomas does.” So we added eyes.)
Letter of the Week- Letter R
Jun
Our letter this week was the letter R. I saw this cute idea over at No Time for Flash Cards and knew that Hailey would love it. So we made a Rainbow R.
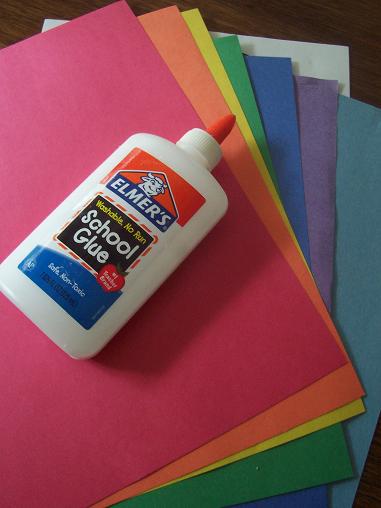
Here’s what you’ll need: construction paper in all of the colors of the rainbow, white paper, glue and another piece of construction paper.

Cut the pieces of construction paper into strips.

Draw the R on the white paper- make sure you can see the marker through the back of the paper. Put glue all over the R.

Glue the strips of construction paper on. I showed Hailey how to put the first one on and then I handed her each color after that so she could put them on herself and they would be in the right order.

Cover the whole paper with the rainbow pieces of construction paper. The turn the paper over and cut out the R.

Glue the R onto another piece of construction paper. We used blue so it would look like the sky.

Our finished Rainbow R.
Letter of the Week- Letter Q
Jun
This week our letter was the letter Q. I thought a Queen would be really cute, but since we just made a P for Princess last week I thought we should do something else. So, we made a Quilt.
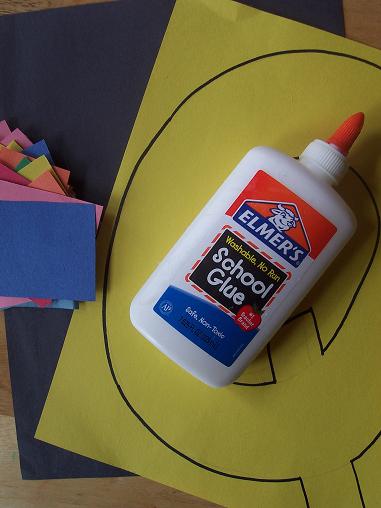
Here’s what you’ll need: construction paper with a Q on it, glue, squares of construction paper in various colors, another piece of construction paper.
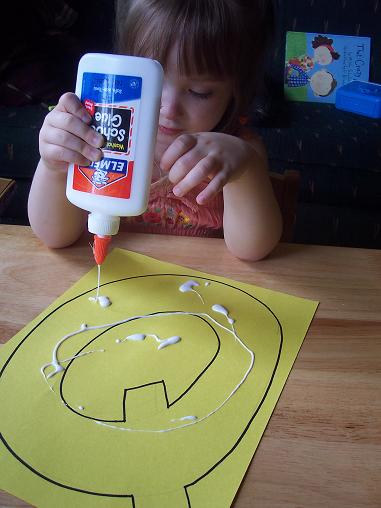
Put glue all over the Q.
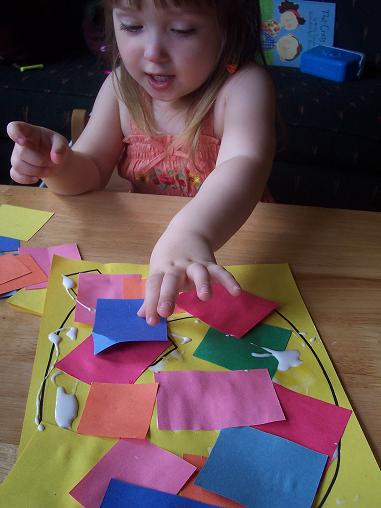
Glue the squares all over the Q. This is a great time to also talk about colors and the square shape of the papers.
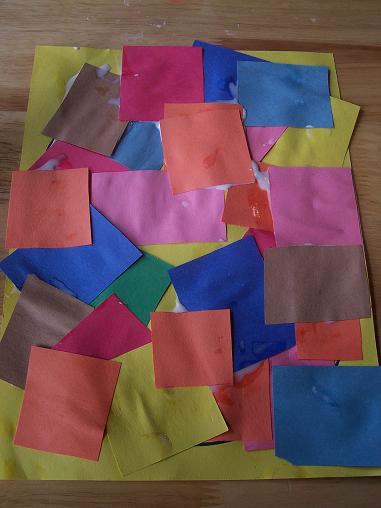
After the entire paper was covered in the squares I cut out the Q. The reason I did it on yellow paper was so that I would be able to see the black lines through the back of the paper. So be sure to use a light colored piece of paper.

Q is for Quilt.
