Archive for the ‘Fall’ Category
Preschool Weekly Wrap Up- Letter P
Feb
Back in October Hunter learned all about the letter P and pumpkins. Since it’s almost Valentine’s Day I thought it was the perfect time to finally get it posted haha
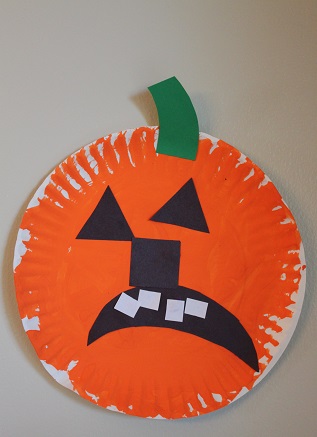
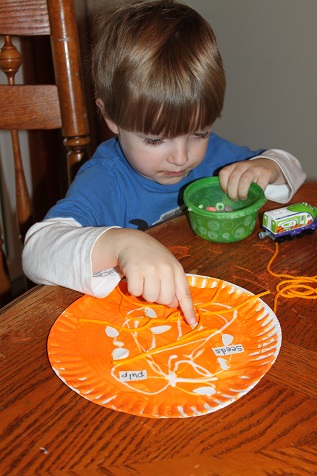
He painted a plate and then added some shapes to make a pumpkin face. Apparently his pumpkin in sad.
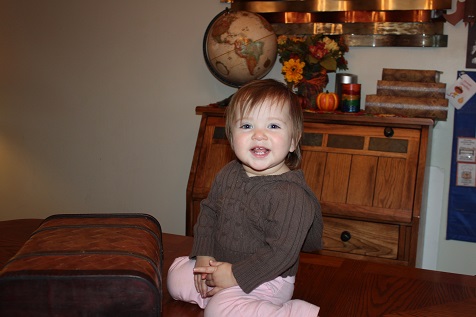
This little cutie loves to be a part of our homeschool day 🙂 She likes to sit on the table to make sure she is the center of attention.
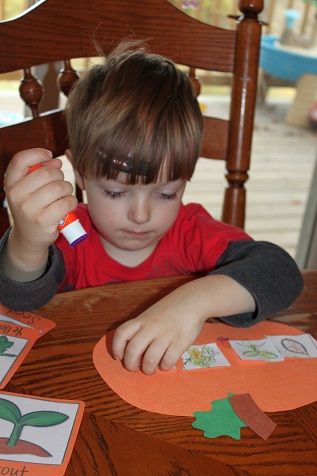
We worked on a pumpkin life cycle activity.
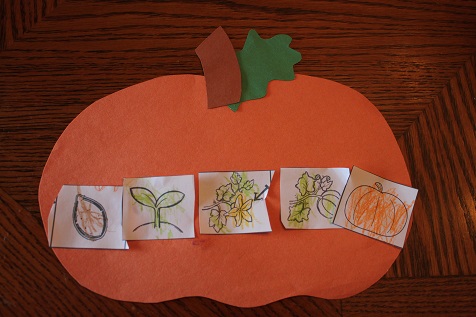
Hunter’s finished pumpkin life cycle.
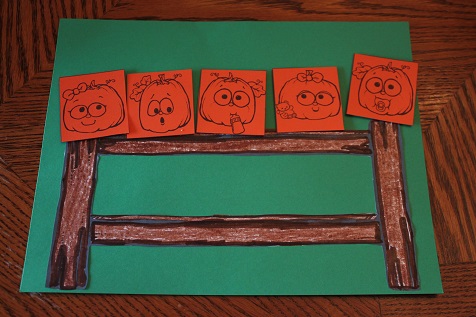
We sang a fun song about 5 little pumpkins sitting on the fence.
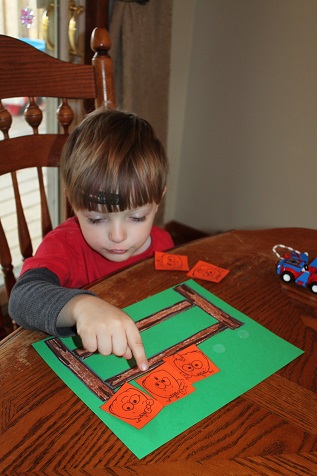
As we sang the song Hunter took the pumpkins off and counted to see how many were left.
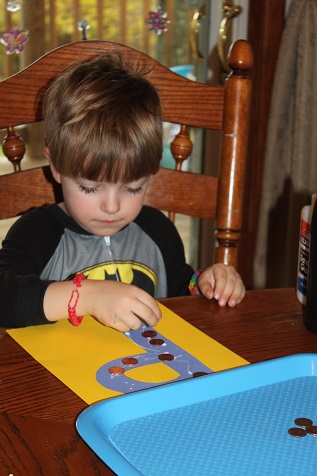
Hunter glued pennies onto the letter P.

I had some pumpkin number cards and I called the numbers while Hunter jumped off the couch onto the number I called.

Another pumpkin activity
Adding some pieces to show what is inside the pumpkin.
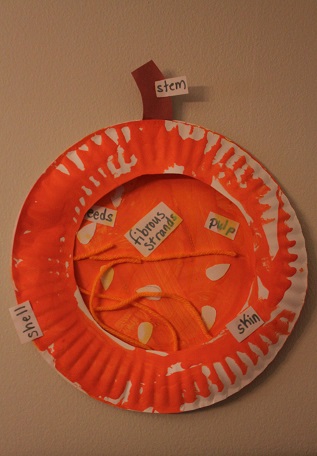
Hunter’s finished pumpkin to show the different parts of the pumpkin.
(Printables from Pumpkin Patch Palooza)
It was another fun week of preschool!
Fall Tree Craft
Oct
We made these really easy fall trees, and they turned out cute. I love easy and cute art projects!
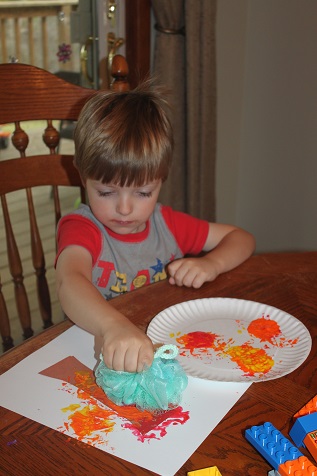
I gave Hunter a piece of brown, already cut out, to use as a tree trunk. Then I put some fall colored paint onto a paper plate and gave him a shower pouf to stamp some leaves on the tree.
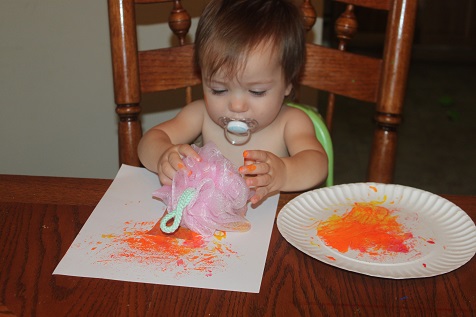
Harper made one too- her very first painting.
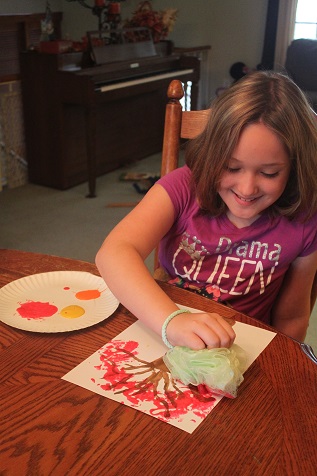
Hailey also made one, but she painted her own tree trunk.

The completed fall trees.
Bee Crafty Kids- Turkey Fun
Nov
Welcome back to the Bee Crafty Kids link up that I am co-hosting with To The Moon and Back and Look! We’re Learning.
We are learning all about Thanksgiving this month and this week we did some turkey crafts.

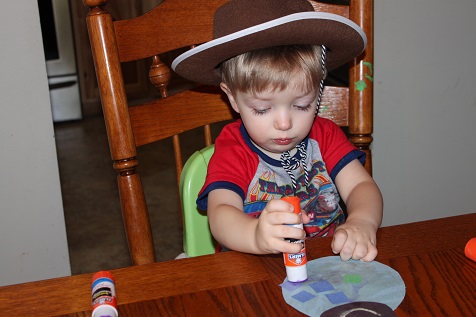
First up- we made turkey hats
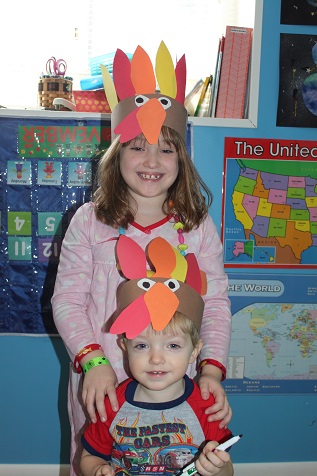
Hailey and Hunter posing in their turkey hats.
(I have to mention that we did this on our Wacky Wednesday fun day, which I’ll be posting about later. But, Hailey is wearing her pajamas inside out for Wacky Wednesday. Hunter is wearing his pajamas because he insists on wearing his Lightning McQueen pajama shirt almost every day.)
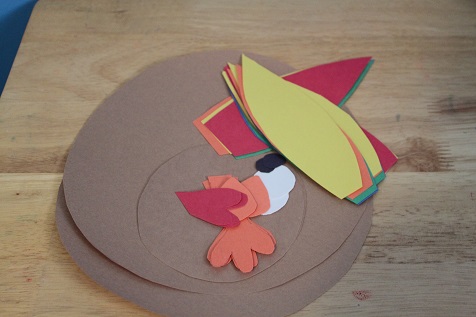
We made another fun turkey, that I had made with Hailey a few years ago. It’s amazing how much she has changed since we made turkeys a few years ago.
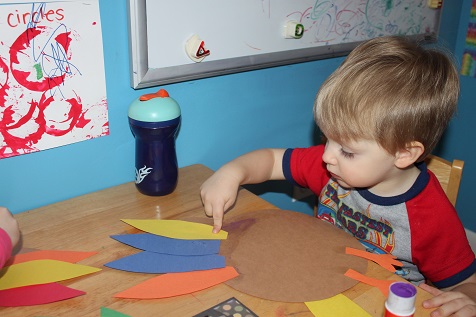
Hunter adding some feathers to his turkey.
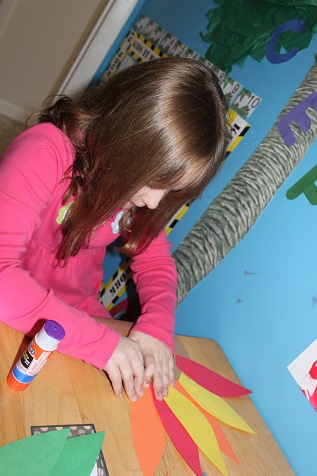
Hailey made a pattern with her feathers.
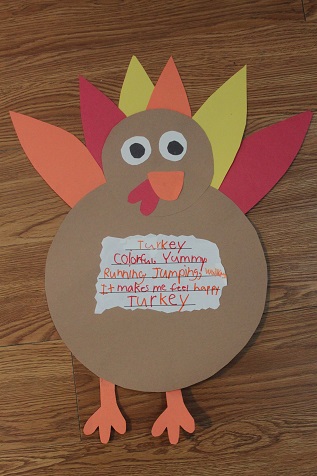
Hailey had written a turkey poem, so she added her poem to the front of her turkey.
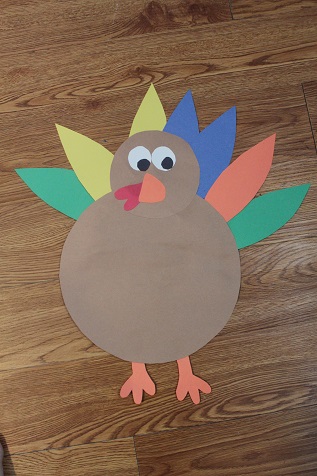
Hunter’s turkey.
Be sure to like me on Facebook and follow me on Pinterest so you don’t miss any of our fun activities.
Now it’s your turn! Link up and share what you and your kids have been busy making. Grab a button so others can join in the crafting fun too 🙂
<div align="center"><a href="http://ourcraftsnthings.com/" title="Our Crafts N Things"><img src="http://i1165.photobucket.com/albums/q594/dustybug83/BeeCraftyKids3_zps44074ad6.png" alt="Our Crafts N Things" style="border:none;" /></a></div>
Rules are simple:
~Enter the direct link to one or more of your own posts that showcase a craft or hands on activity for children.
~A link back with the above button is appreciated, but not required
~Try to at least comment on one or two of the other blogs that took the time to share and join!
Bee Crafty Kids- Spider Glyph
Nov
Welcome back to the Bee Crafty Kids link up that I am co-hosting with To The Moon and Back and Look! We’re Learning.
We are starting a fun unit all about spiders… at least I’m hoping it will be fun. I like making spider crafts, but when it comes to looking at real spiders it’s not quite so fun 🙂
Our first spider craft was a fun spider glyph I got from Spiders: A Creepy Crawly Extravaganza.

I set up all the parts of the craft and the directions.
Some of the directions included- add a bow if you are girl, add stripes on the legs if fall is your favorite season, etc.
Hunter is happy anytime he can glue, so he had fun making his spider.
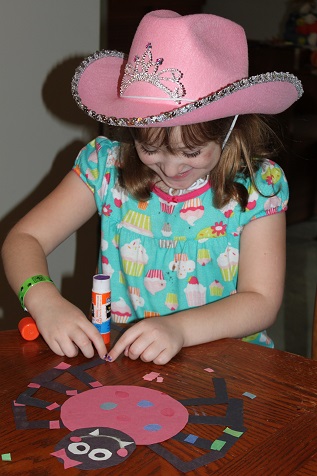
Hailey had fun creating her spider and following the directions.
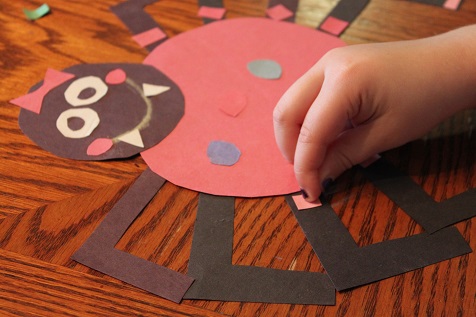
Putting everything together.

Hailey’s finished spider
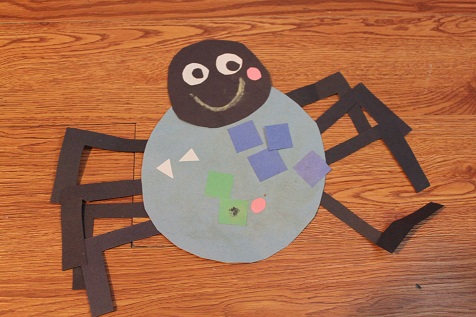
Hunter’s finished spider
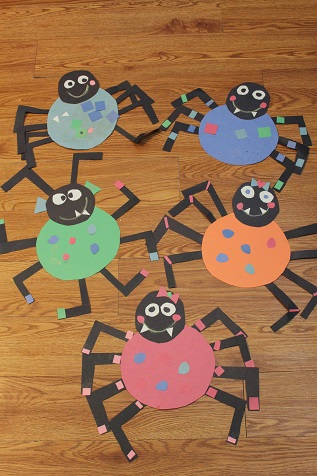
Rich made one too, and when my parents came over on Halloween they each made one as well.
Be sure to like me on Facebook and follow me on Pinterest so you don’t miss any of our fun activities.
Now it’s your turn! Link up and share what you and your kids have been busy making. Grab a button so others can join in the crafting fun too 🙂
<div align="center"><a href="http://ourcraftsnthings.com/" title="Our Crafts N Things"><img src="http://i1165.photobucket.com/albums/q594/dustybug83/BeeCraftyKids3_zps44074ad6.png" alt="Our Crafts N Things" style="border:none;" /></a></div>
Rules are simple:
~Enter the direct link to one or more of your own posts that showcase a craft or hands on activity for children.
~A link back with the above button is appreciated, but not required
~Try to at least comment on one or two of the other blogs that took the time to share and join!
