Archive for the ‘Learning Letters’ Category
Letter of the Week- Letter R
Jun
Our letter this week was the letter R. I saw this cute idea over at No Time for Flash Cards and knew that Hailey would love it. So we made a Rainbow R.
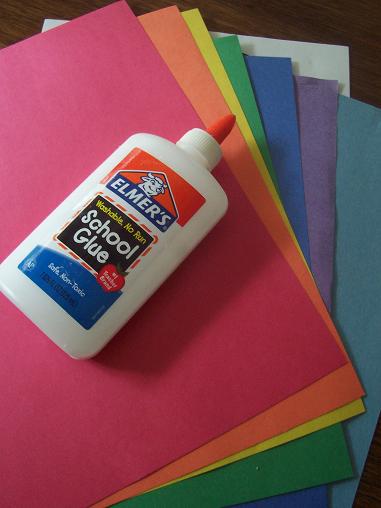
Here’s what you’ll need: construction paper in all of the colors of the rainbow, white paper, glue and another piece of construction paper.

Cut the pieces of construction paper into strips.

Draw the R on the white paper- make sure you can see the marker through the back of the paper. Put glue all over the R.

Glue the strips of construction paper on. I showed Hailey how to put the first one on and then I handed her each color after that so she could put them on herself and they would be in the right order.

Cover the whole paper with the rainbow pieces of construction paper. The turn the paper over and cut out the R.

Glue the R onto another piece of construction paper. We used blue so it would look like the sky.

Our finished Rainbow R.
Letter of the Week- Letter Q
Jun
This week our letter was the letter Q. I thought a Queen would be really cute, but since we just made a P for Princess last week I thought we should do something else. So, we made a Quilt.
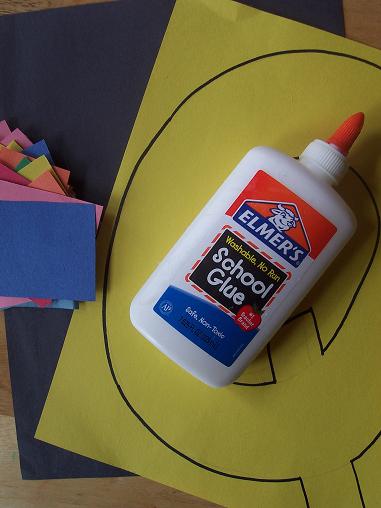
Here’s what you’ll need: construction paper with a Q on it, glue, squares of construction paper in various colors, another piece of construction paper.
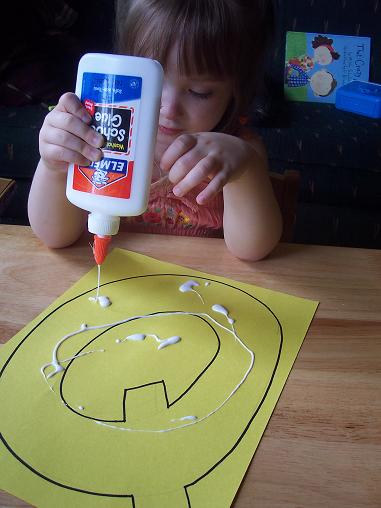
Put glue all over the Q.
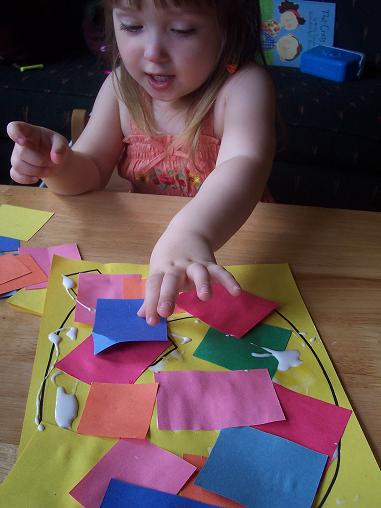
Glue the squares all over the Q. This is a great time to also talk about colors and the square shape of the papers.
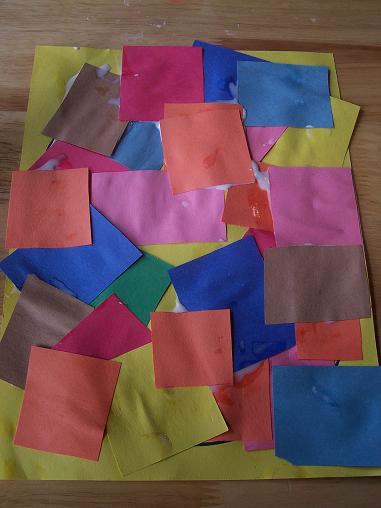
After the entire paper was covered in the squares I cut out the Q. The reason I did it on yellow paper was so that I would be able to see the black lines through the back of the paper. So be sure to use a light colored piece of paper.

Q is for Quilt.
Letter of the Week- Letter P
Jun
Our letter of the week this week is the letter P. Hailey loves princesses- so I thought it would be perfect to make a letter P Princess.
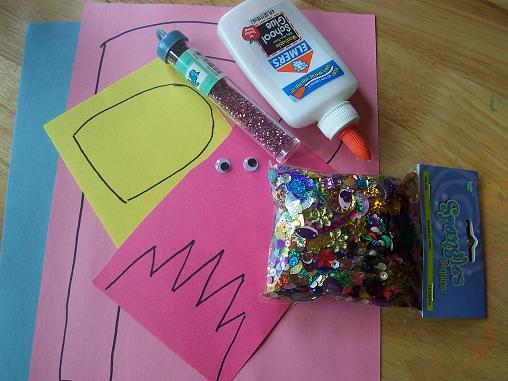
Here’s what you’ll need: construction paper with the letter P on it, blank construction paper, construction paper for the crown and the face, sequence, glitter, wiggly eyes and glue.
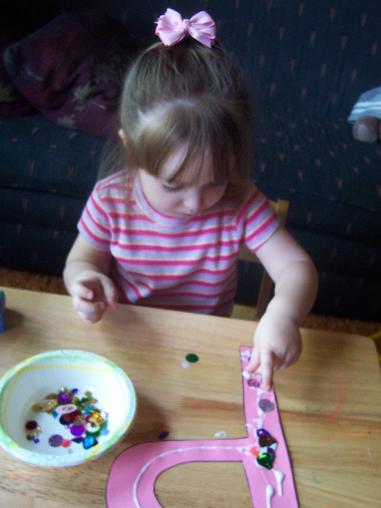
Glue some sequence onto the P so the princess will have lots of jewels to wear.
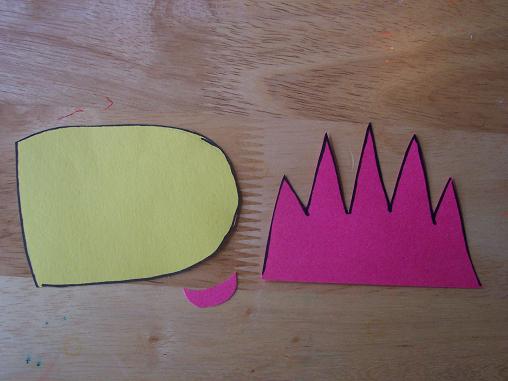
While Hailey was busy gluing the sequence on, I cut out a crown, a mouth and face for the princess. The yellow D shaped piece will fit inside the P and will be the princesses face.
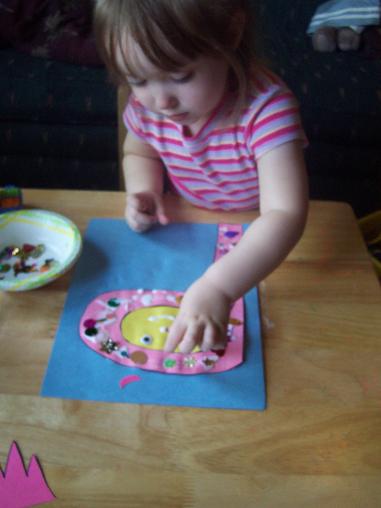
Glue the face on, add some eyes, a nose and mouth.
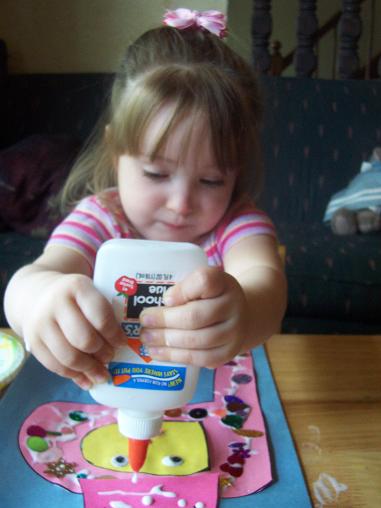
Glue the crown on and then put some glue onto the crown. Then sprinkle glitter on the crown and all over the Princess- there is no picture of this step because I was busy making sure the glitter didn’t get all over everything.
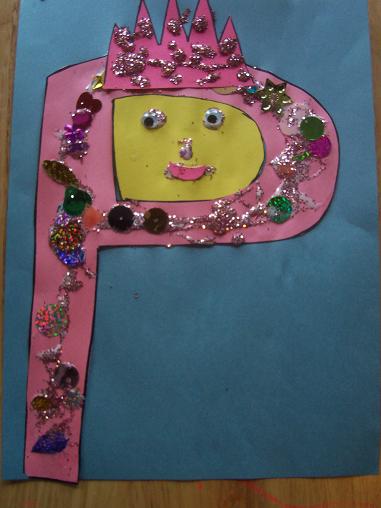
Our finished P Princess.
Letter of the Week- Letter O
May
Our letter this week is the letter O and we made a fun Octopus.
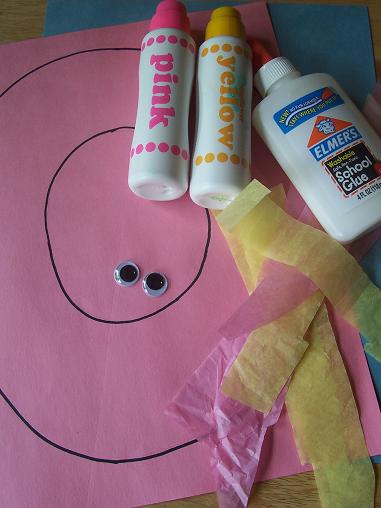
Here’s what you’ll need: paper with a large letter O, 8 strips of tissue paper for the arms, 2 wiggle eyes, paint dobbers and glue.
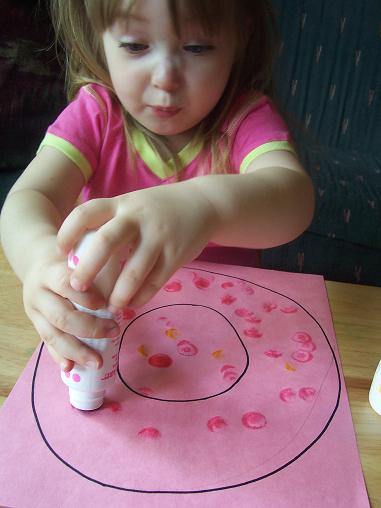
Use the paint dobbers to decorate the O.
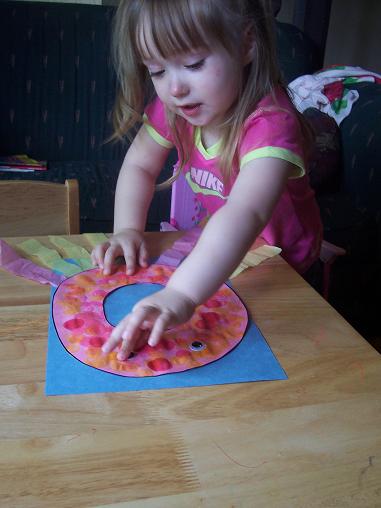
Glue the tissue paper onto the back of the letter O and then add the eyes.
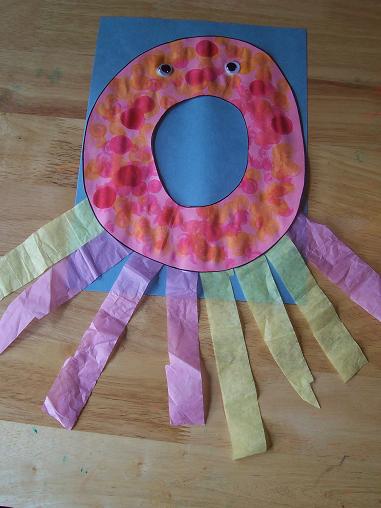
The finished letter O Octopus.
