Archive for May, 2013
Dinosaur Oil Pastel Painting
May
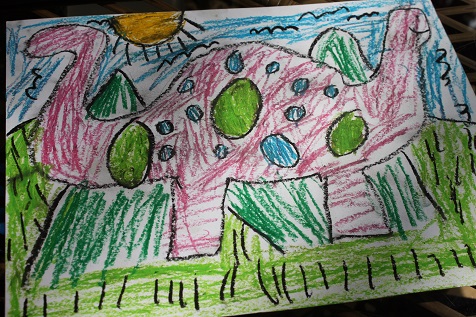
As we continue along with our dinosaur theme, Hailey made a really pretty dinosaur painting.

First, sketch a picture with a pencil.
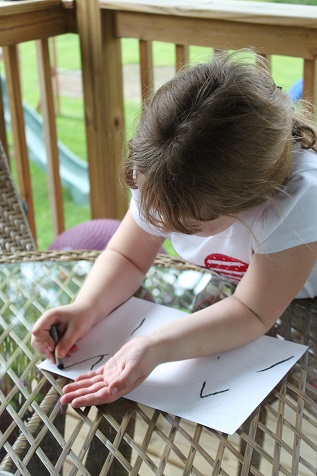
Next, trace your pencil with a black oil pastel.
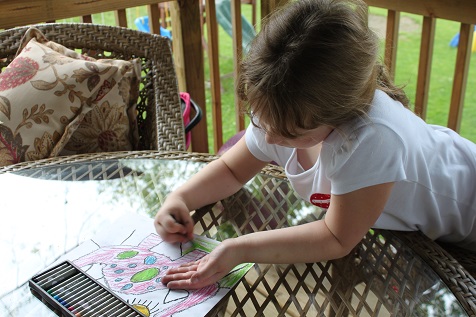
Color the picture using the oil pastels.
Don’t color the picture in completely, leave some white showing.
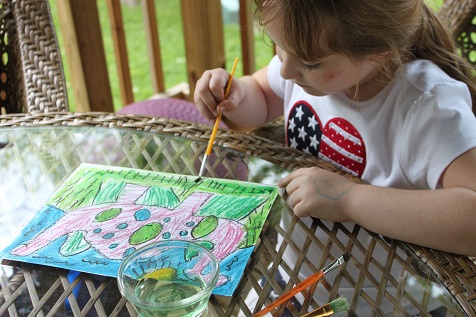
Next use water colors to paint over the oil pastels. The oil pastels will resist the water color.

Pretty and simple.
Be sure to like me on Facebook and follow me on Pinterest so you don’t miss any of our fun activities.
Volcano Fun!
May
We are learning all about dinosaurs, and what would a theme about dinosaurs be without making a volcano?
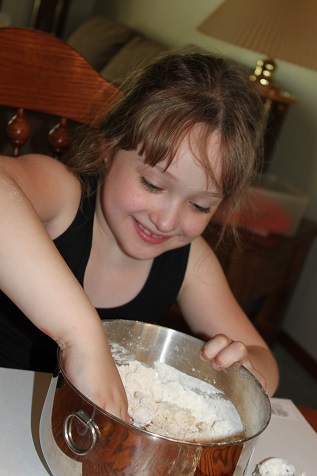
First, Hailey mixed up a mountain- we used:
2 cups flour
1 cup salt
2 tbs cooking oil
water

She formed a mountain around a small water bottle.
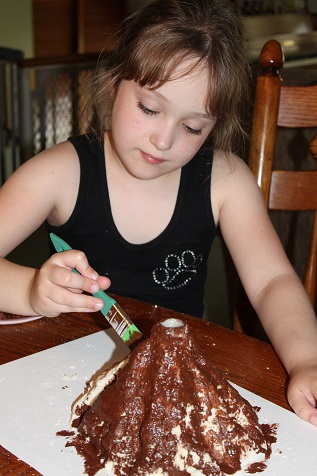
Then she painted it. We didn’t wait for the salt dough to dry before painting, and it worked out fine.
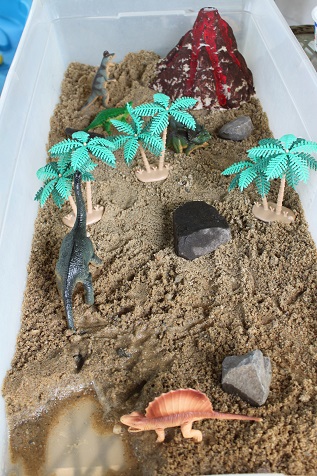
We set up a little area for our dinosaurs. Hailey added a little pond (lower left hand corner), some rocks, trees, dinosaurs, and of course the volcano.
Time to set off the volcano!! In the bottle we put:
warm water
red food coloring
Dawn dish soap
2 tbsp of baking soda
and…
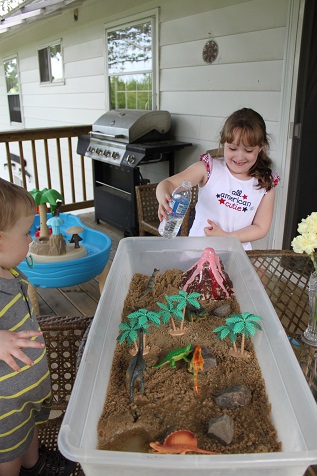
Hailey added the vinegar!
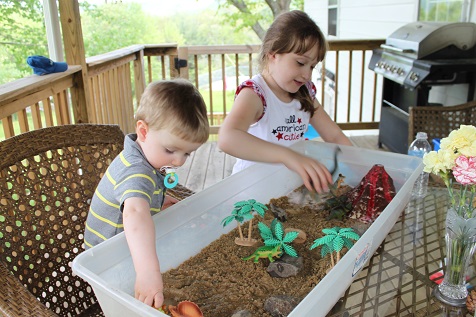
Hunter and Hailey playing with the dinosaurs.
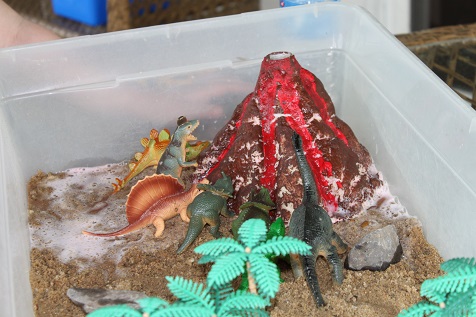
The dinosaurs heard that the volcano was going to erupt again, so they wanted to get a closer look.
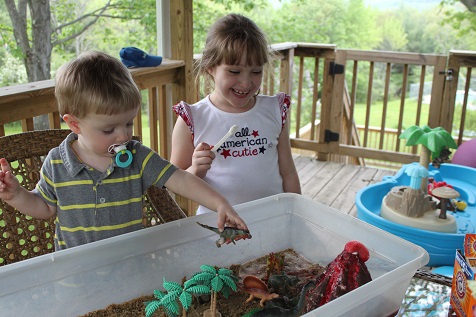
Hailey loved it!
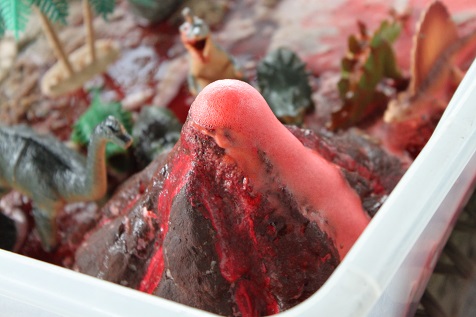
More lava!
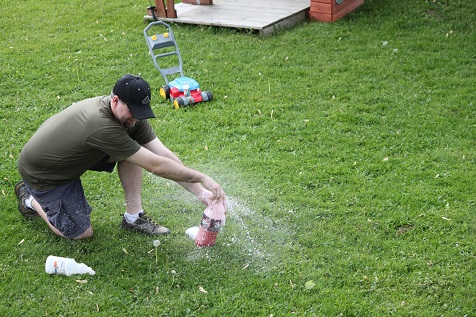
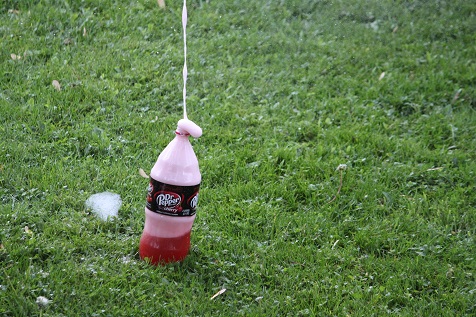
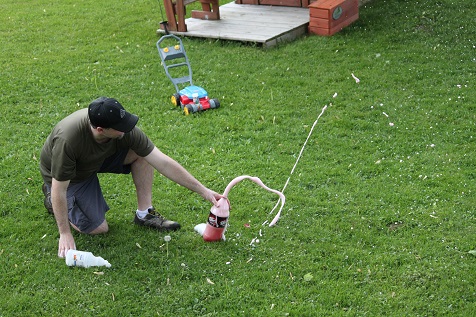
Hailey wanted to see a bigger explosion, so when Rich got home, we mixed everything up in a soda bottle and put the top on the bottle and let the gasses built up for a bit.
Here is what happens when you do that:
Be sure to like me on Facebook and follow me on Pinterest so you don’t miss any of our fun activities.
Dinosaur Fossils
May
We are learning all about dinosaurs this week and so we made some dinosaur fossils.
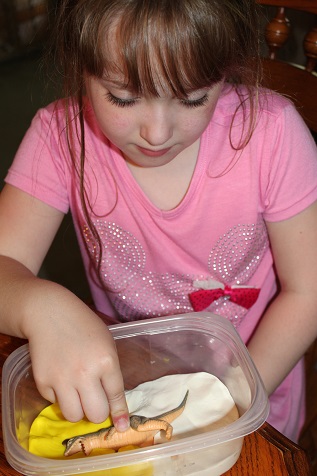
First we put some playdough into a plastic container and pressed a dinosaur into the playdough. Take the dinosaur out and see the indentation that it leaves in the playdough.
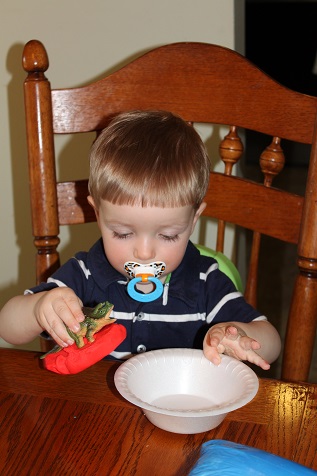
Hunter had great time making footprints with his dinosaur.
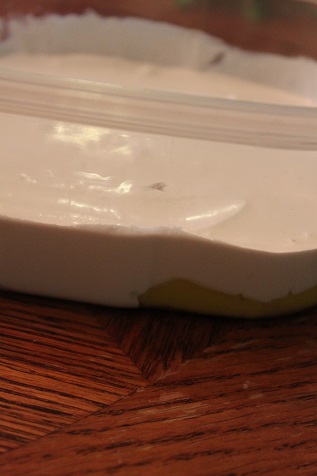
This picture didn’t come out, but it’s the only one I have of this step. Next mix up some Plaster of Paris (use a 2:1 ratio with water). Pour the plaster over your playdough so that it fills in the indentation left from the dinosaur.
We let ours dry for a couple of hours.
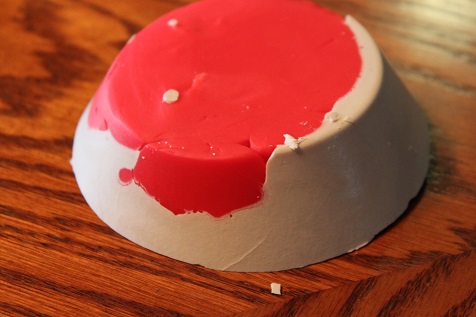
After the plaster was dry, I popped Hunter’s out of his styrofoam bowl.
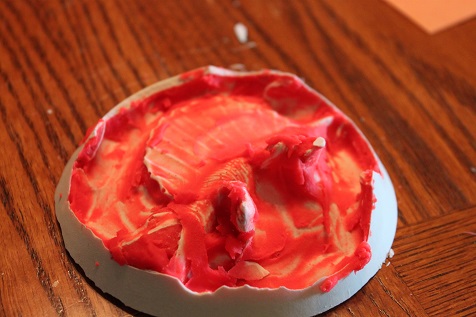
Then, peel off the playdough. This part ended up being kind of difficult. I would recommend using older playdough if you have it. Ours was new and still pretty sticky. I ended up scrubbing it off with water and a toothbrush. Or use white playdough if you have it, that is what Hailey used for half of hers and we couldn’t see what was left behind like we could with the red.
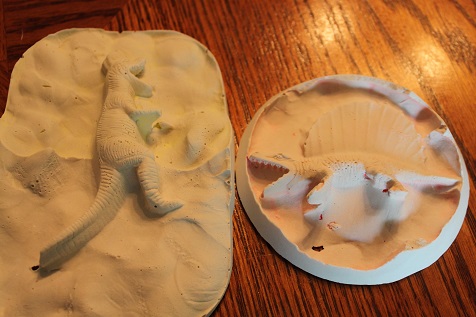
The completed fossils.
Then Hailey decided they should paint their fossils:
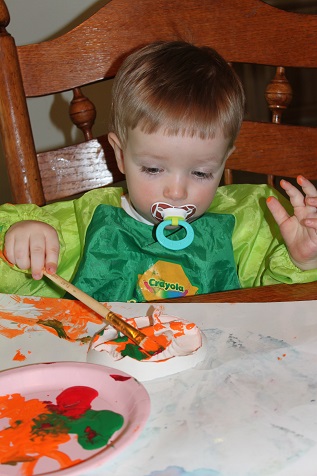
Hunter works so carefully when he paints.
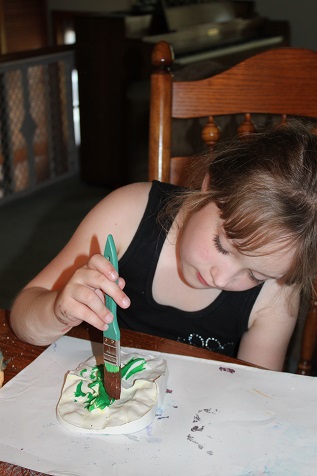
Hailey working on her painting.
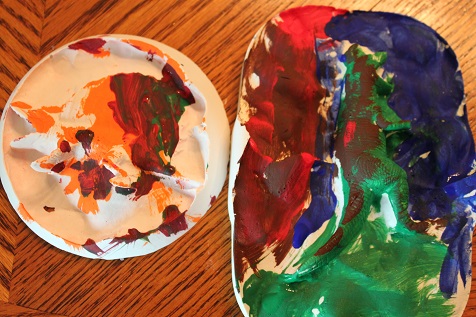
The painted fossils.
Be sure to like me on Facebook and follow me on Pinterest so you don’t miss any of our fun activities.
(Any containers you use for this activity should be ones that can be thrown away if necessary.)
Dinosaur Bones
May
We have started learning all about dinosaurs and I have several fun activities and crafts planned! First up we did a dinosaur bones craft.
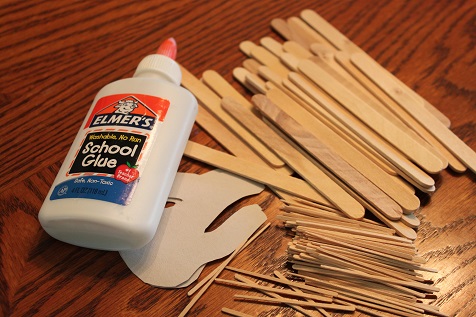
This is super easy- all you need is glue, craft sticks, toothpicks, a dinosaur shaped head and some construction paper.
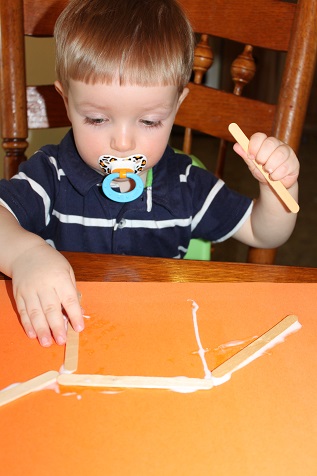
For Hunter I put the glue on his paper and then he lined his sticks up with the glue. He did a really good job putting his sticks on the glue.
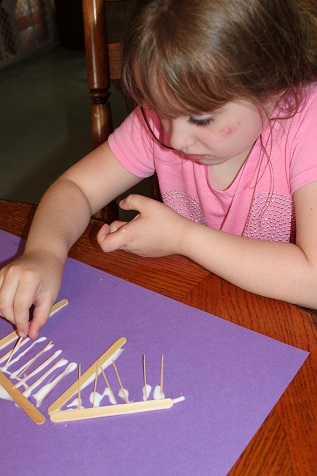
After you put the neck, legs and tail on, add the toothpicks for the smaller bones.
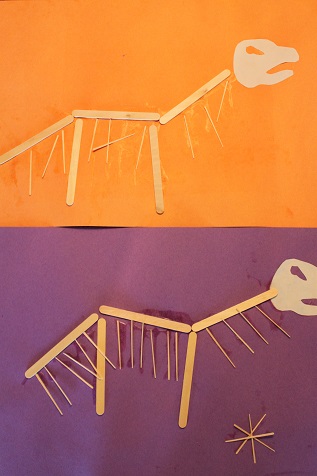
Our completed dinosaur bones.
Be sure to like me on Facebook and follow me on Pinterest so you don’t miss any of our fun activities.
