Jun
Fourth of July Suncatcher Fail (Kind of)
I saw some super cute red, white and blue suncatchers at Beneath My Heart. I showed them to Hailey and she said she definitely wanted to make them. So, I got everything ready to make the suncatchers.
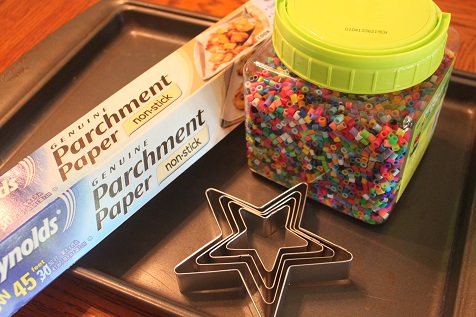
I used a baking pan, star shaped cookie cutters, parchment paper and beads.
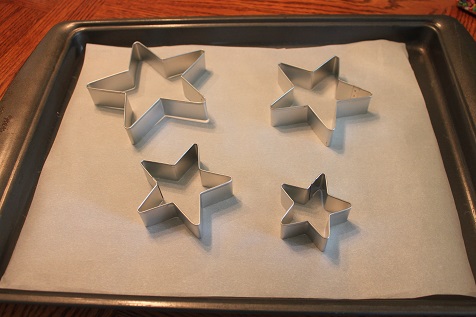
Put the wax paper on the baking pan and then put the star shaped cookie cutters on there.
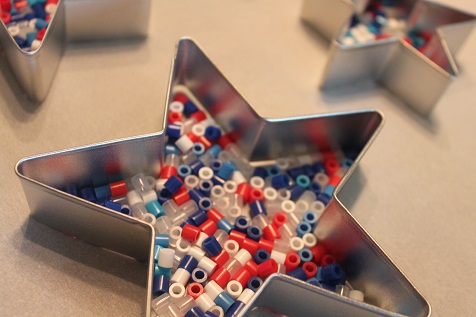
Fill the with red, white, blue and clear beads.
Bake at 400 degrees for about 20 minutes. It’s a little stinky near the end, but not too bad.
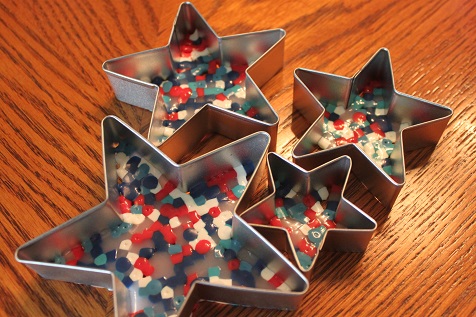
Once your suncatchers have cooled, pop them right out of the cookie cutters. Or not. Ours would not and will not come out. The directions said they should pop right out, but ours are stuck. As I look closer at the pictures in the directions, I they used a different kind of bead. We used the kind that you can iron and they melt together. That is the only thing I can think of that would make the difference is they used a different kind of bead. I even tried prying the cookie cutters off with pliers and the beads are very stuck!
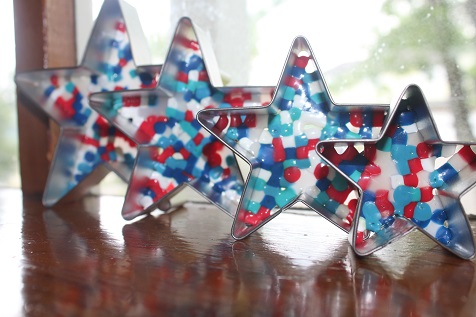
So, here are our completed suncatchers. Even though they didn’t turn out like we planned we still had fun making them and Hailey and Hunter had fun playing with the completed project, so that’s all that matters 🙂
Be sure to like me on Facebook and follow me on Pinterest so you don’t miss any of our fun activities.

I’ve melted these brand before and they can work. Next time you try coat the mould in oil and once they are virtually cool put them in cold water and they should come right out. Here is my post if you are interested, http://whattodowiththechildren.com/craft/window-decoration-from-hama-beads/